1. Cutting Clematis
Operation steps
1. When cutting clematis, you need to choose branches that are slightly tender and avoid complete lignification. Because the slightly tender branches are more sensitive to the stimulation of rooting powder, they are easier to root out

(author: drunk too much source: stepping on flowers)
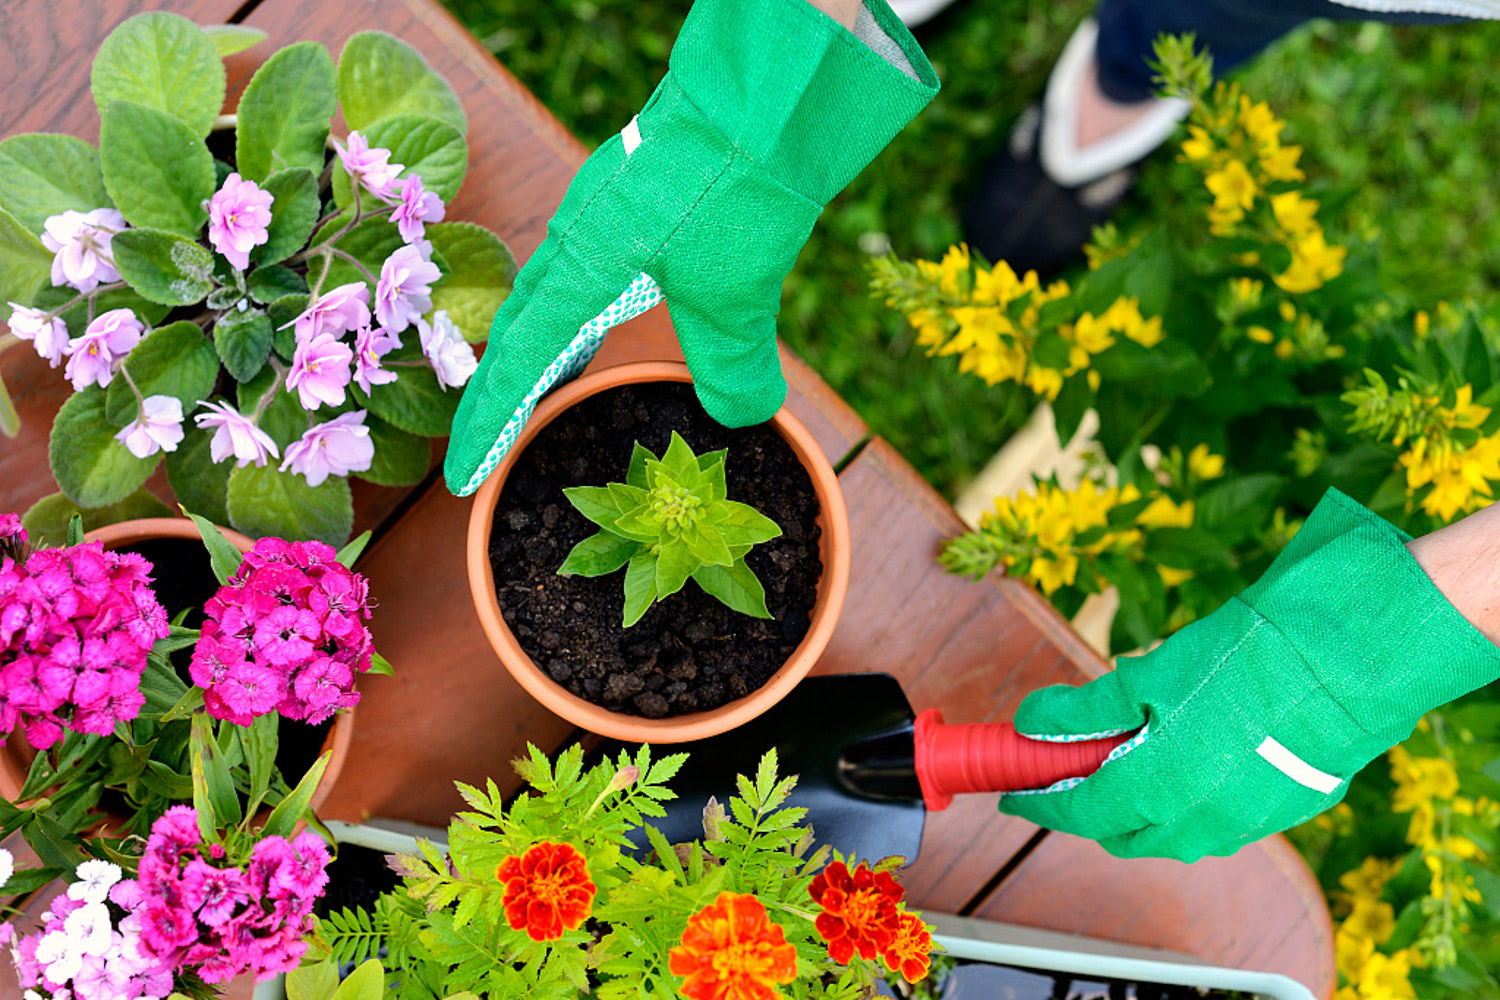
2. Cut the branches short, about one node or two nodes. After soaking the branches in vitamin B solution for 2 hours, take them out, shake off the water on the surface, dip a little rooting powder at the end of the branches, and put them in the bag for standby
(author: drunk too much source: stepping on flowers)
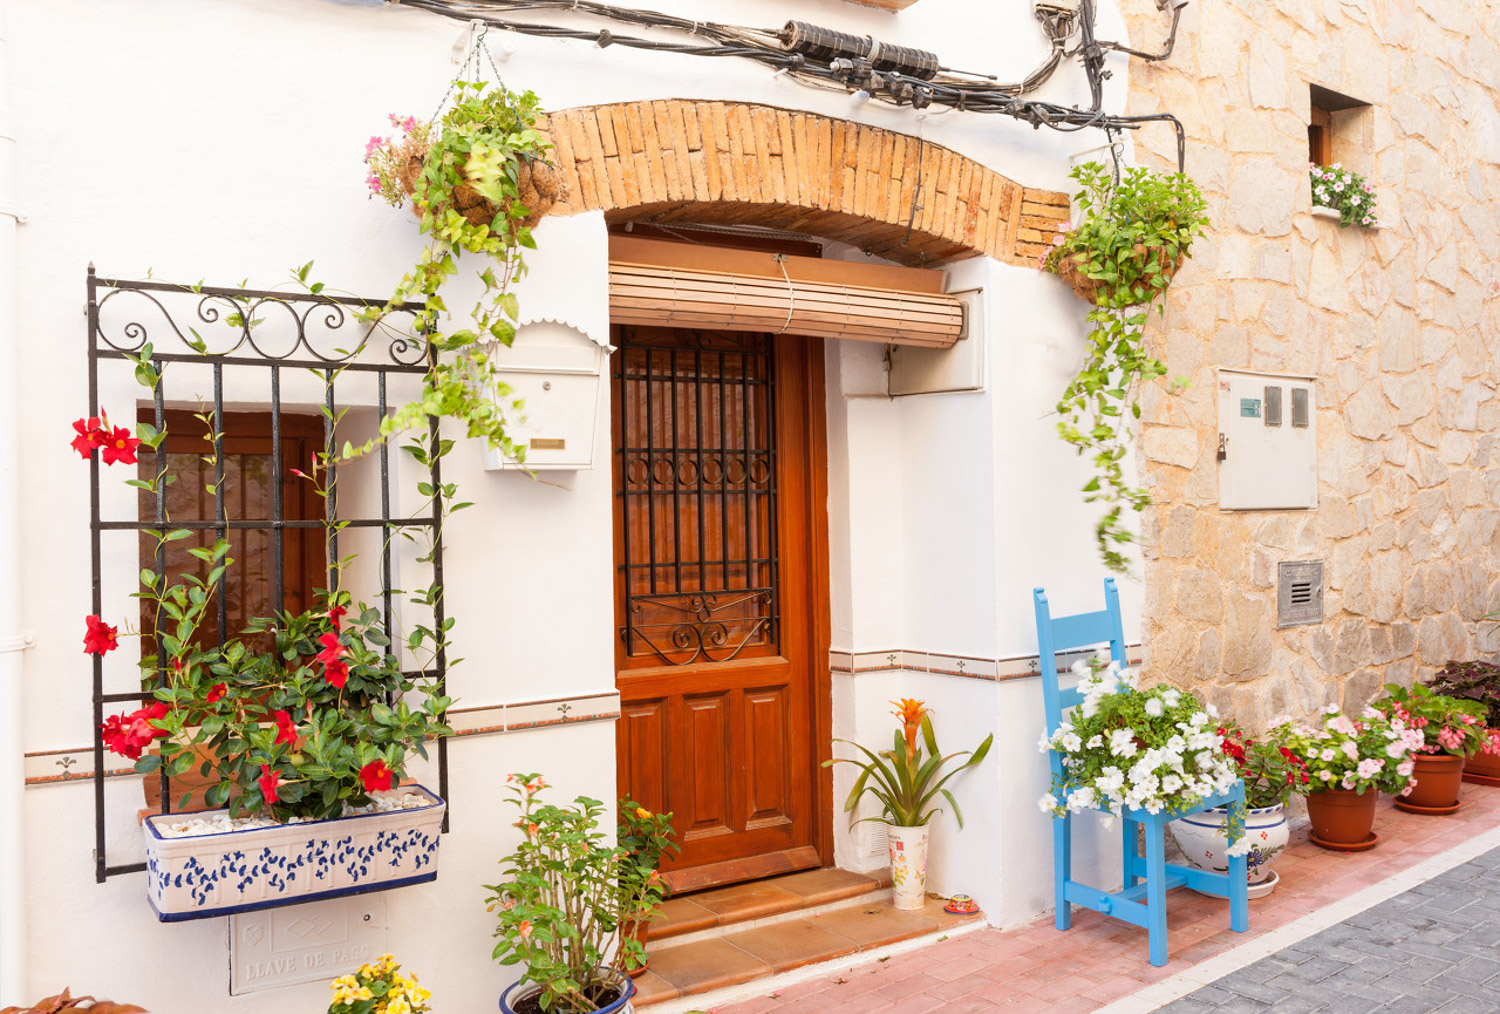
3. Put perlite into the seedling box, dig a small hole in the perlite, and put the Clematis branches that need cutting in
(author: drunk too much source: stepping on flowers)
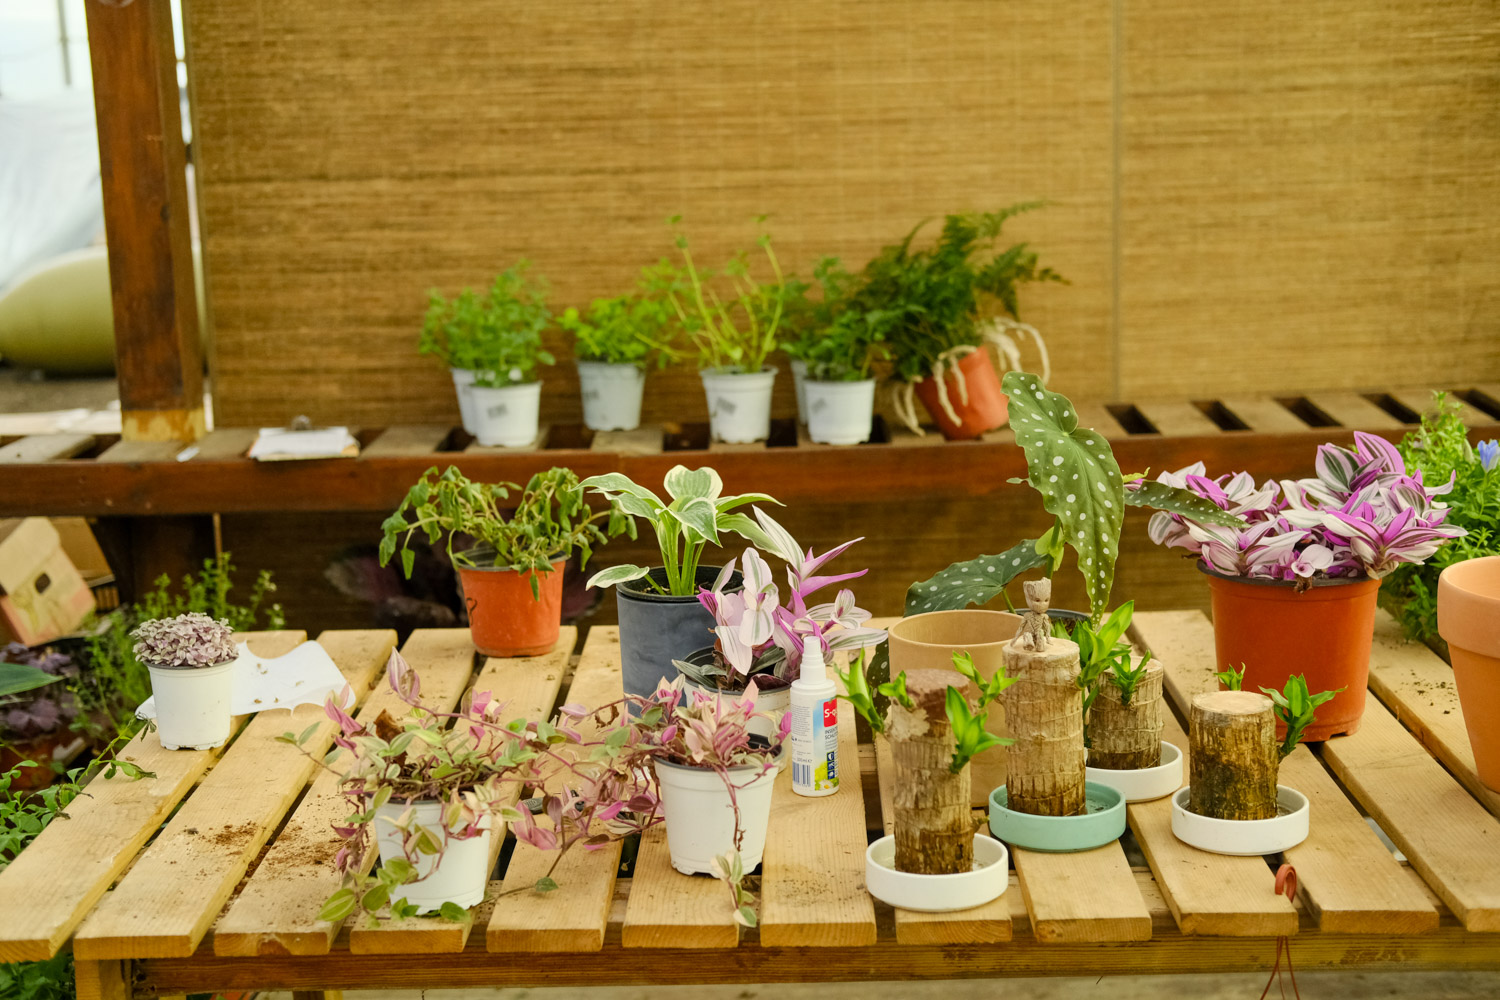
4. When all the branches are planted, spray water towards the seedling box with a watering can, so that the root of the branch can quickly integrate with perlite
(author: drunk too much source: stepping on flowers)
5. Cover the transparent cover and place the seedling box at the ventilated scattered light for maintenance. Do not direct sunlight, otherwise it is easy to cause the branches to die from suffocation. Flower friends without seedling box can also put a plastic bag on it to prevent water evaporation

(author: drunk too much source: stepping on flowers)
6. Open the cover and change the air every two days. At the same time, spray a little vitamin B solution on the leaves with a watering can, which can not only ensure that the leaves are wet, but also promote rooting
(author: drunk too much source: stepping on flowers)
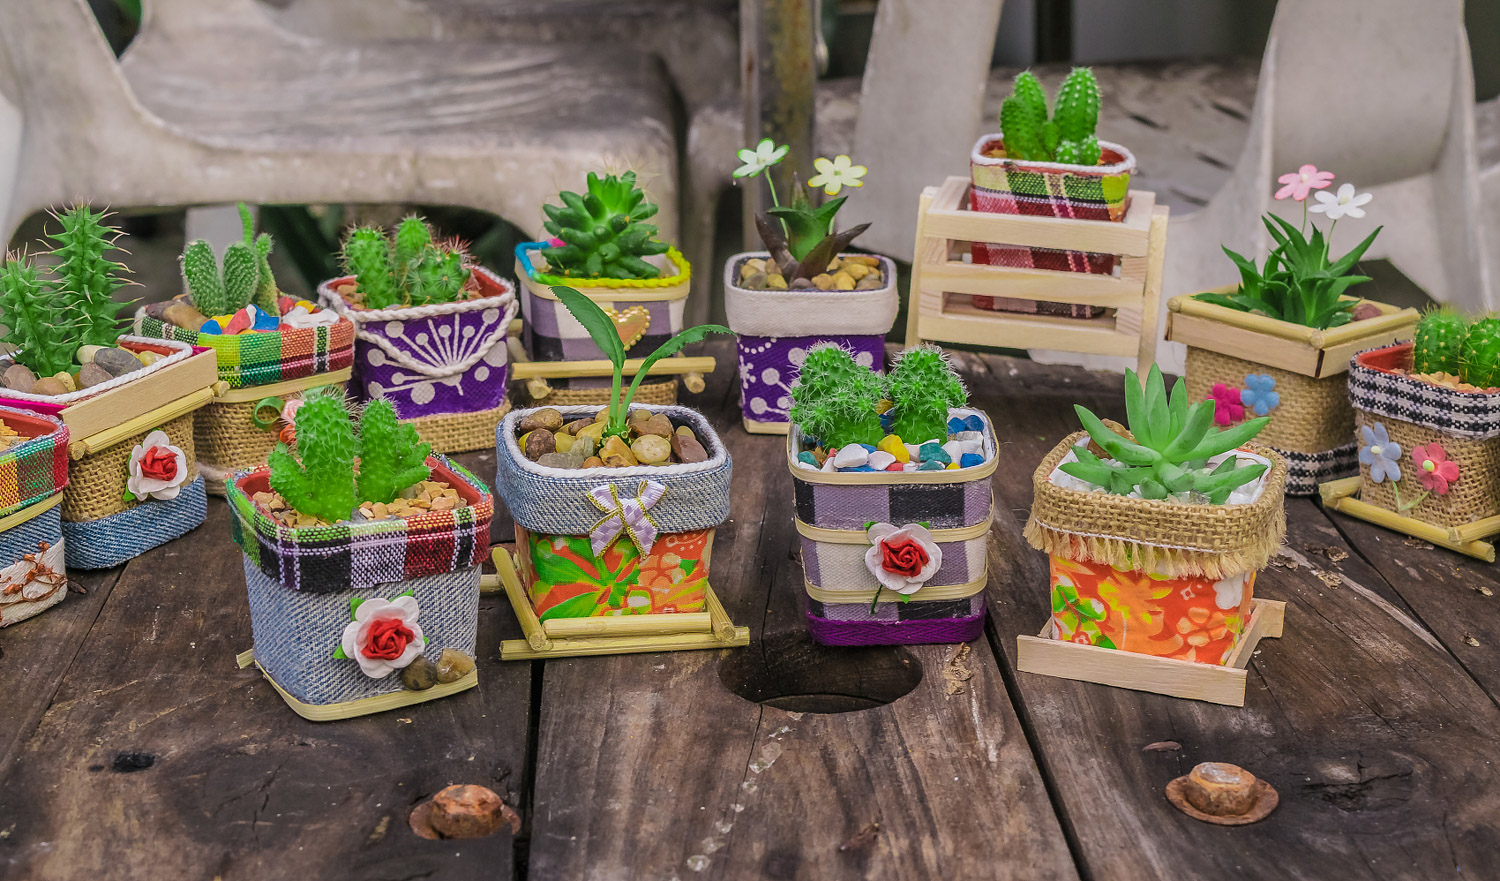
7. When the white root system is exposed from the bottom of the small box of the seedling box, it can be transplanted into the flower pot. The transplanted soil can be mixed evenly with perlite, vermiculite and peat soil in the ratio of 1:1:1 as nutrient soil. Later, it can be placed in the place where the sun is direct, and the watering can see dry and wet
(author: sam_zhou source: Tibetan Flower Pavilion)
2. Cuttage Prunus deltoides
Operation steps
1. You can buy a piece of flower mud from the florist. According to the needs of cutting, you can cut small cutting pieces with a length of 2cm, a width of 2cm and a height of 4cm. Flower clay block has good water absorption, moisture retention and air permeability, which is very suitable for cutting
(author: forgotten angel)
2. Select the branches that have been lignified or semi lignified in that year, with a length of about 10-15cm, leave 2-3 leaves on the upper part, cut the lower part of the branches with a 45 degree oblique knife, and soak them in rooting water
3. Insert the treated branches of Prunus deltoides into the flower mud block, and the insertion depth is about 2 / 3 of that of the flower mud block, and then soak the flower mud block in water. Before cutting, soak in 1% rooting water for about 1 hour
(author: forgotten angel)
4. Put the cuttings in a tray, cover them completely with plastic bottles, and place them in a place with sufficient scattered light. Pay attention to moisture and ventilation. Check the flower mud frequently. If the flower mud is dry and causes the leaves to wilt, pour some water quickly. Only when the leaves are intact and the branches with spirit can take root and survive
(author: forgotten angel)
5. In about 30 days, white roots will be found to wear out from the flower mud, which proves that the cutted triangular plum has survived

(author: forgotten angel)
6. At this time, the flower mud can be put into the flowerpot together with the rooting plum. The flower mud can be directly put into the flowerpot without digging it out and planting it like sand, so as to avoid the damage to the root system of the plum. After that, applying fertilizer every 7-10 days can promote the growth of triangular plum

3. Cutting African Viola
Operation steps
1. Healthy leaves can be selected from the mother plant of African pansy for cutting
(author: Jinling Dragon King, source: African Viola bar)
2. Cut the lower end of the picked African pansy leaves at an angle of 45 ° to form an inclined plane, then soak the lower end of the leaves in rooting water for about 3 seconds and take it out to dry
(author: Jinling Dragon King, source: African Viola bar)
3. While drying the leaves, you can fill the flowerpot with sand and then pour a little water
(author: Jinling Dragon King, source: African Viola bar)
4. Insert the dried African pansy leaves into the sand and place them in a place with sufficient scattered light for maintenance

(author: Jinling Dragon King, source: African Viola bar)
5. In about 20 days, the cutted African pansy can take root, and then transplant the rooted African pansy into the flower pot. The soil is mainly rotten leaf soil and pine needle soil, which can be placed on the East and West Yangtai to receive scattered light
(author: Jinling Dragon King, source: African Viola bar)
4. Cuttage Hydrangea
Operation steps
1. Select cuttings. For cuttings, you must choose semi lignified branches that grow healthily, look dark green and feel a little hard, and those close to the root are the best. The best choice for cutting branches is to cut them off in the morning, and then brush off the soil and covering on the branches with a small brush

2. Cut the cuttings with scissors. At least one node shall be reserved on each branch, and the lower end of the node shall be at least 3-5cm long. It is best to retain a pair of leaves, which can be conducive to photosynthesis and promote rooting
3. In order to make Hydrangea take root as soon as possible, you can put the trimmed branches in the rooting powder solution for about 3 seconds, or soak willow branches in water to make rooting water
4. The cutting soil can be mixed with peat soil and perlite in the ratio of 1:1. Fill the seedling box with soil, then put it in a tray filled with water and soak it for more than 30 minutes to ensure that the soil in the seedling box is completely wet and there is no dry place

5. Insert 3-5cm at the end of Hydrangea branch node into the soil, and try not to contact each other between the leaves, otherwise it is easy to rot and infect the leaves

6, put the seedling box in the place where the sunlight can not be directly and well ventilated. During this period, spray 1-2 times a week, keep the soil moist, and begin to grow roots in about 3 weeks. p>

7. The method to judge whether it takes root is to gently pull it up by hand. If you feel resistance, it indicates that Hydrangea has grown roots and can be transferred from the seedling box to the flower pot. After that, it is cured in a semi shady environment to keep the basin soil moist. Alum fertilizer water can be poured every 10-15 days

5. Cutting big rock Tung
Operation steps
1. Use a knife to cut a leaf from the mother plant of big rock Tung, and it is best to cut it obliquely at 45 °

(author: Oolong ball} source: stepping on flowers)
2. As usual, cut the big rock Tung leaves into small pieces

(author: Oolong ball} source: stepping on flowers)
3. The soil for cutting can be sand, vermiculite or peat soil. Bury the leaves of the big rock Tung, the height of which is about 1 / 2 of that of the leaves, then cover the cover to moisturize and place it where the scattered light can shine

(author: Oolong ball} source: stepping on flowers)
4. About half a month later, the cutting leaves of big rock Tung can take root. After rooting, it can be transferred to the flowerpot and placed in the living room or Dongyang terrace with good light scattering for maintenance. There are a lot of fluff on the leaves of big rock Tung. When watering and fertilizing, pay attention not to touch the leaves, otherwise the leaves are easy to rot

(author: Oolong ball} source: stepping on flowers)
The cutting method introduced by Huahua
Is it particularly simple
You might as well take advantage of the hot weather
Let's have a wave of cutting< span>

 jackfruit
 snake plant
 hibiscus
 hydrangea
 lavender
 Green roses climb al...
 If you don't pay att...
 Management of four g...
