Planting techniques and cultivation of pitaya fruit

Author:Liu Huilin Date:2022-03-30 07:44

Prepare a pitaya, peel off the skin, take out the pulp inside, crush it in water, and separate the pulp and seeds with rinsing method until the white film on the seeds disappears. Take out the seeds to dry and sow them on the wet soil. Keep the soil moist at ordinary times. After the seeds sprout, bask in the sun more. Divide the plants with the growth of pitaya, set up supports, apply thin fertilizer frequently at ordinary times, pollinate after the Pitaya blooms, and wait for the plants to bear fruit!

1: Seed treatment

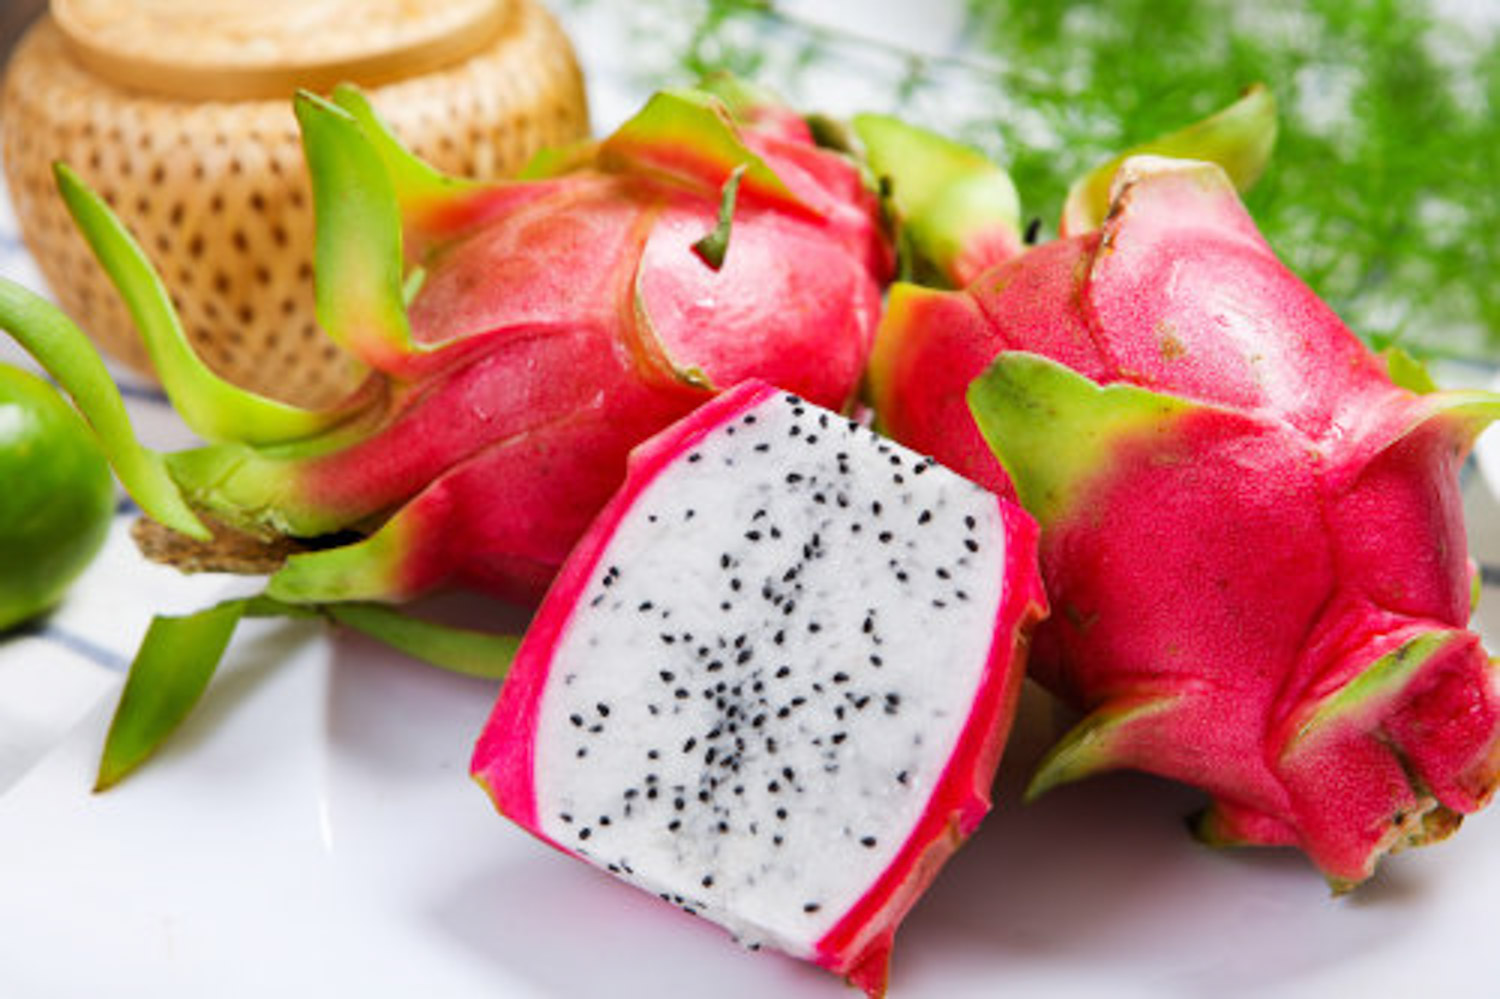
Prepare a pitaya fruit, peel off the outer skin of the pitaya fruit, take out the inner pulp, throw it into the water, crush it by hand, make a preliminary separation between the pulp and the seed, then filter out the large pulp by rinsing method, and continue rinsing the remaining seeds until the white film on the seeds disappears, and put the seeds on the plastic cover to dry

2、 Sowing and planting

Prepare the pot soil, spray the soil wet, and then sprinkle the dried pitaya seeds evenly on the soil surface, and gently cover a thin layer of soil. If you don't know well, you can not cover the soil. Keep the soil moist at ordinary times. Pitaya can germinate one after another in about 3 days. After germination, you should often bask in the sun to prevent the seedlings from growing in vain
pitaya

3、 Ramet erection

When the seedlings of Pitaya are full in the flowerpot, they can be transplanted into the pot. When transplanting separately, it is best to plant 2-4 seedlings in a flowerpot. In the future, only the strongest one will be retained by the way of survival of the fittest. With the growth of the plant, a bracket should be set up in the pot to make the Pitaya grow vertically

4、 Pruning and fertilization

When the Pitaya grows to 4-5 branches, prepare a clean knife and cut off the top 3-5cm of the branches to remove the top advantage and promote the rapid branching of the Pitaya. Usually, bury some bone meal, chicken manure, cake fertilizer and cooked fat at the edge of the basin to supplement nutrients for the Pitaya
pitaya

5、 Pollination results

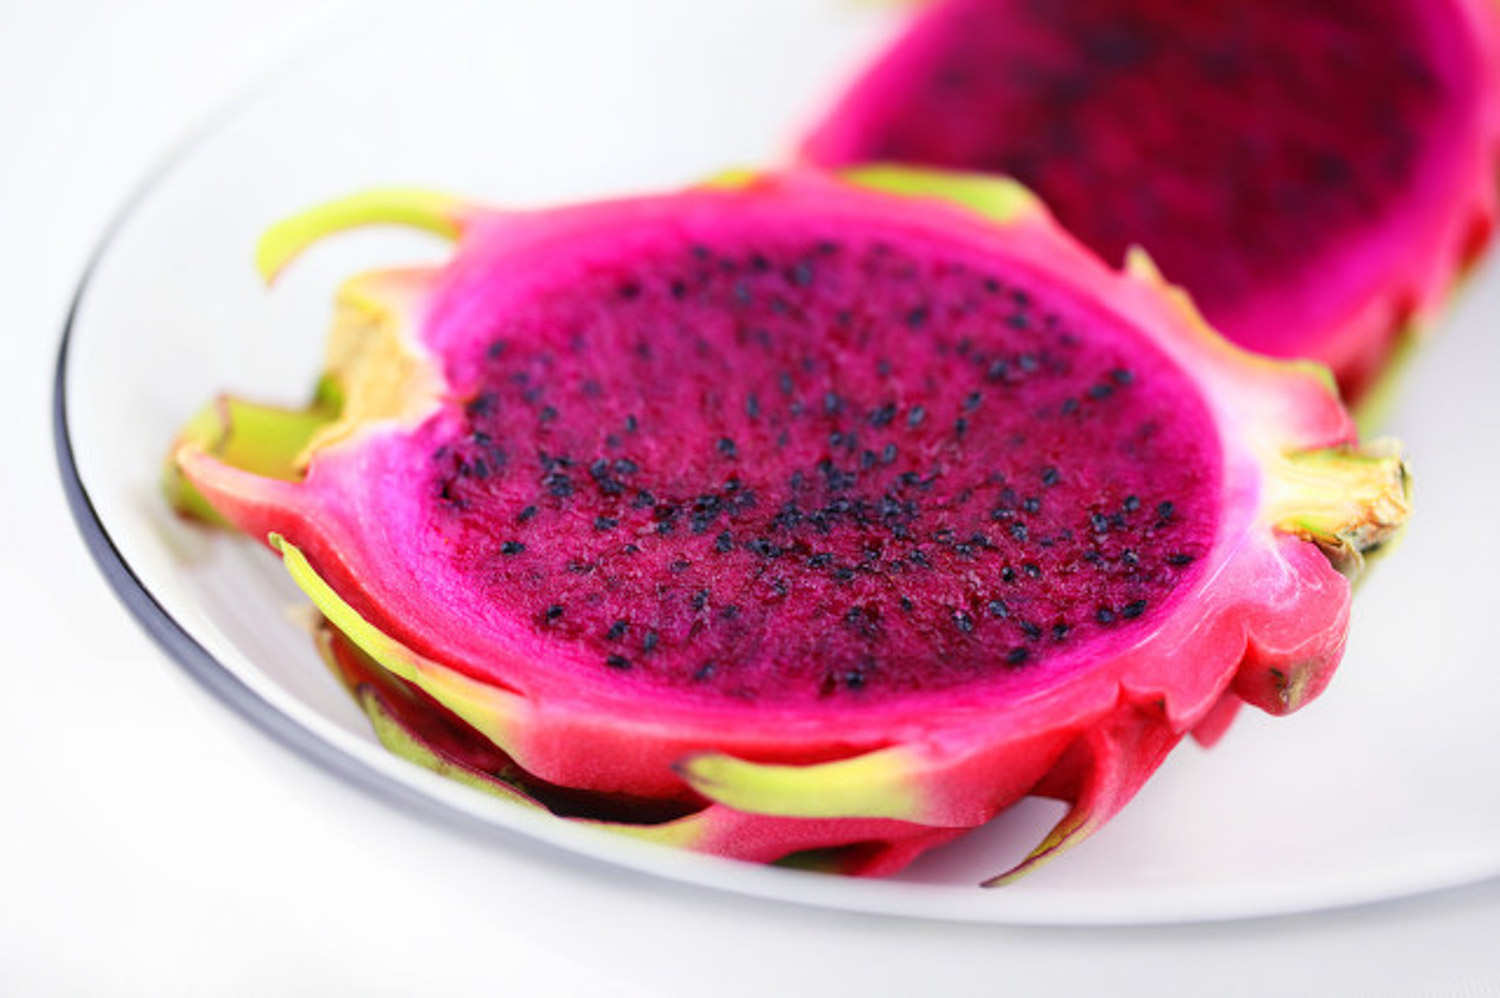
For domestic pitaya, you must bask in the sun to ensure sufficient fertilizer and water. After the plant blooms, dip the pollen on the stamen with a brush and cotton swab, and touch the stigma on the pistil. After pollination, the plant can bear fruit. When the fruit grows pink, it means that the Pitaya is mature and can be harvested
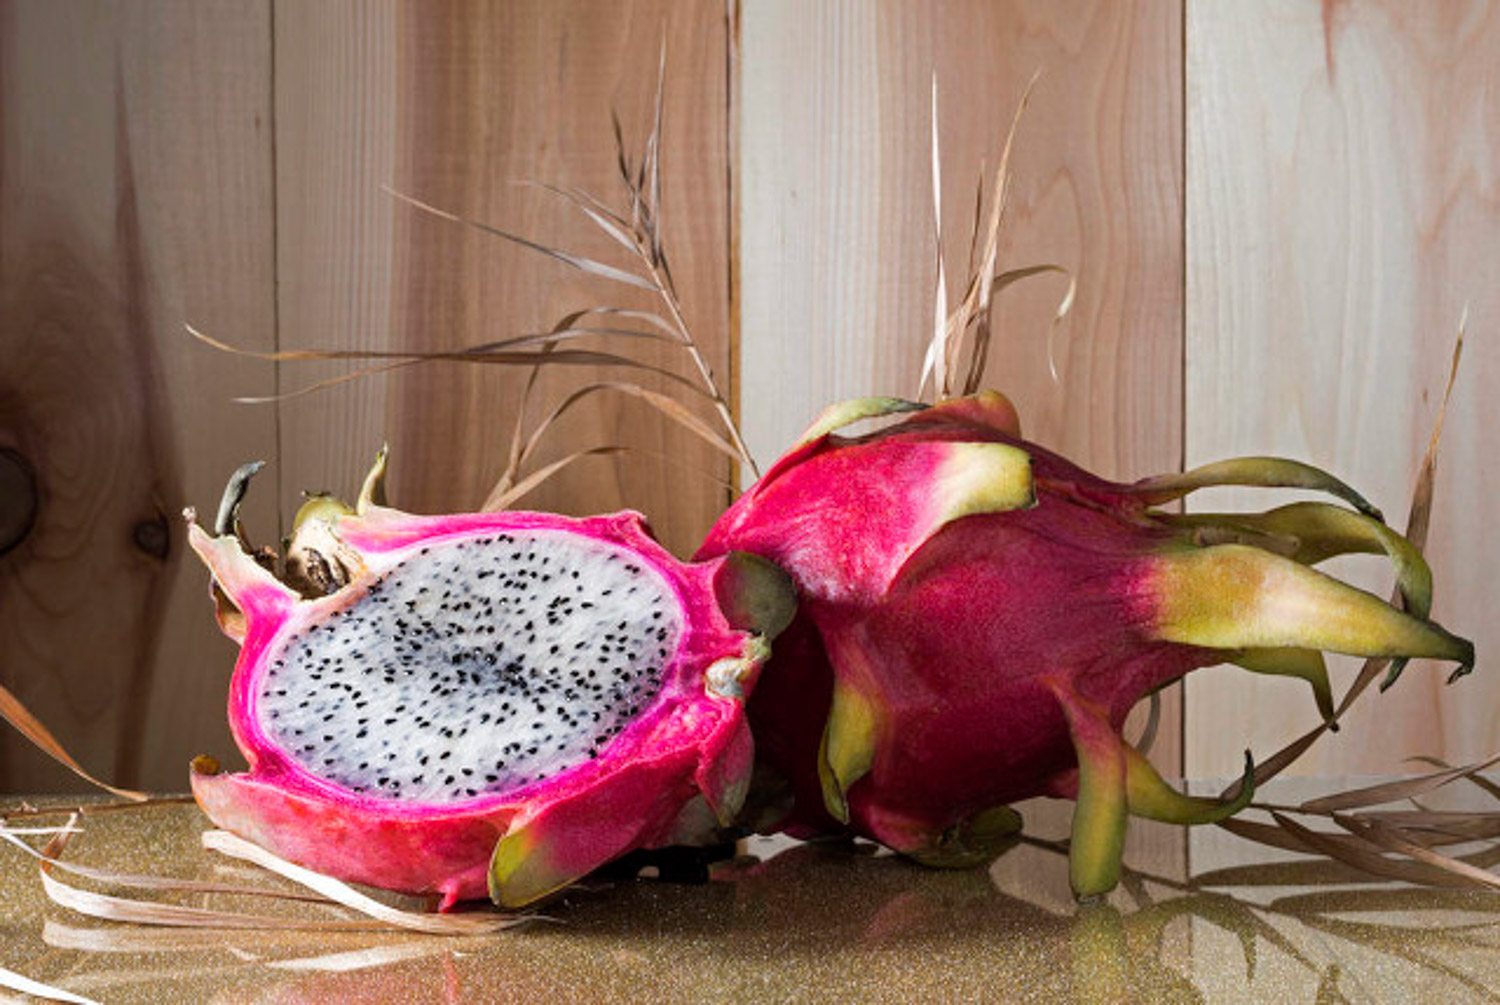
pitaya

© Copyright Theflowerwiki.Com. All Rights Reserved. Sitemap DMCA Privacy Policy Novelhall Youbrief
Top

Planting techniques and cultivation of pitaya fruit

Liu Huilin
2022-03-30 07:44
Description Prepare a pitaya, peel off the skin, take out the pulp inside, crush it in water, and separate the pulp and seeds with rinsing method until the white film on the seeds disappears. Take out the seeds to dry and sow them on the wet soil. Keep the soil moist at ordinary times. After the seeds sprout, bask in the sun more. Divide the plants with the growth of pitaya, set up supports, apply thin fertilizer frequently at ordinary times, pollinate after the Pitaya blooms, and wait for the plants to bear fruit!

1: Seed treatment

Prepare a pitaya fruit, peel off the outer skin of the pitaya fruit, take out the inner pulp, throw it into the water, crush it by hand, make a preliminary separation between the pulp and the seed, then filter out the large pulp by rinsing method, and continue rinsing the remaining seeds until the white film on the seeds disappears, and put the seeds on the plastic cover to dry

2、 Sowing and planting

Prepare the pot soil, spray the soil wet, and then sprinkle the dried pitaya seeds evenly on the soil surface, and gently cover a thin layer of soil. If you don't know well, you can not cover the soil. Keep the soil moist at ordinary times. Pitaya can germinate one after another in about 3 days. After germination, you should often bask in the sun to prevent the seedlings from growing in vain

pitaya

3、 Ramet erection

When the seedlings of Pitaya are full in the flowerpot, they can be transplanted into the pot. When transplanting separately, it is best to plant 2-4 seedlings in a flowerpot. In the future, only the strongest one will be retained by the way of survival of the fittest. With the growth of the plant, a bracket should be set up in the pot to make the Pitaya grow vertically

4、 Pruning and fertilization

When the Pitaya grows to 4-5 branches, prepare a clean knife and cut off the top 3-5cm of the branches to remove the top advantage and promote the rapid branching of the Pitaya. Usually, bury some bone meal, chicken manure, cake fertilizer and cooked fat at the edge of the basin to supplement nutrients for the Pitaya

pitaya

5、 Pollination results

For domestic pitaya, you must bask in the sun to ensure sufficient fertilizer and water. After the plant blooms, dip the pollen on the stamen with a brush and cotton swab, and touch the stigma on the pistil. After pollination, the plant can bear fruit. When the fruit grows pink, it means that the Pitaya is mature and can be harvested

pitaya

More
Related articles