Tulip seed ball preservation method, how to plant tulip seed ball

Author:Liu Huilin Date:2022-03-30 06:22

There are two ways to preserve tulip bulbs. In the north, they can be wrapped with newspapers and stored in a cool and ventilated place, while in the south, they should be stored in the freezer of the refrigerator. Before planting, soak it with carbendazim for disinfection, or drop a little gibberellin to promote germination. Use loose and fertile soil as the substrate, put the seed ball into the wheat, and pour a little water. When the leaves grow, they can see the light and fertilize.

1、 Preservation method

There are two kinds of tulip bulb preservation, one is normal temperature preservation, the other is low temperature preservation. As the temperature in the north is relatively low, it can be stored at room temperature. Wrap the seed ball with newspaper and put it in a cool and ventilated place. In the south, it needs to be preserved at low temperature. Put the seed balls in the refrigerator and control the temperature between 4-9 ℃
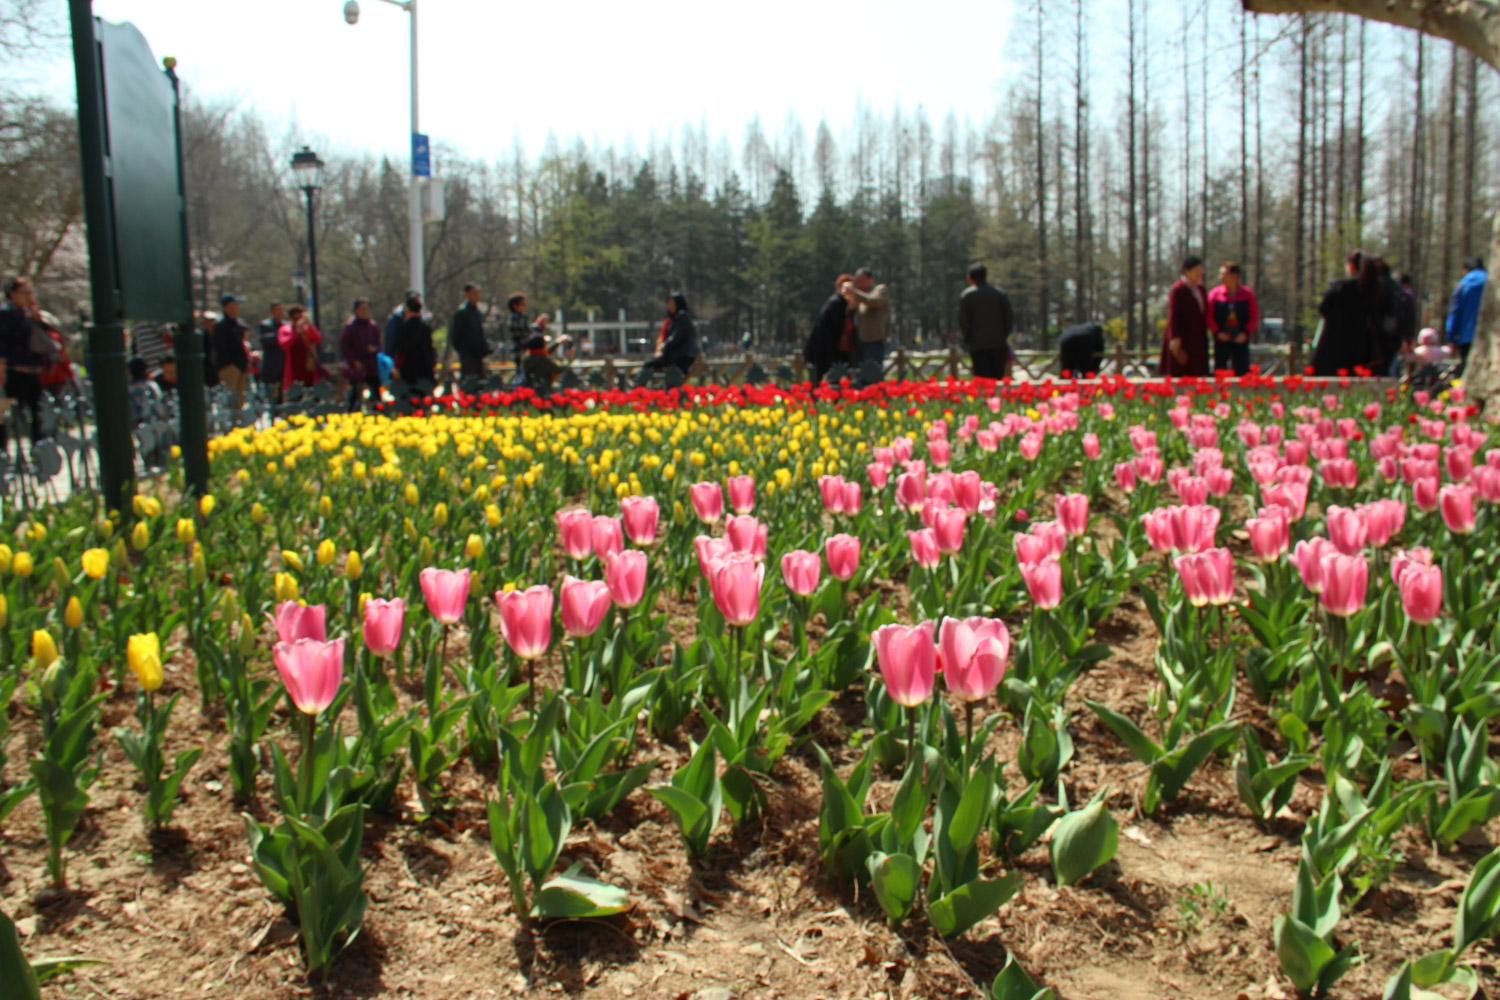
tulips

2、 How to plant

1. Vernalization disinfection: in order to ensure the healthy growth of seed balls, it usually needs to be treated at low temperature for a period of time and disinfected before sowing. Generally, it is soaked with carbendazim for about 30 minutes. After that, drop a few drops of gibberellin, which can promote its germination. After taking out the seed ball, peel off the outer grayish brown epidermis
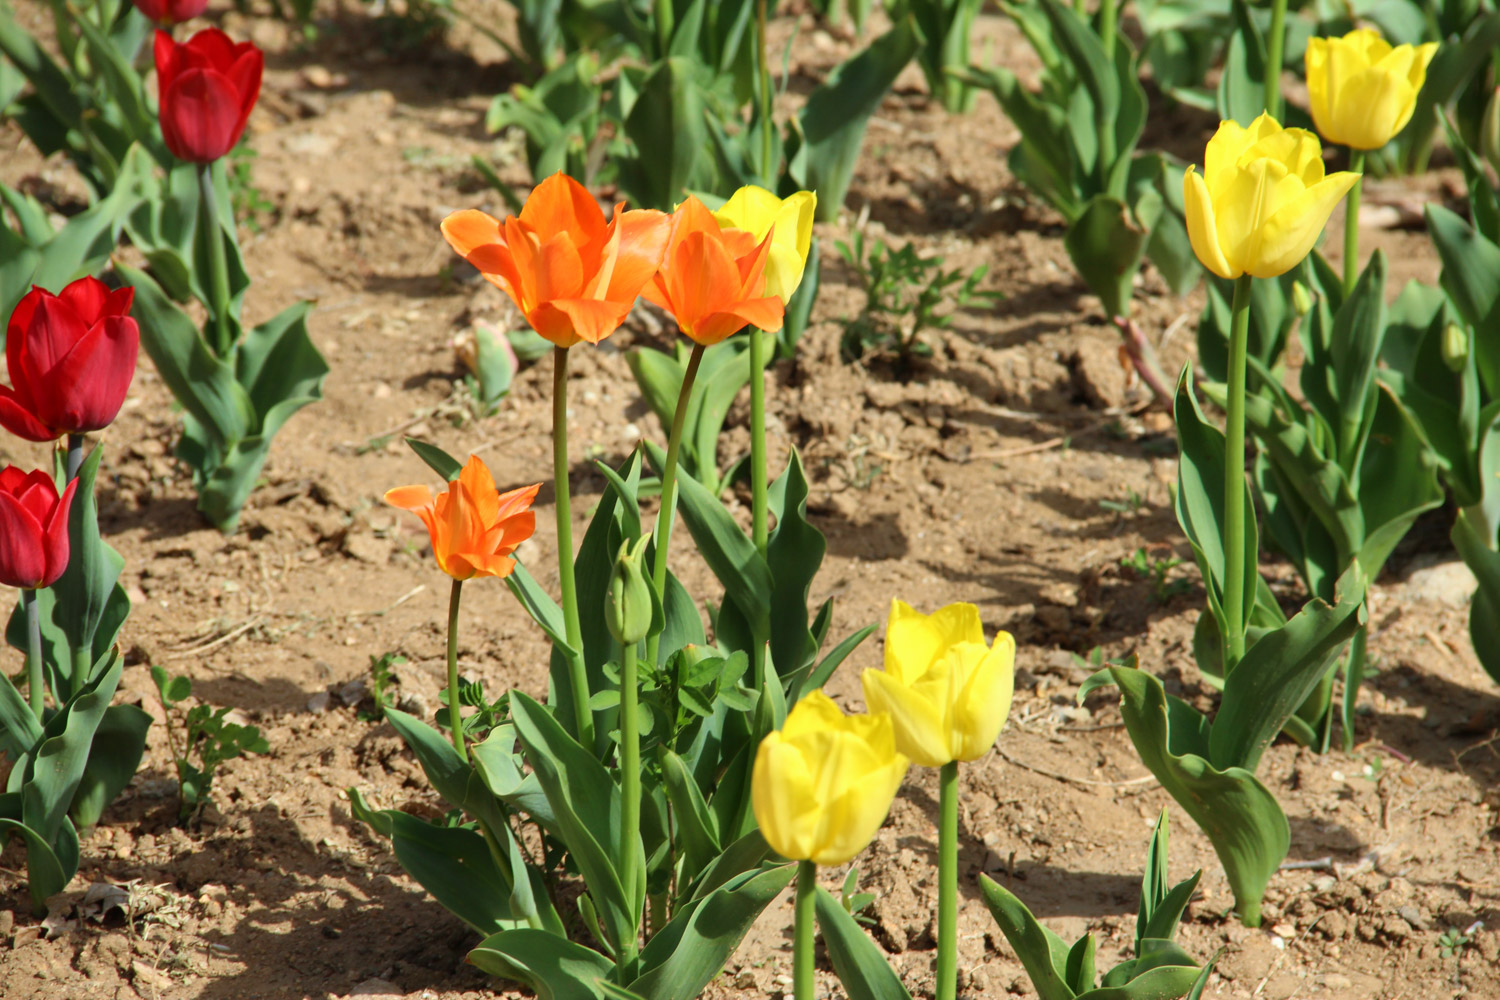
tulips

2. Soil preparation: like most plants, tulips prefer loose and fertile soil. Soft soil is very important for root growth, and good drainage can also reduce the possibility of decay. If basin soil is prepared by ourselves, garden soil, rotten leaf soil and sandy soil can be mixed, so as to create good growth conditions

3. Planting: prepare flower pots of appropriate size, lay broken tiles on the bottom, and cover them with prepared soil. Put the seed ball upright into it, and then start filling. After filling, gently compact it by hand. If the flowerpot is deep, you can also have several kinds, but don't put them together. It's no problem to plant three 20 cm deep pots, which can be placed according to a triangle
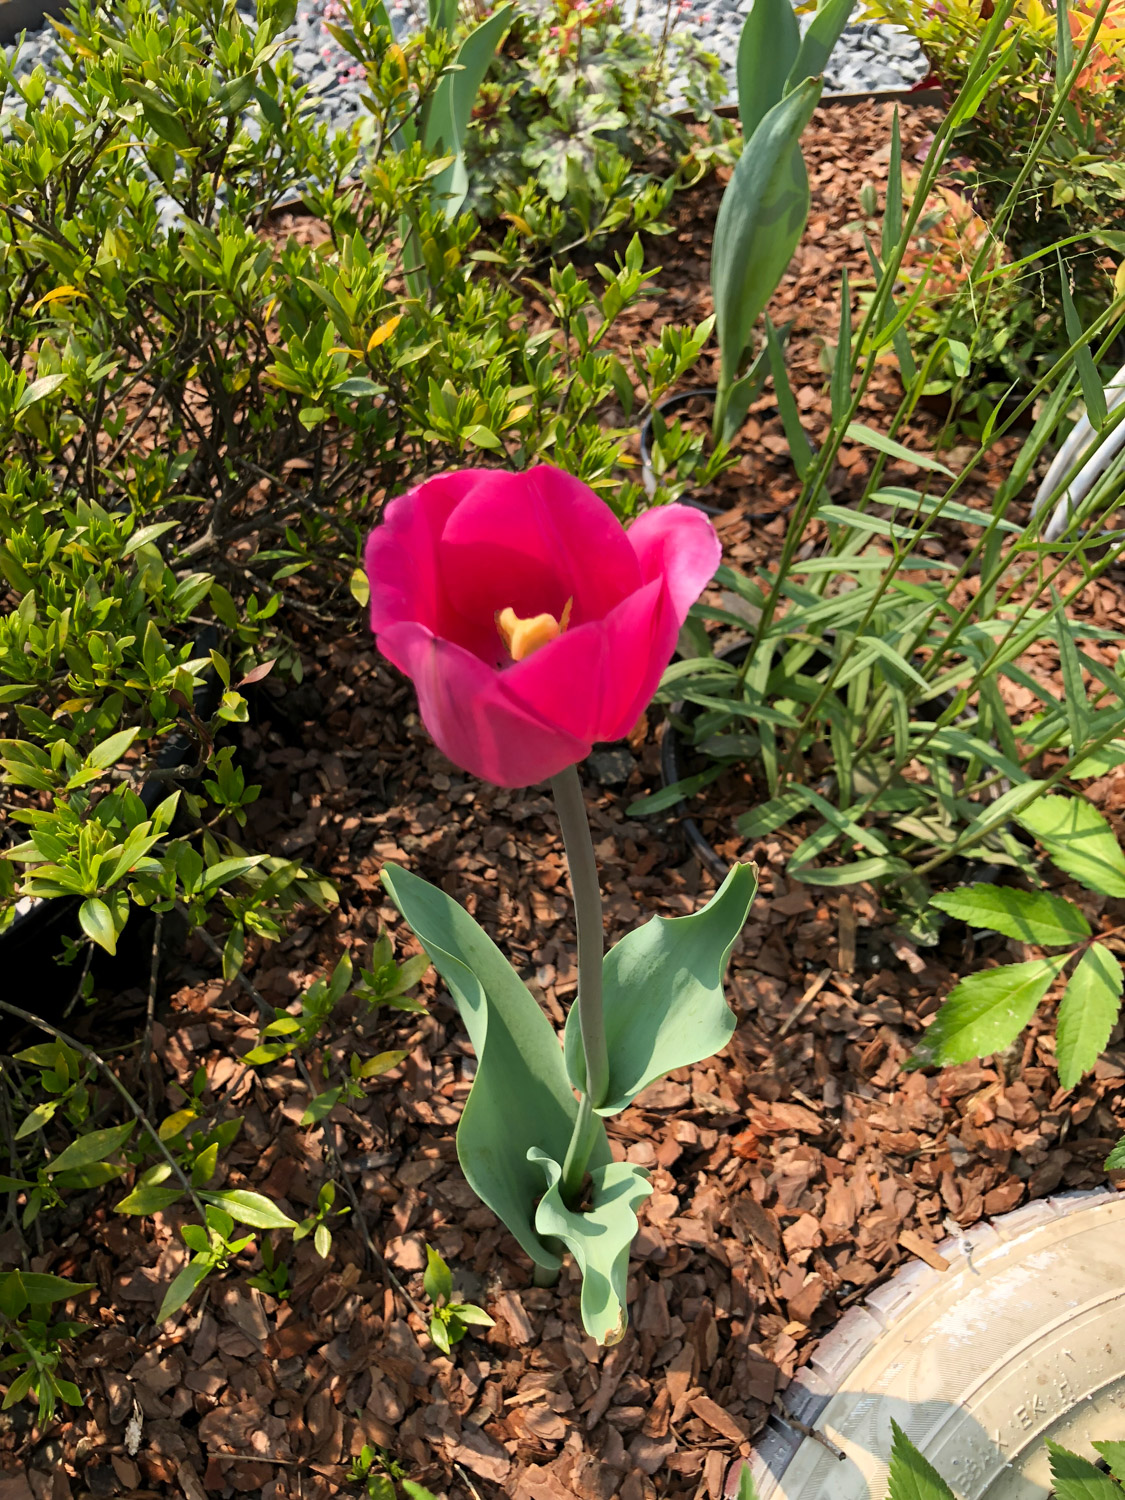
tulips

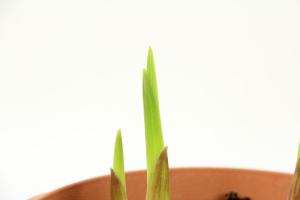
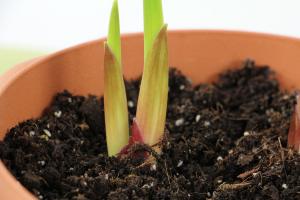
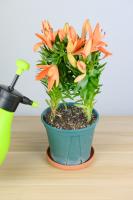
4. Subsequent curing: after the seed ball is embedded in the soil, it needs to be poured with an appropriate amount of water. The water should not be too much, especially there should be no ponding. Put the plant in a well ventilated place, pay attention to the temperature, and let it see light properly after germination. When the plant grows 3-4 leaves, it can be fertilized, which can promote the growth of branches and leaves

© Copyright Theflowerwiki.Com. All Rights Reserved. Sitemap DMCA Privacy Policy Novelhall Youbrief
Top

Tulip seed ball preservation method, how to plant tulip seed ball

Liu Huilin
2022-03-30 06:22
Description There are two ways to preserve tulip bulbs. In the north, they can be wrapped with newspapers and stored in a cool and ventilated place, while in the south, they should be stored in the freezer of the refrigerator. Before planting, soak it with carbendazim for disinfection, or drop a little gibberellin to promote germination. Use loose and fertile soil as the substrate, put the seed ball into the wheat, and pour a little water. When the leaves grow, they can see the light and fertilize.

1、 Preservation method

There are two kinds of tulip bulb preservation, one is normal temperature preservation, the other is low temperature preservation. As the temperature in the north is relatively low, it can be stored at room temperature. Wrap the seed ball with newspaper and put it in a cool and ventilated place. In the south, it needs to be preserved at low temperature. Put the seed balls in the refrigerator and control the temperature between 4-9 ℃

tulips

2、 How to plant

1. Vernalization disinfection: in order to ensure the healthy growth of seed balls, it usually needs to be treated at low temperature for a period of time and disinfected before sowing. Generally, it is soaked with carbendazim for about 30 minutes. After that, drop a few drops of gibberellin, which can promote its germination. After taking out the seed ball, peel off the outer grayish brown epidermis

tulips

2. Soil preparation: like most plants, tulips prefer loose and fertile soil. Soft soil is very important for root growth, and good drainage can also reduce the possibility of decay. If basin soil is prepared by ourselves, garden soil, rotten leaf soil and sandy soil can be mixed, so as to create good growth conditions

3. Planting: prepare flower pots of appropriate size, lay broken tiles on the bottom, and cover them with prepared soil. Put the seed ball upright into it, and then start filling. After filling, gently compact it by hand. If the flowerpot is deep, you can also have several kinds, but don't put them together. It's no problem to plant three 20 cm deep pots, which can be placed according to a triangle

tulips

4. Subsequent curing: after the seed ball is embedded in the soil, it needs to be poured with an appropriate amount of water. The water should not be too much, especially there should be no ponding. Put the plant in a well ventilated place, pay attention to the temperature, and let it see light properly after germination. When the plant grows 3-4 leaves, it can be fertilized, which can promote the growth of branches and leaves

More
Related articles