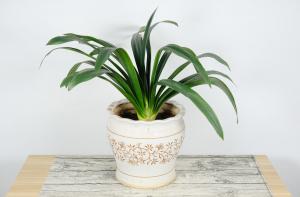
The crab claw orchid is so grafted that the flowers are gurgling
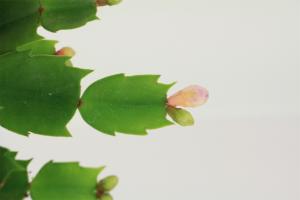
Every time you see other people's crab claw orchids piled up, do you envy it? In fact, it's not difficult to cultivate such a crab claw orchid, as long as you master the grafting method
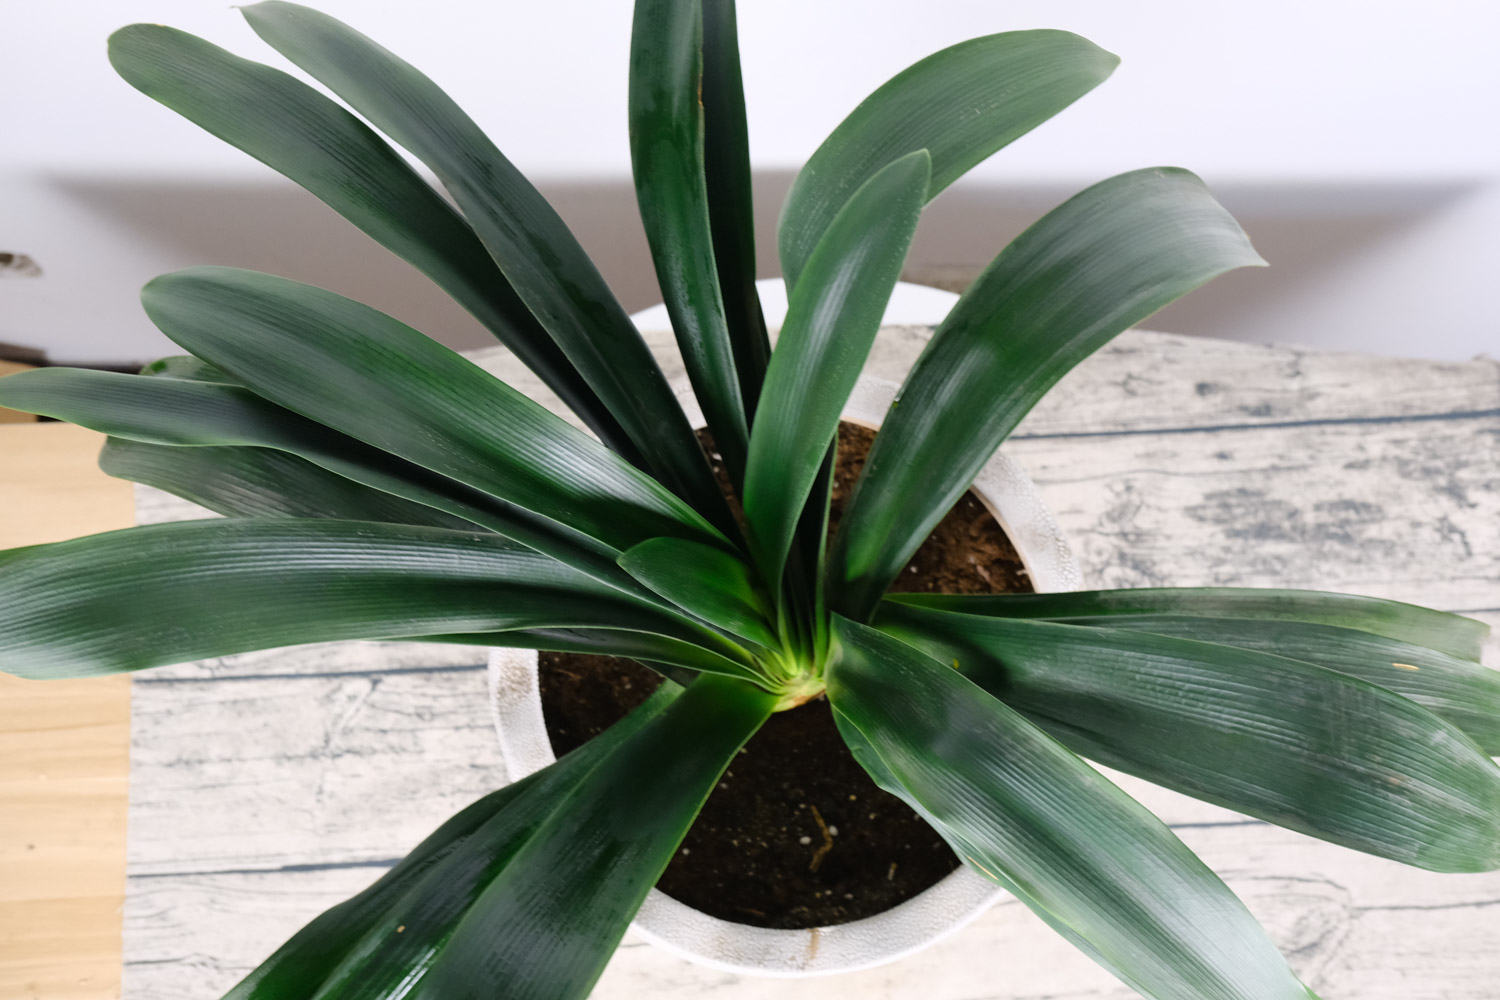
Grafting steps of crab claw orchid:
1. Select rootstock. Generally, the grafted crab claw orchid uses cactus as rootstock. Cactus can choose those varieties that are slightly cold resistant, so that they will not wilt in winter, and ensure that the leaves are plump and have sufficient nutritional growth
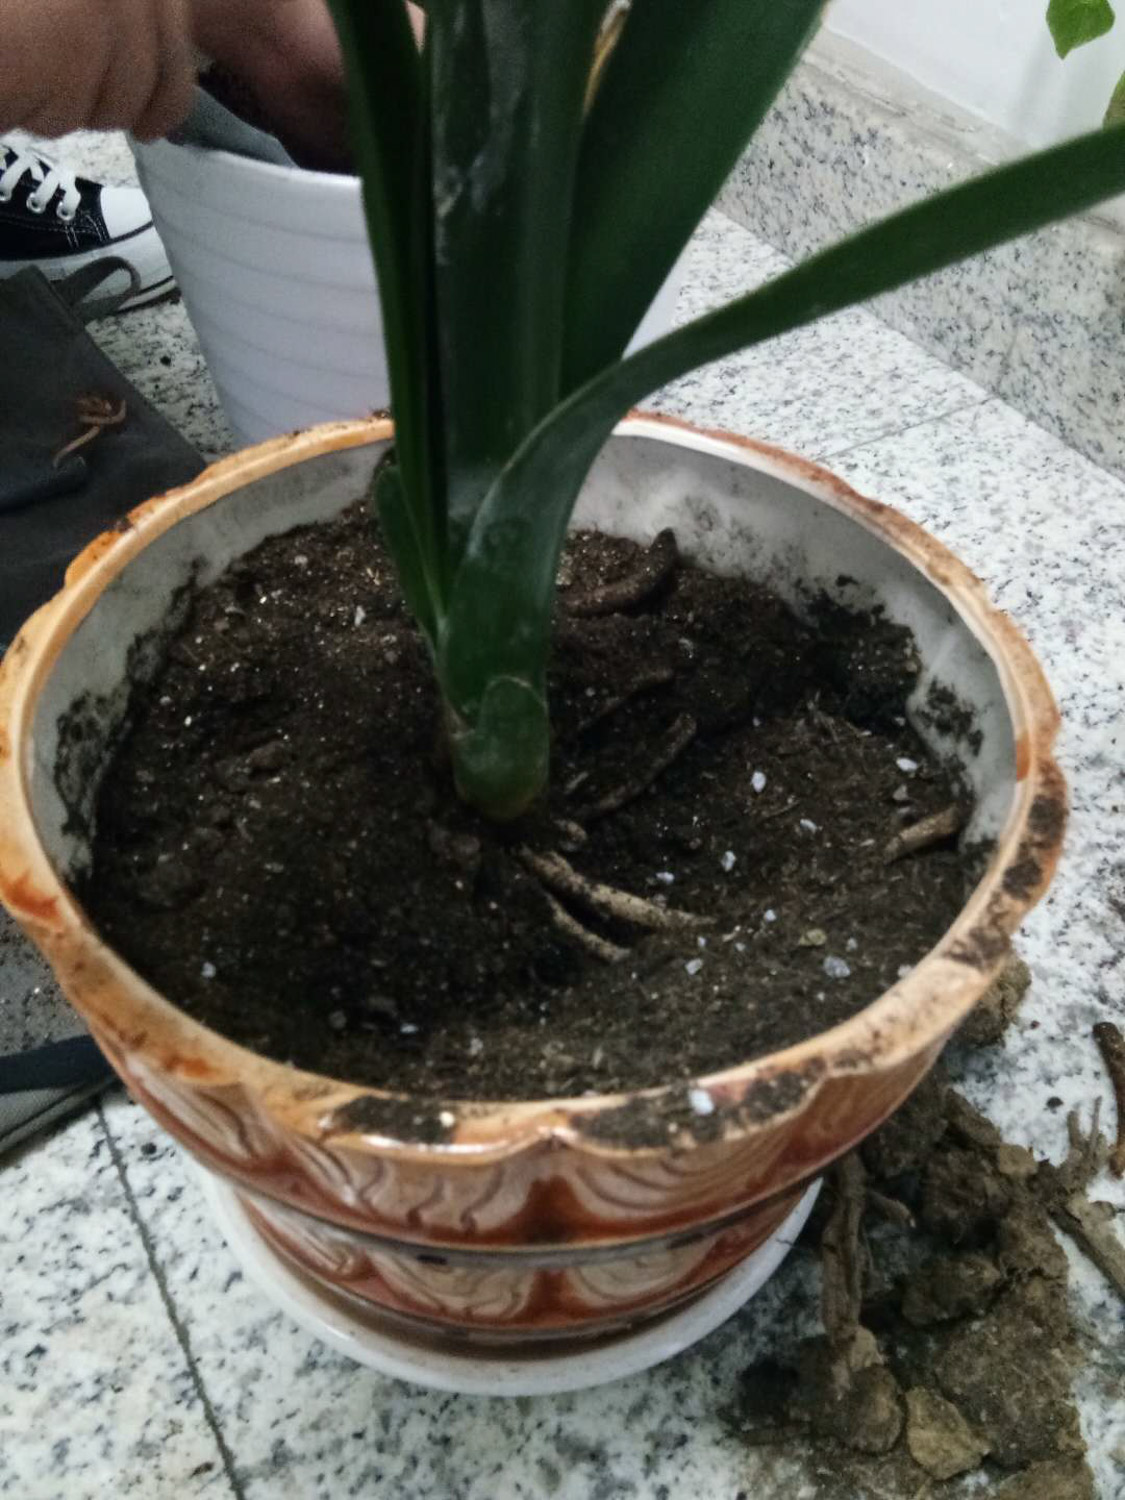
2. For the scion of crab claw orchid, it is best to choose the leaves that are slightly older and thicker. Such leaves are basically nutritious. Then use the sterilized knife to cut the lower end of the crab claw into a duck's beak shape
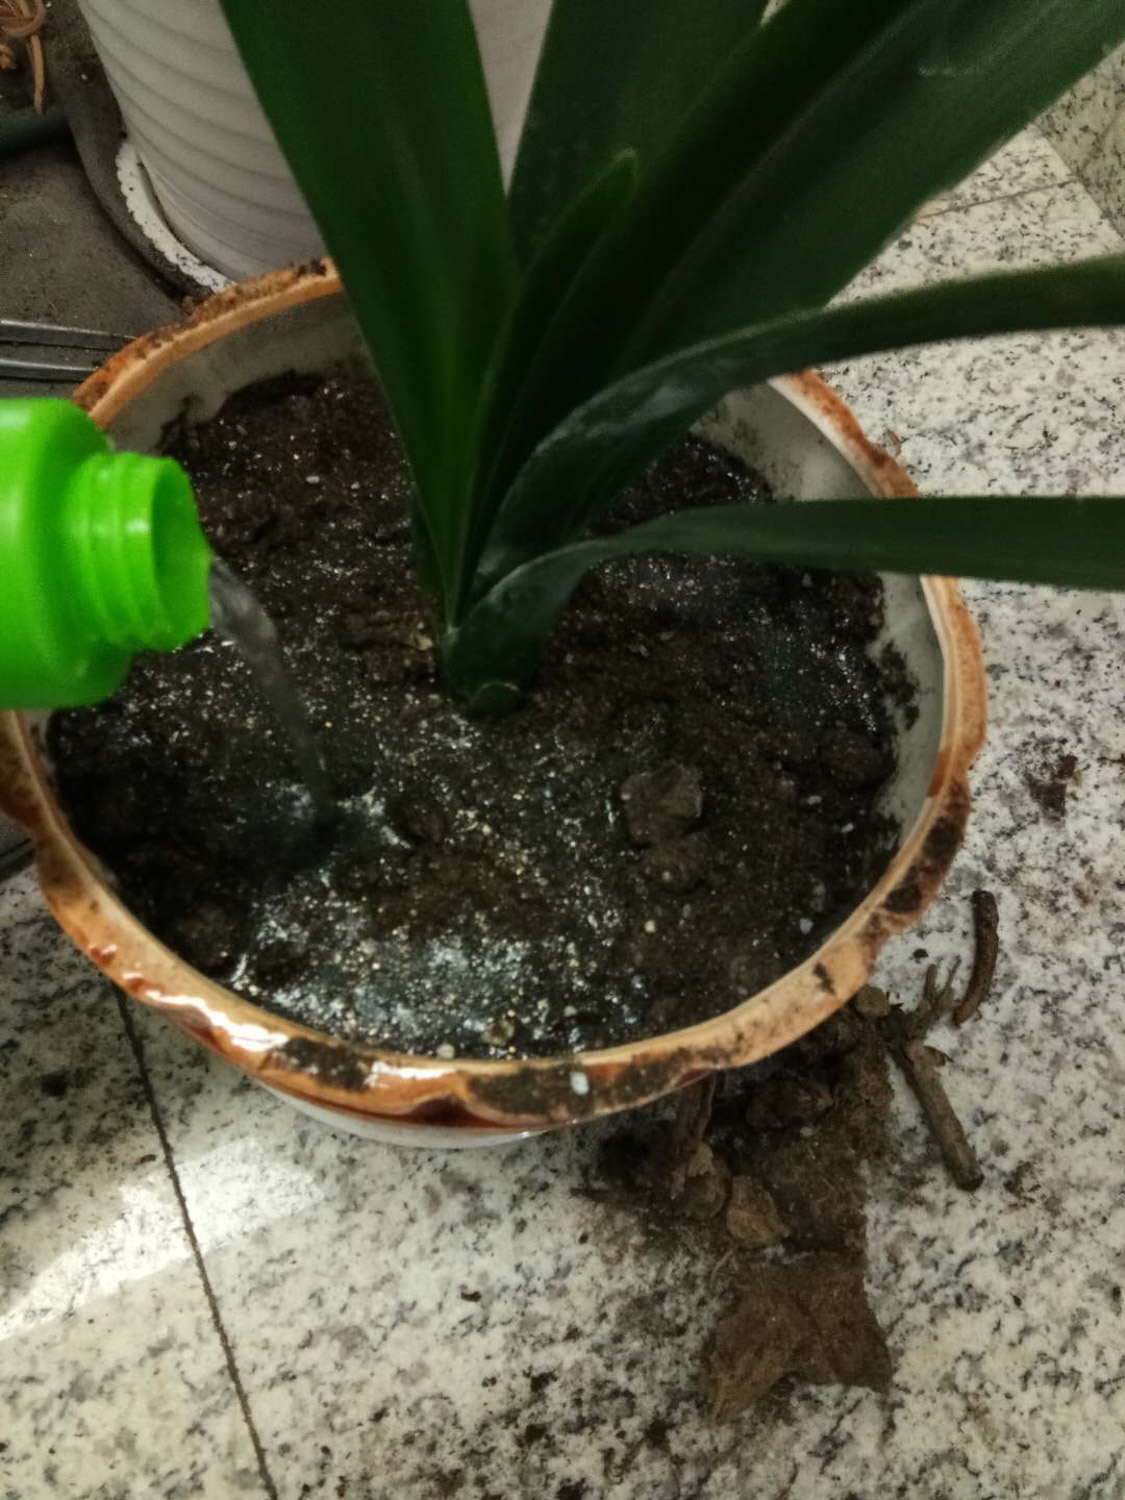
3. Prepare carbendazim solution and disinfect crab claw leaves and cactus rootstocks with carbendazim solution to prevent black rot during grafting
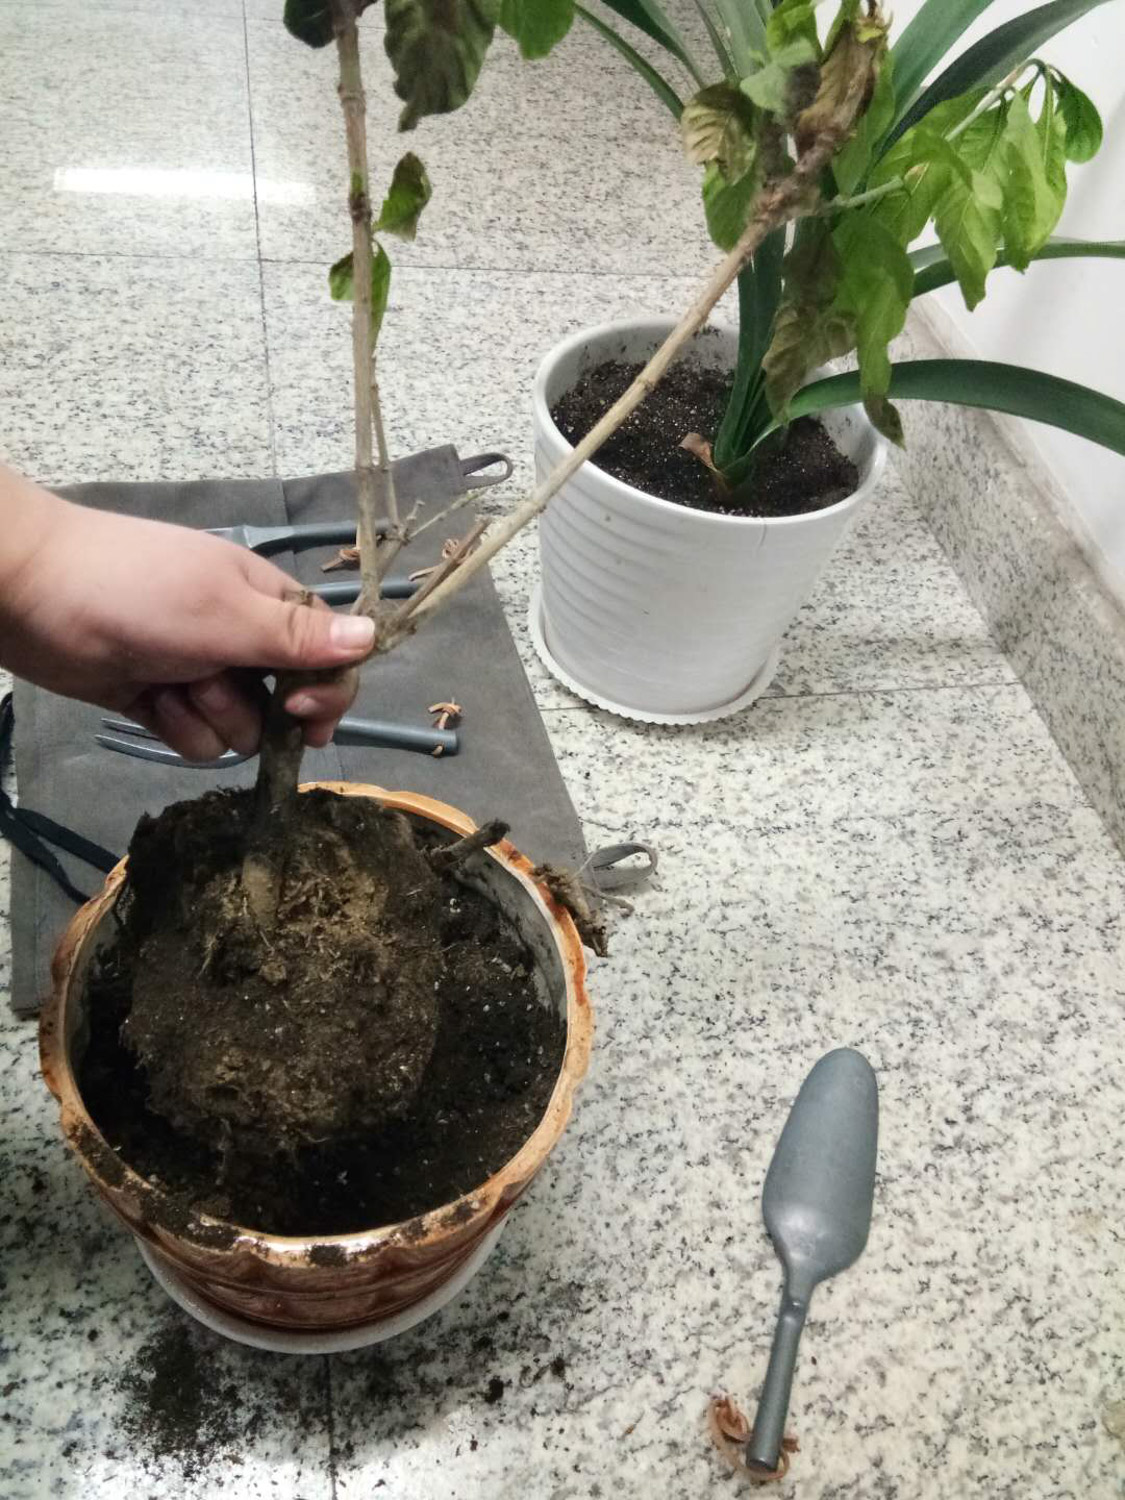
4. With a knife disinfected with carbendazim, cut horizontally at the top of the cactus leaf about 1-2cm, as shown in the figure
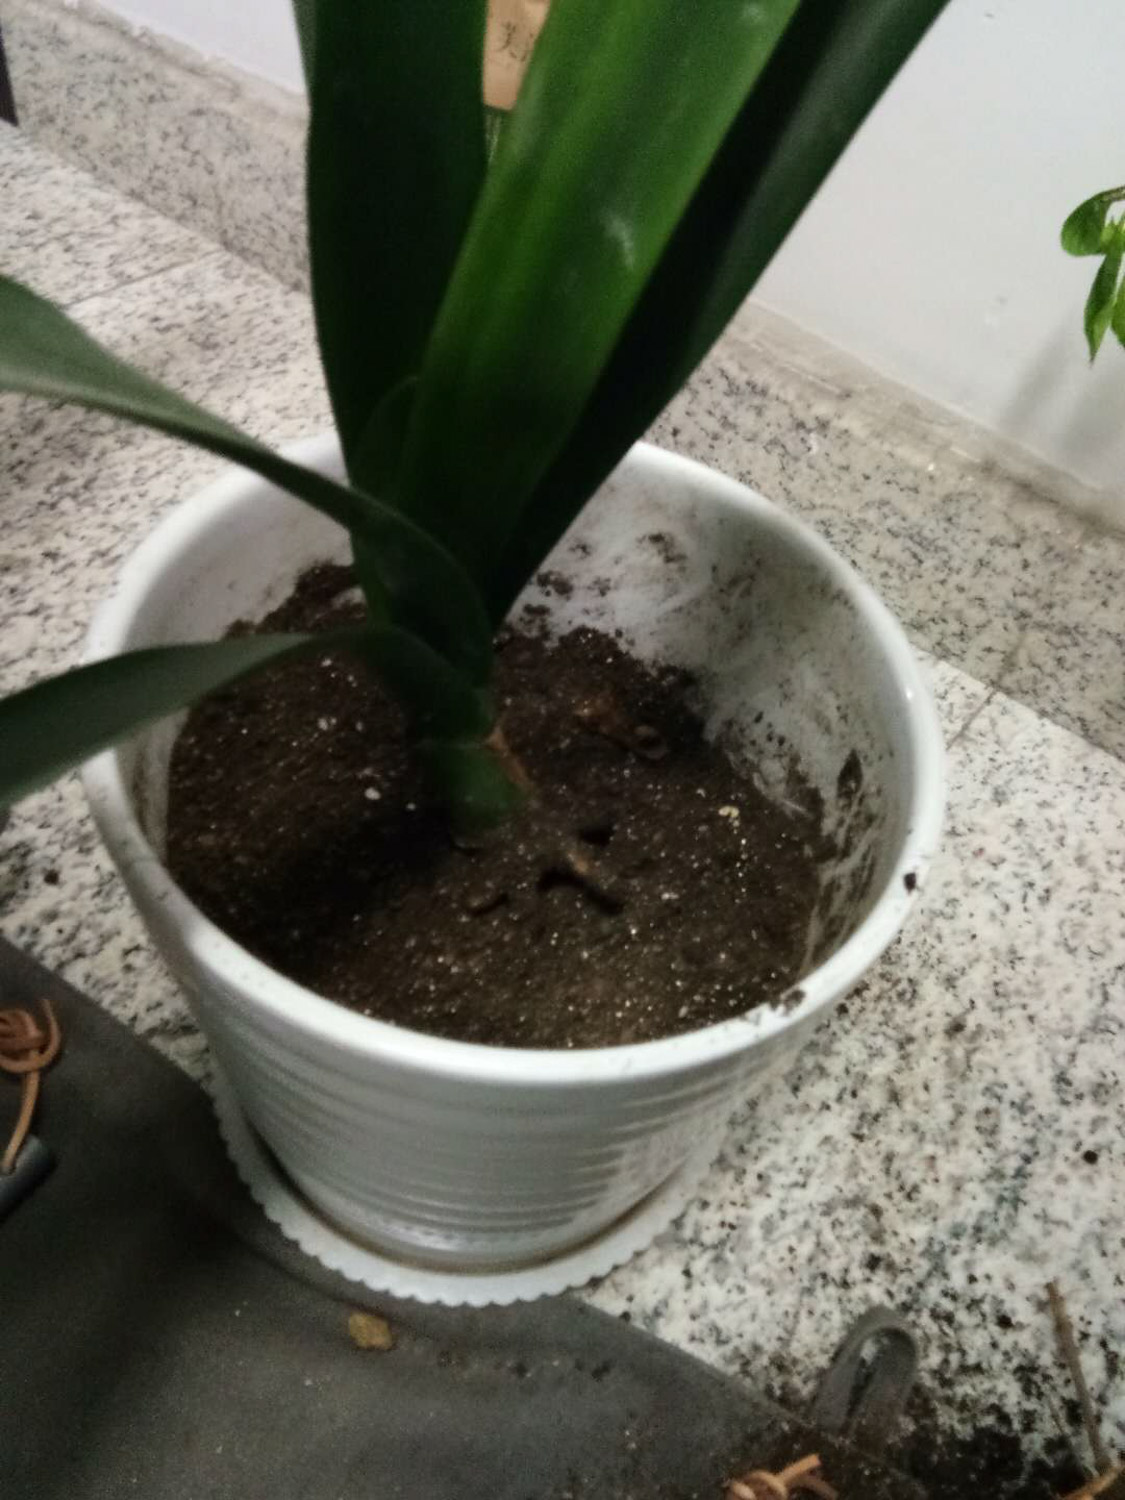
5. After a cross cut, a section of the cactus will appear. Use a knife to cross cut the cactus section again, and the depth is about 2 / 3 of the leaf of the crab claw orchid
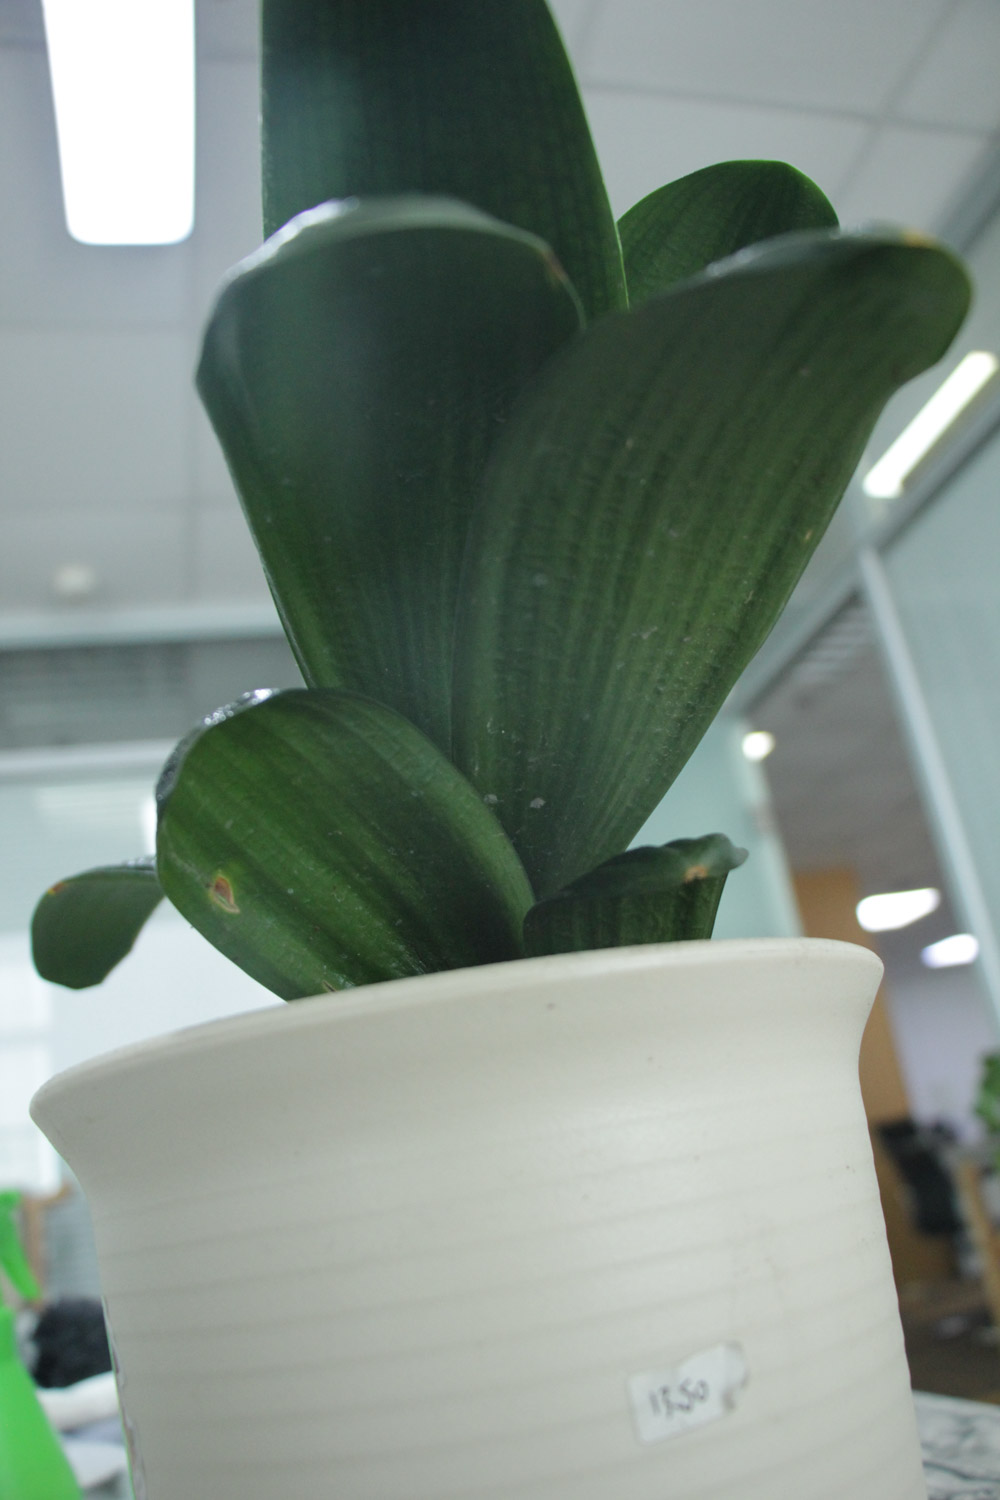
6. Slightly remove the epidermis of the crab claw leaves, about 1cm is enough, and then insert the peeled crab claw directly into the opening of the cactus leaves. If you are worried that the crab claw is not fixed, you can put a toothpick through it or fix it with a clip

7. Place the grafted crab claw orchid in a cool and ventilated place indoors for about 2 weeks, then cut it into loose and breathable soil, water it once, put it in a cool place for half an hour, and then transfer it to the sun for normal maintenance
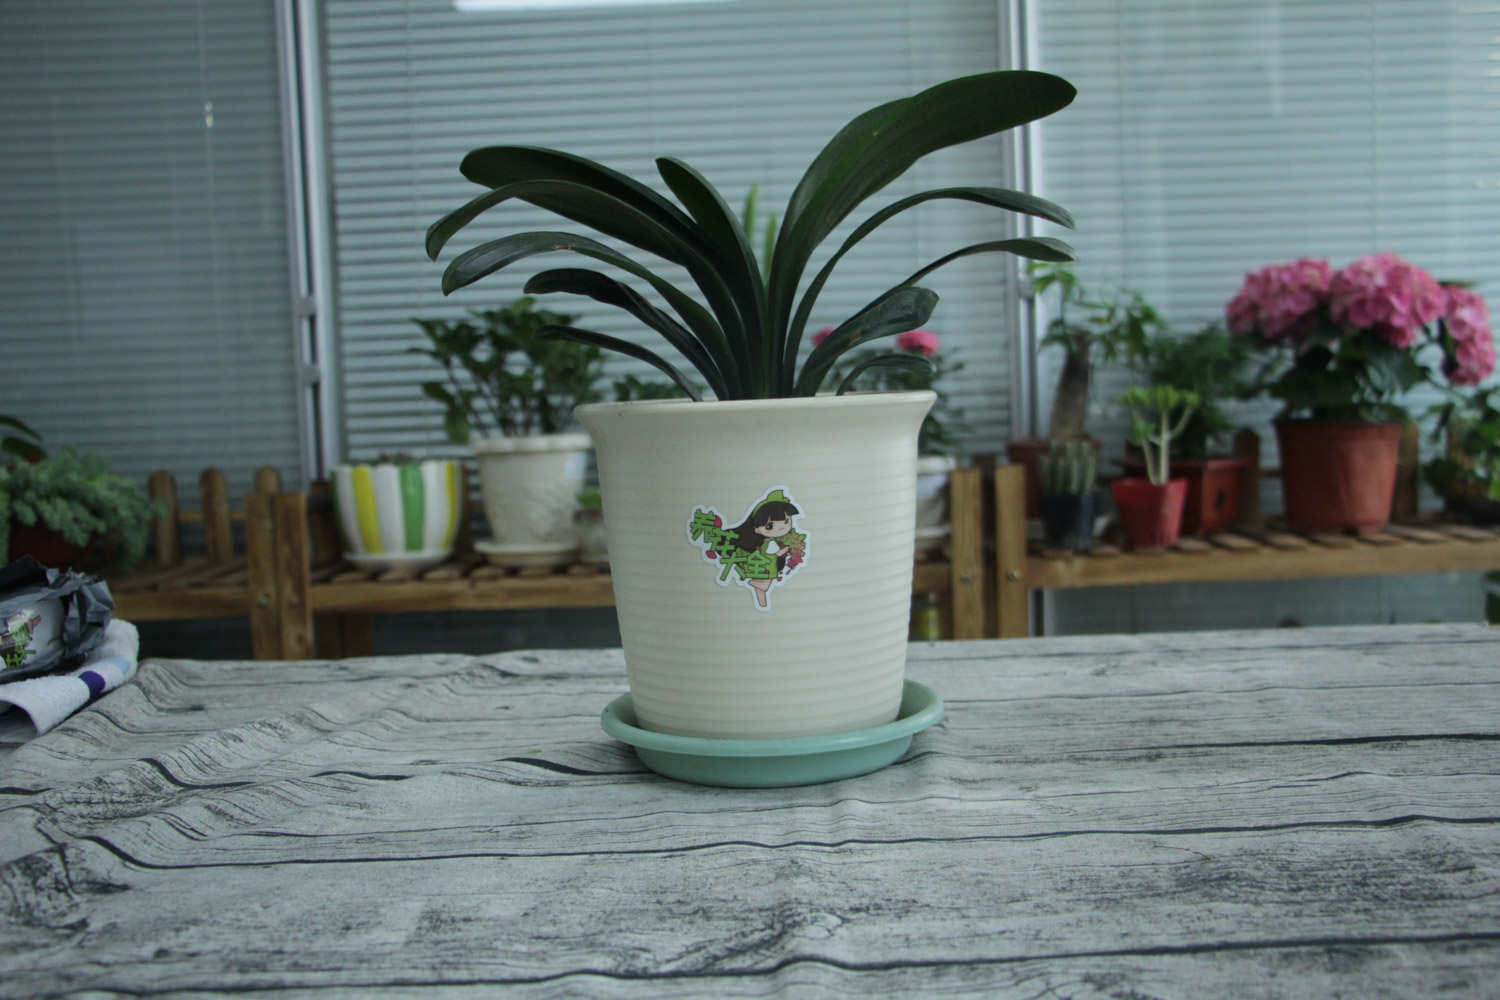
8. In the future, the grafted crab claw orchid will be well maintained. When the basin soil is dry, it will be watered. At ordinary times, compound fertilizer will be applied, and phosphorus and potassium fertilizer will be applied before flowering, which will soon make the crab claw orchid bloom layers of flowers
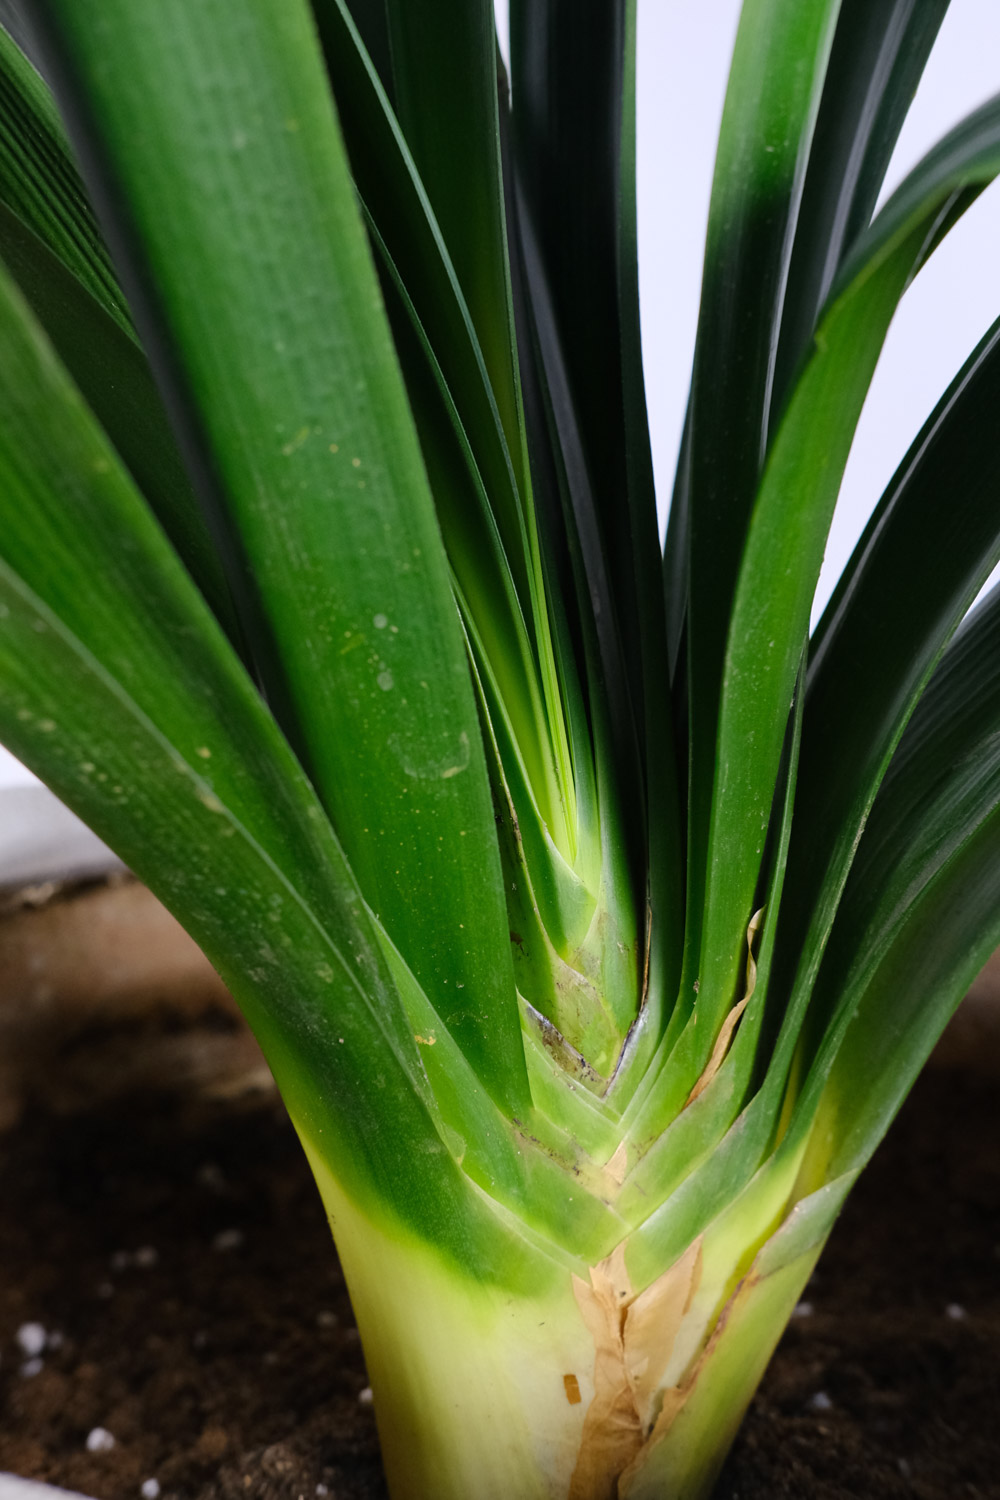
Clivia is so divided, one pot becomes 100 pots
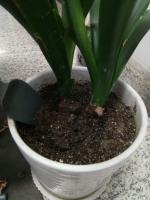
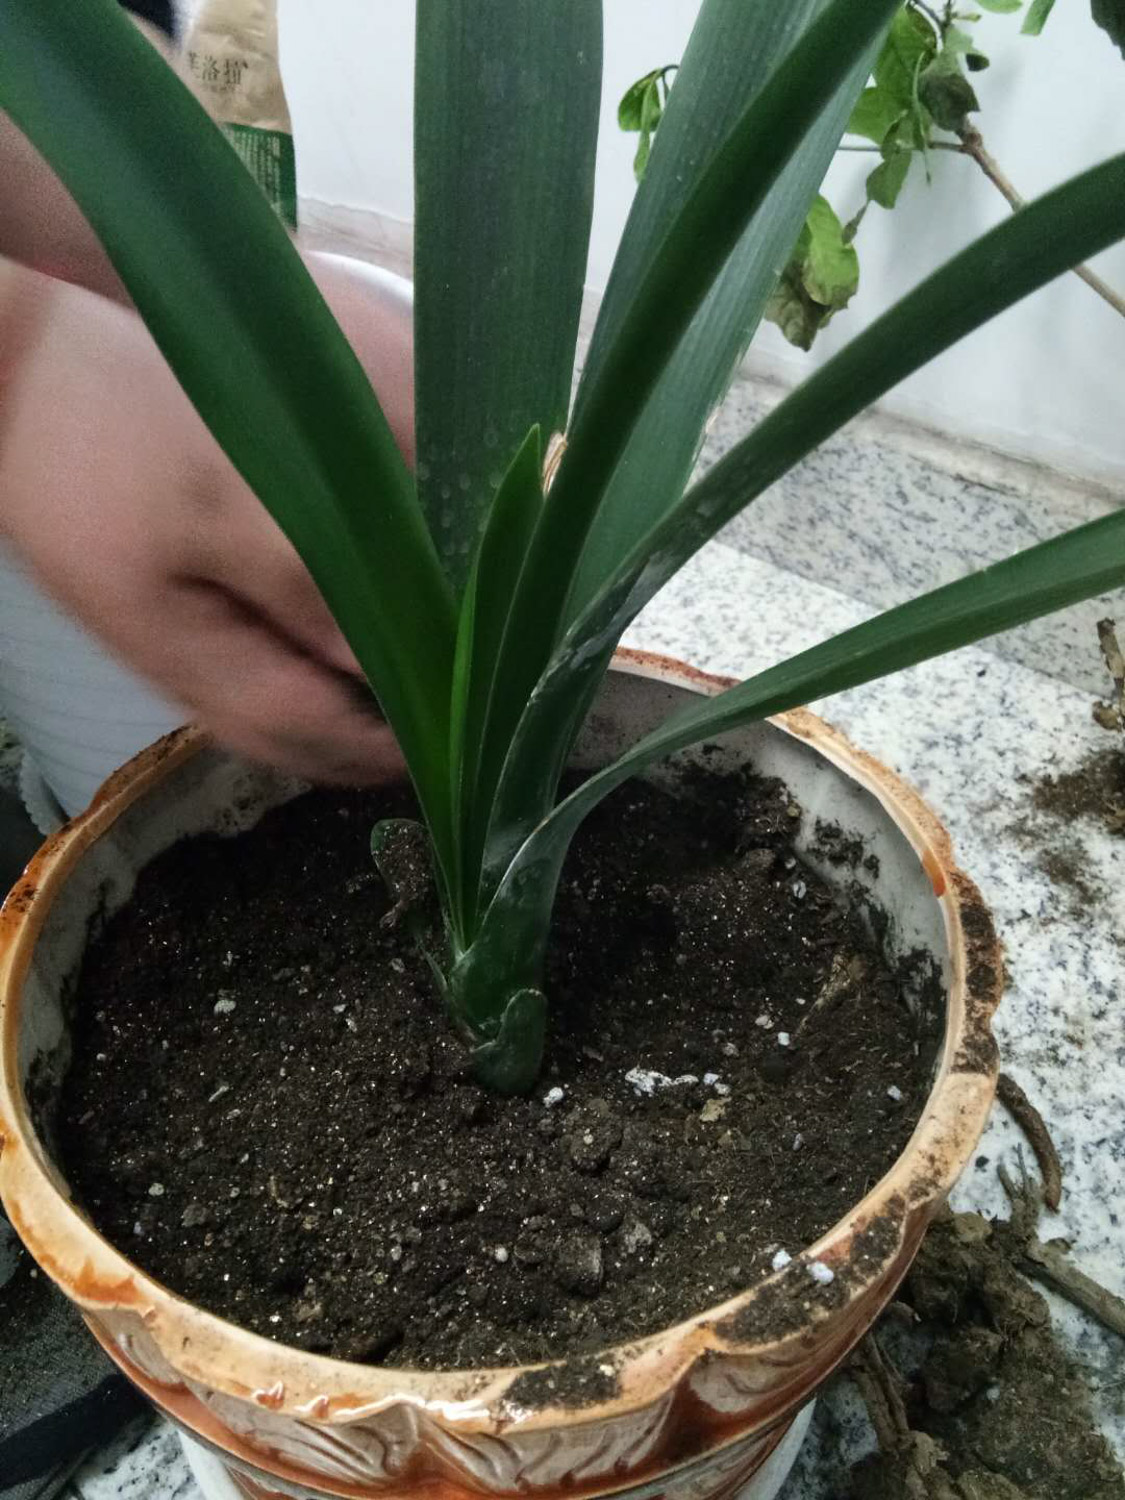
Clivia has bright leaves and bright flowers. It is a rare flower that can enjoy both flowers and leaves. Flower friends naturally hope that there are more and more Clivia at home! What if you want one basin of Clivia to become more? Divide the basin
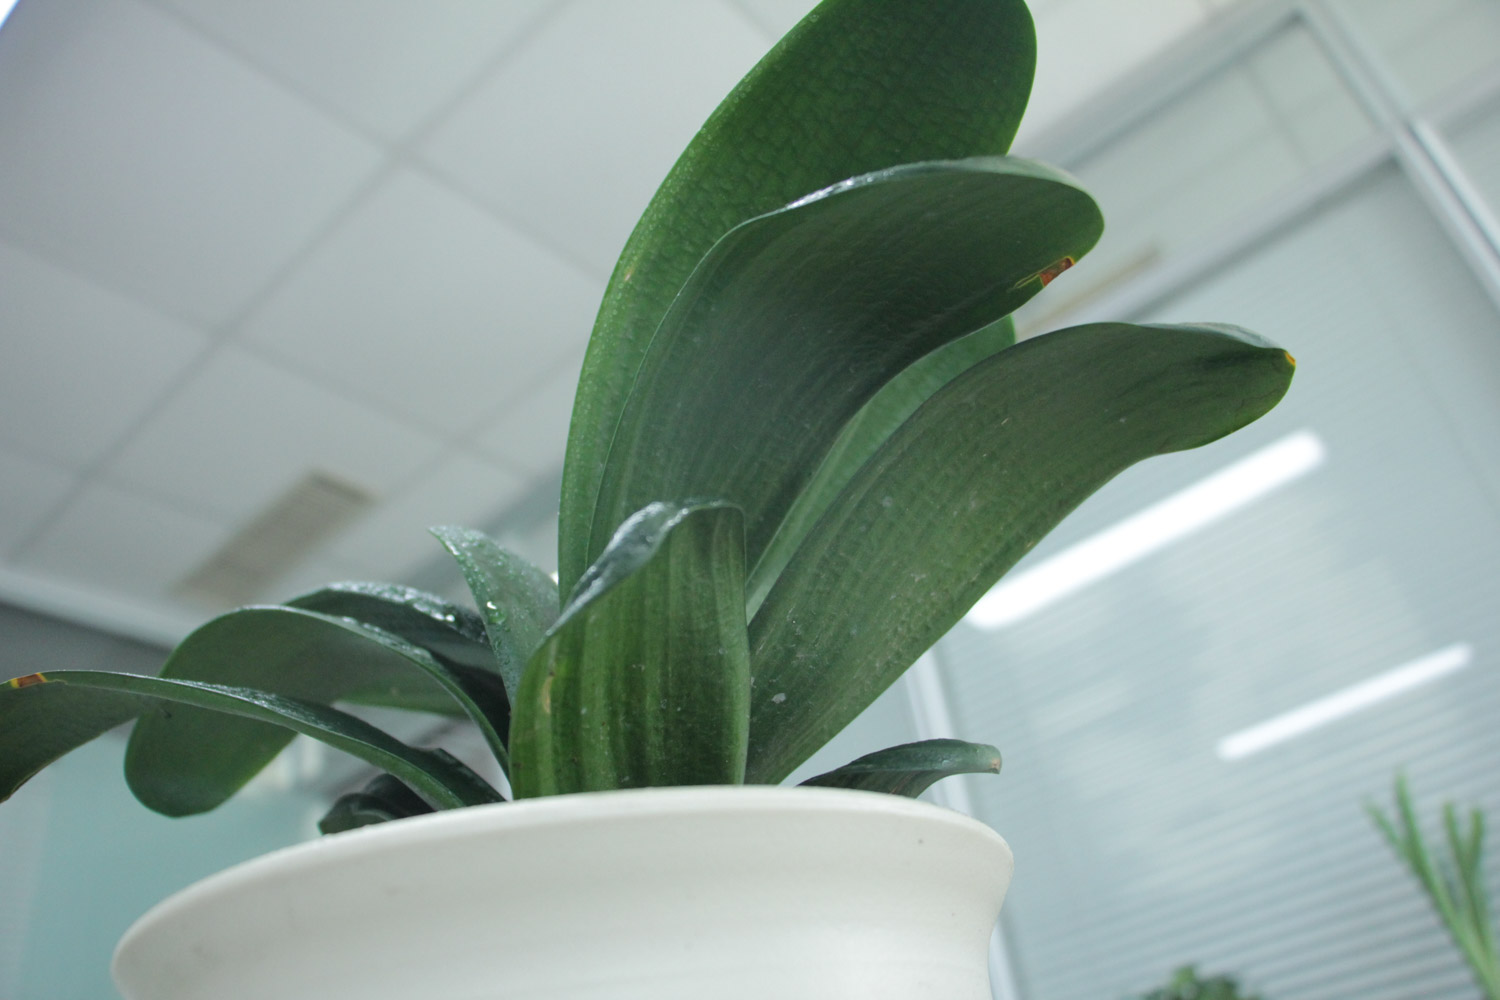
Steps for separating Clivia pots:
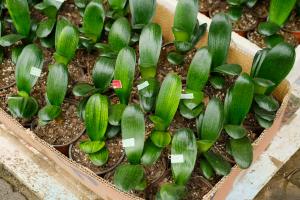
1. Generally, strong growing Clivia will burst out a lot of cubs. When these small Clivia grow to more than 3 leaves, you can start dividing pots while the temperature is above 15 ℃

2. Take the Clivia out of the pot and clean up the soil on the root system to expose the root system of the white flower
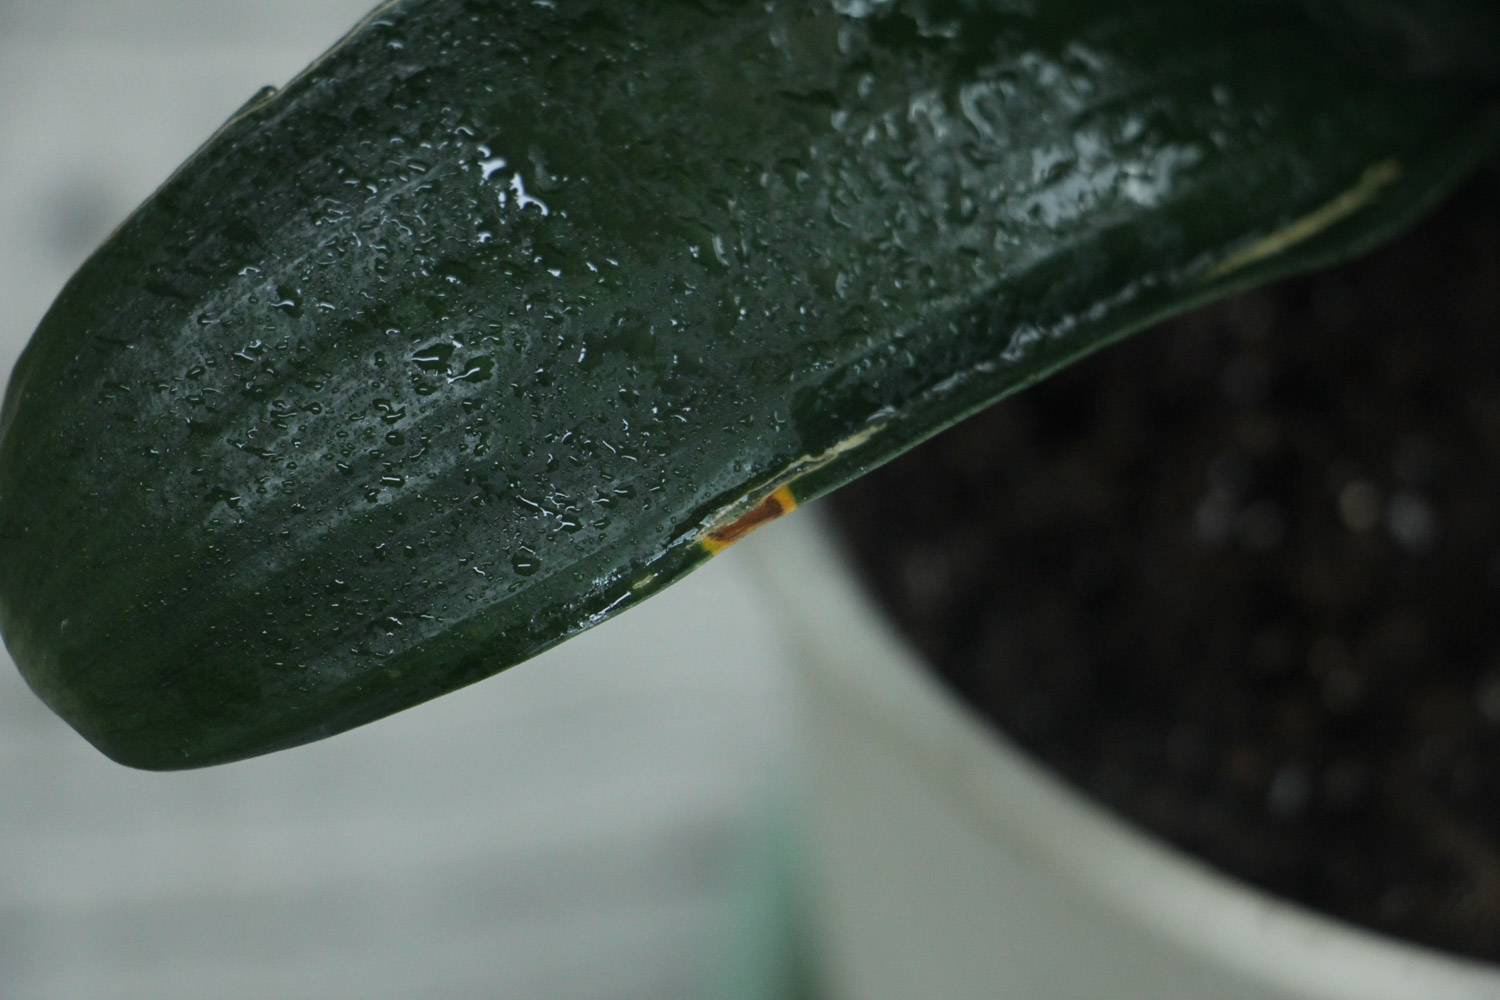
3. Cut off the rotten roots, old roots and weak roots on the roots of Clivia, leaving only the strong roots, and then cut off the small buds of Clivia and the roots directly with a sterilized knife. The more roots in the seedling belt of Clivia, the easier it is to survive
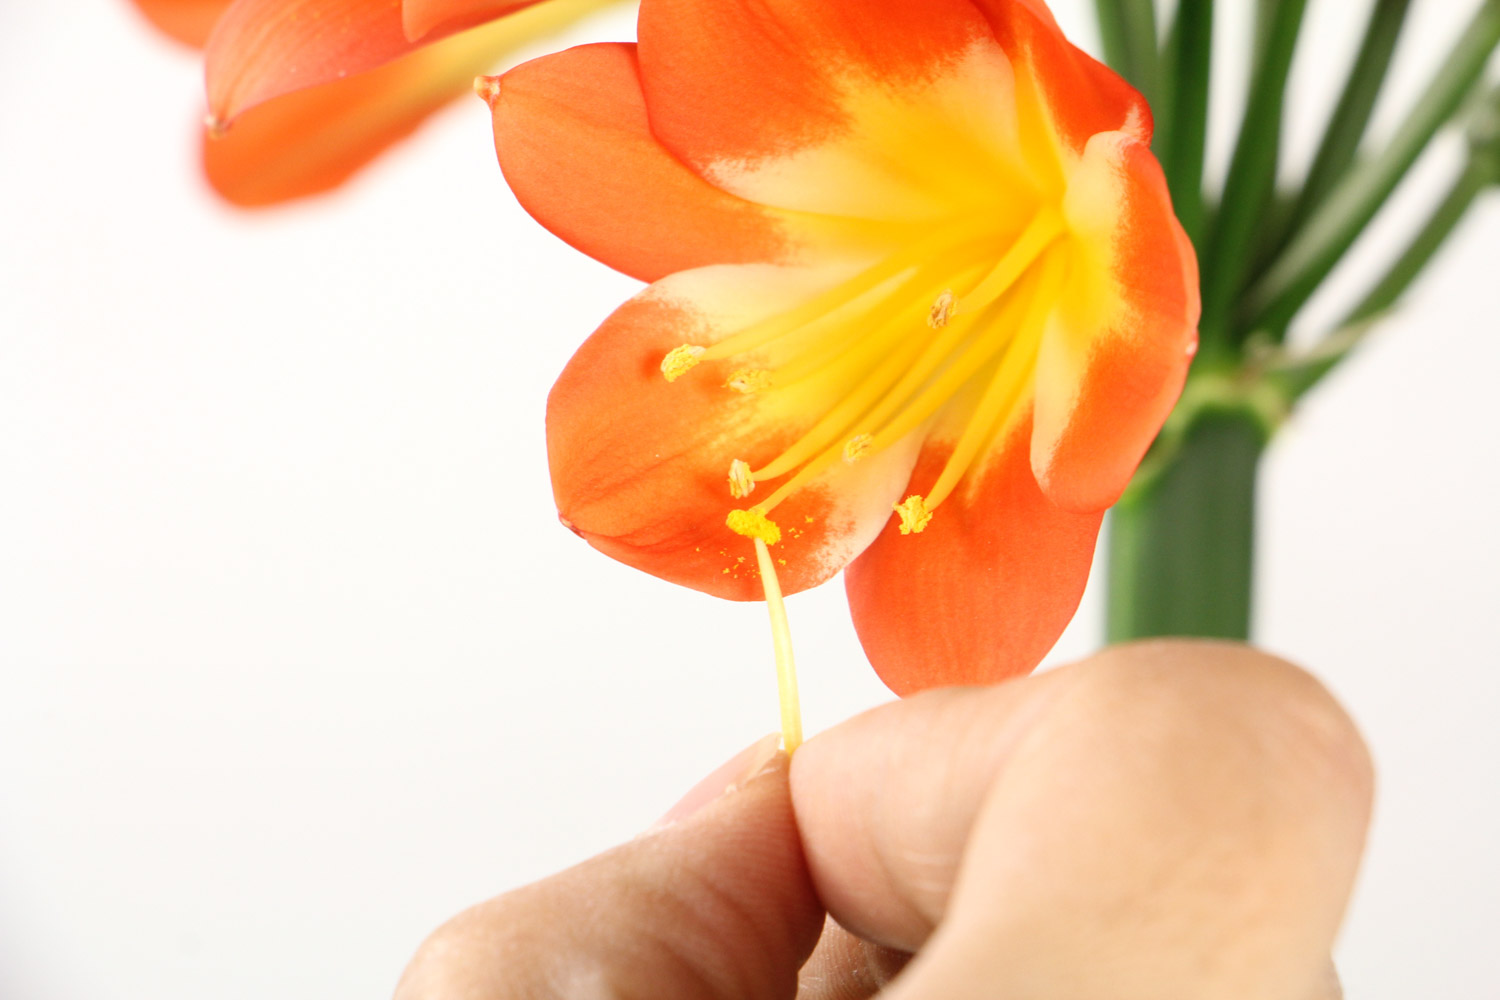
4. Soak the root system of Clivia in carbendazim solution for 20-40 minutes, and then put it in a cool and ventilated place to dry the wound to avoid root rot
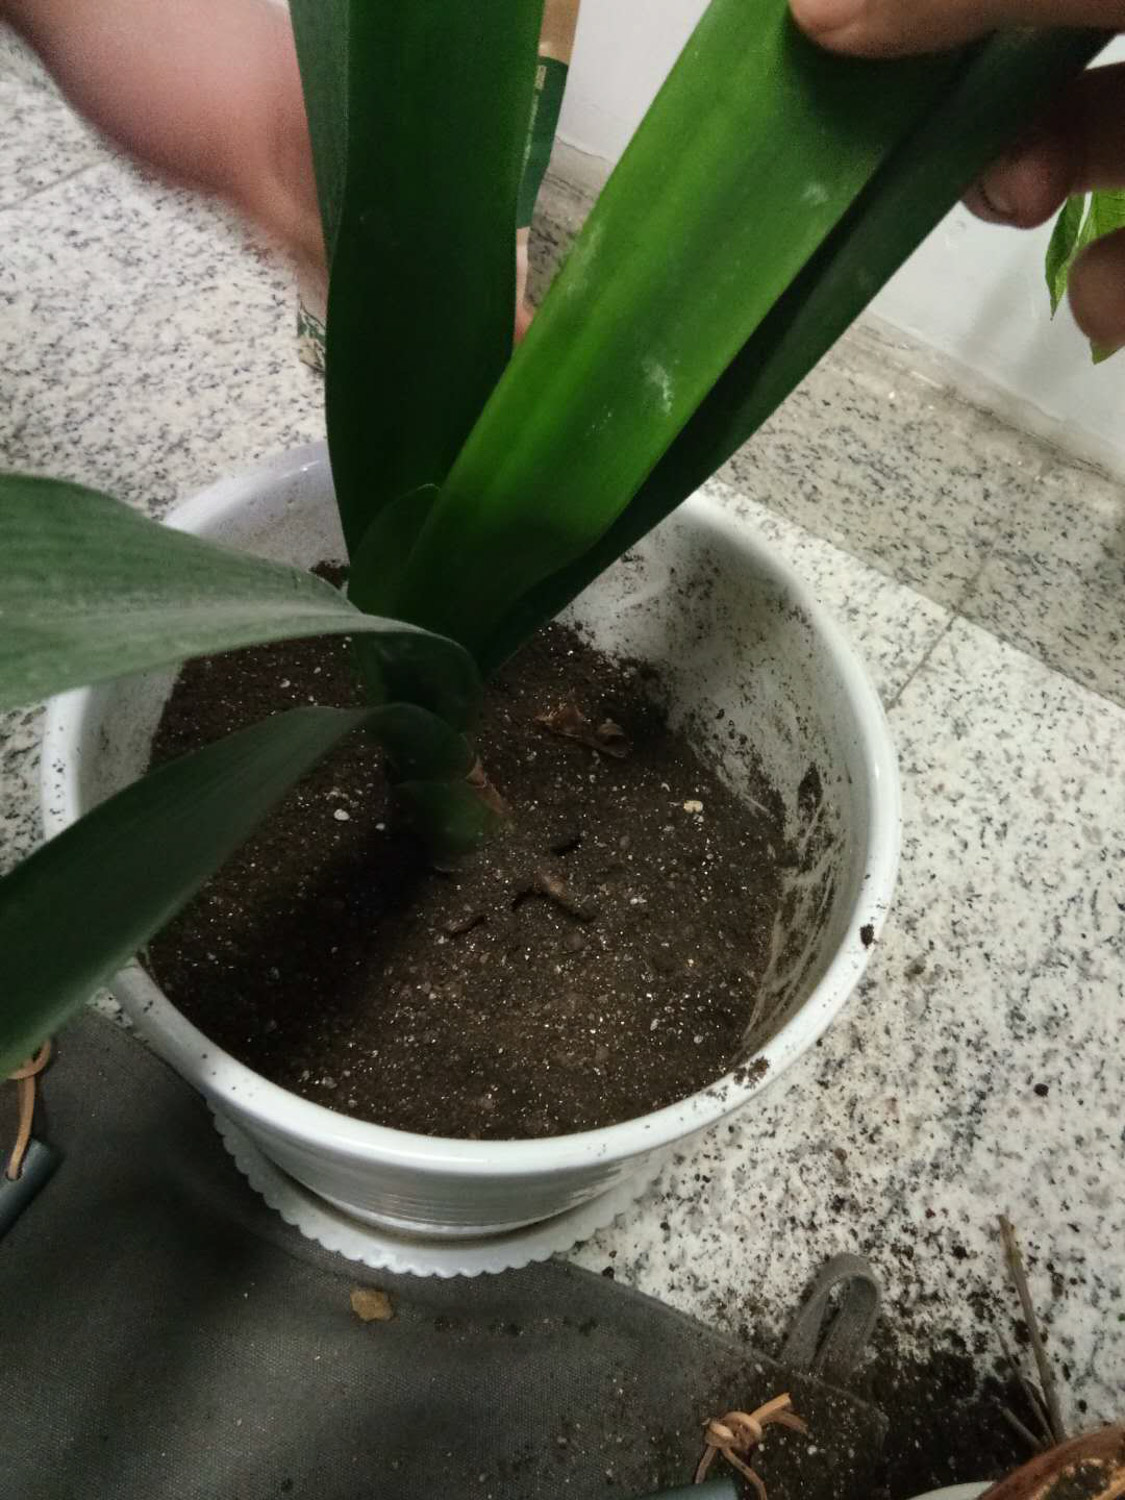
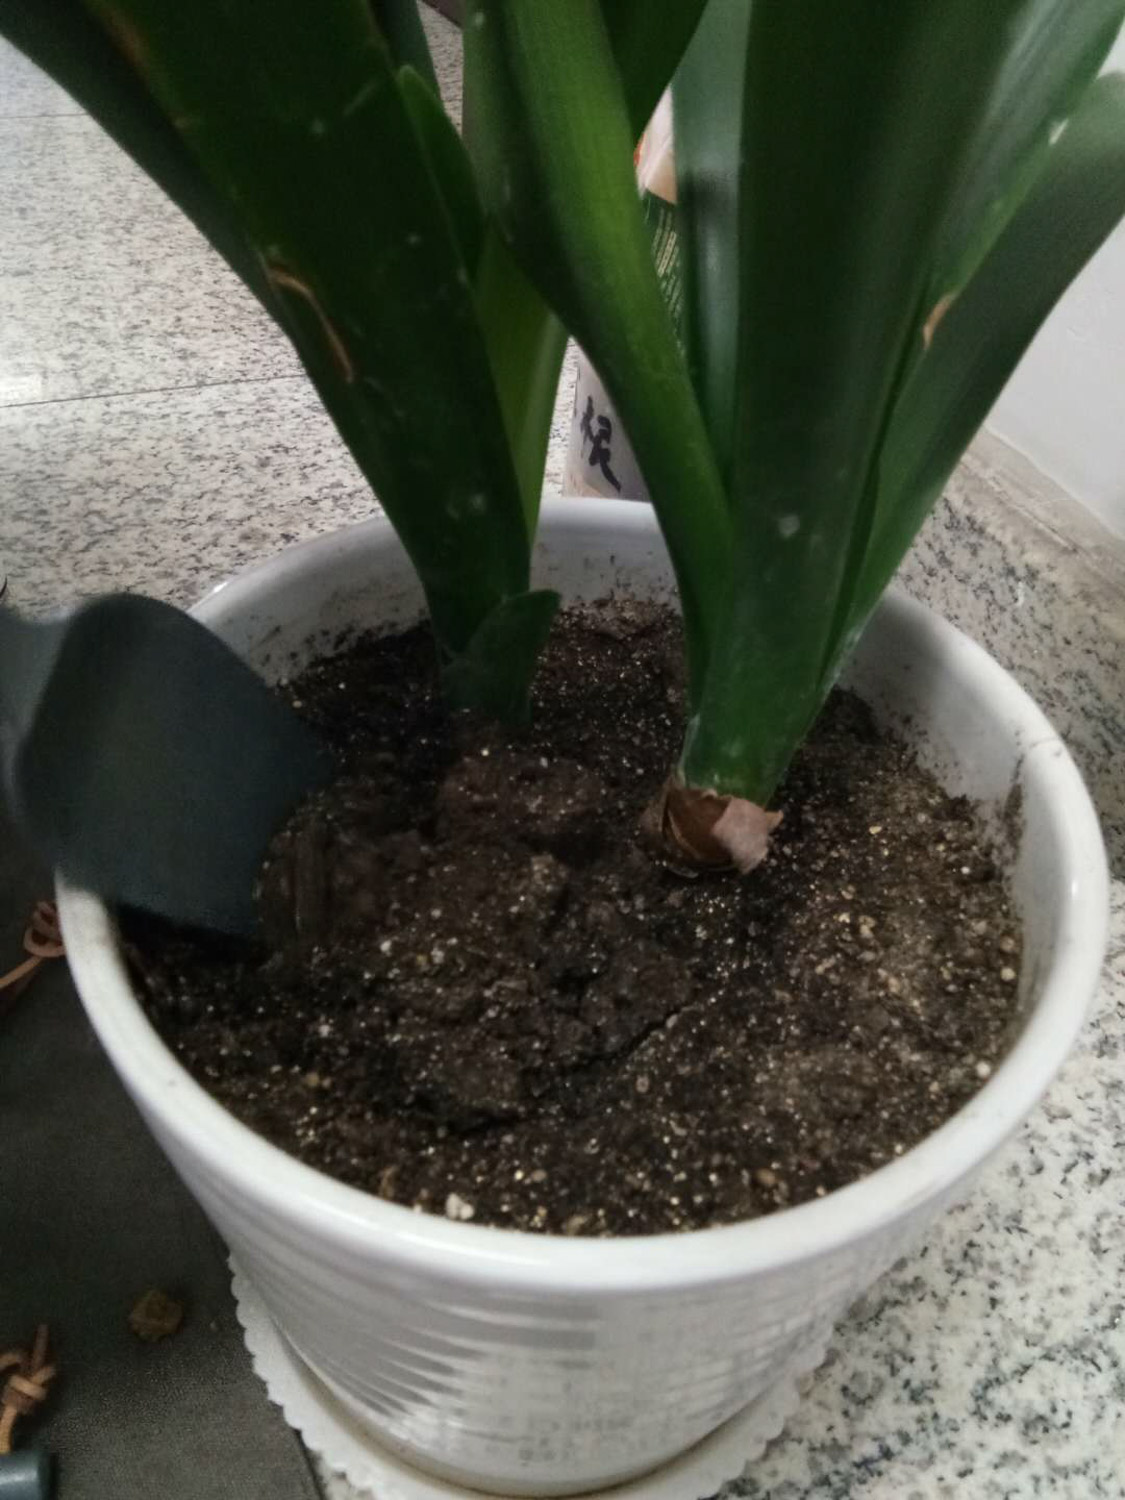
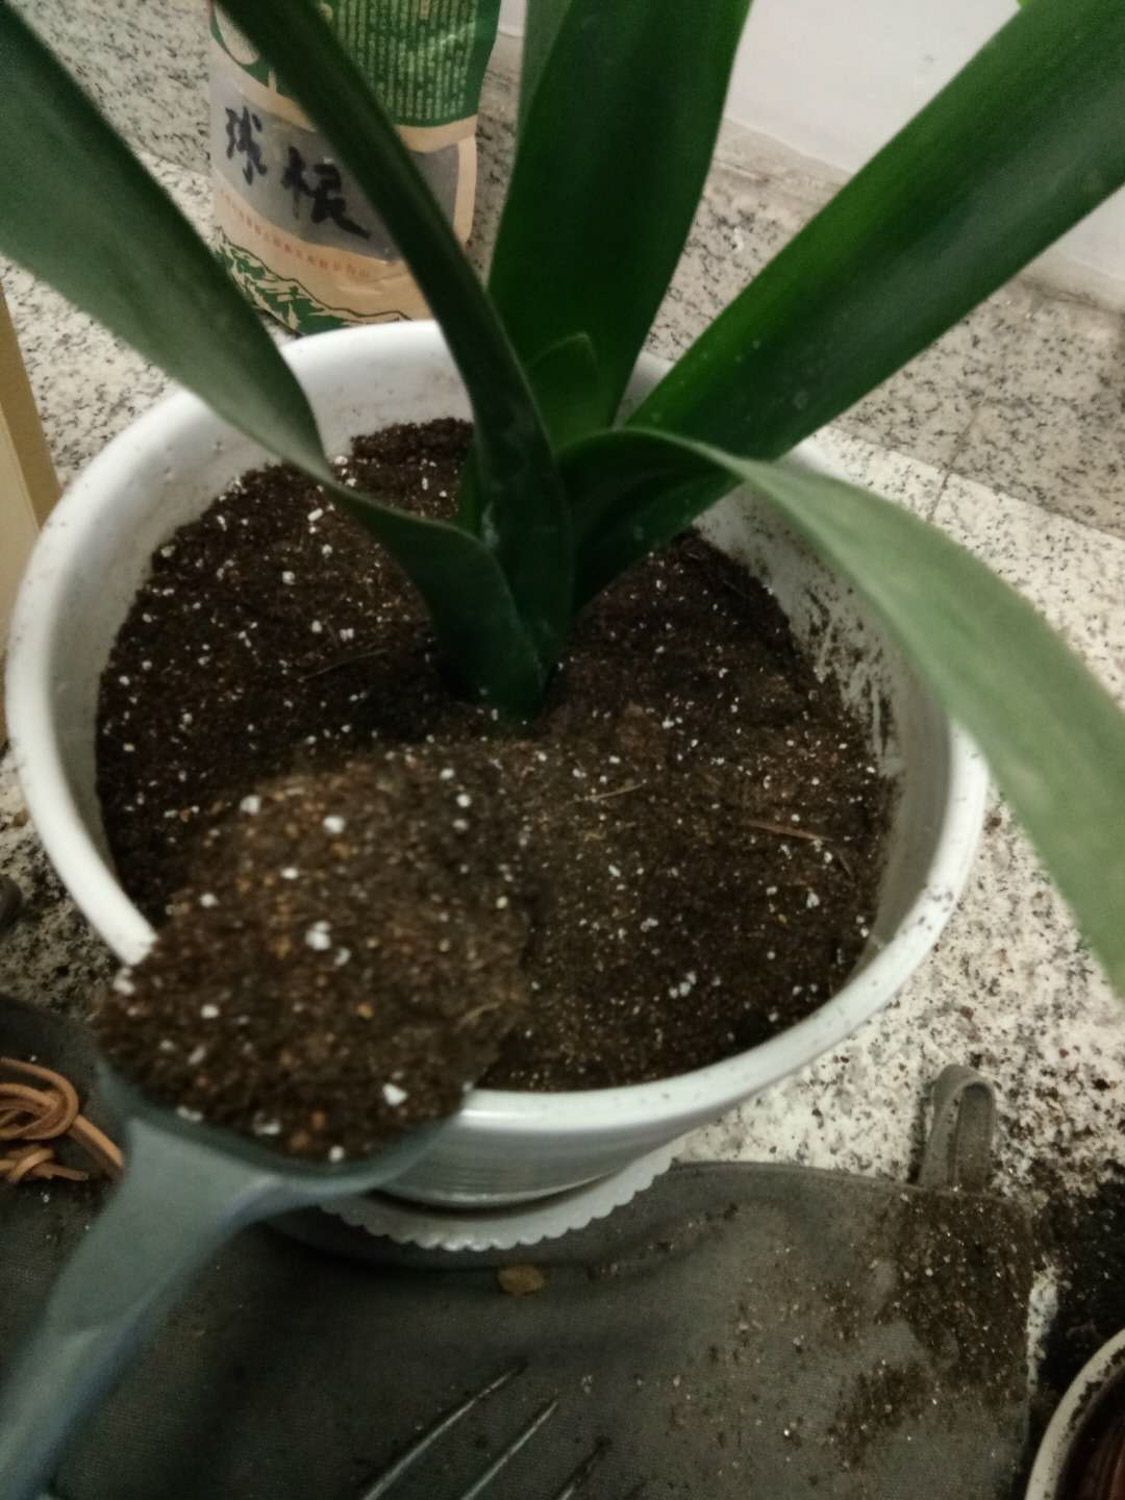
5. Re pot Clivia. In order to ensure loose and breathable, several broken bricks and tiles can be padded on the bottom of the basin, and then the loose and breathable soil can be padded. The nutrient soil and river sand can be mixed in the proportion of 3:1, and then some pine needles can be added
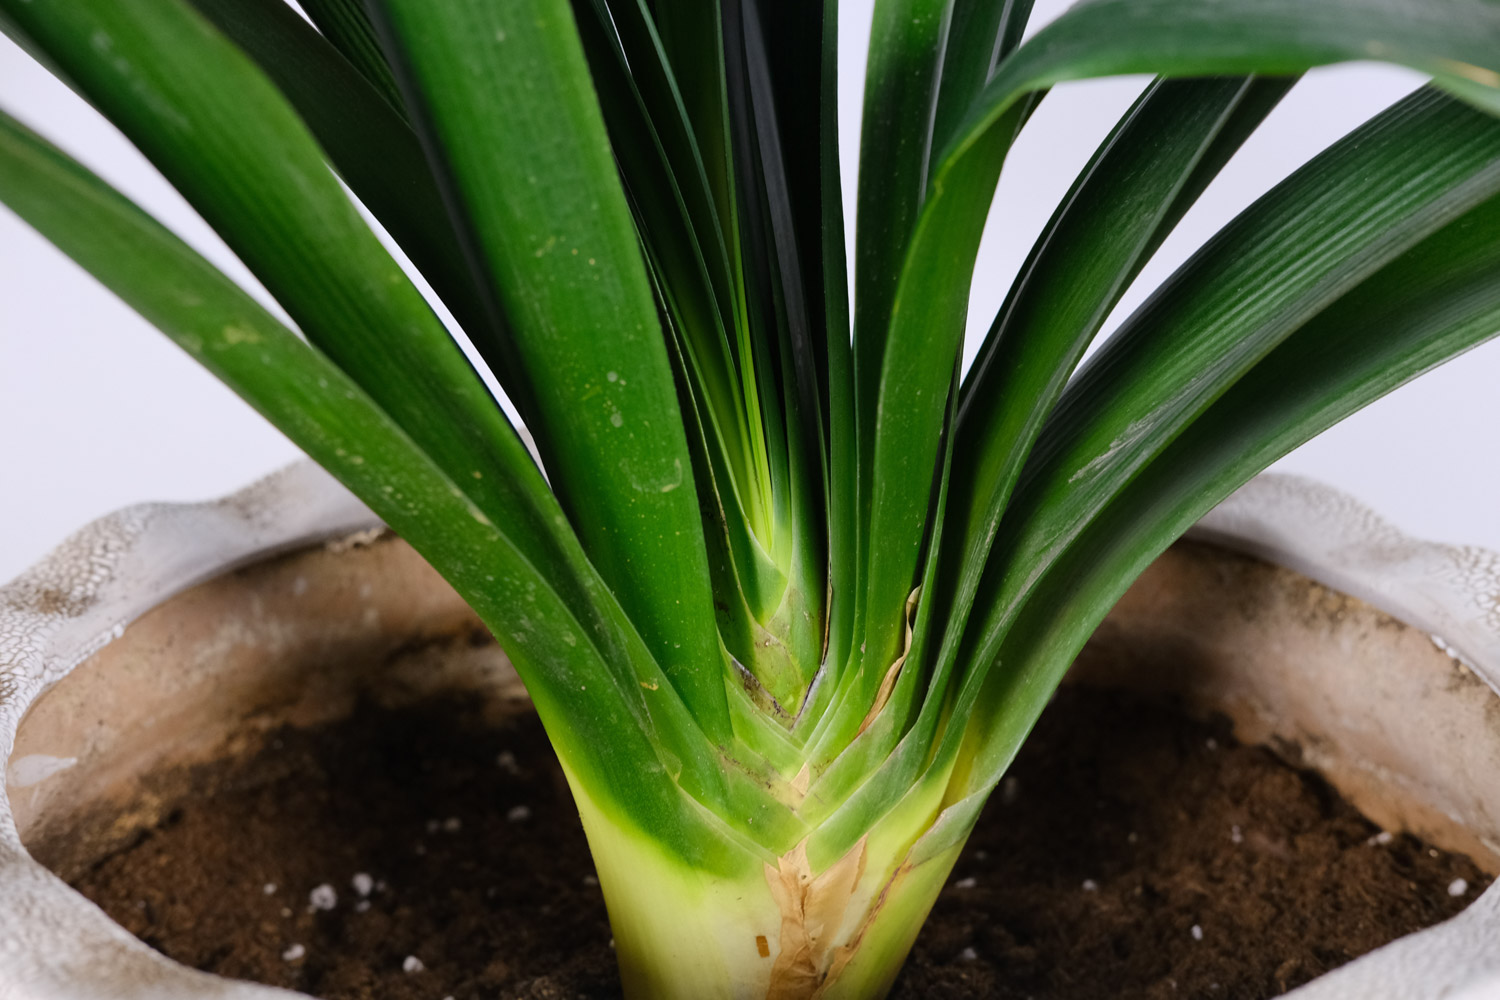
6. After putting the Clivia in the basin again, put it in a cool and ventilated place for 1-2 weeks, and then put it in a place with sufficient scattered light for maintenance. In this way, one Clivia becomes a multi basin
The green rose is cutting like this, and it runs to 100 meters
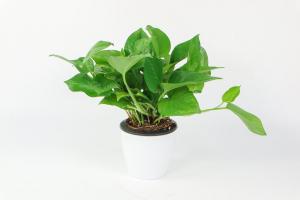
Speaking of what flowers are most often raised at home, many flower friends must blurt out: lvluo! The green rose is beautiful and thick, and it is green all year round. So what is the most commonly used breeding of green pineapple? Cutting, of course
Cutting steps of green pineapple:
1. When pruning the green pineapple at home, you will cut many slightly longer branches. Don't lose this branch. It's just good for cutting
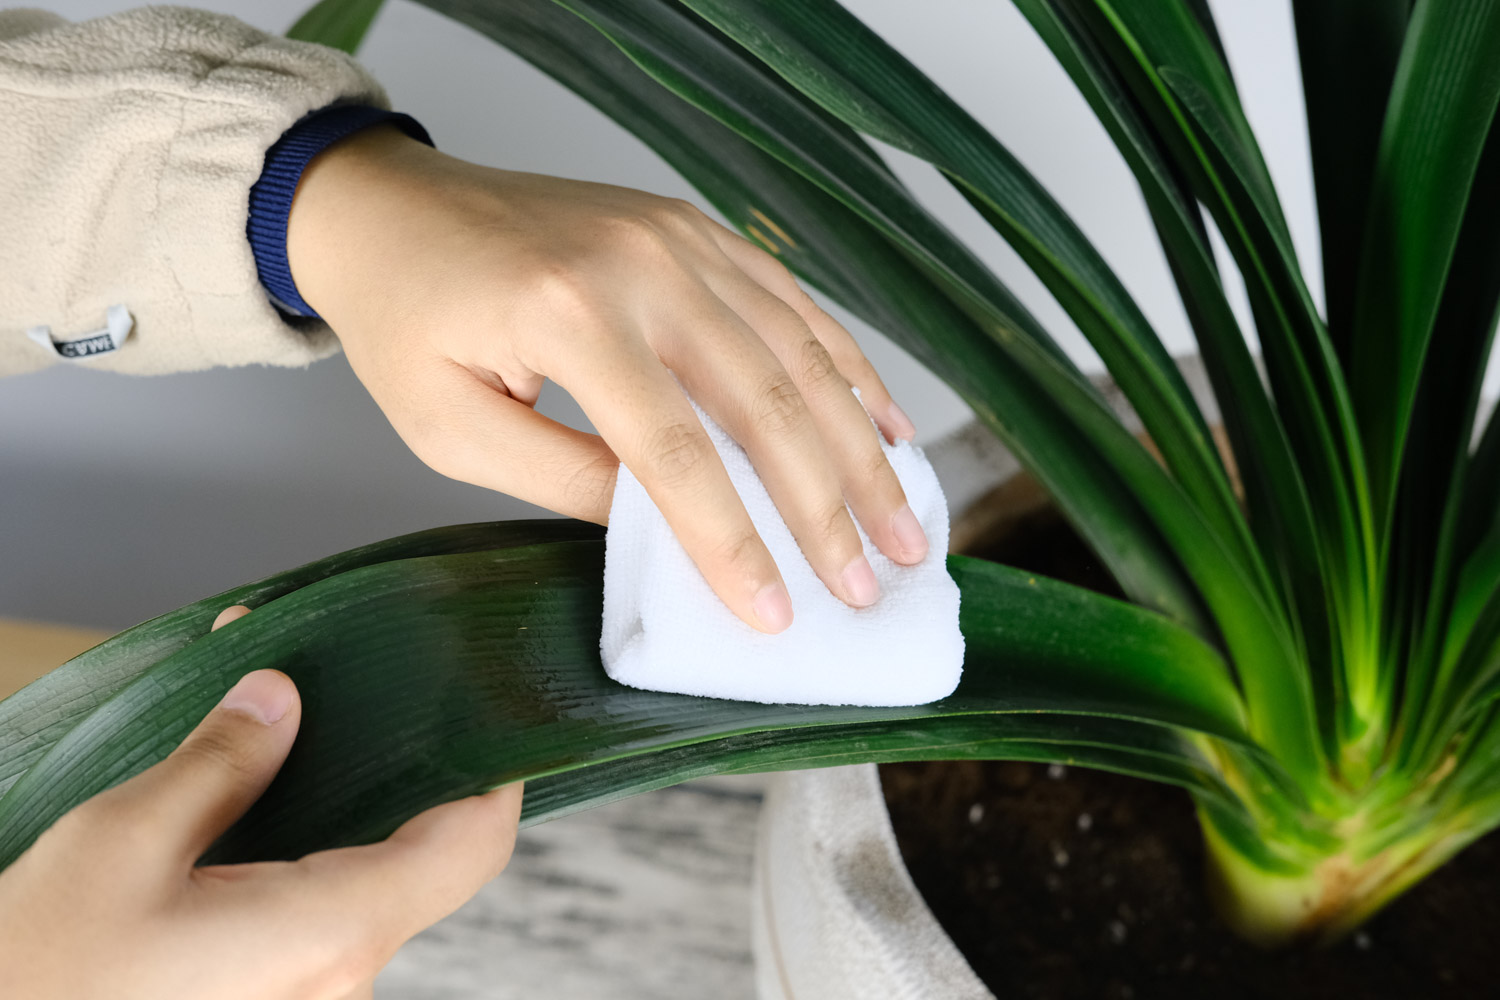
2. First use the sterilized scissors to cut off all the leaves on the green rose branches, and then use the knife to cut several knives to cut the bare green rose branches into small sections, each of which is about 2-4cm, so as to ensure that there are nodes on each branch

3. Find a container like a plate, put a plastic bag on the plate, and fill the plastic bag with nutritious soil. If there is pure coconut bran, it will be better and the cutting survival rate will be higher
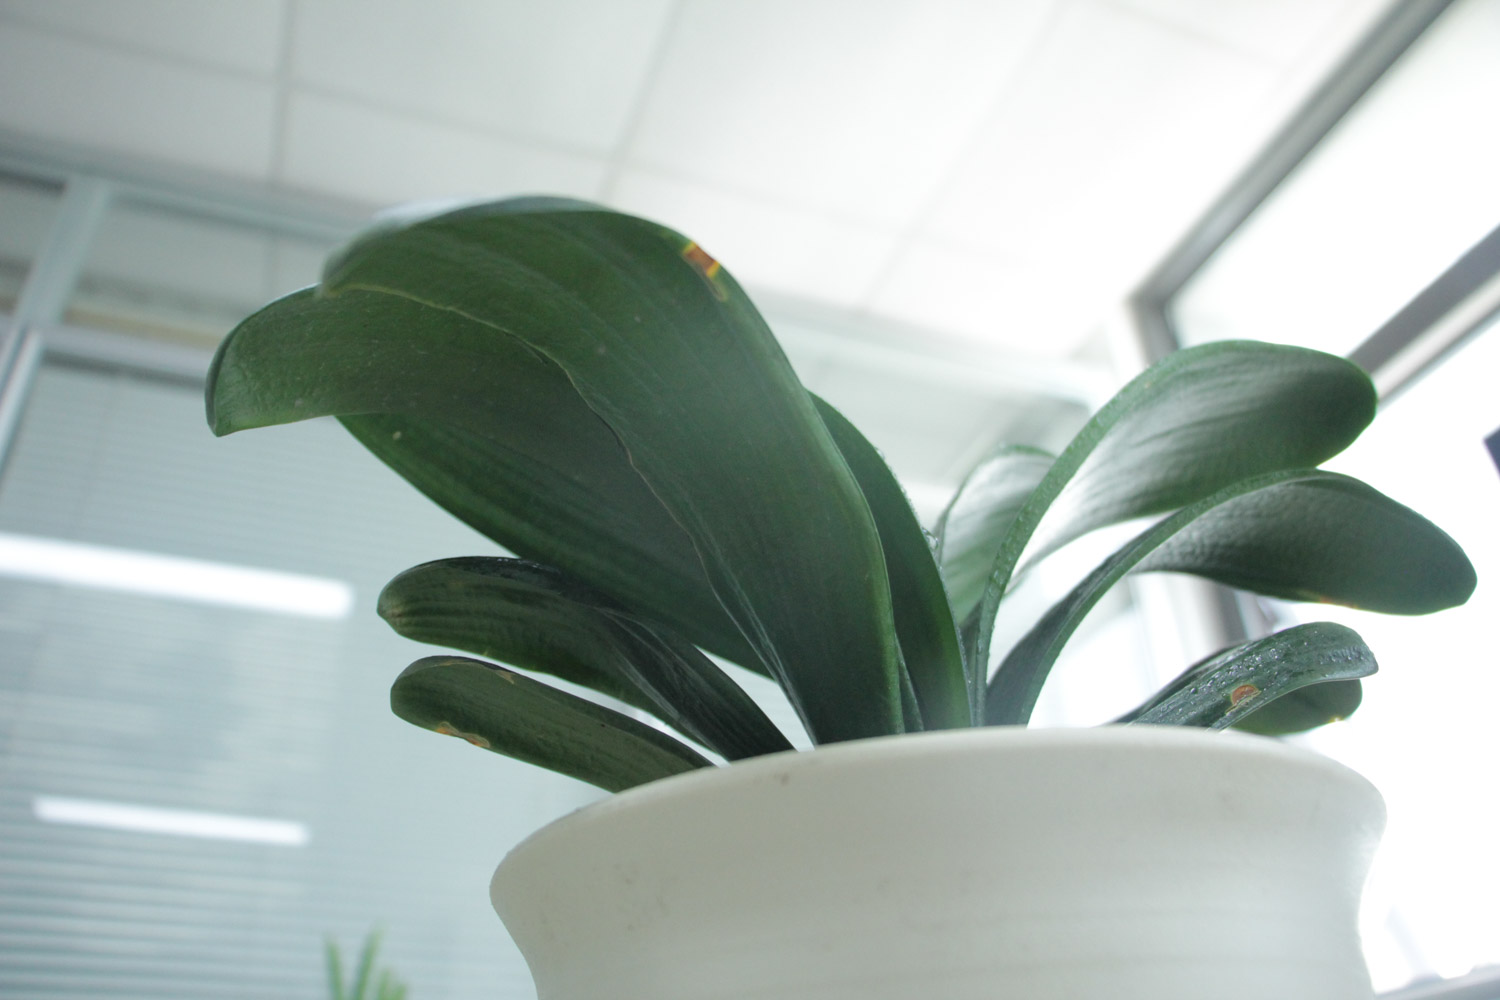
4. Put the cut branches of green pineapple in and wrap them in plastic bags. The purpose of wrapping plastic bags is to keep warm and moisturize, so that the branches of green pineapple can germinate more easily

5. Open the plastic bag to breathe every day and spray some water on the branches of green pineapple with a watering can to moisturize. About a week or so, you can see the green rose shoots sprouting
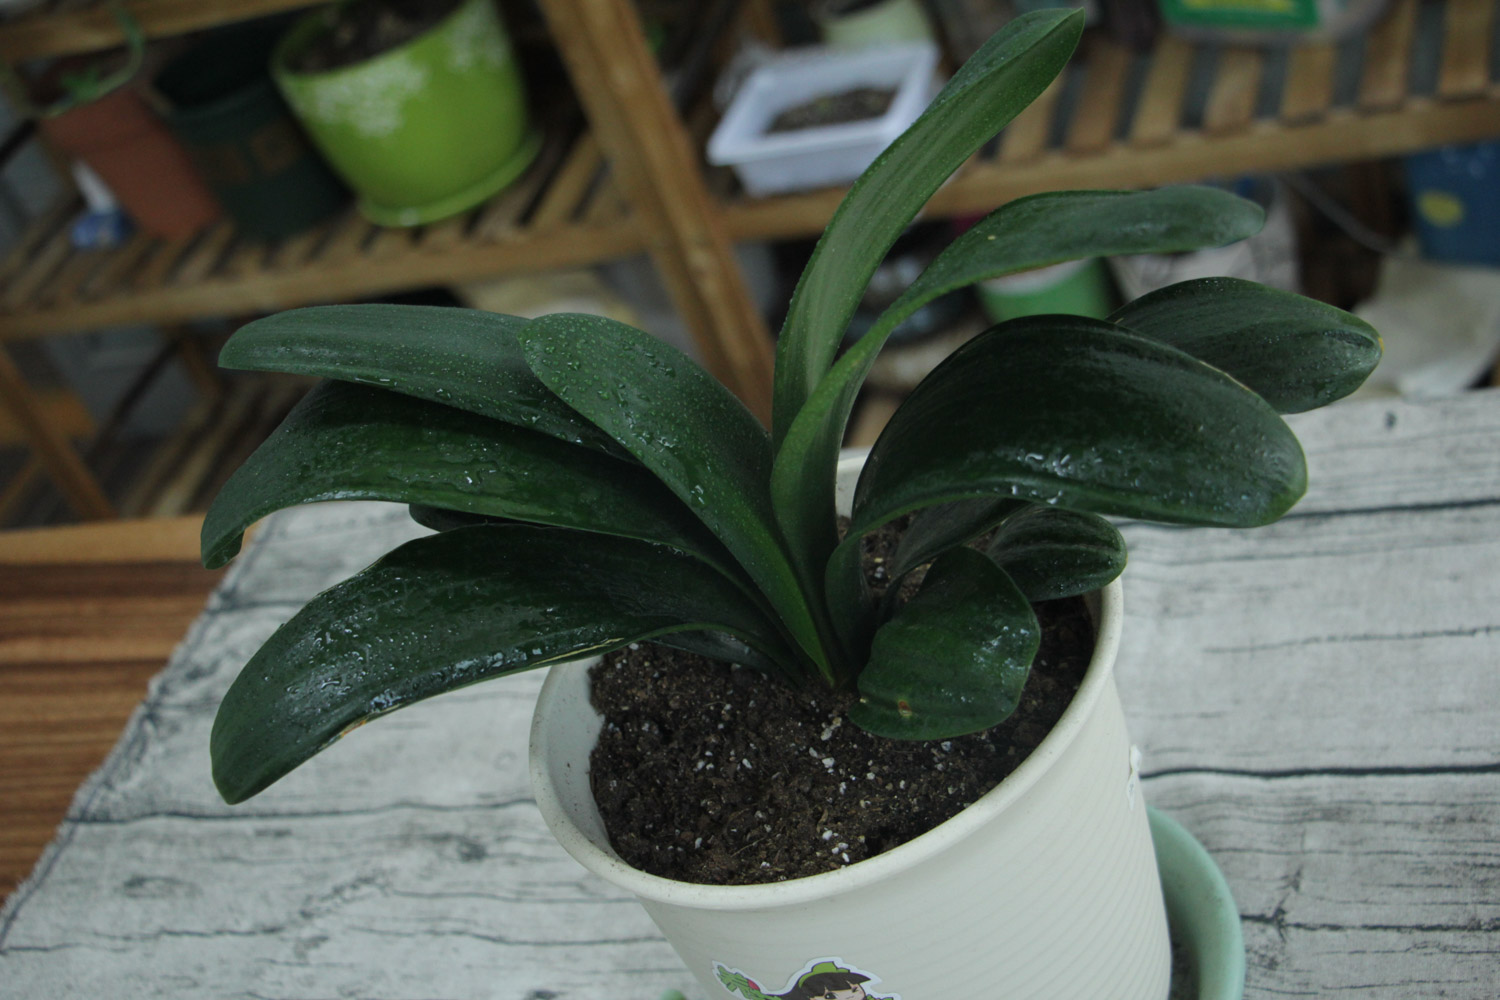
6. When the green rose grows two new leaves, the branches of the green rose can be transplanted into the flower pot
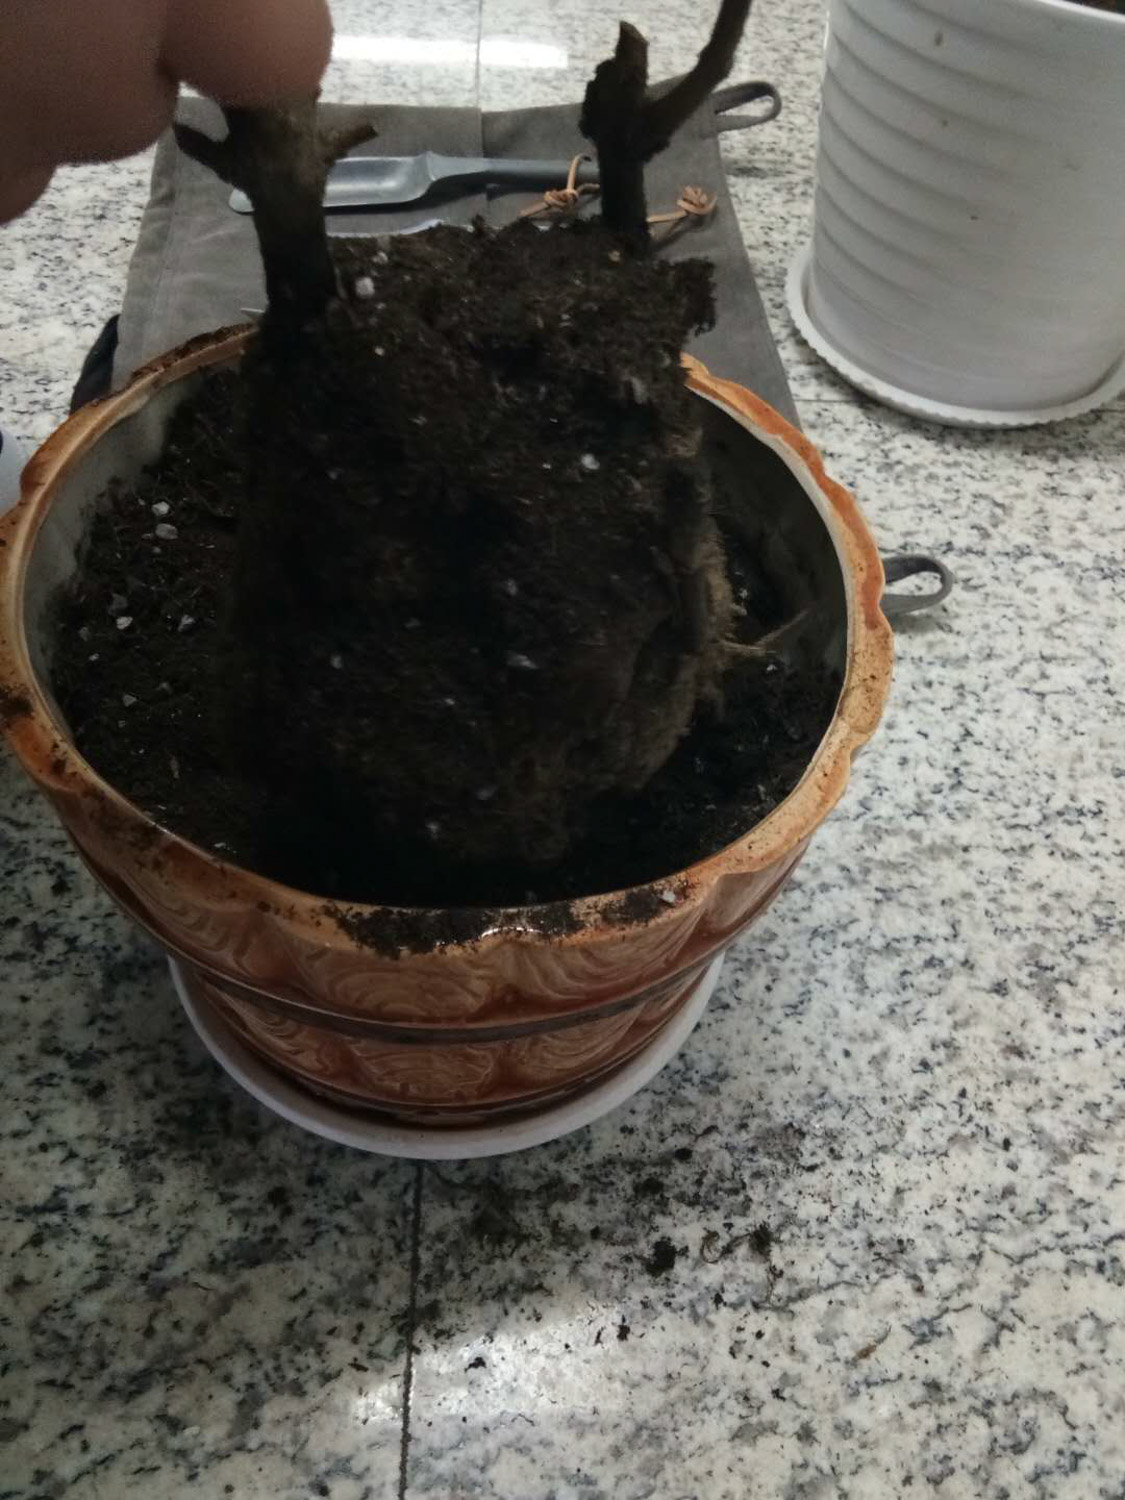
7. After that, put it in a place with sufficient scattered light for good maintenance. Occasionally add some rice washing water and compound fertilizer to make the green rose grow faster. It only takes 1-2 months to grow into a green waterfall
The method introduced by Huahua today
Have all flower friends learned
As long as the temperature at home is above 15 ℃
These operations can be carried out

 how many times do yo...
 how many planted tre...
 how many pine trees ...
 how many pecan trees...
 how many plants comp...
 how many plants can ...
 how many plants and ...
 how many pepper plan...

