Osmanthus cutting
Autumn is the right time for osmanthus to bloom. From ancient times, it has the reputation of "osmanthus seeds fall in the middle of the moon and the fragrance of heaven floats outside the clouds". Therefore, taking advantage of the autumn, it is most appropriate to cuttage a pot of Osmanthus fragrans
Cutting steps:
1. If you want to cut Osmanthus fragrans with high survival rate, you must choose healthy cuttings born in that year, and leave 2-4 leaves on each branch
2. Dip the cuttings in rooting powder or rooting water. If there is no aspirin, soak the osmanthus slices in the solution for more than 1:2 hours. If there is no aspirin, mix them with the cuttings, and then put them in the ratio of 1:2
3. The cutting soil can be mixed with peat soil and perlite in the ratio of 1:1 to nourish the soil, and then the dried osmanthus cuttings can be inserted into the soil. Pure perlite can also be used, but if pure perlite is used, the whole flowerpot should be covered with plastic bags to prevent water loss
4. Then put it in a cool and ventilated place for curing. In about one month, the cuttings of Osmanthus fragrans can take root
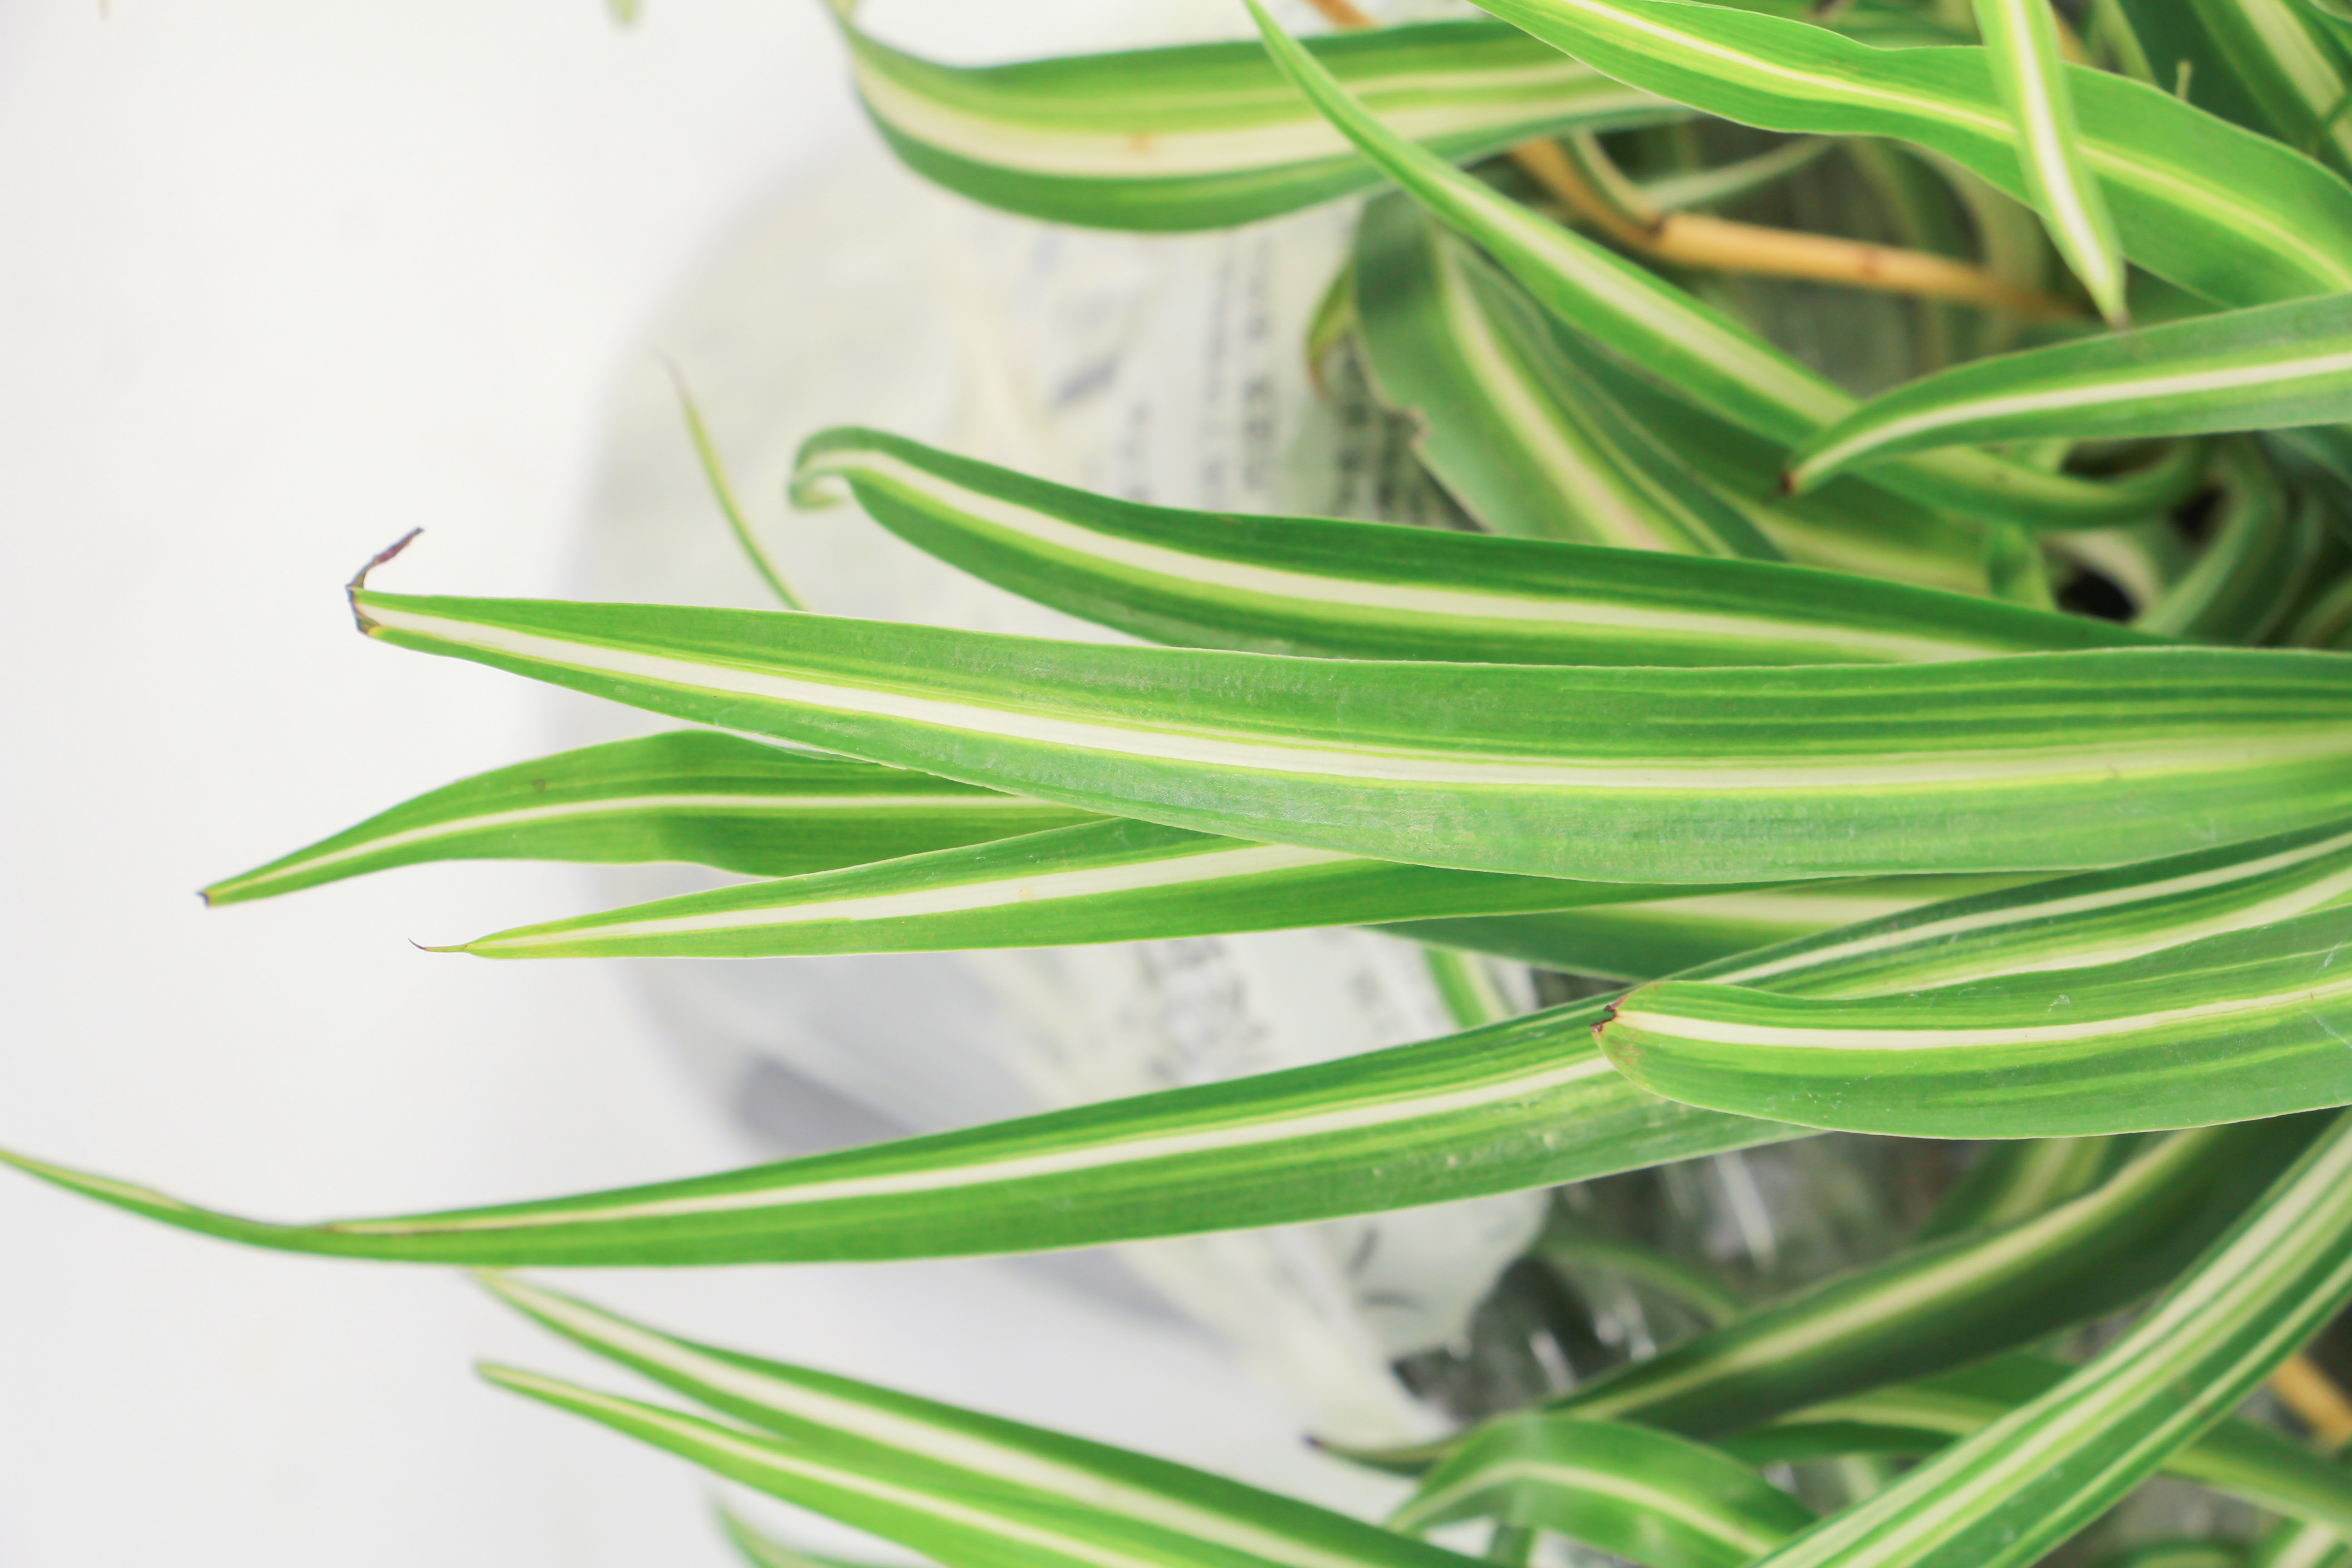
5. After rooting, carry out pot operation. The new root just cutted can't stand the thicker fertilizer. Just use the old soil directly, which is conducive to rooting. A plastic plate can be inserted in the middle of the pot soil. If two seedlings are planted in such a flower pot, the root injury can be reduced when dividing the pot in the future
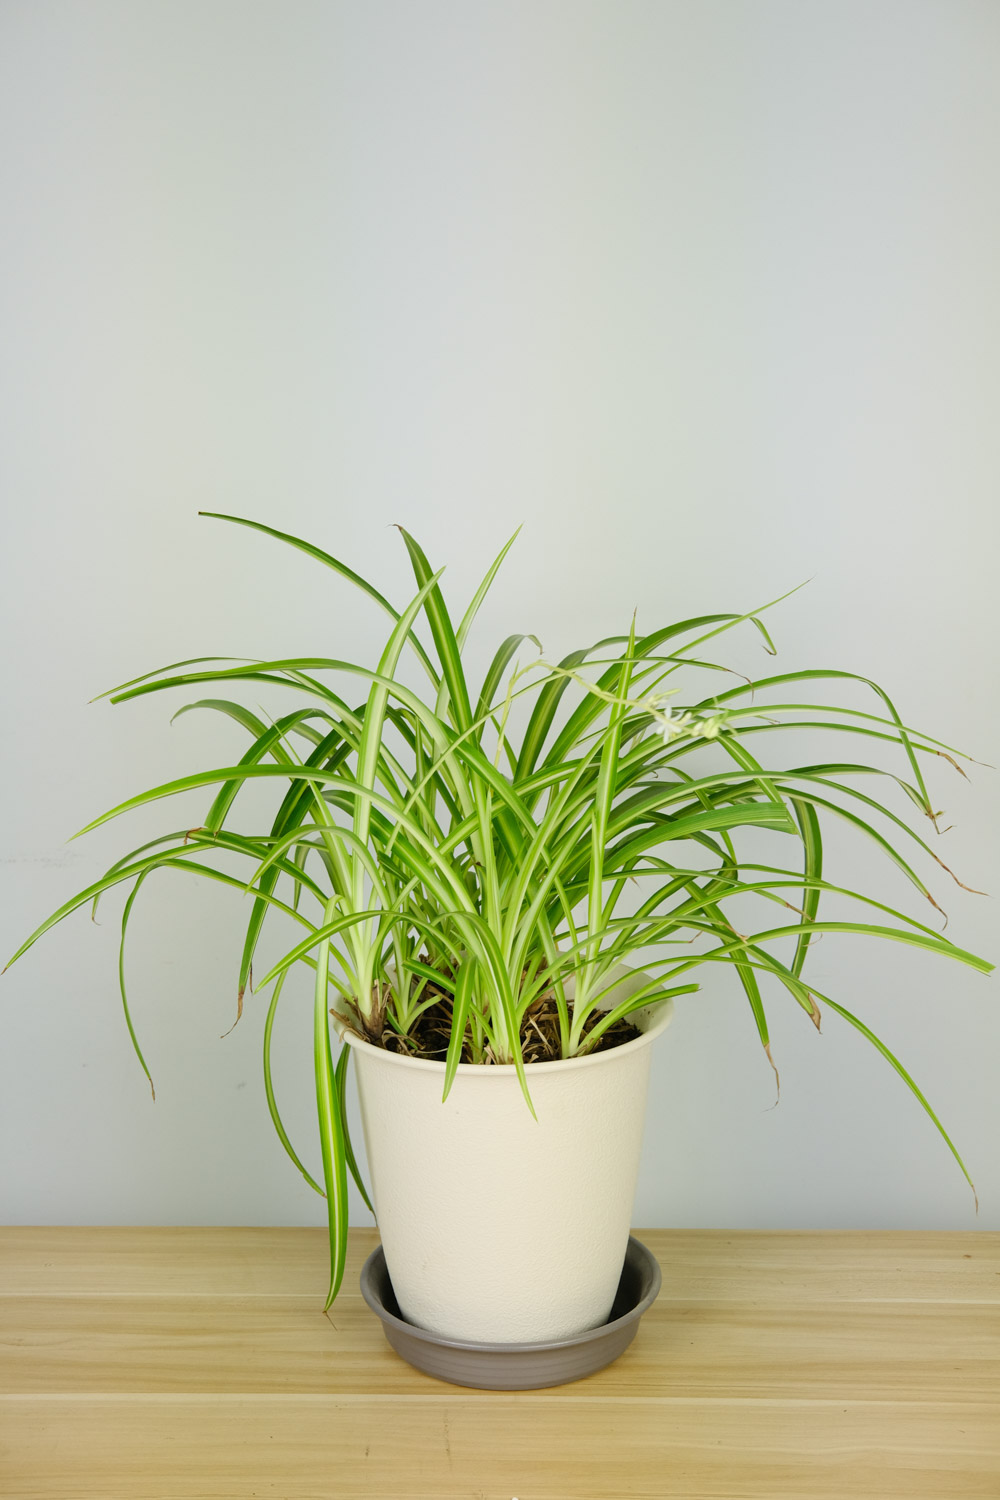
6. After pouring into the basin, slowly pour water once, and then slow the seedlings in a cool and ventilated place for a period of time, and then transfer to the sun
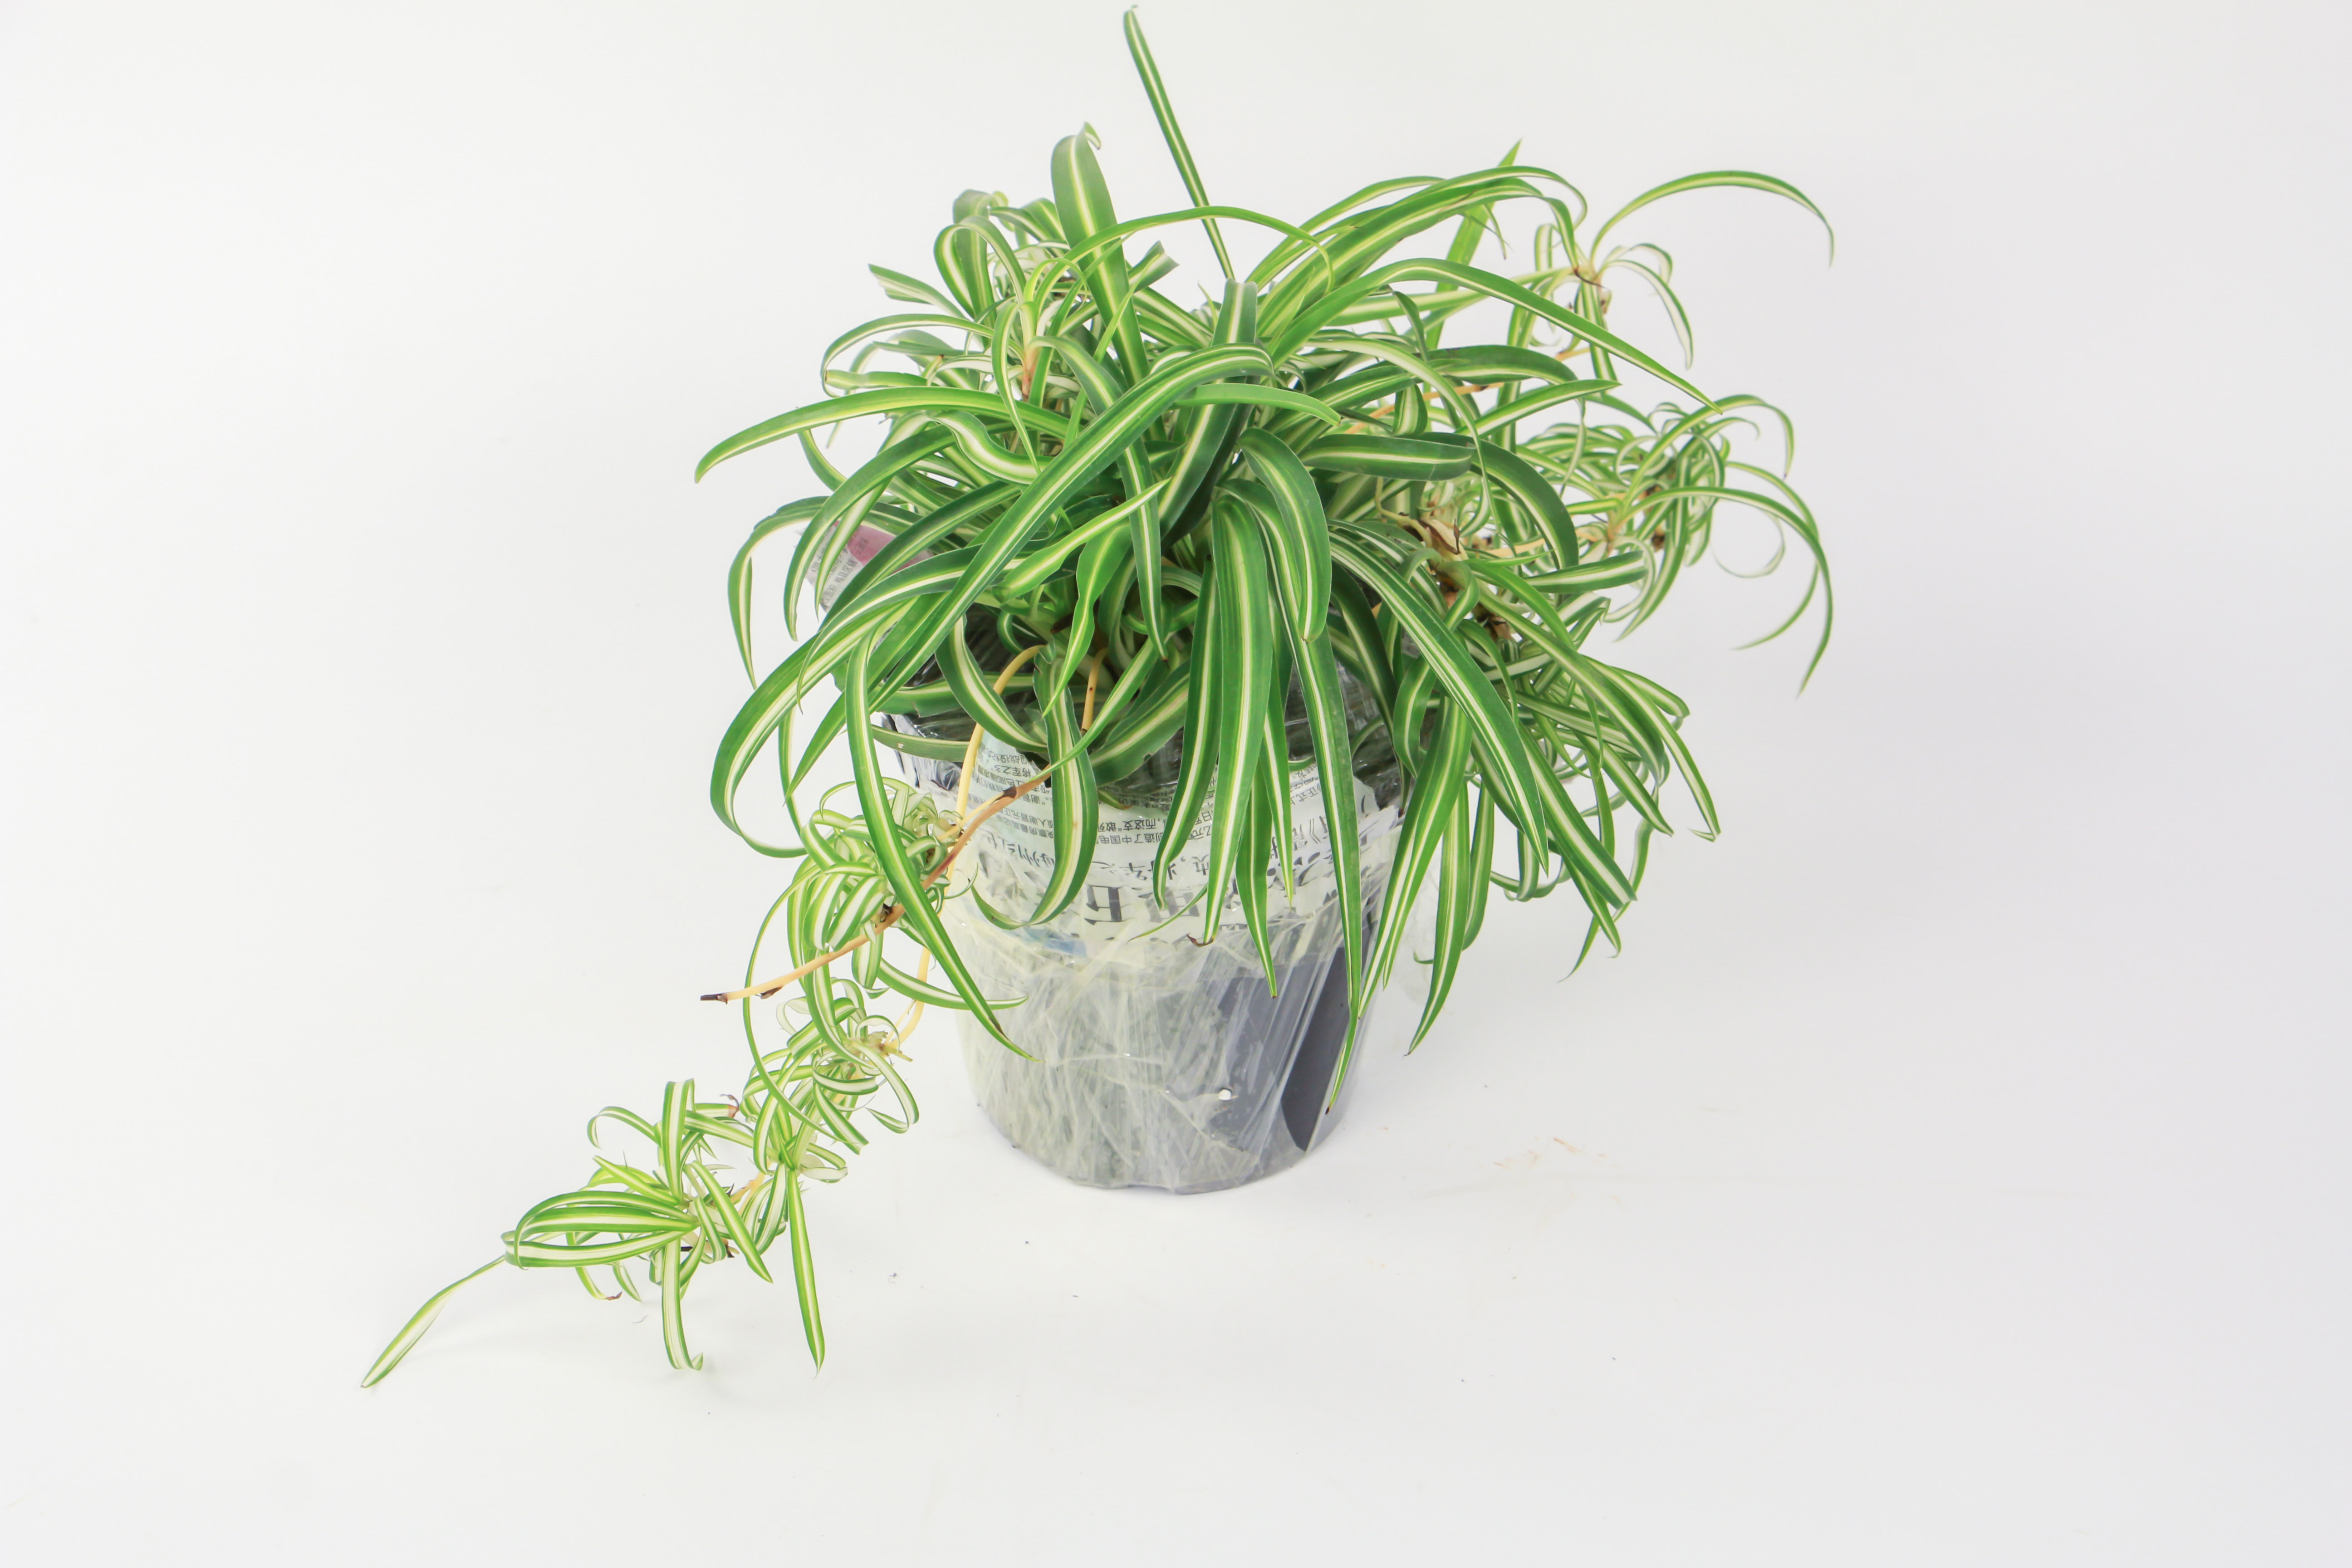
Hupilan leaf insert

Hupilan should be regarded as a flower that can be easily planted with leaves. It is not only convenient and simple, but also takes root quickly after cutting. It is especially easy to burst the pot. It is very convenient to operate
Blade insertion steps:
1. Select a healthy leaf from the plant of tiger skin orchid, and then cut the leaf into small segments with a sterilized knife
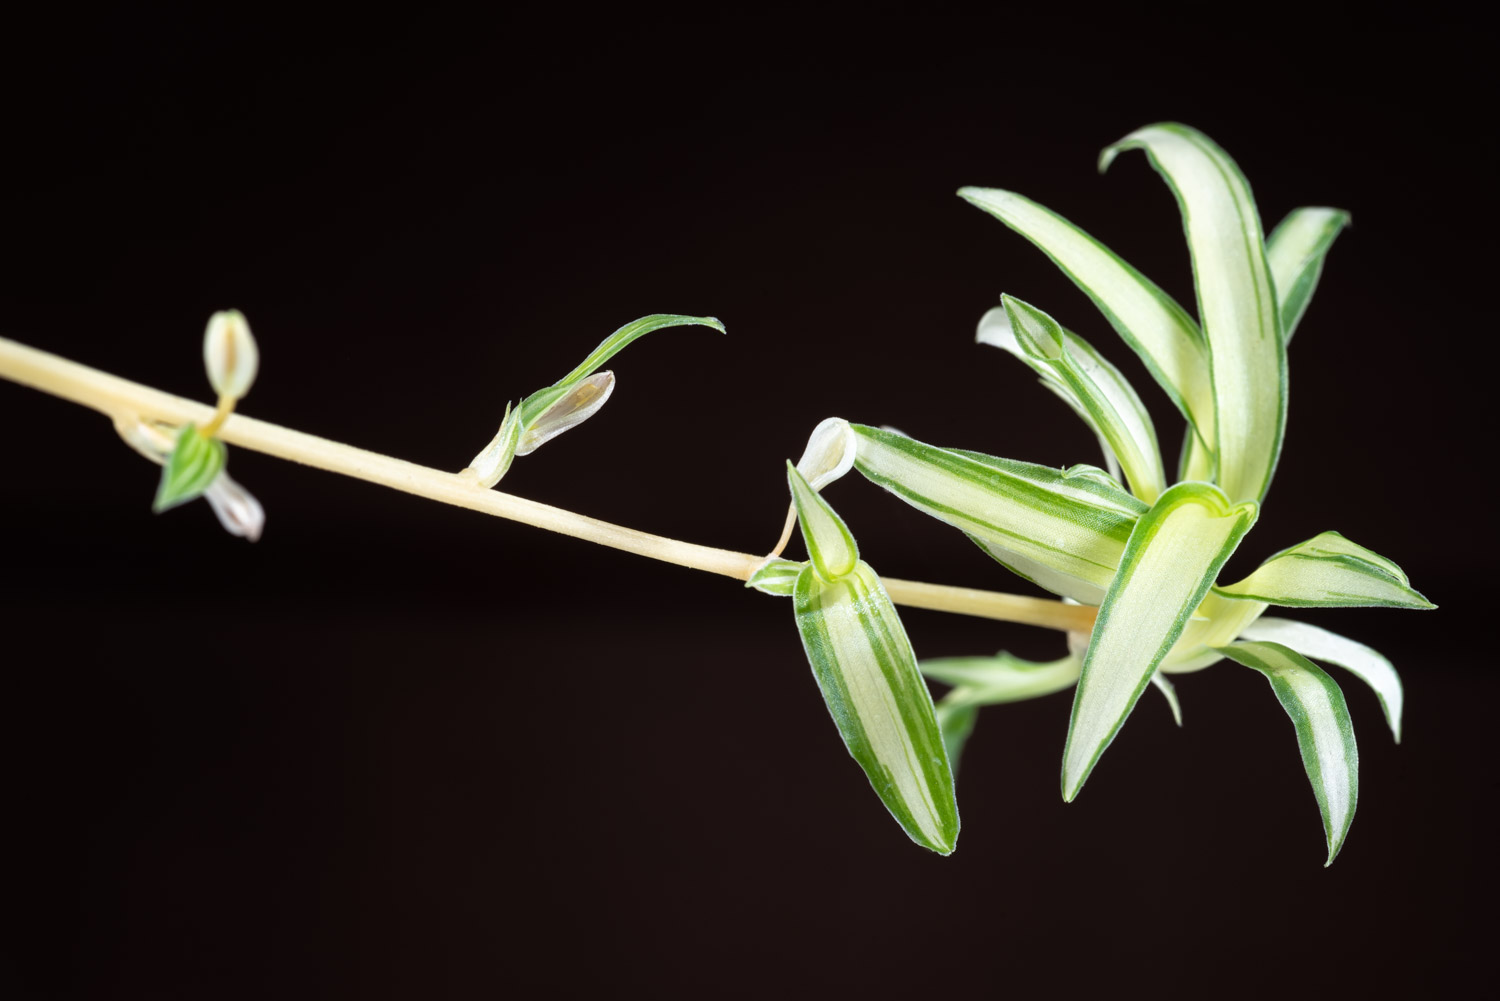
2. In order to take root quickly, it can be soaked in rooting water. If there is no rooting water at home, you can also go to the side of the road to break a willow branch, then cut it into small sections of 5-7m and soak it in water for about 10 days. The willow branch leaching solution obtained in this way has the same effect as the rooting agent
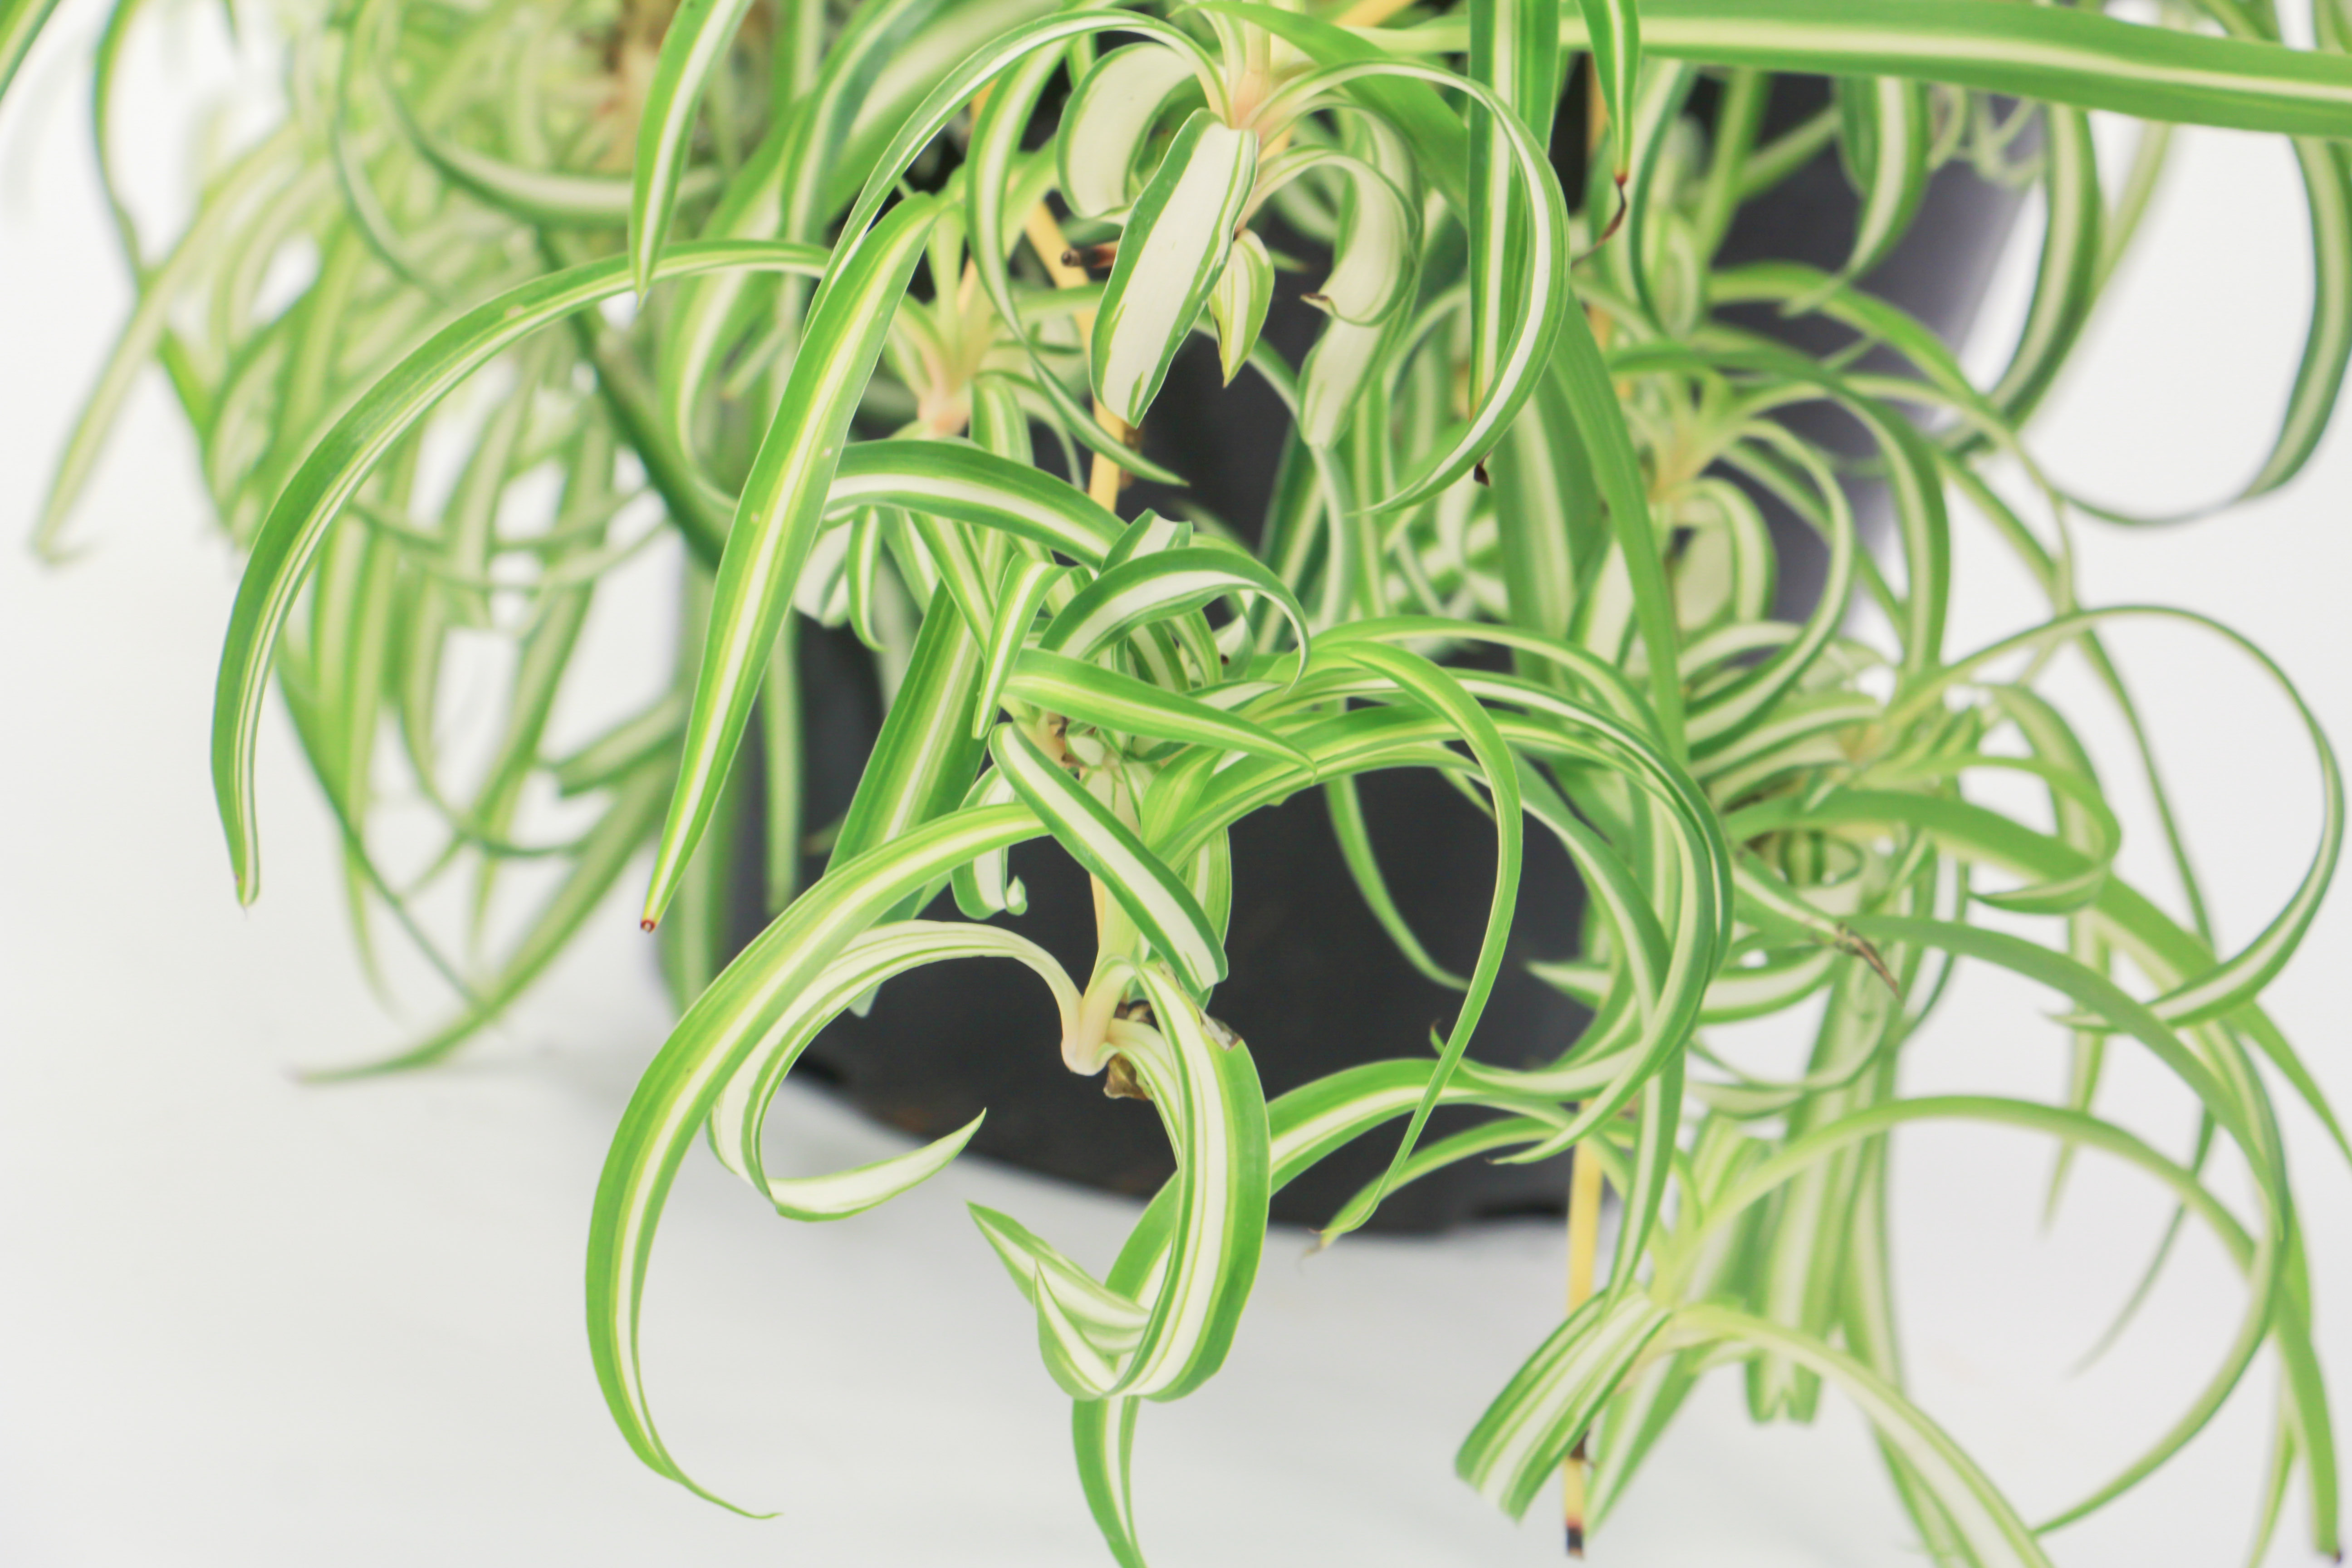
3. Prepare the soil for cutting. Peat soil and perlite (river sand) can be mixed in the ratio of 2:1, and the leaves of dried wounds can be inserted into the soil. To make the tiger skin orchid sprout quickly, you can cover a plastic bag on the flowerpot after cutting, and then poke several small holes to ensure ventilation for 3 hours a day
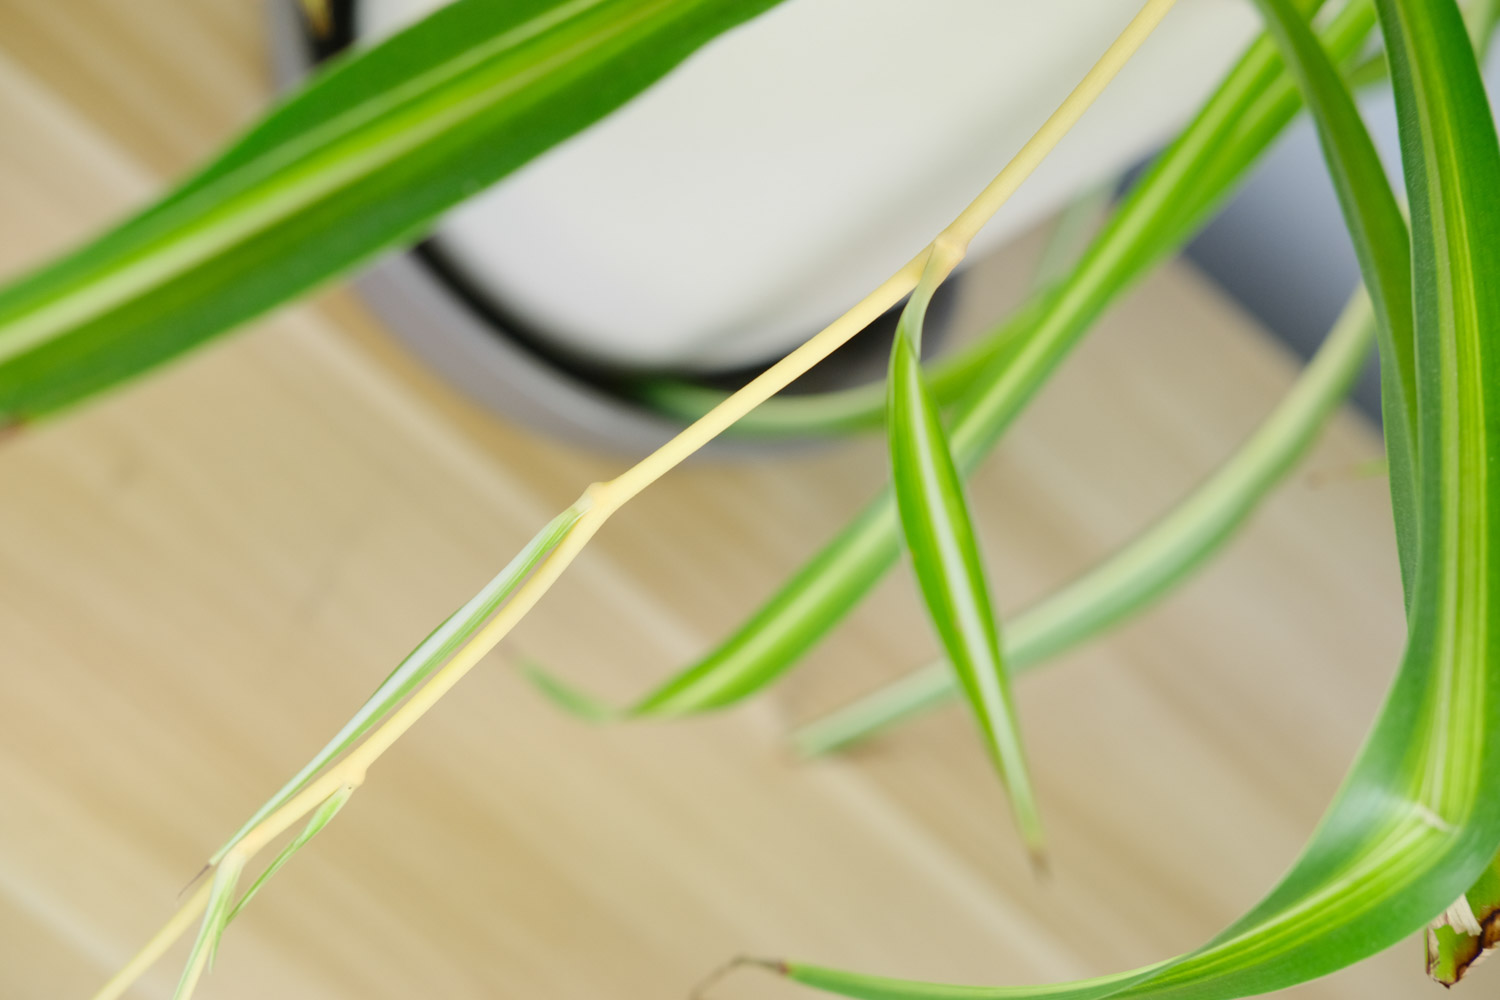
4. Put the cutting hupilan in a cool and ventilated place. In less than one month, the cutting hupilan can take root and grow small buds
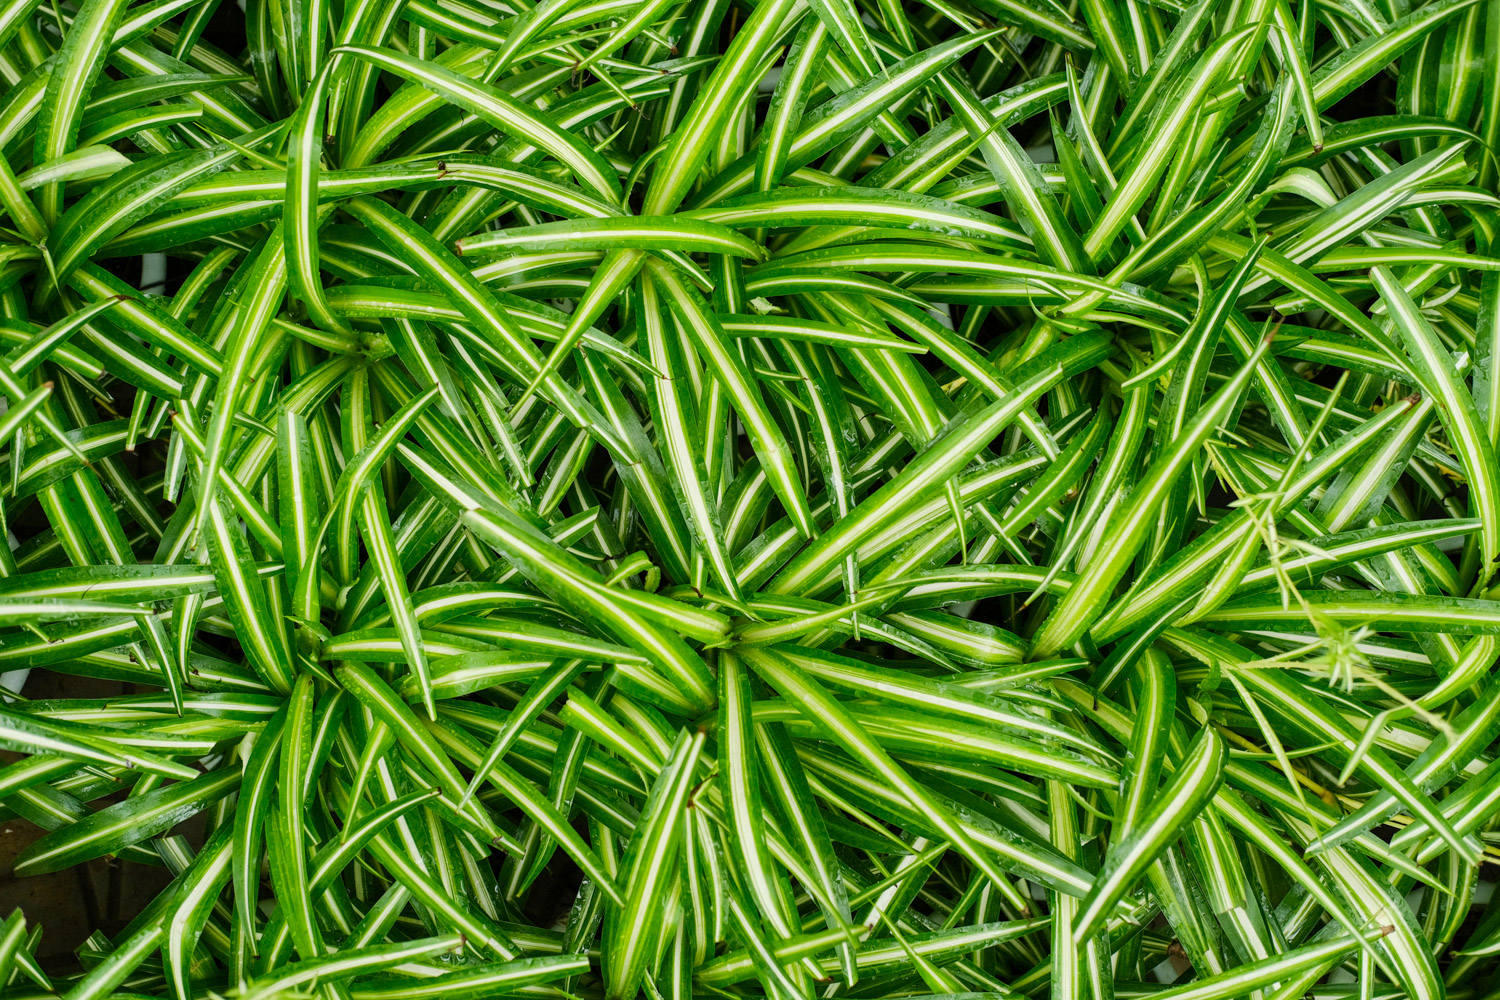
5. Put a basin on hupilan. Transfer the rooted hupilan to the flower pot, pour water once in about 3-5 days to ensure that the basin soil is wet, and apply rotten thin liquid fertilizer once in half a month, so that the hupilan can burst the basin quickly
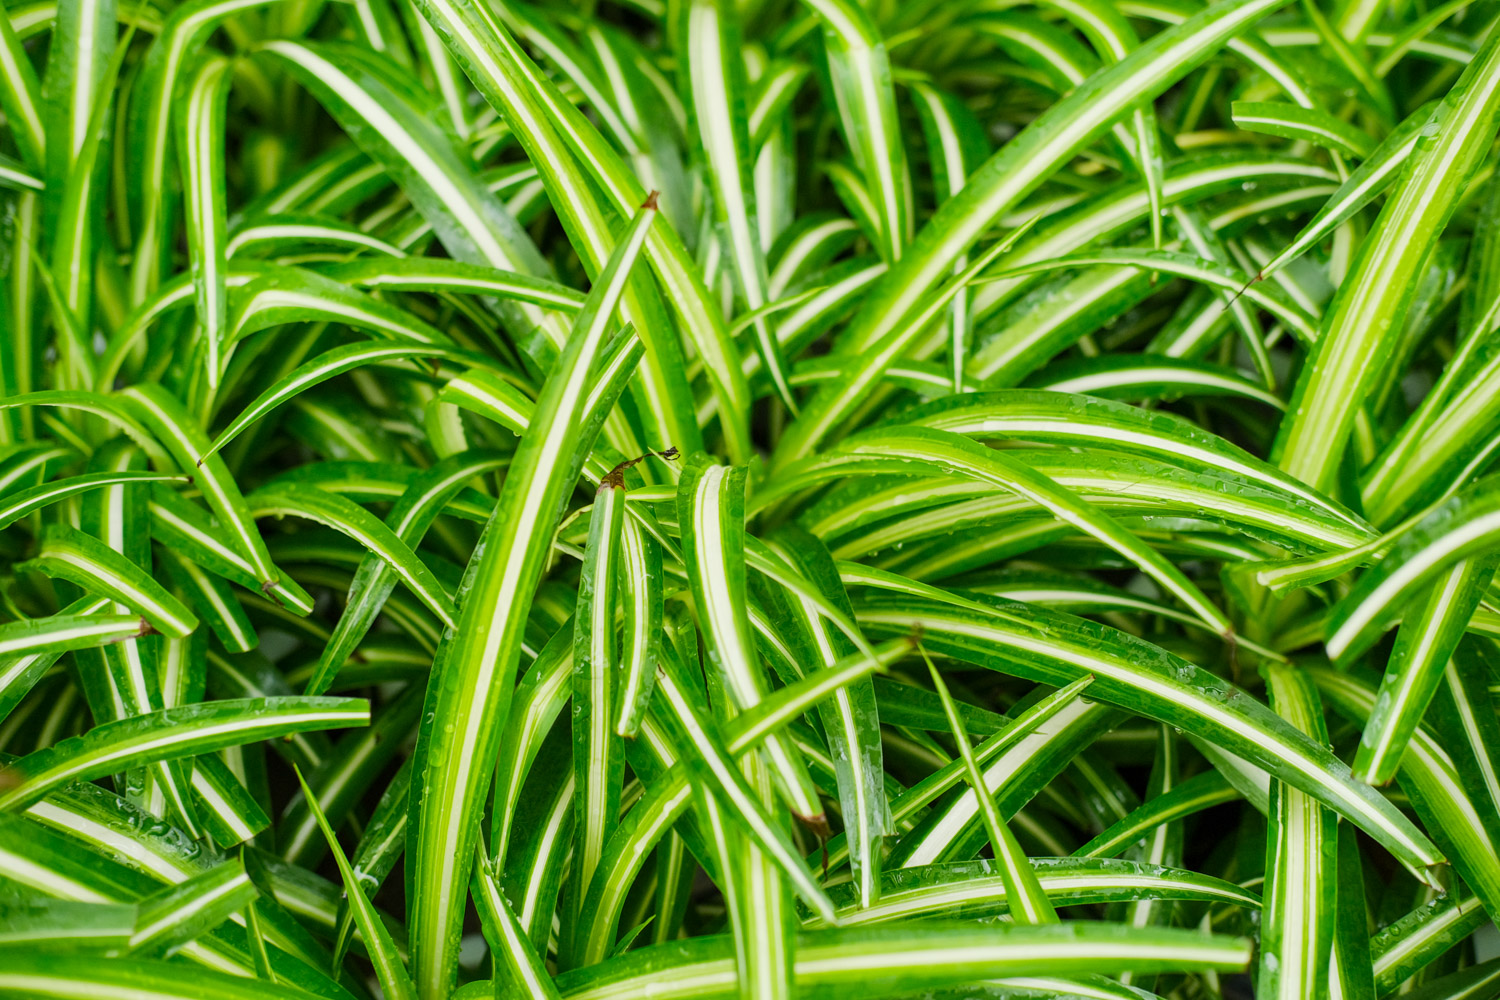
Clivia ramet
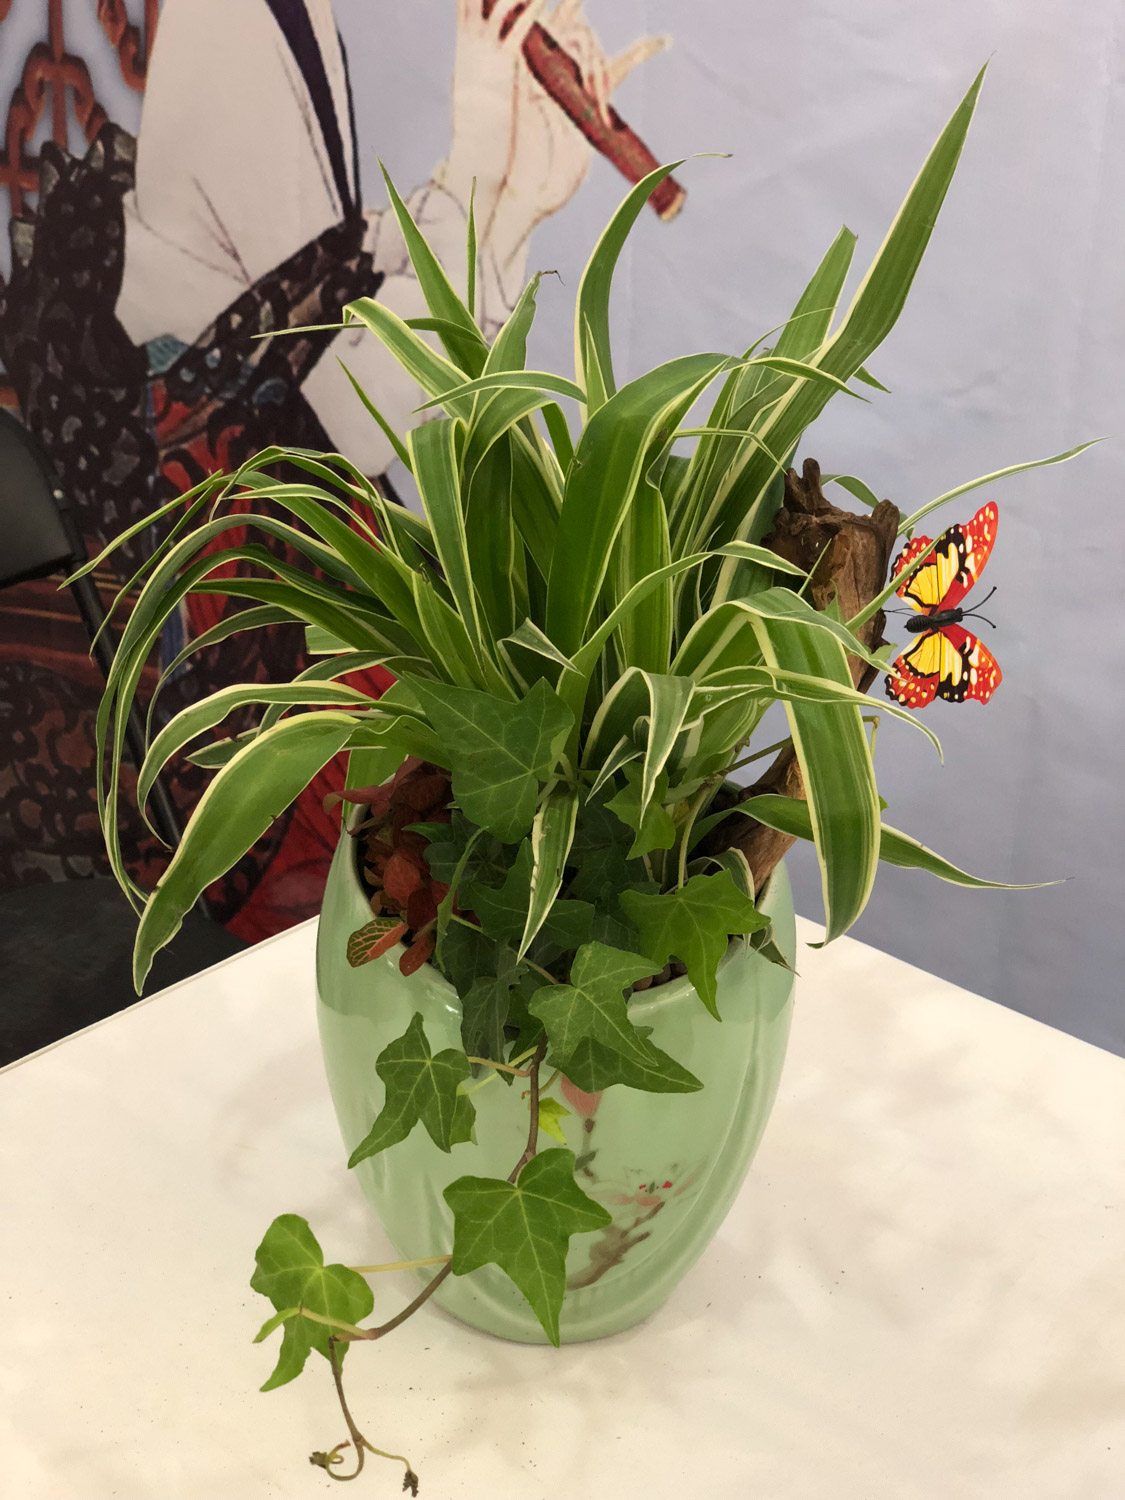
After growing for several years, Clivia will explode cubs next to the mother plant. We can divide several Clivia plants in this way
Branching steps:
1. Flower friends, if you find that the Clivia explodes cubs at home, and the leaves of the cubs grow to 3-4 leaves, you can ramet
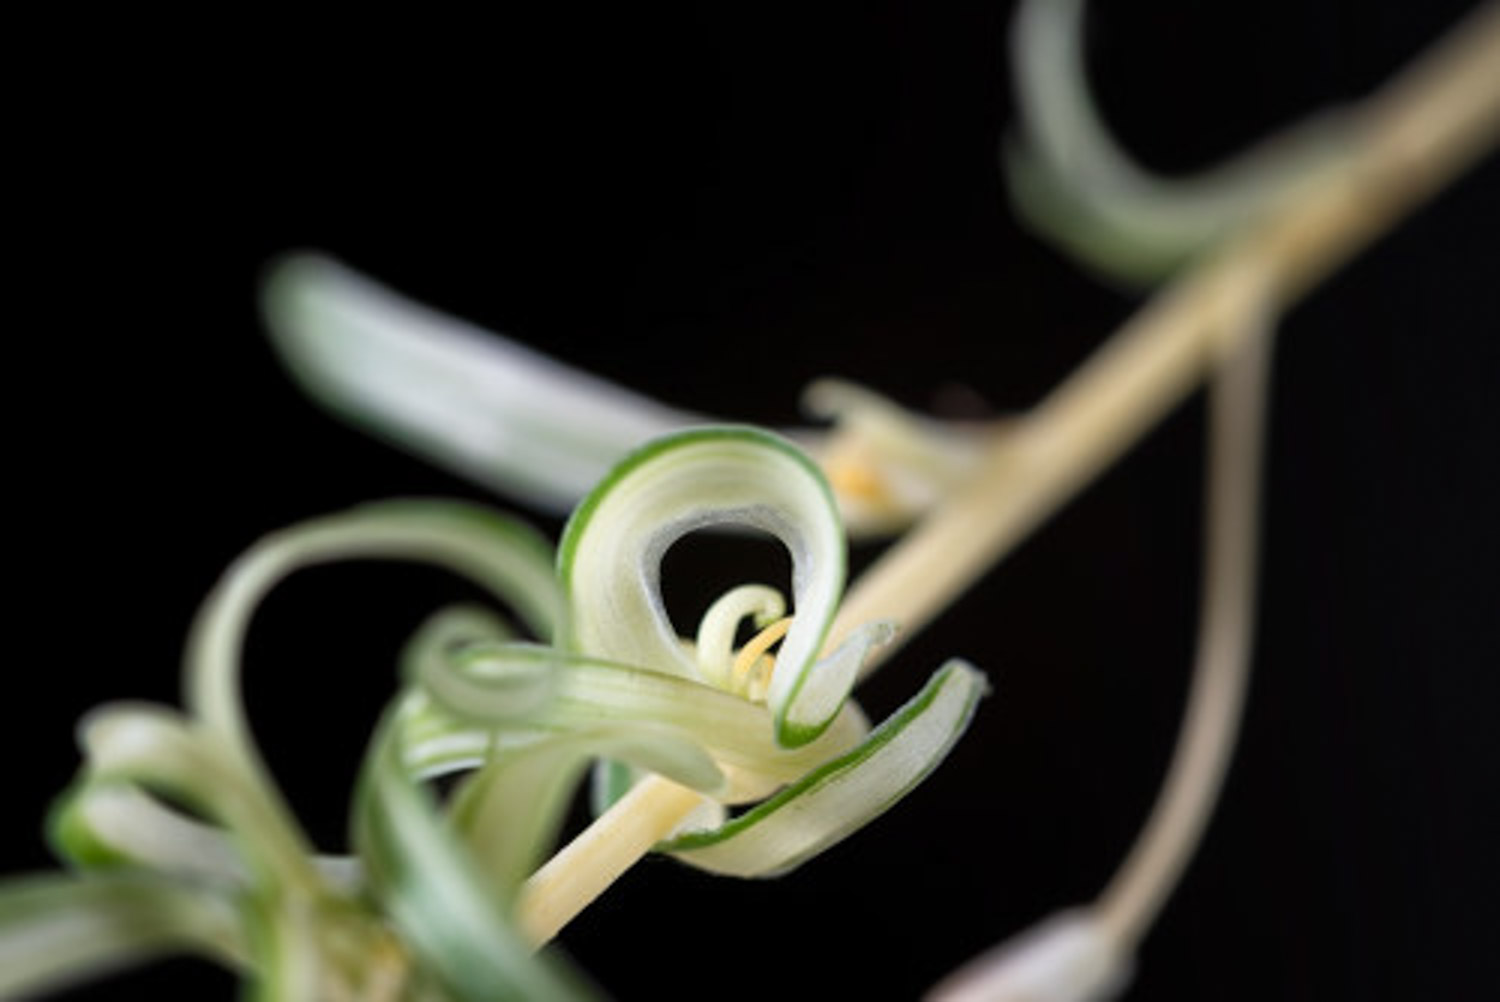
2. To separate the Clivia, we need to prepare the things needed for the separation in advance: sterilized knives, carbendazim for disinfection, etc
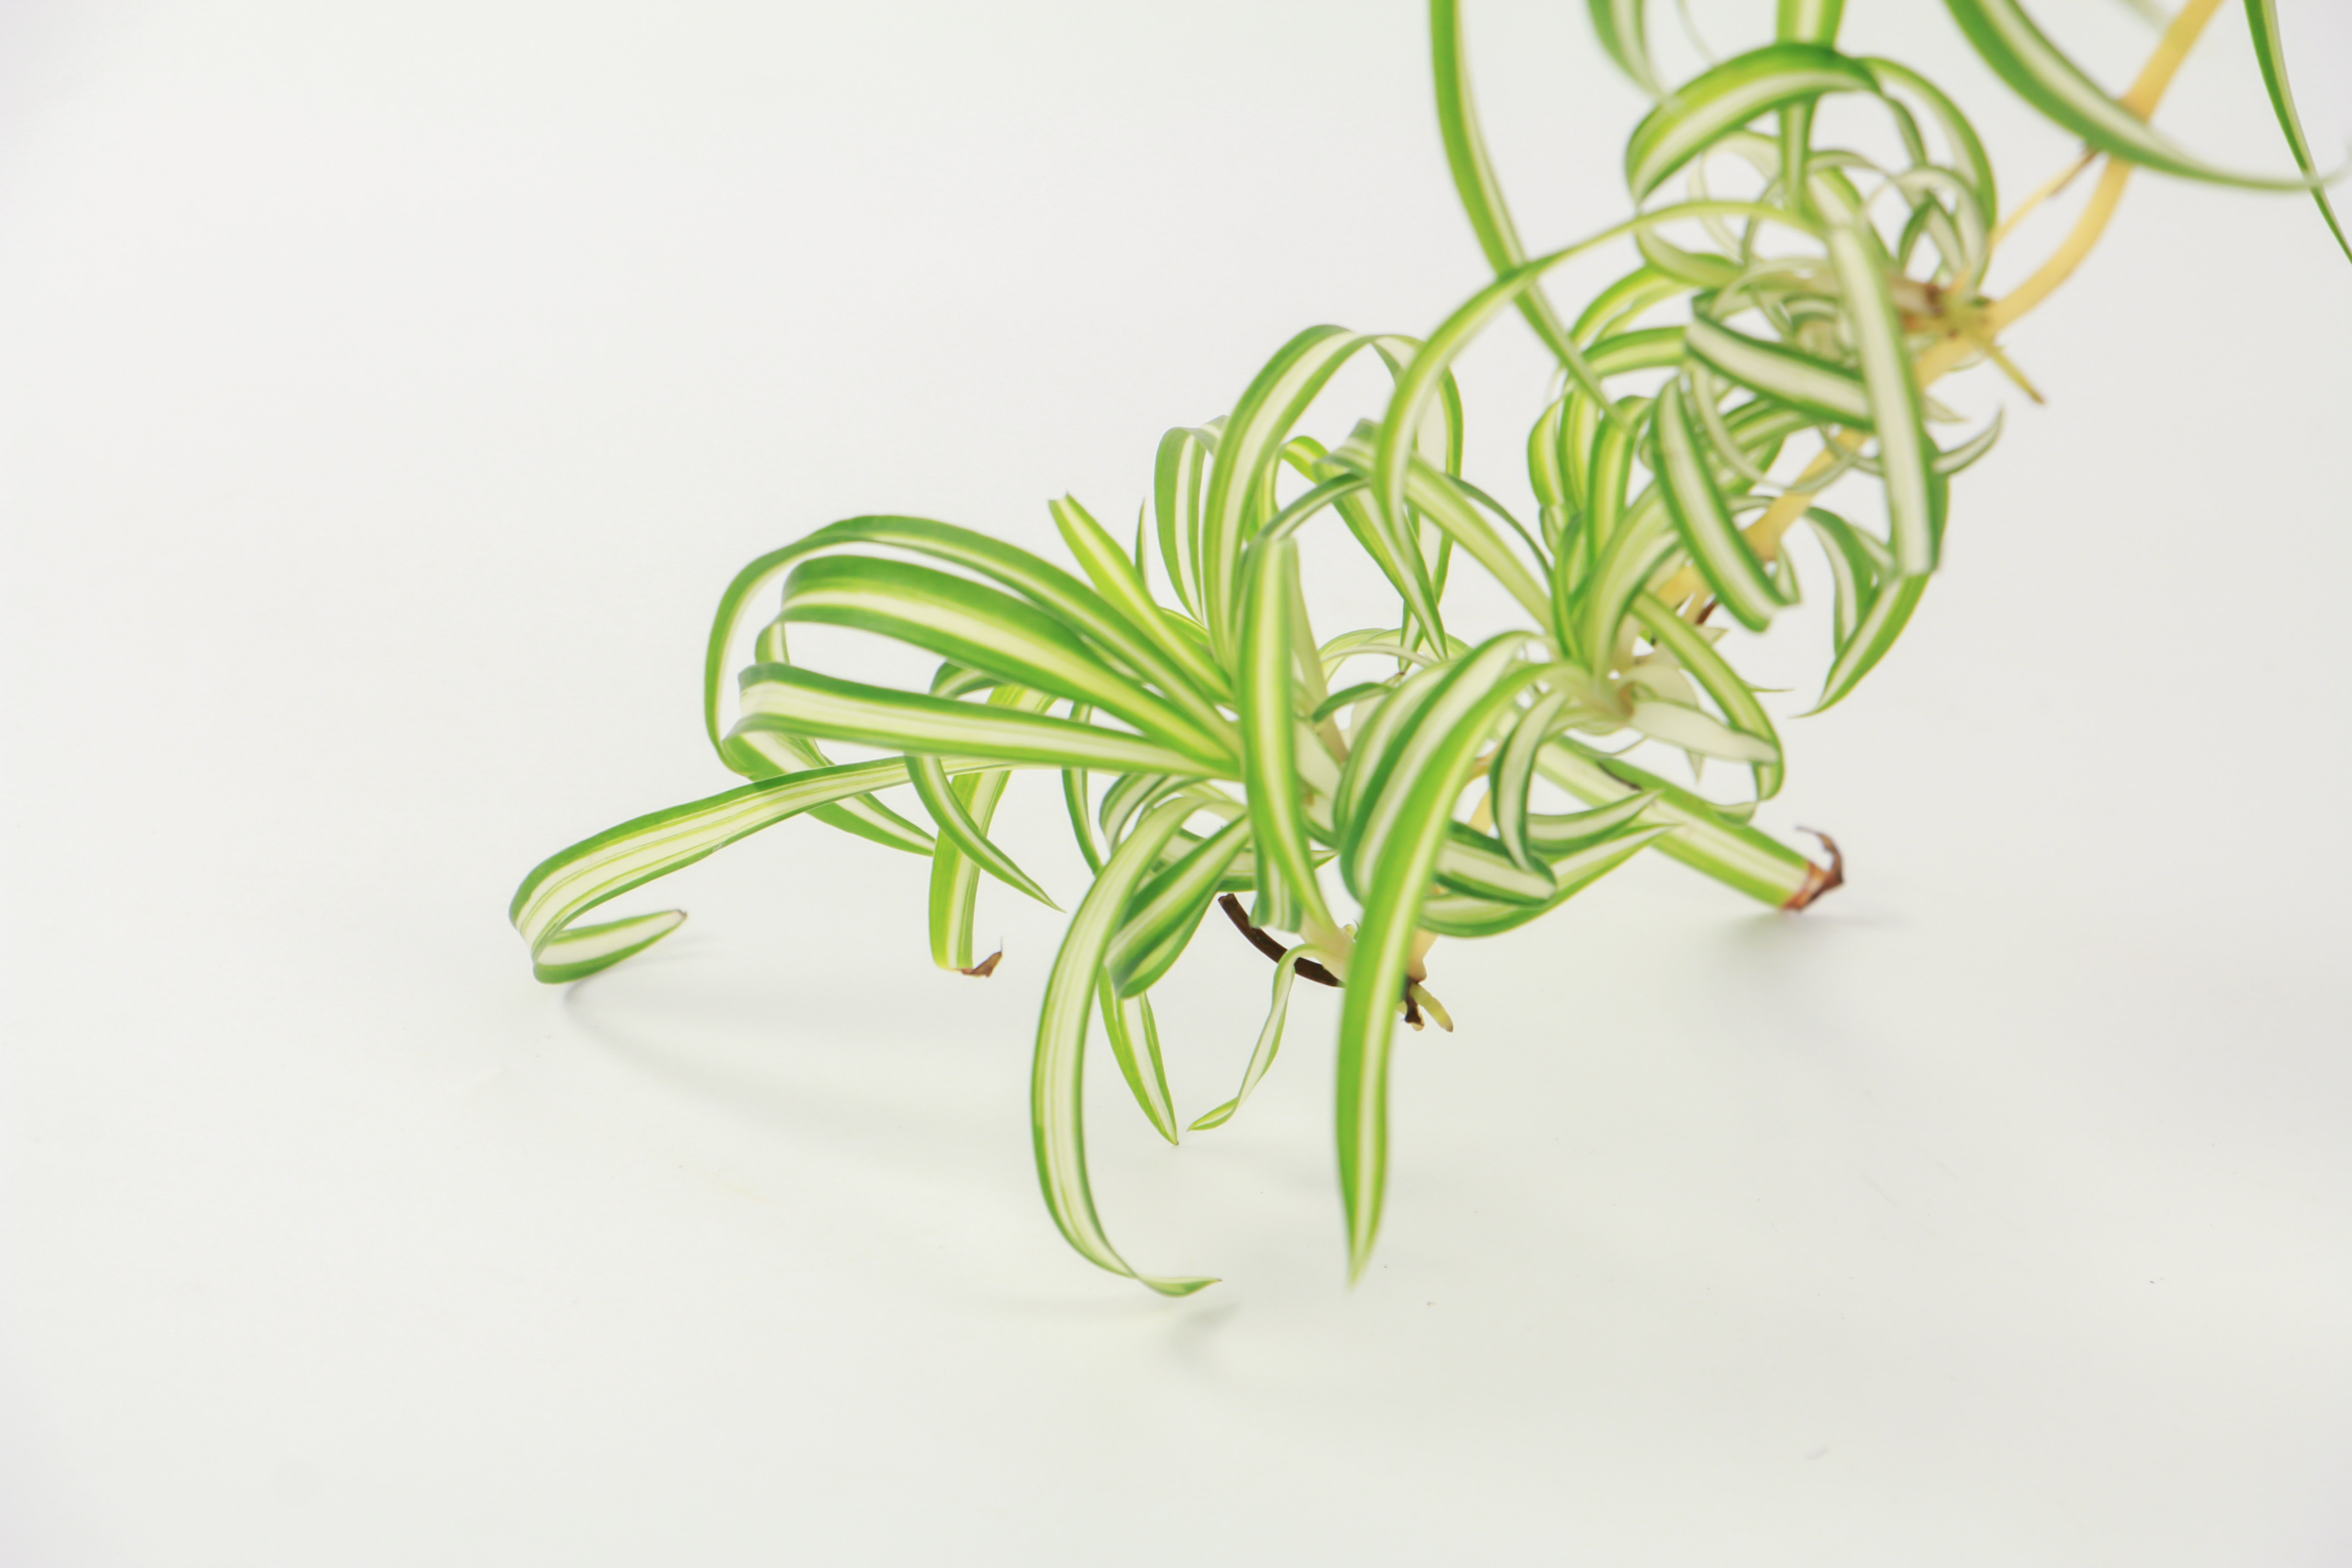
3. Take off the basin of Clivia and clean up all the soil on the root system of Clivia
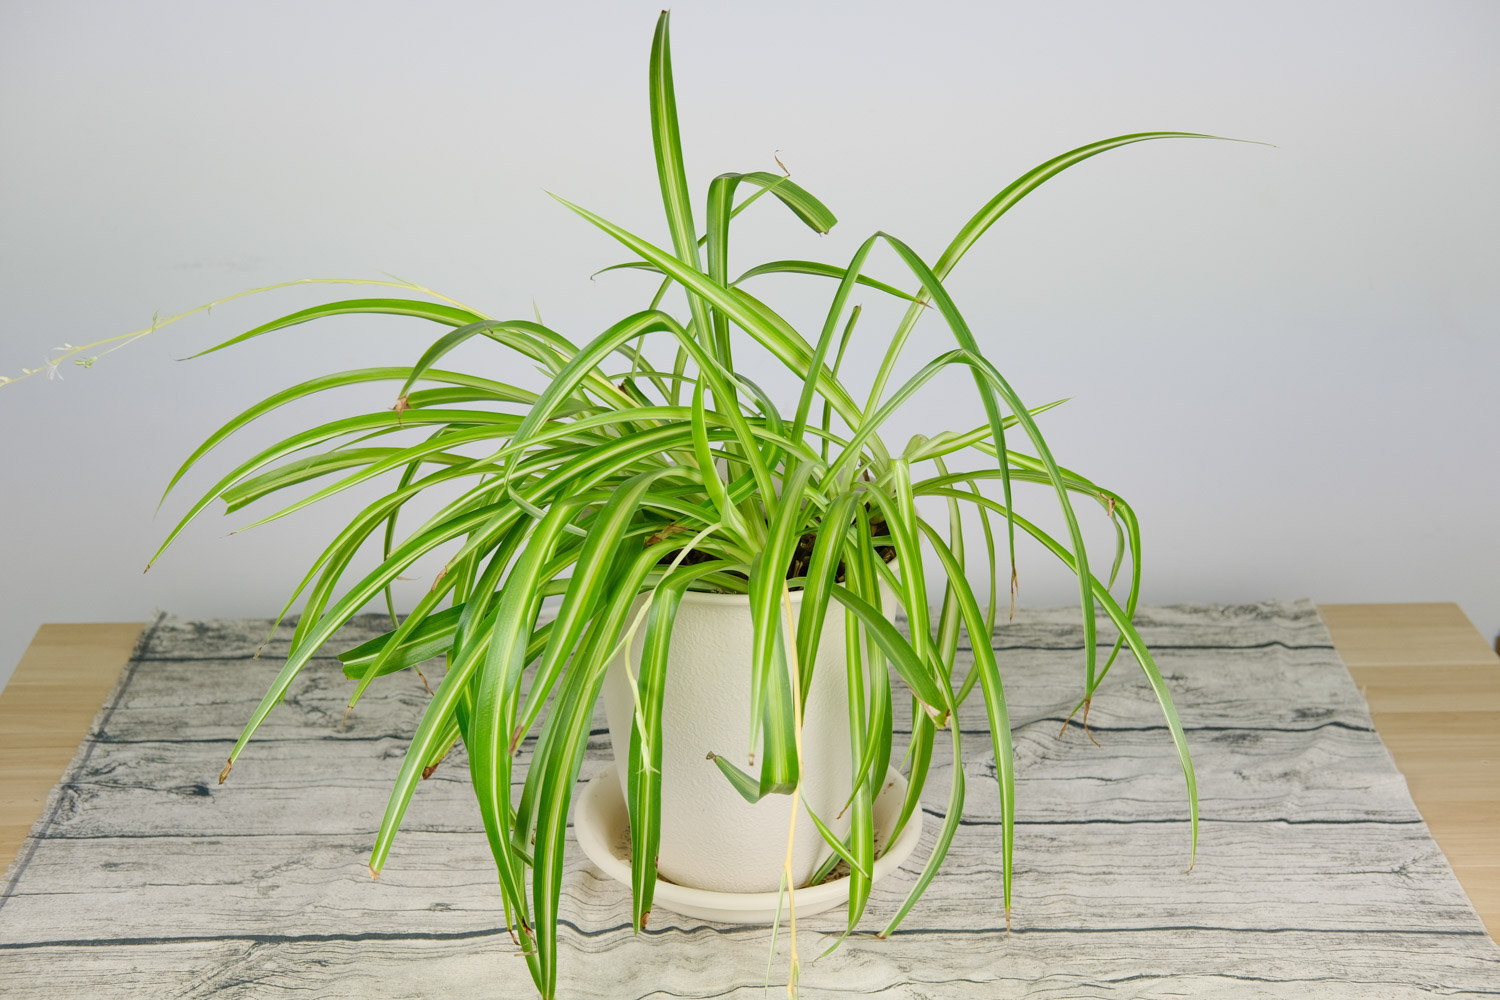
4. After cleaning, soak the roots of Clivia in carbendazim solution for about 1 hour, and then dry them in a cool and ventilated place

5. When the root system is dried, cut off the root system with small buds from the mother plant of Clivia with a sterilized knife. When cutting small buds, it is best to take a little root system, so that the survival rate can be higher
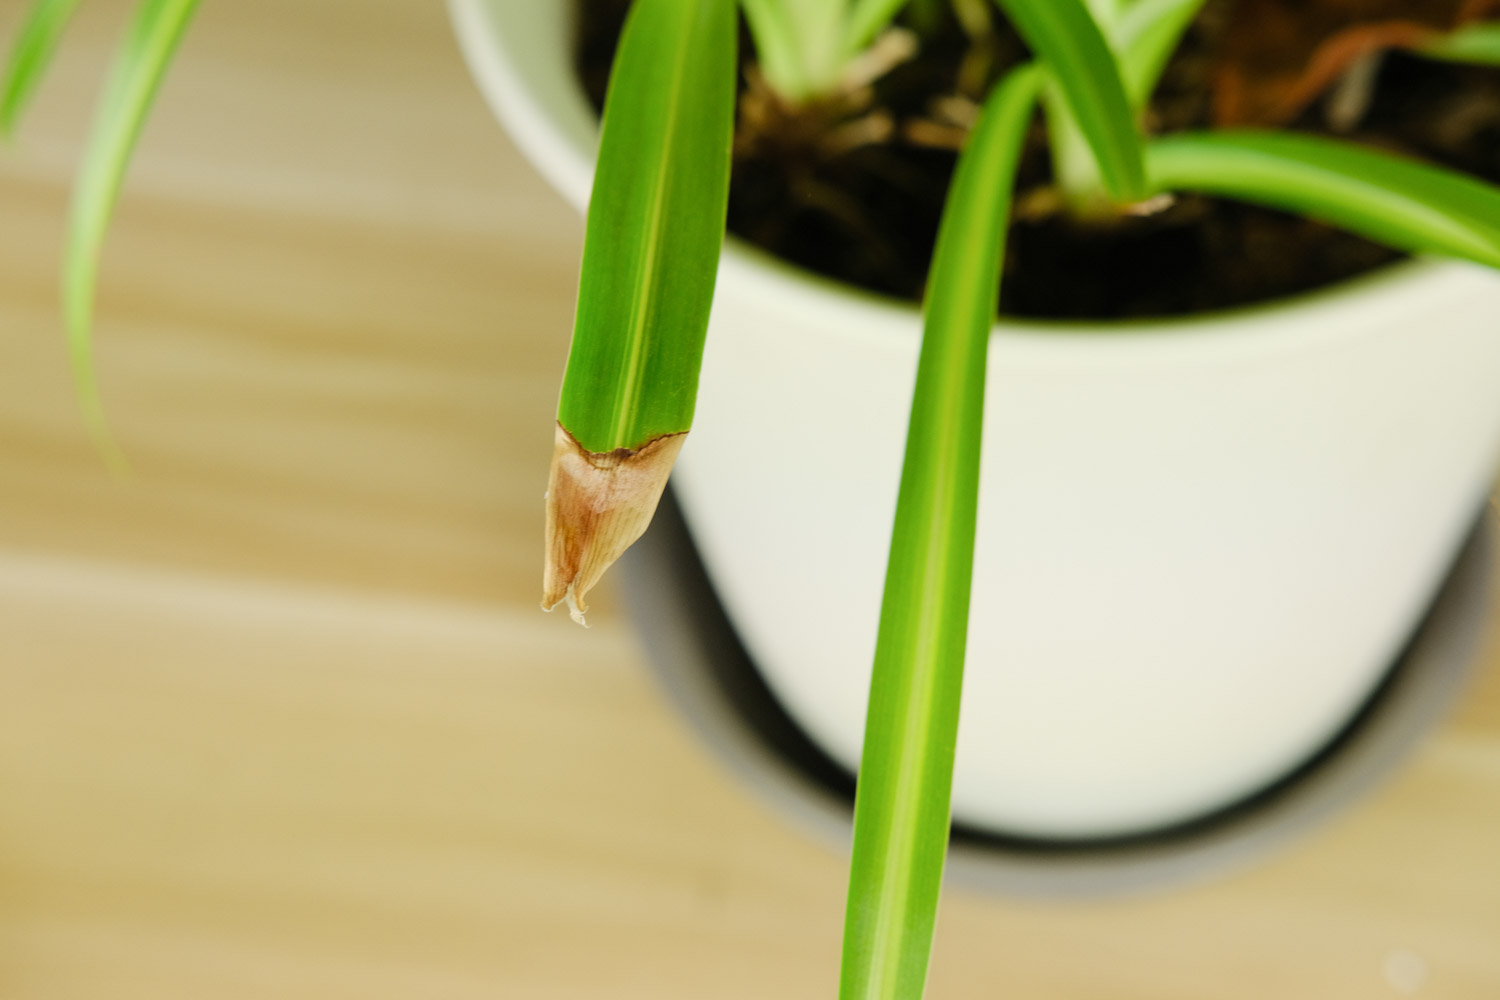
6. Daub carbendazim powder on the wound, then dry it in a cool and ventilated place, and then put it on the basin again. Loose and breathable nutrient soil must be selected for the soil. Peat soil and sand can be mixed in the ratio of 3:1, or a little pine needle can be added
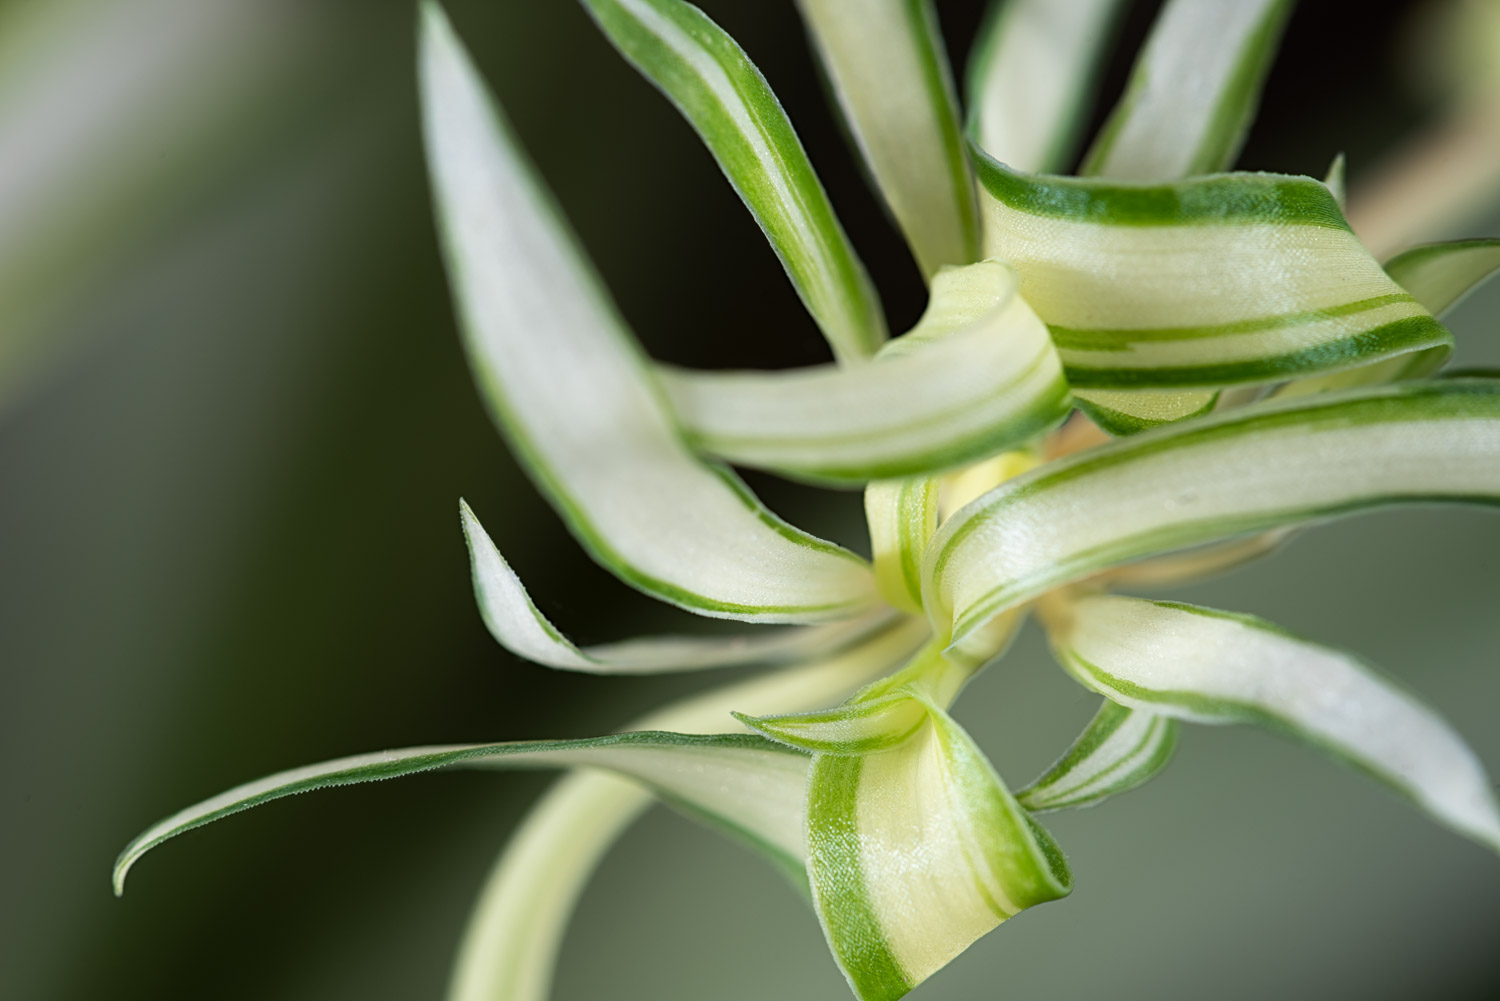
7. After the Clivia is put into the basin again, put it in a cool and ventilated place for maintenance for 2-3 weeks, so that the Clivia can take the basin. In this way, a basin of Clivia will become several basins of Clivia
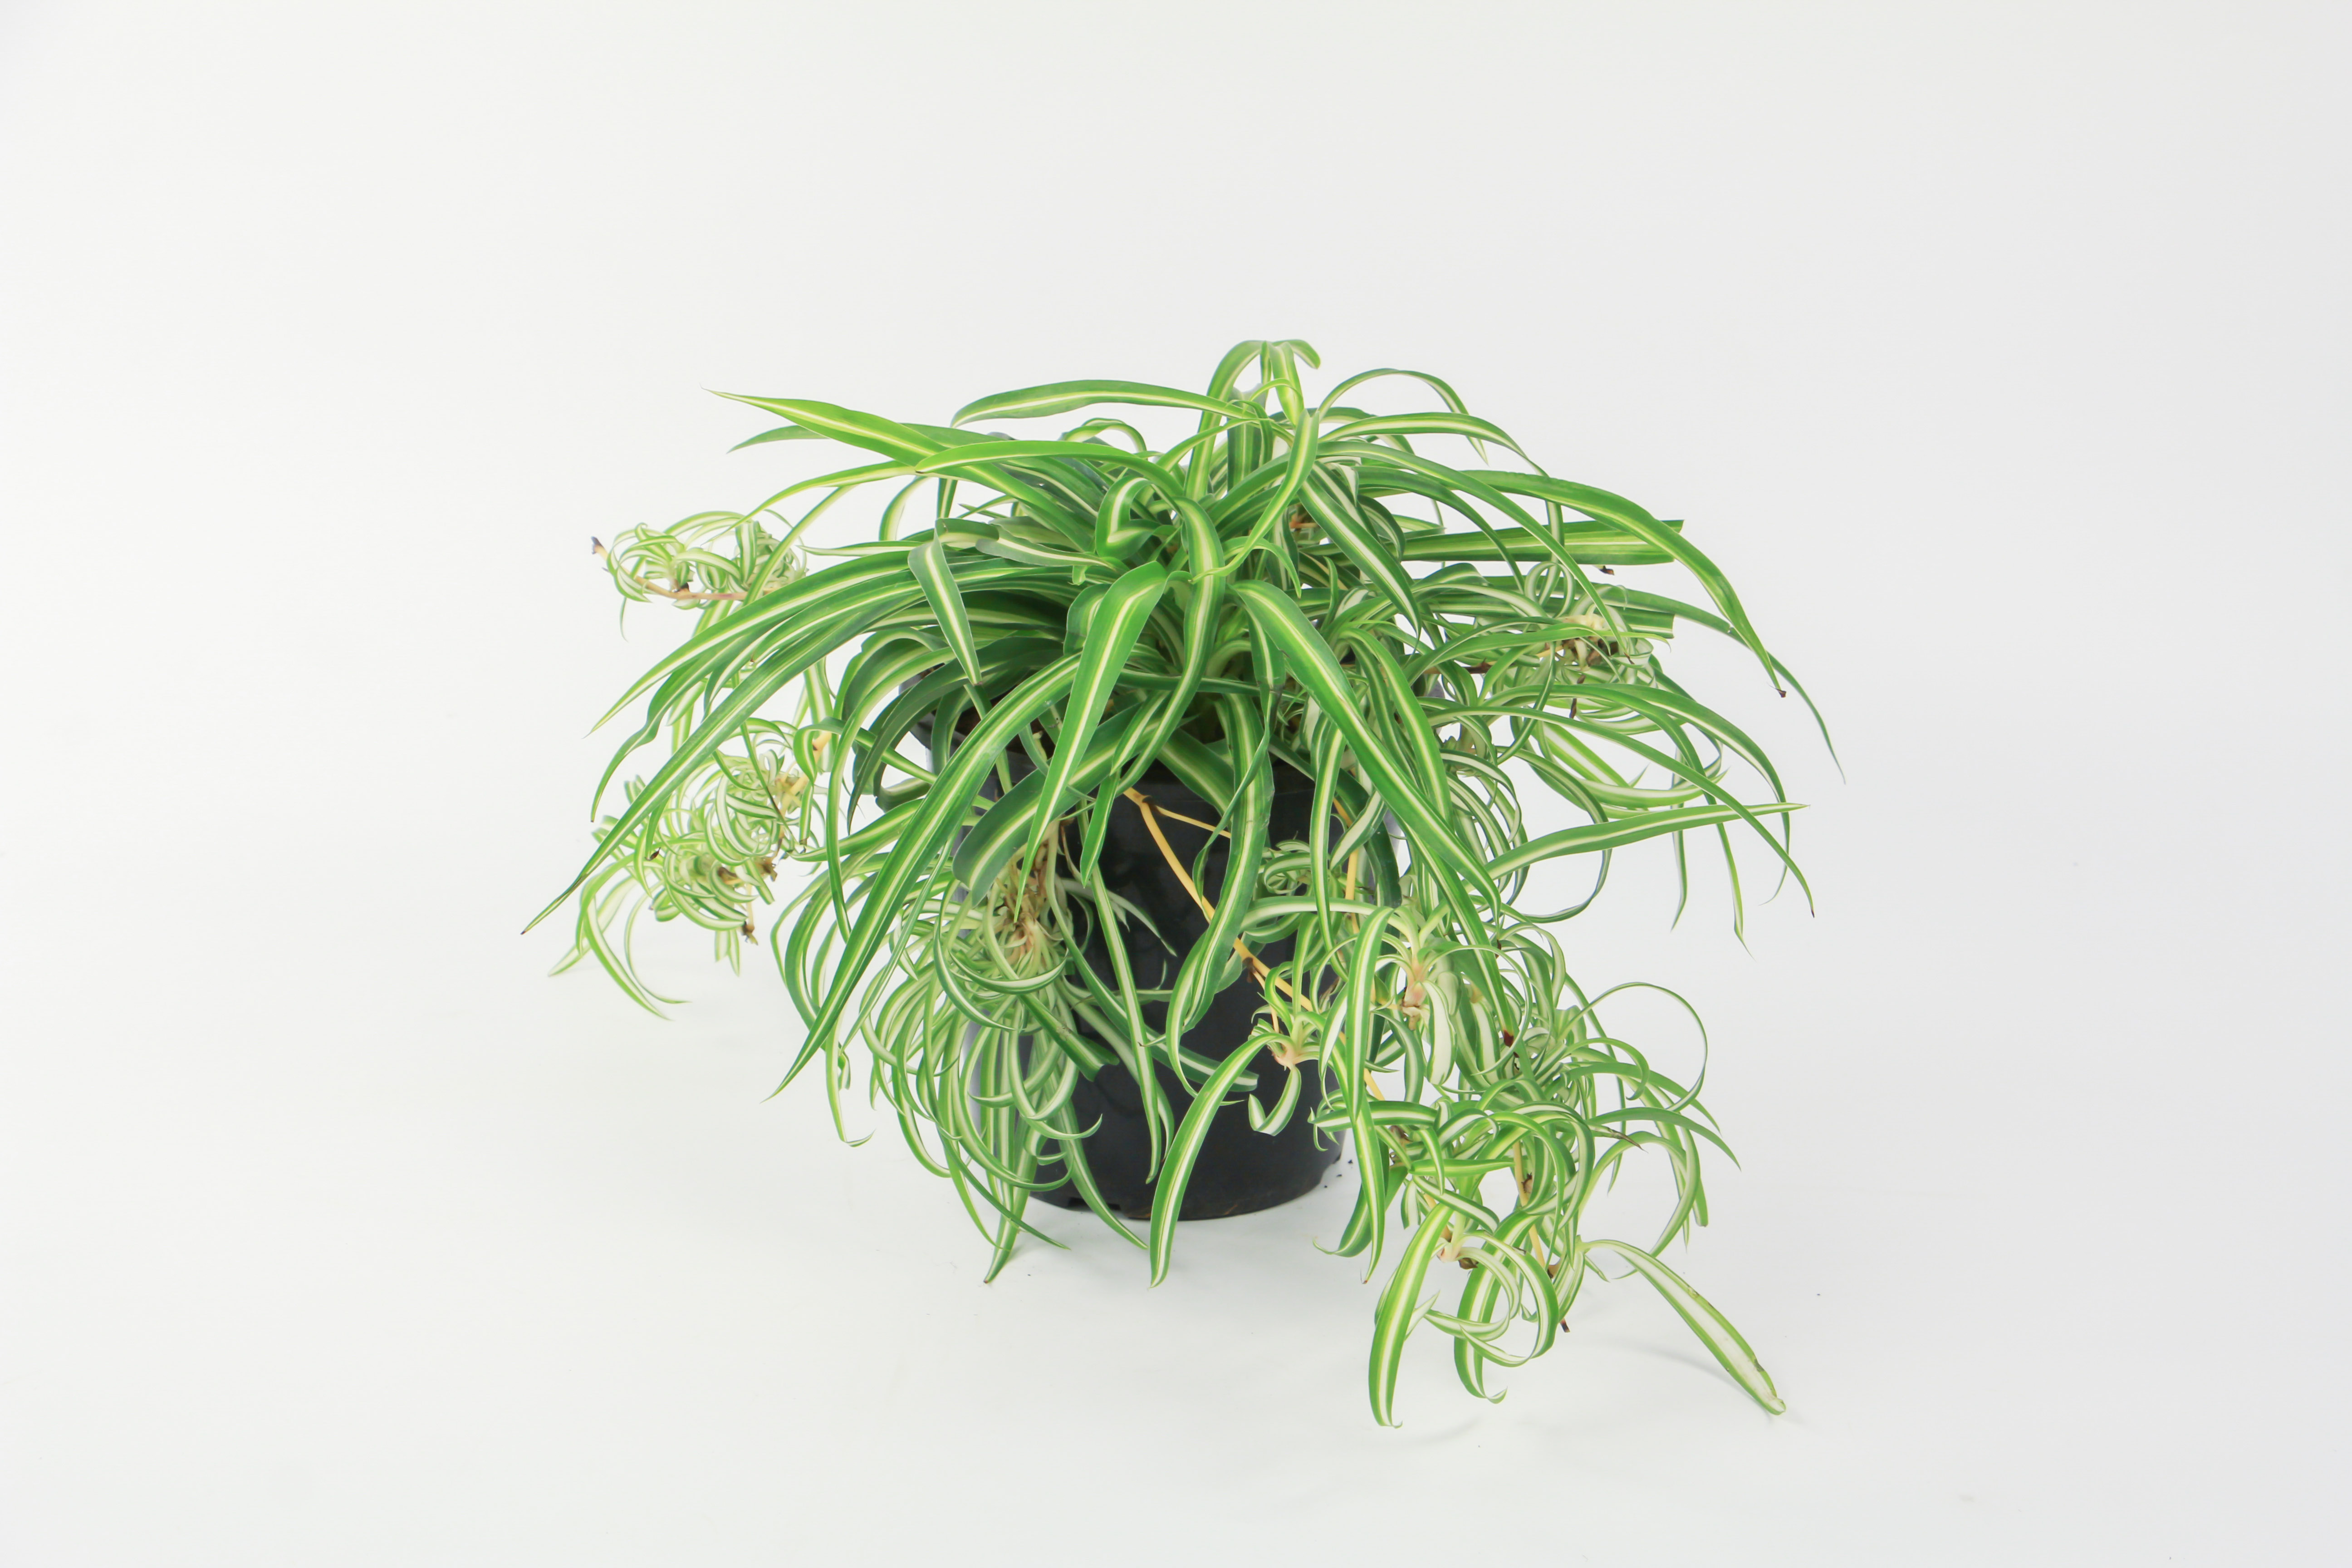
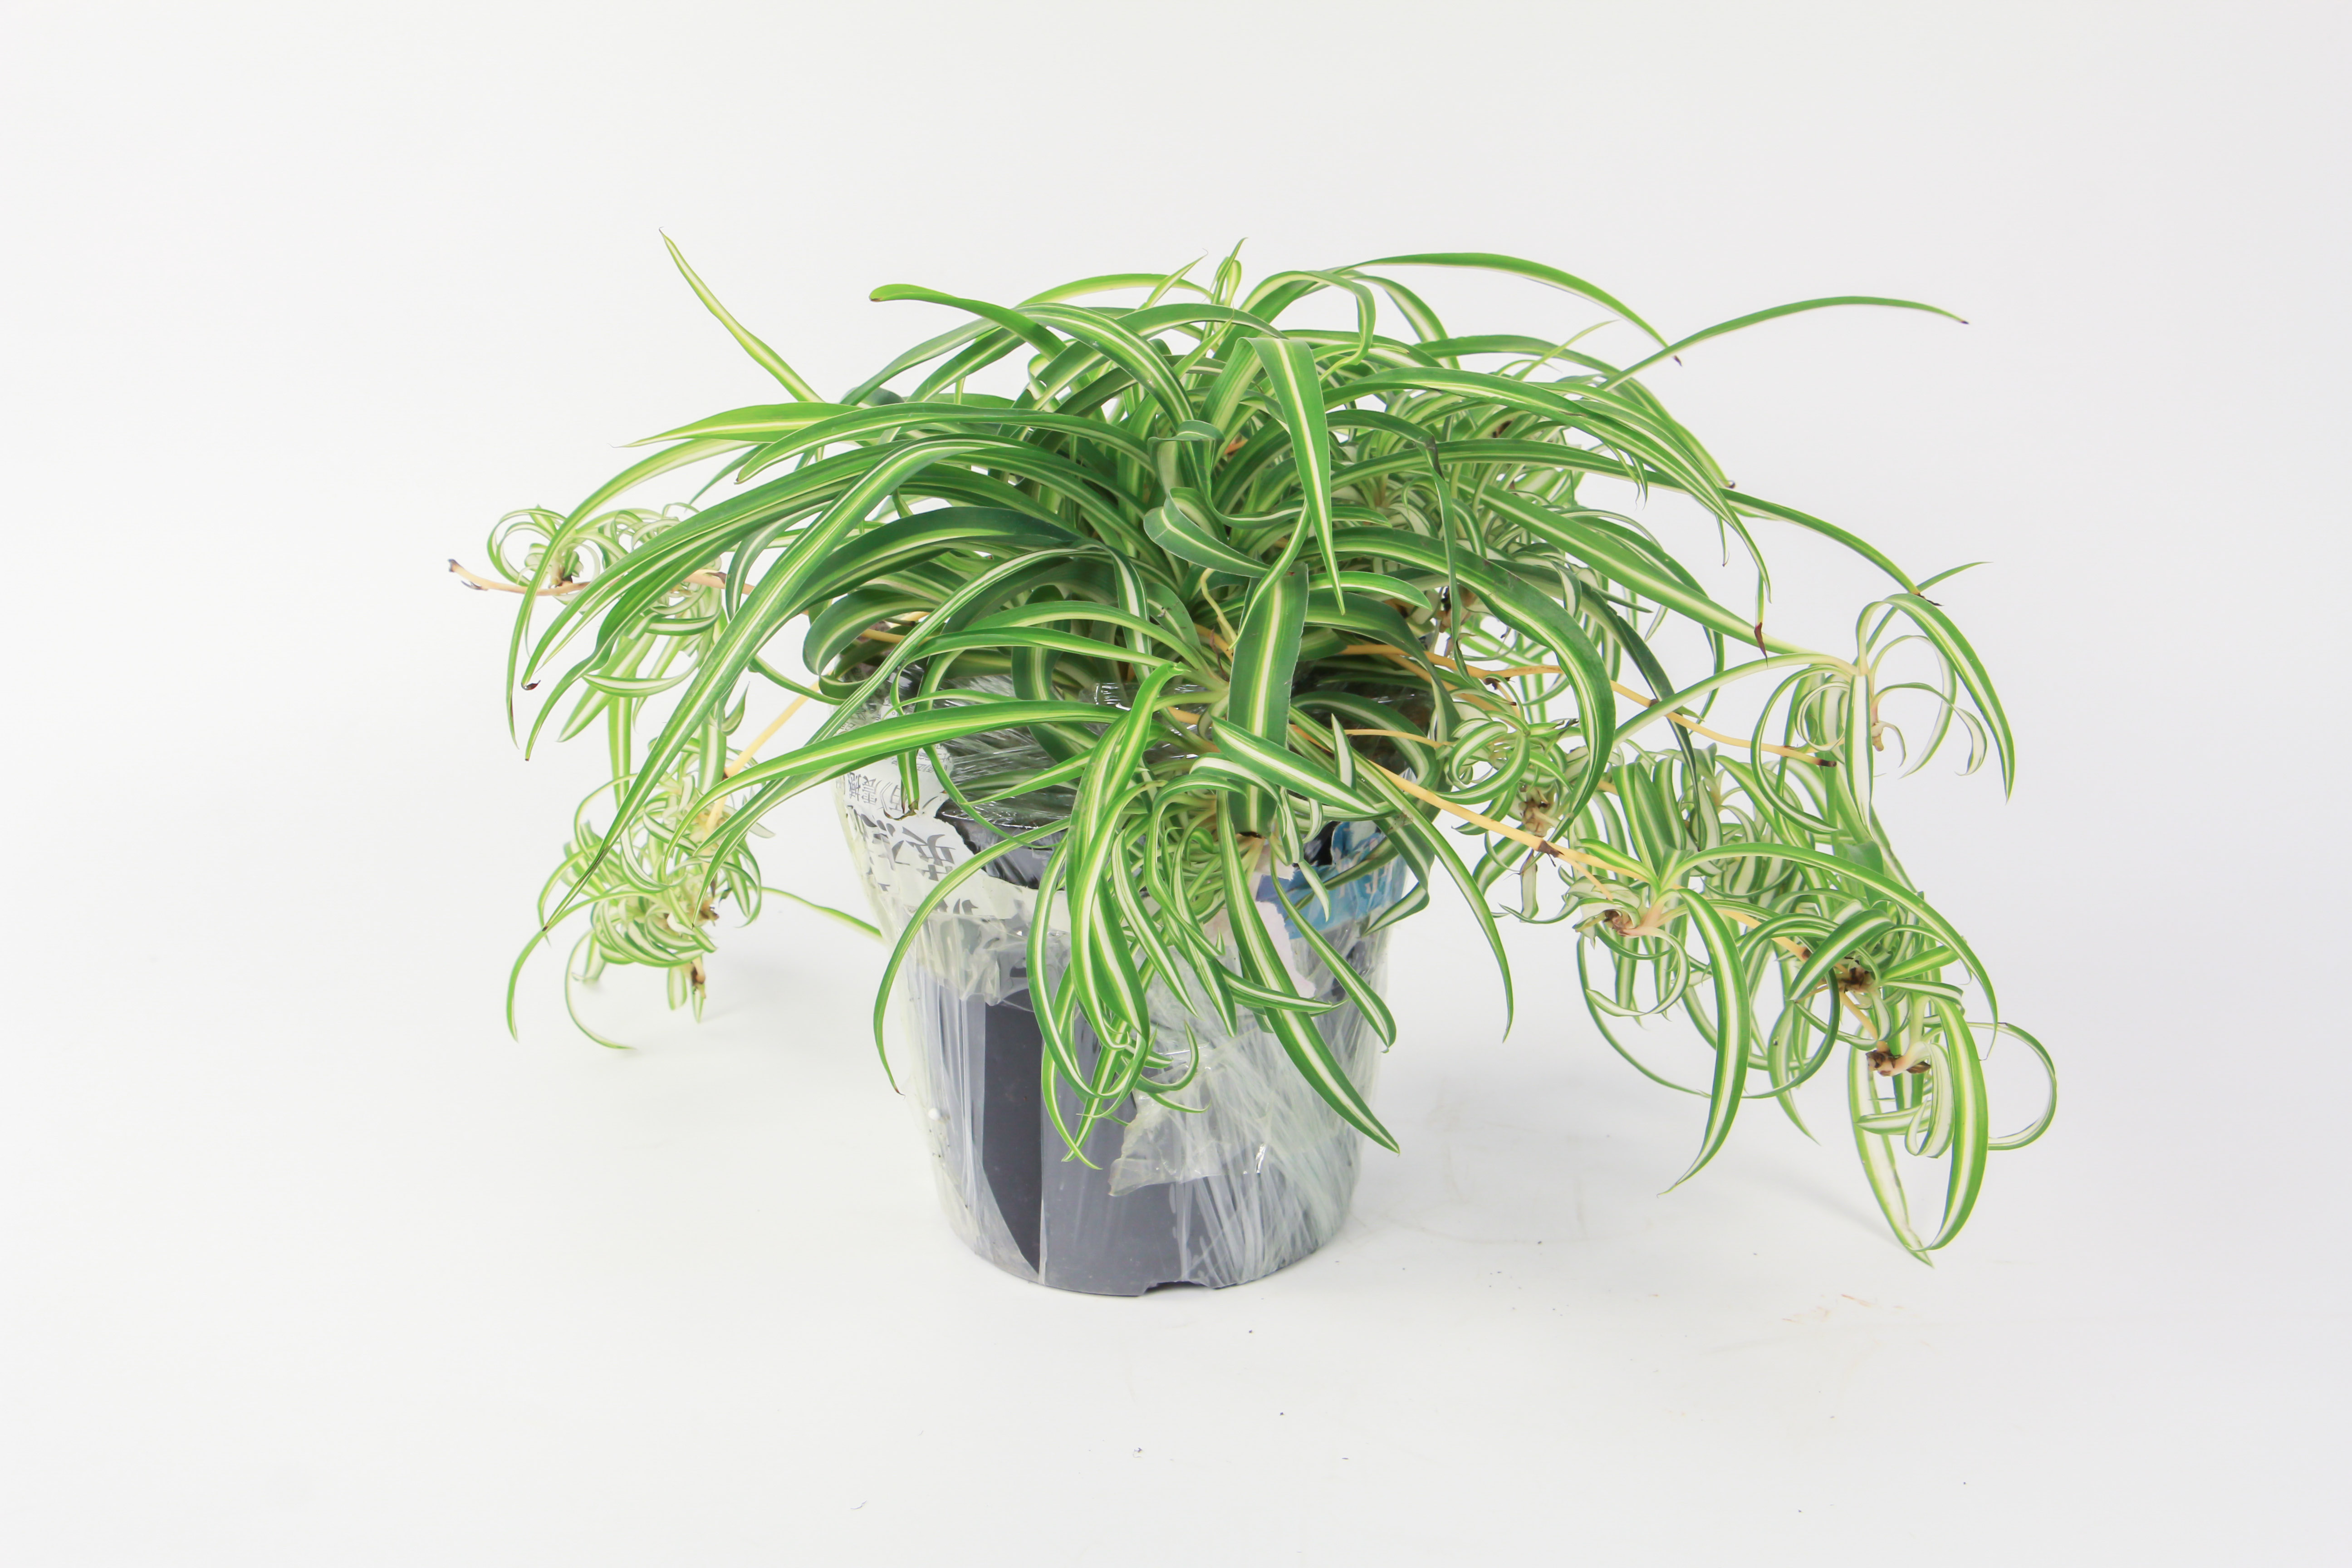
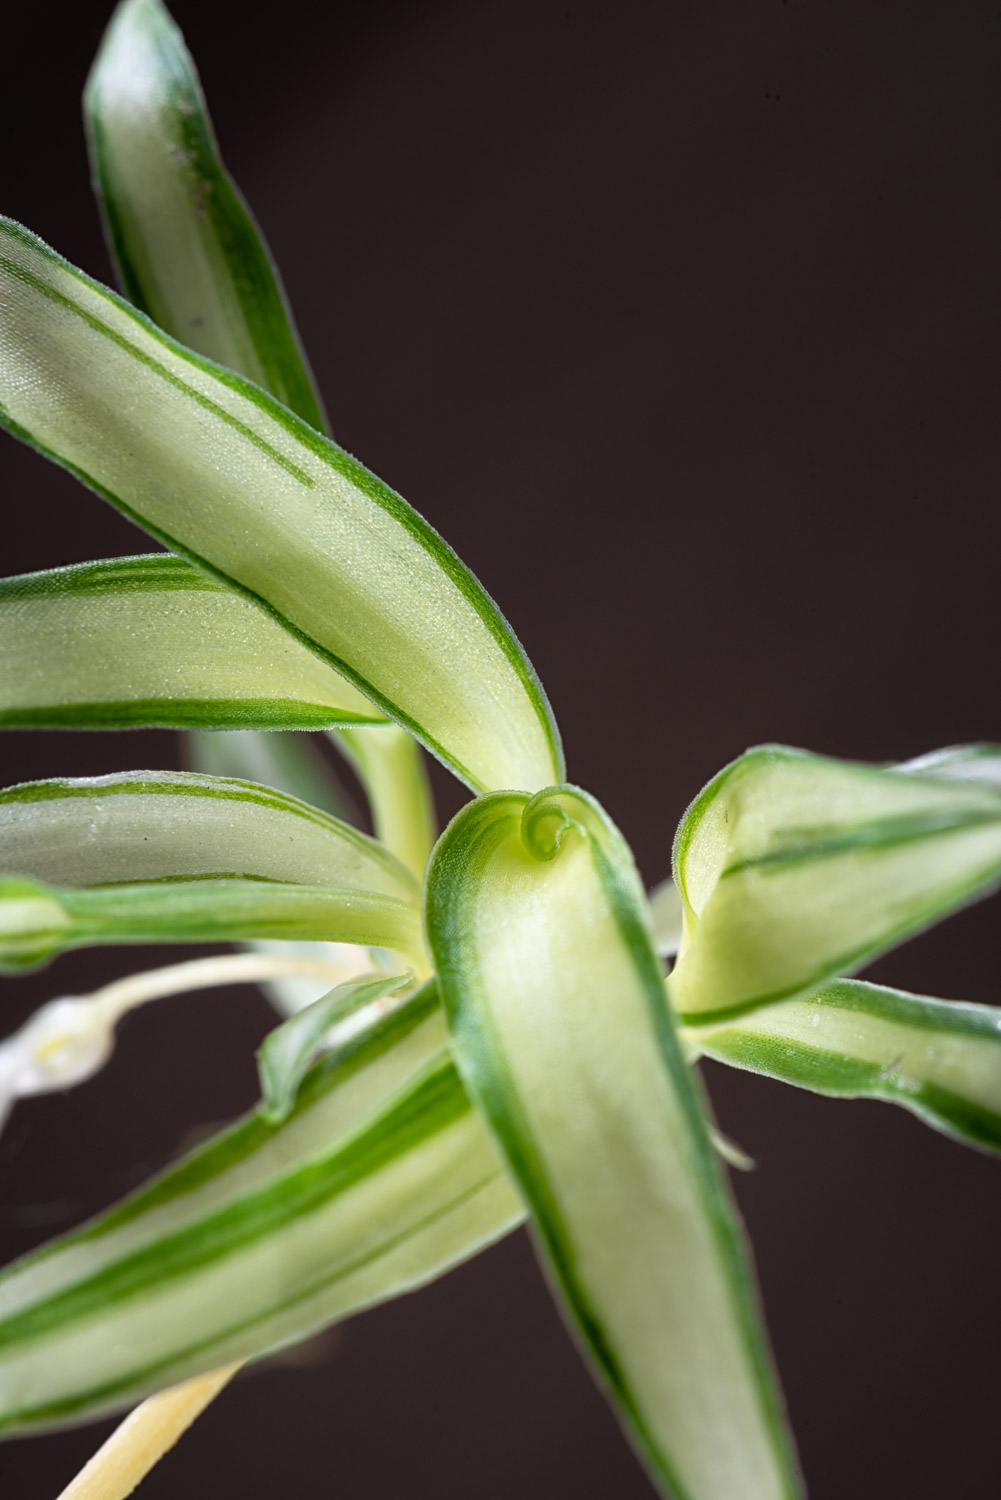
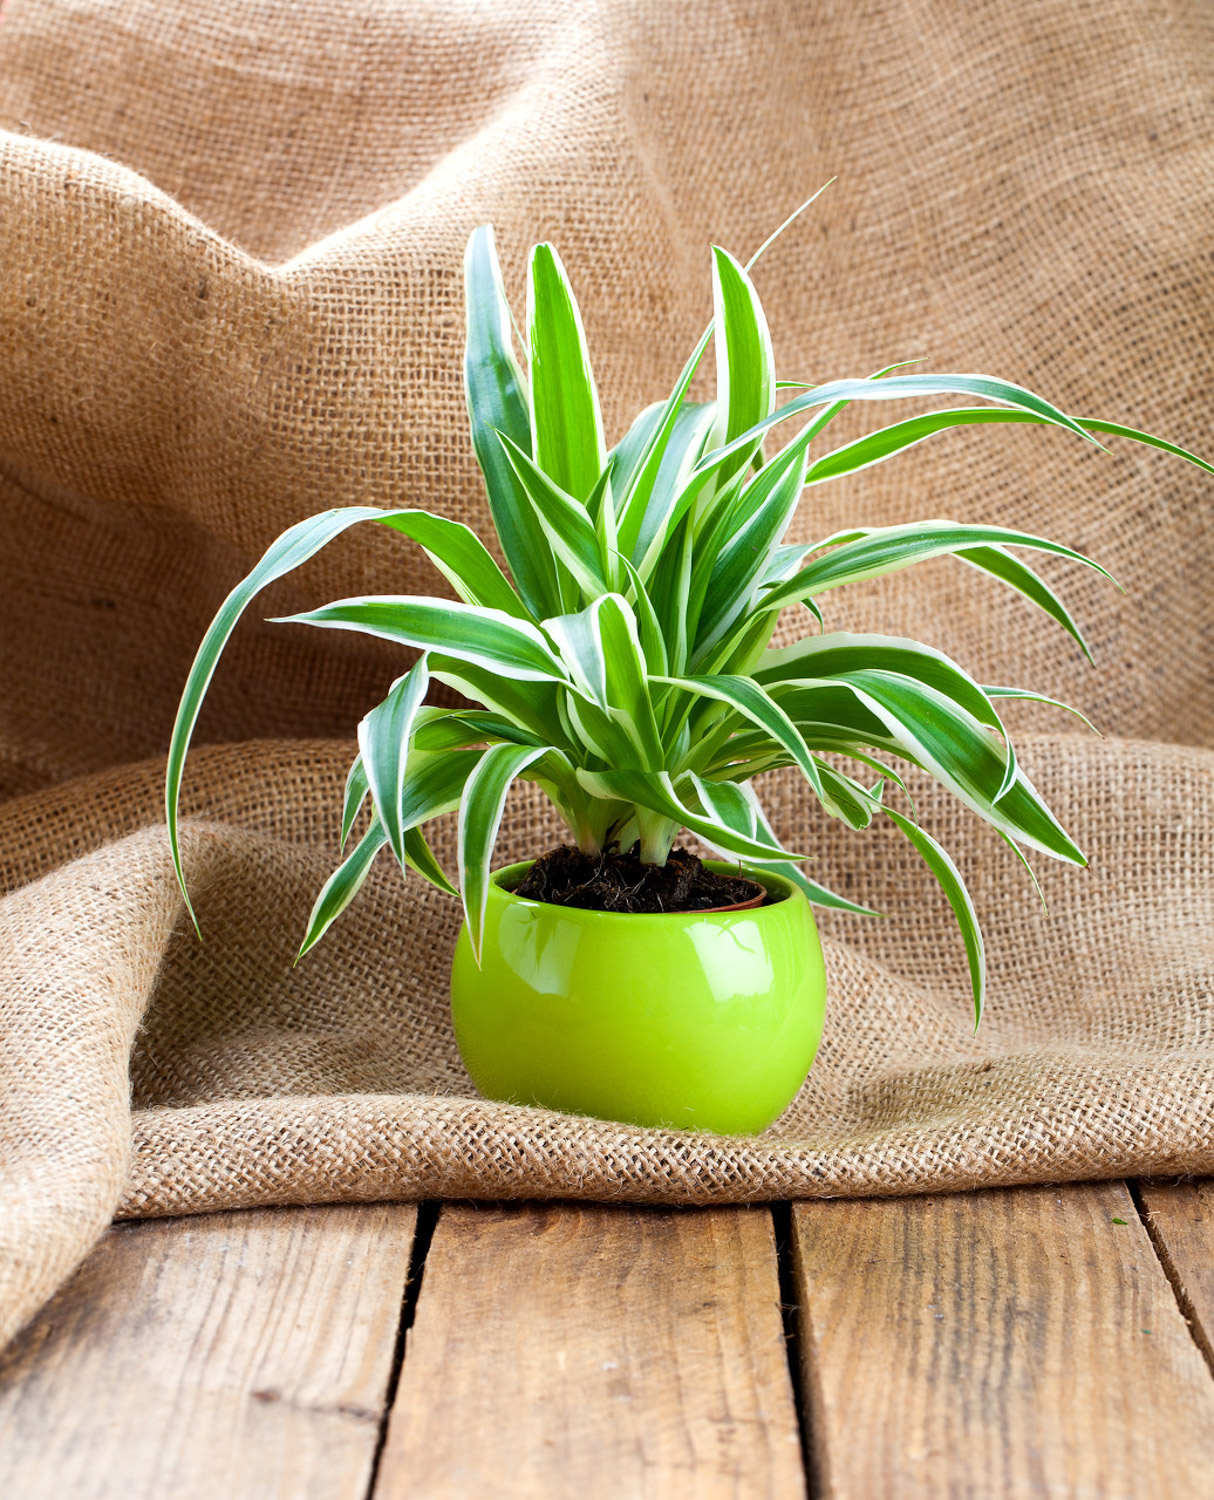
Chlorophytum stolon ramet

Chlorophytum, like Clivia, can separate plants, but the ramets of Chlorophytum don't need to wash roots and change pots
Branching steps:
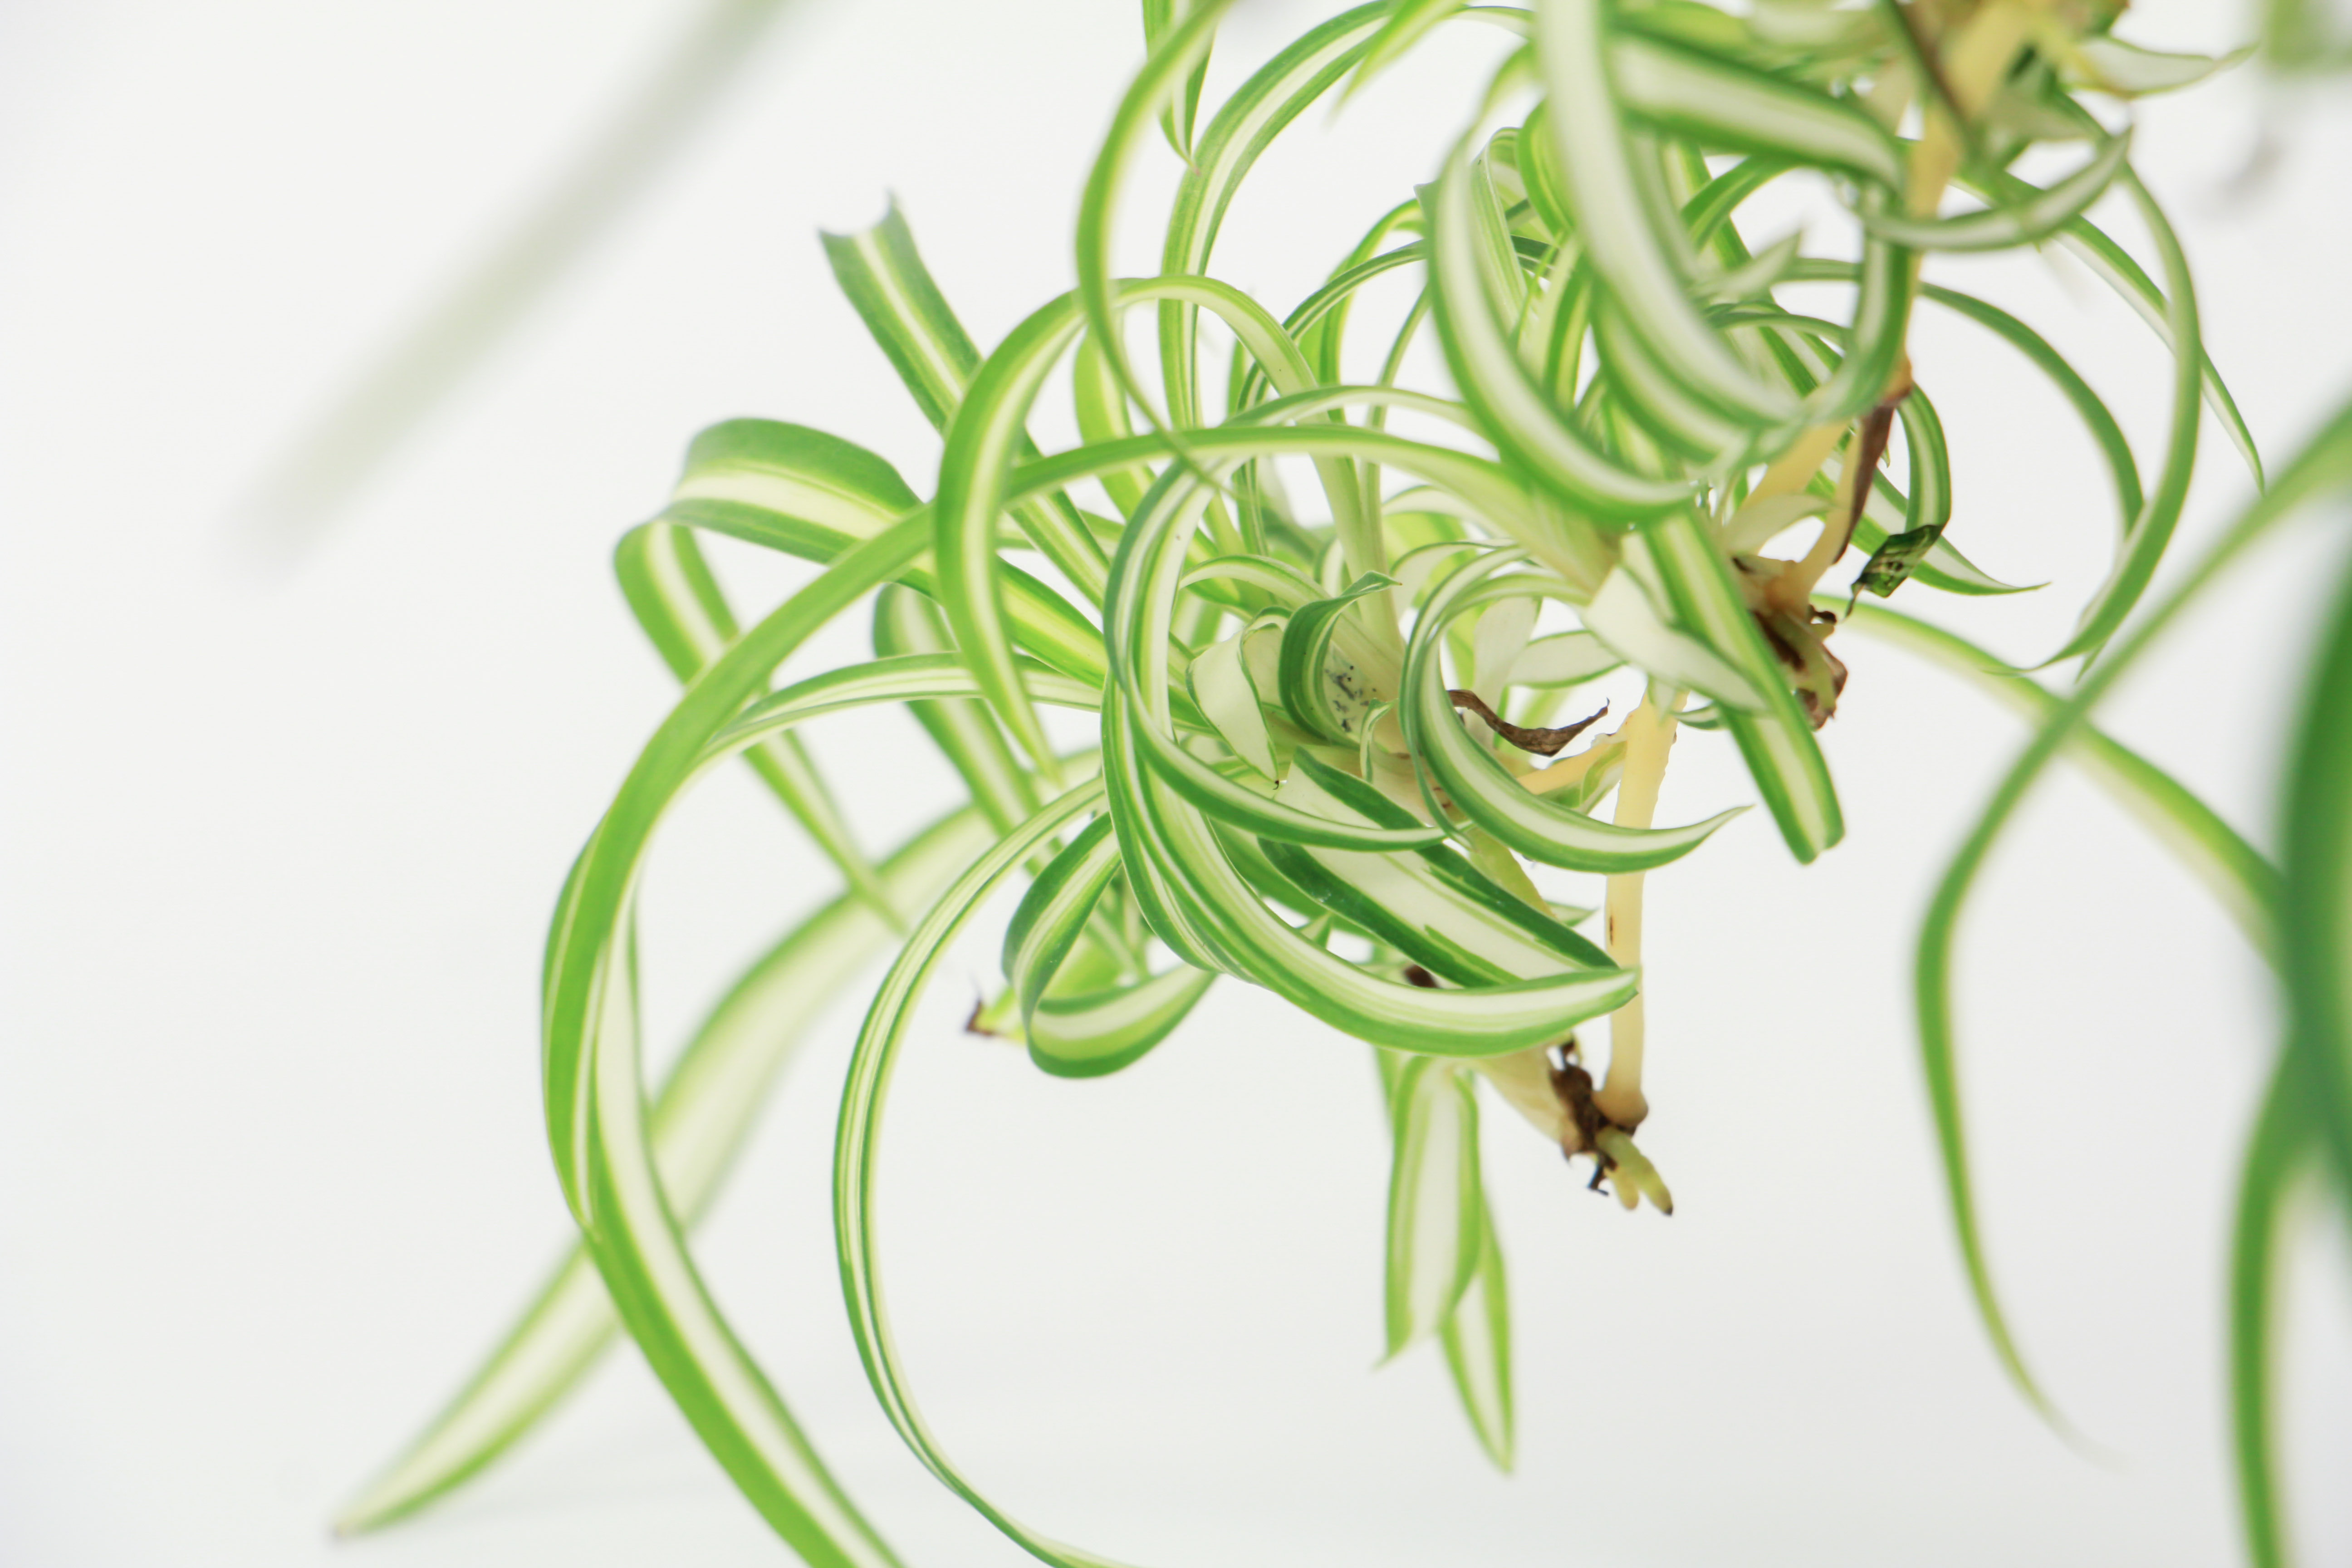
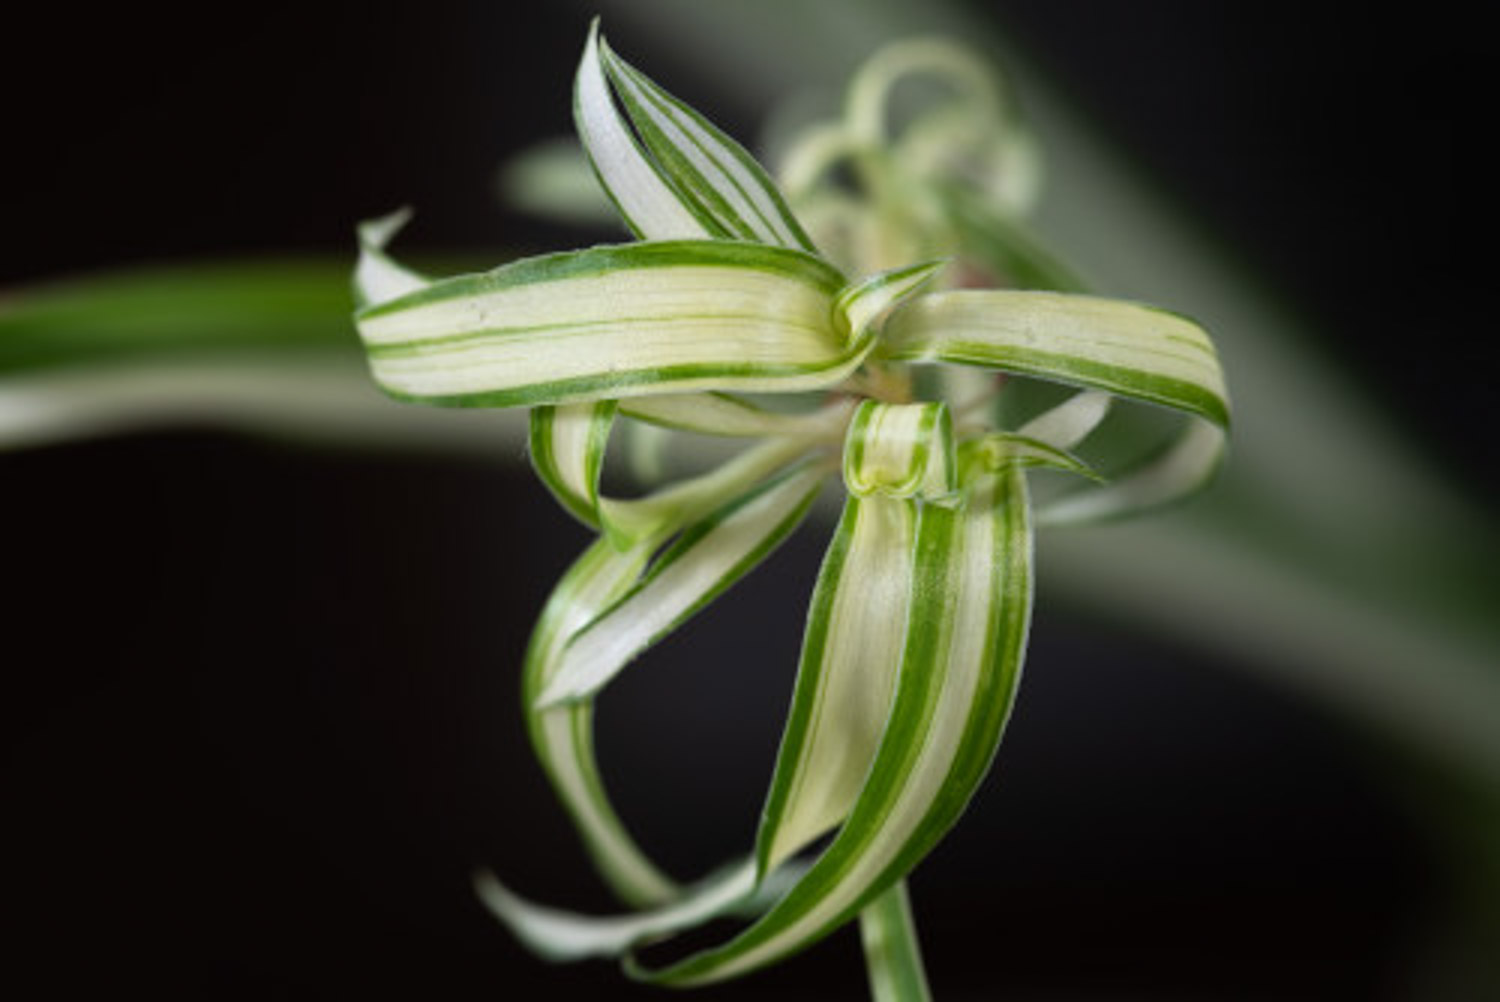
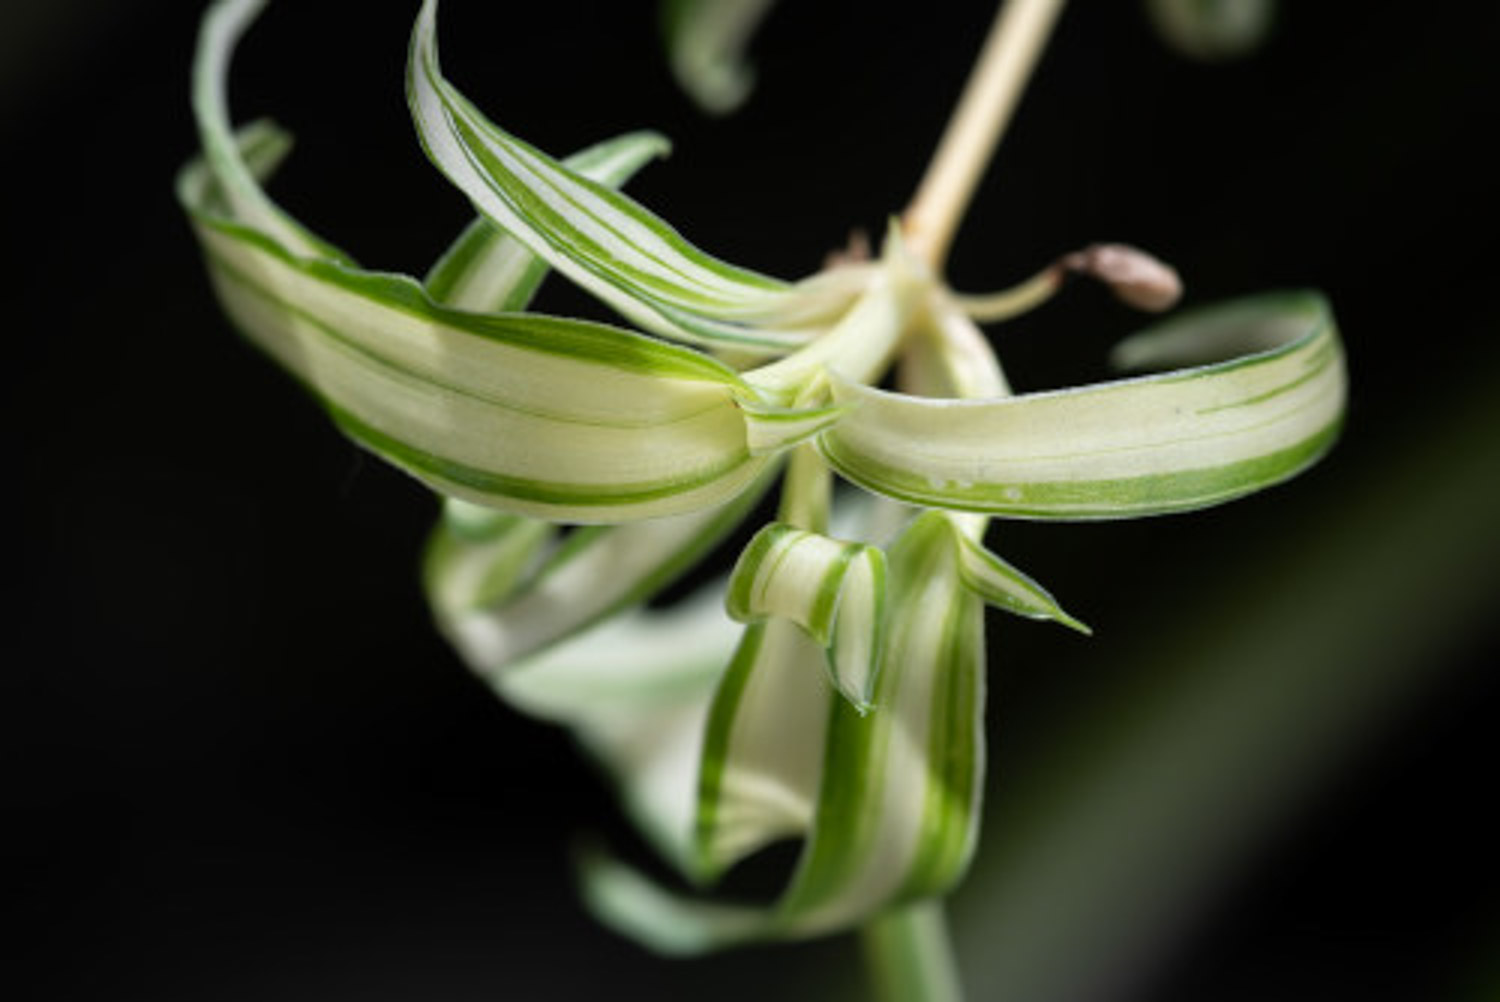
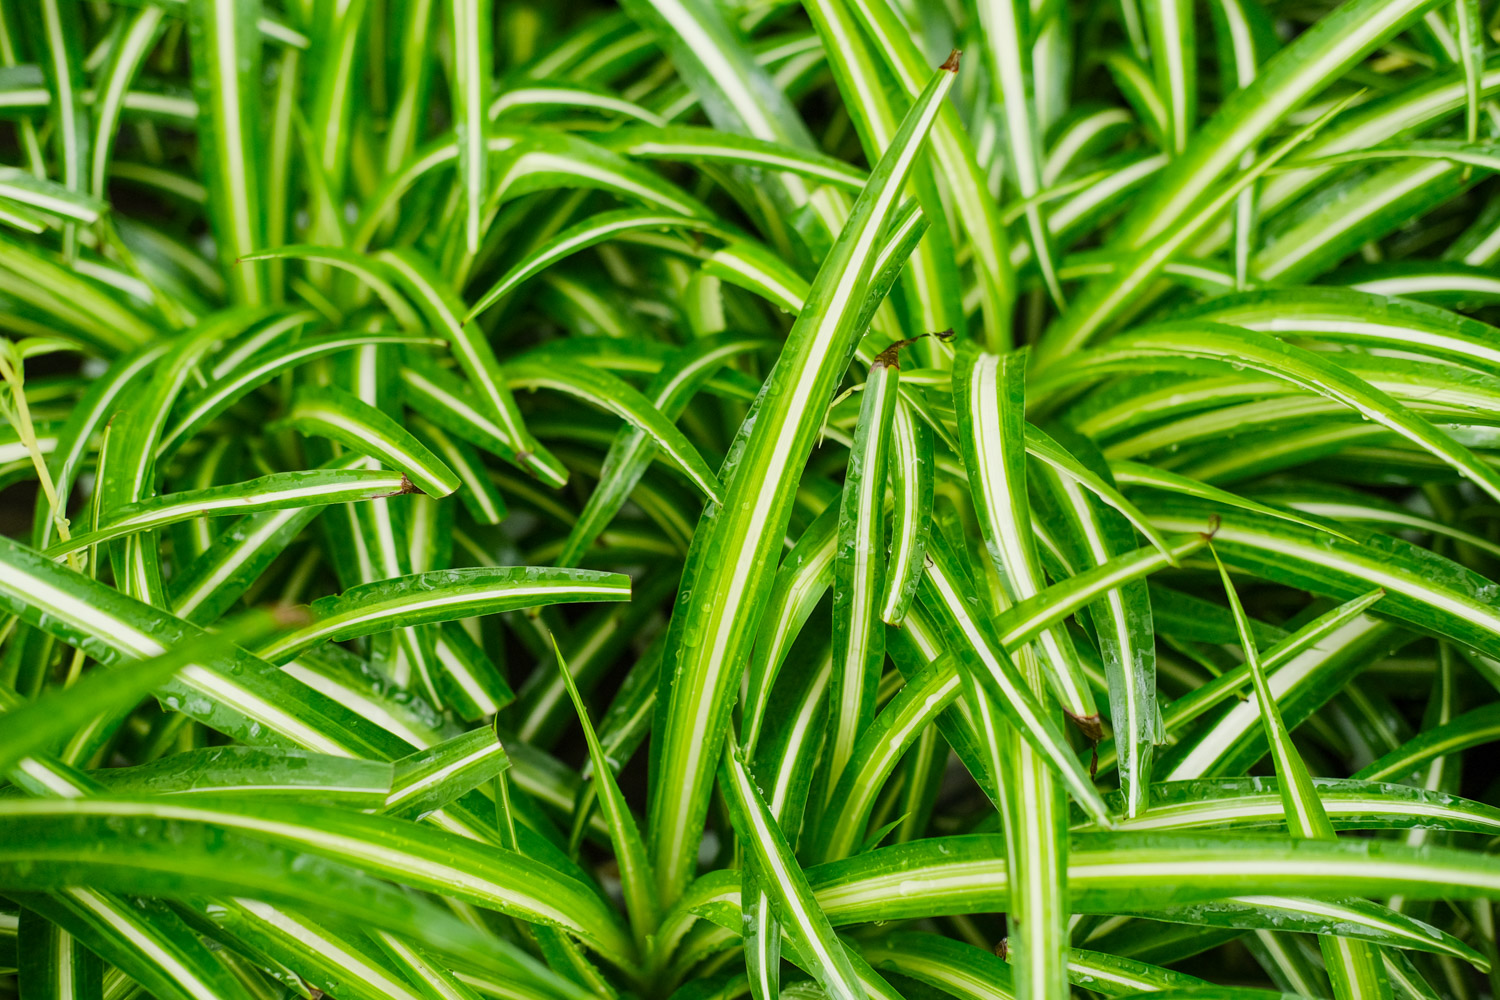
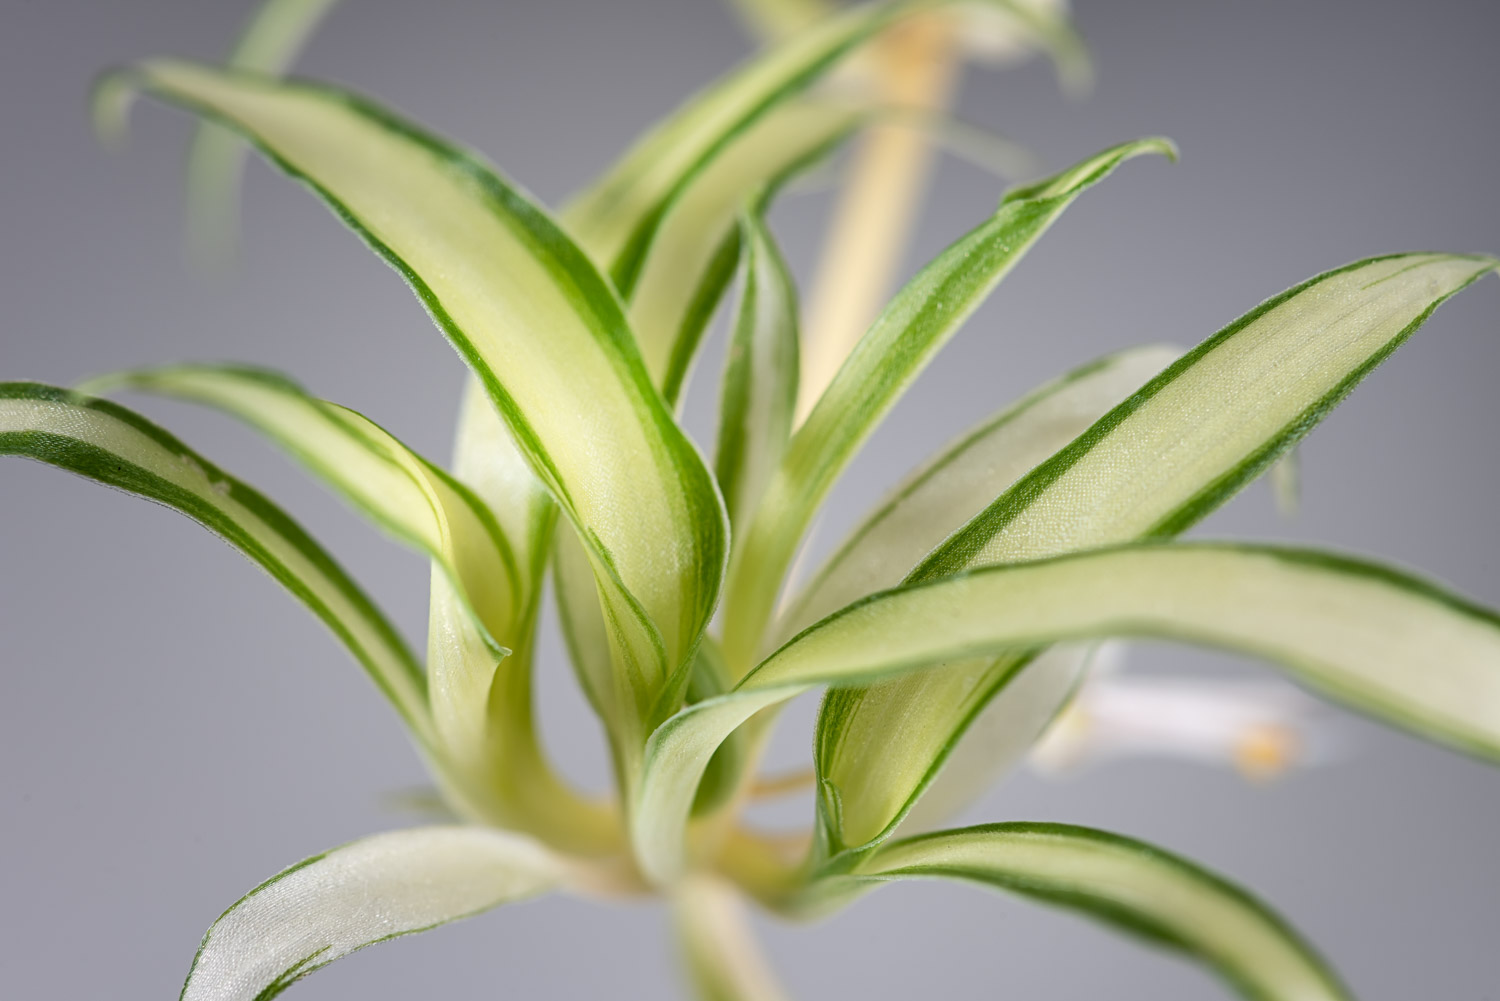
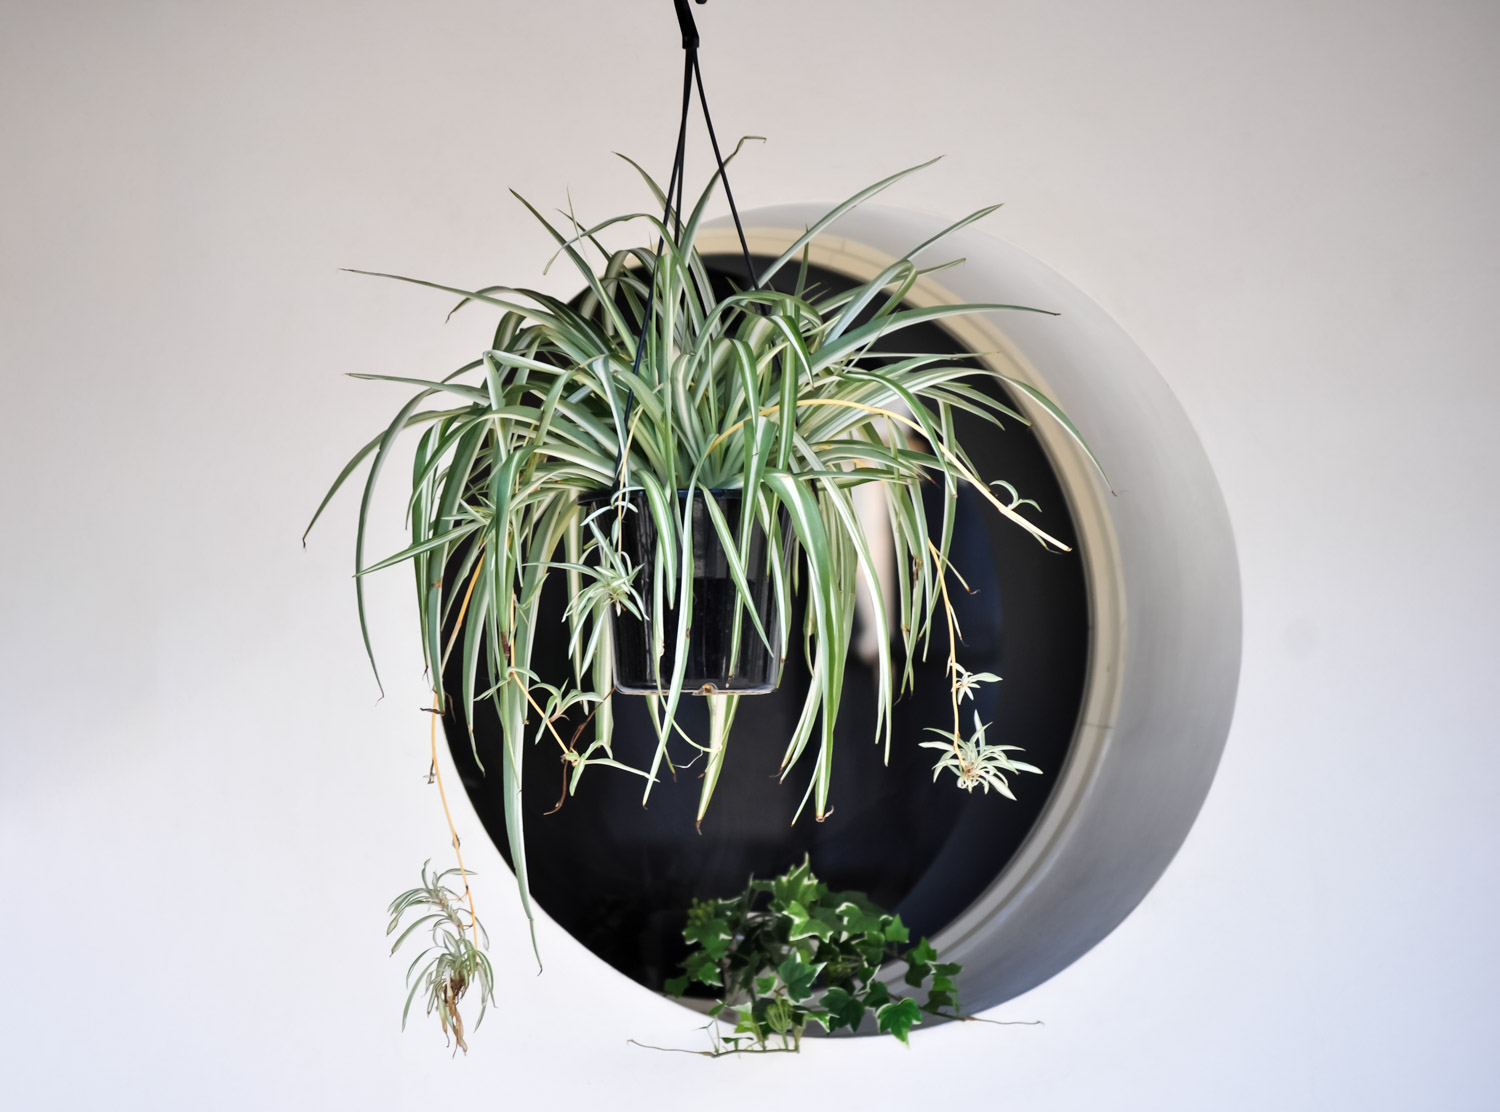
1. After raising Chlorophytum at home for a period of time, you will find that many small Chlorophytum extend from Chlorophytum. These small Chlorophytum can be cut
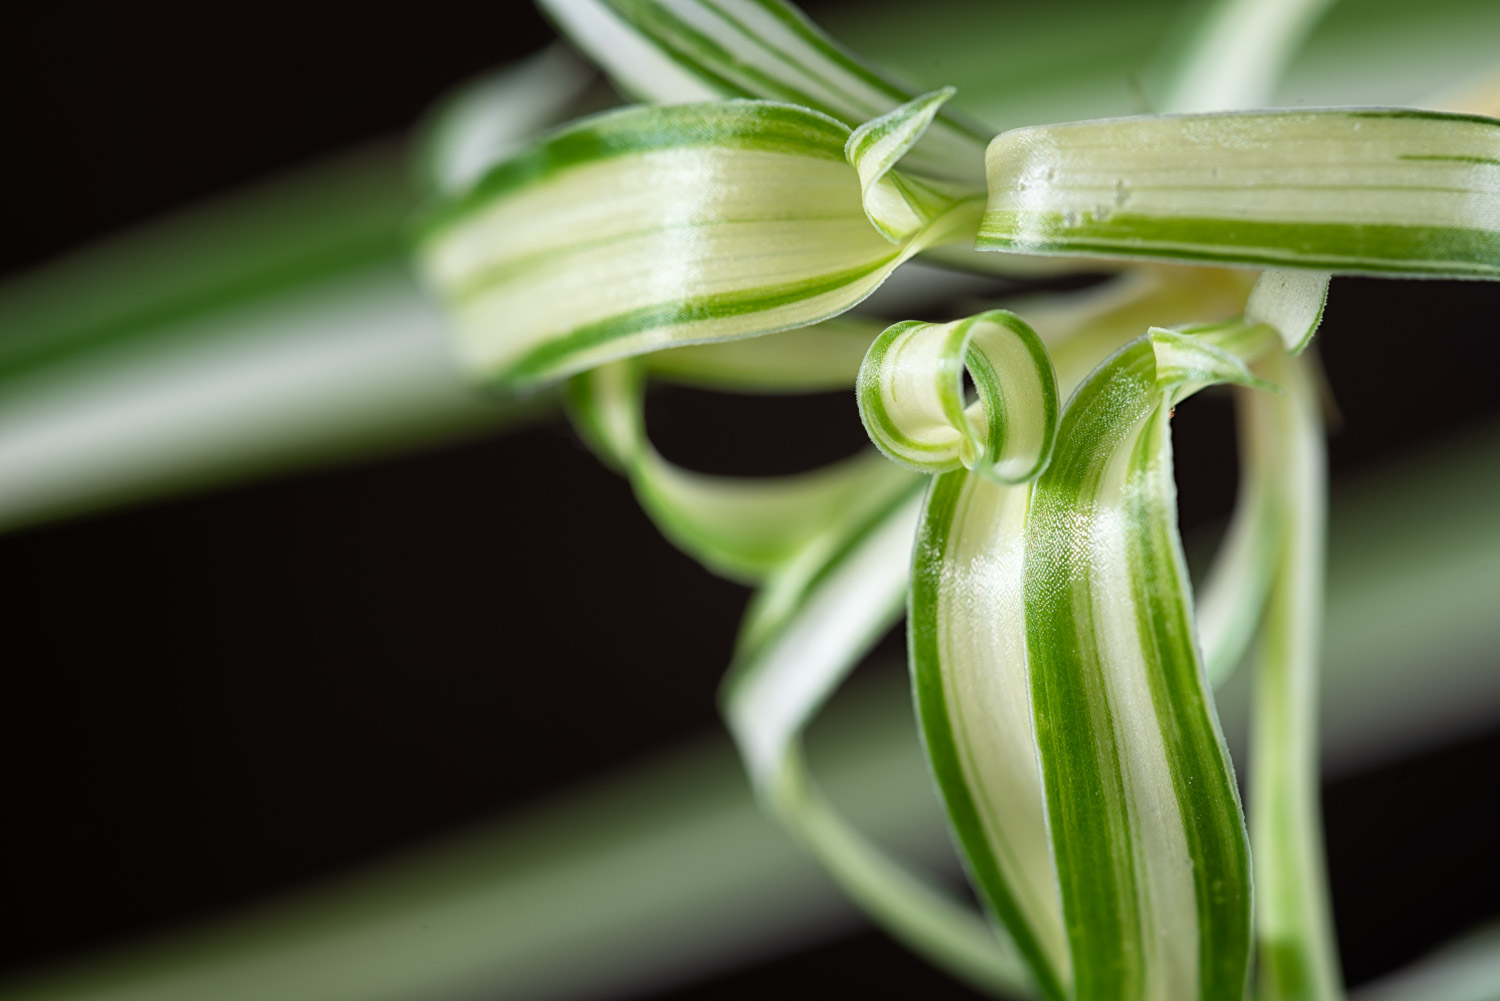
2, if you find the Chlorophytum in the house grow small Chlorophytum, you can put a basin of water under the Chlorophytum, put the creeping stem with small Chlorophytum in the water, cut the small Chlorophytum, and put a hole in the foam, and put the Chlorophytum in the water. p>
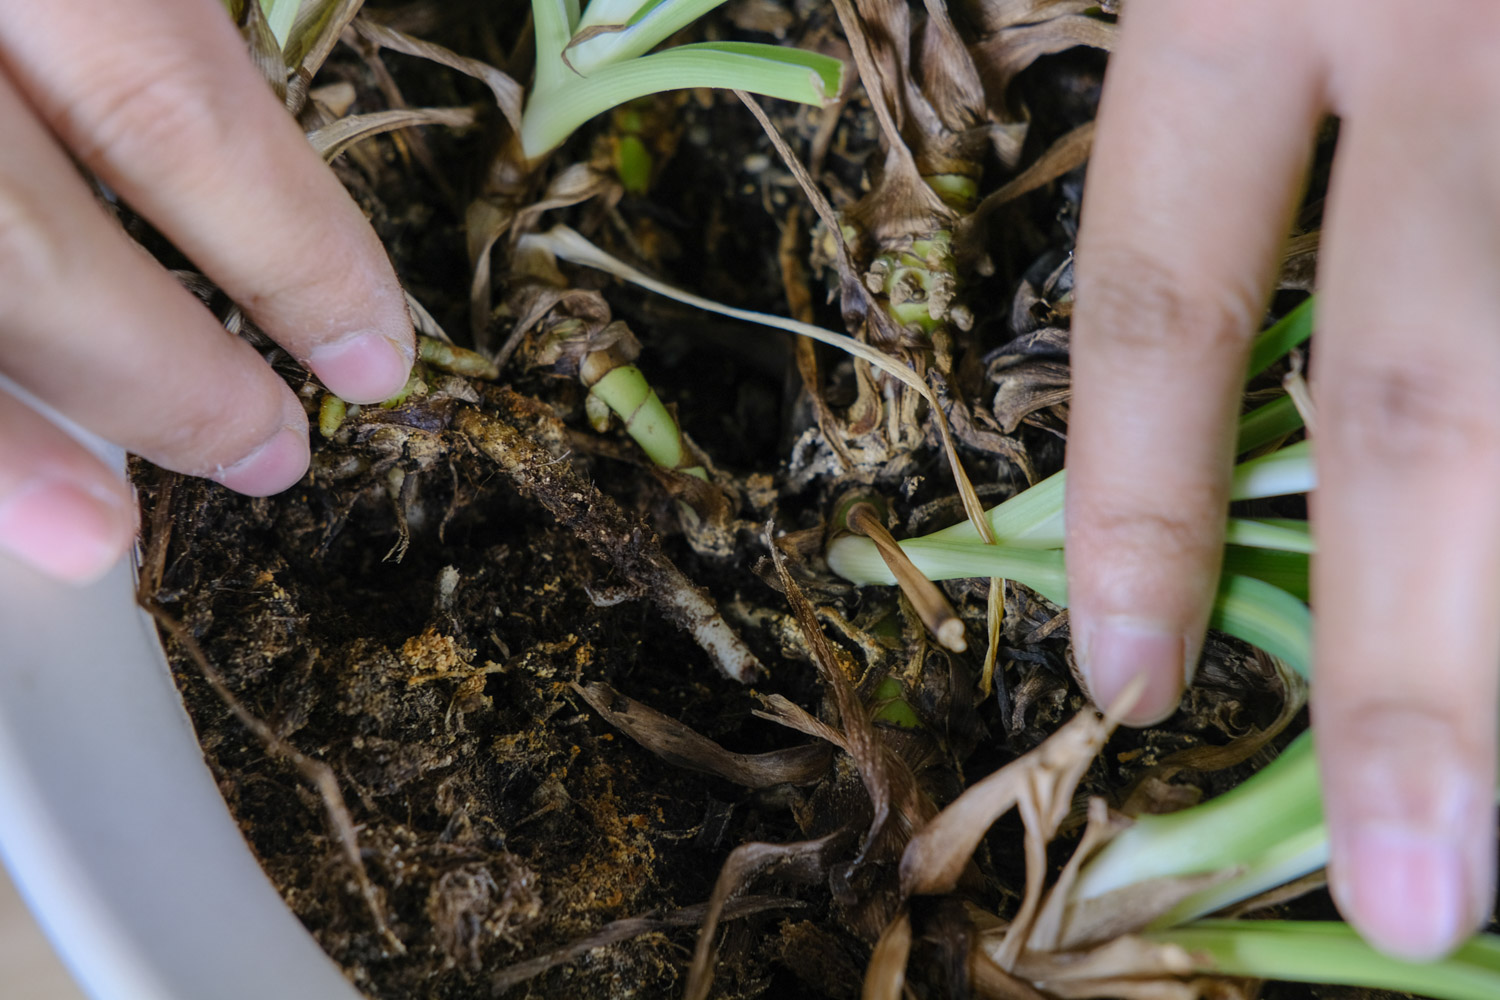
3. In about 1-2 weeks, the small Chlorophytum can grow white roots
4. When the root system of Chlorophytum grows to more than 3cm, you can choose to continue hydroponic culture or transfer it to flowerpot and turn it into soil culture. No matter which method you use, you can get a new Chlorophytum
High altitude pressing of rose
Many flower friends leave messages with Huahua backstage, saying that the rose at home doesn't survive no matter how it is cut, and it dies once. In that case, why not use the method of high-altitude strip pressing? Not only convenient, but also very fast to take root
Bead pressing steps:
1. Gird the inserts to be pressed. It's best to choose the branches born in that year, so the life rate of pressing branches will be higher. If it is a herb, you can cover the branches directly with soil
2. A container that can be made of plastic bottles. Cut off the mouth of the plastic bottle, and then cut a gap on the side to accommodate the branches. If you want the branches to be hard, cut more. Finally, tie several drainage holes at the bottom of the plastic bottle
3. Fill the plastic bottle with nutrient soil, and then pass the branches through the gap of the plastic bottle. The peeled part must be placed in the plastic bottle, and then pour water once
4. In about half a month, the place where the rose is girded can take root. The rooting situation can be seen in the plastic bottle. Do you think it's very simple

 how many times do yo...
 how many planted tre...
 how many pine trees ...
 how many pecan trees...
 how many plants comp...
 how many plants can ...
 how many plants and ...
 how many pepper plan...


