1. Hydroponics is smooth sailing
Operation steps
1. It will be plain sailing to remove the basin and wash the roots. When removing the flowerpot, hold it with one hand, and it is smooth. Turn the flowerpot upside down with the other hand, and you can take down the whole flowerpot
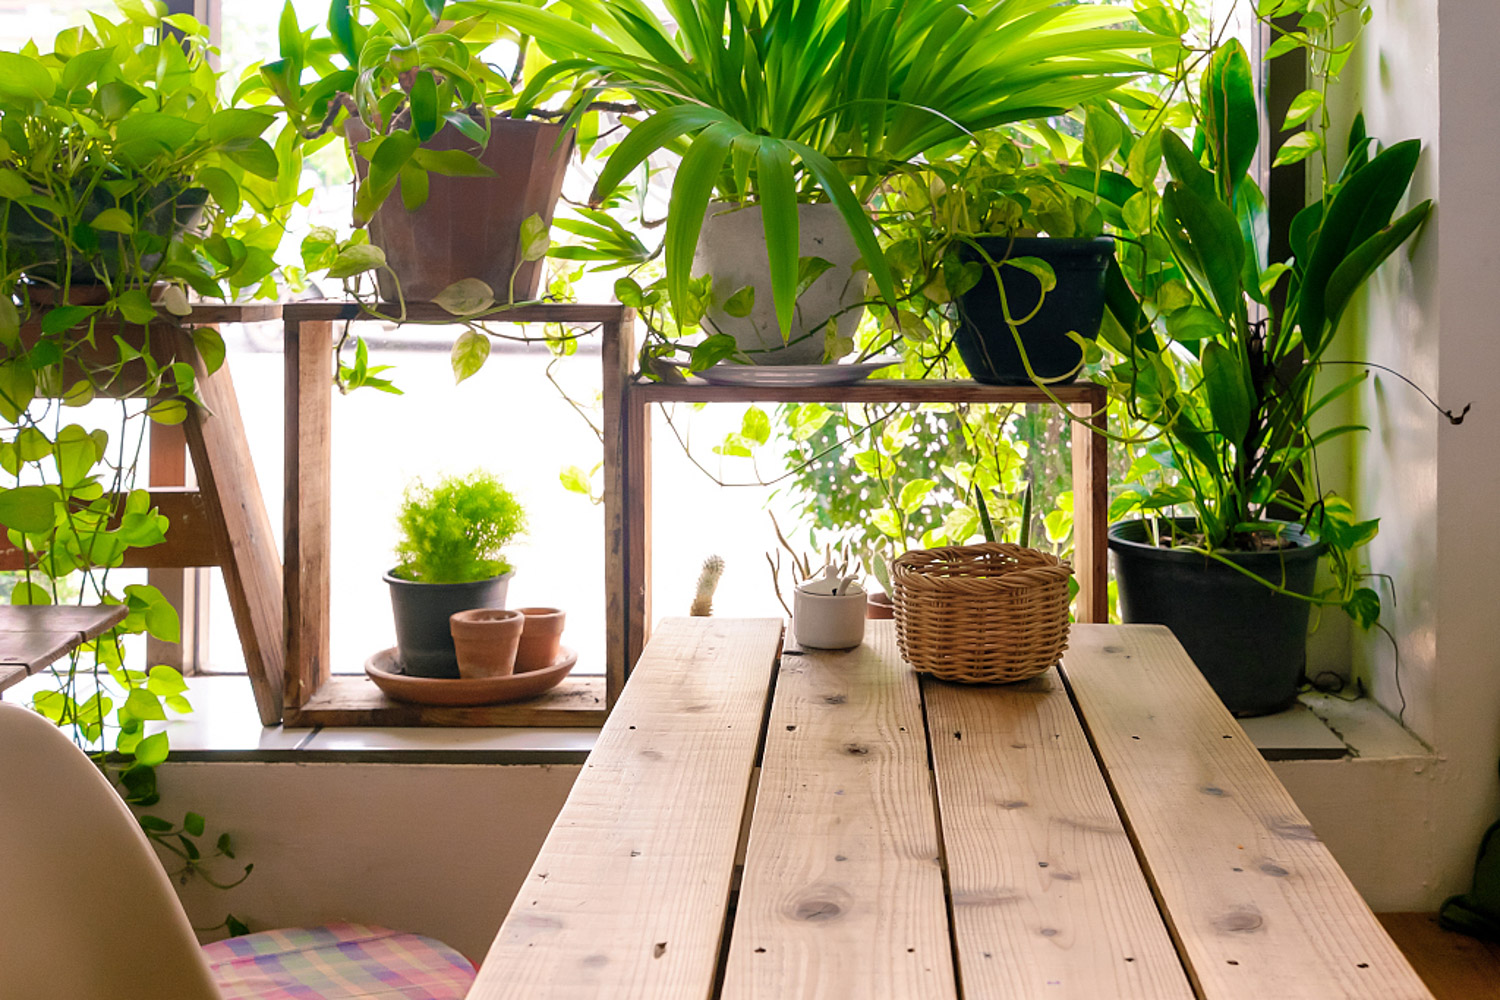
(author: Cangshan, source: osmanthus bar)
2. Disperse the soil on the root system, clean up the root system, and then wash it with water

(author: Cangshan, source: osmanthus bar)
3. Put the root in a plastic holder. Be careful not to break the root system
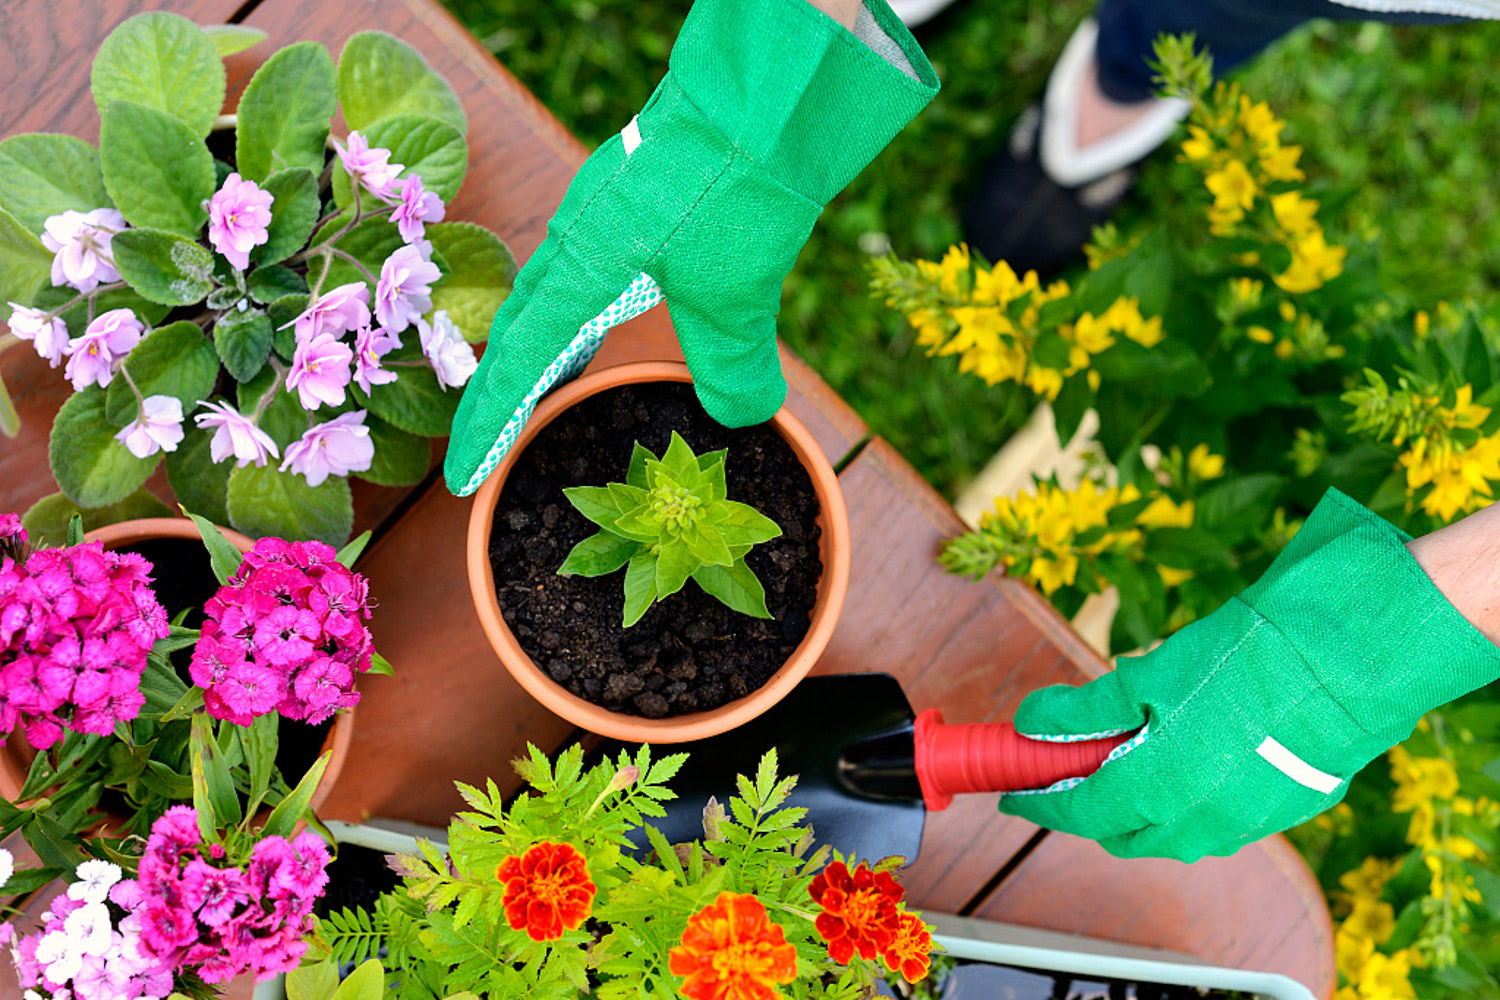
(author: Cangshan, source: osmanthus bar)
4. Put some stones into the plastic holder, so that the plant can be fixed so that the plant will not stagger

(author: Cangshan, source: osmanthus bar)
5. Then pour purified water into the hydroponics bottle, and the amount of water should not exceed 1 / 2 of the bottle

(author: Cangshan, source: osmanthus bar)
6. Put the fixed plain sailing in the hydroponic bottle. If it is spring, summer and winter, change the water once in about 7 days and once in 10-15 days in winter. Put it in a bright living room to receive scattered light, not direct sunlight

(author: Cangshan, source: osmanthus bar)
7. New roots can grow in about three months. Spray water on the leaf surface once every 2-3 days to maintain humidity; Spraying foliar fertilizer once a week can make the leaves shiny and prosperous

(author: Cangshan, source: osmanthus bar)
2. Hydroponic bowl lotus
Operation steps
1. The seed shell of bowl lotus is relatively hard. It needs to be opened to make it germinate early
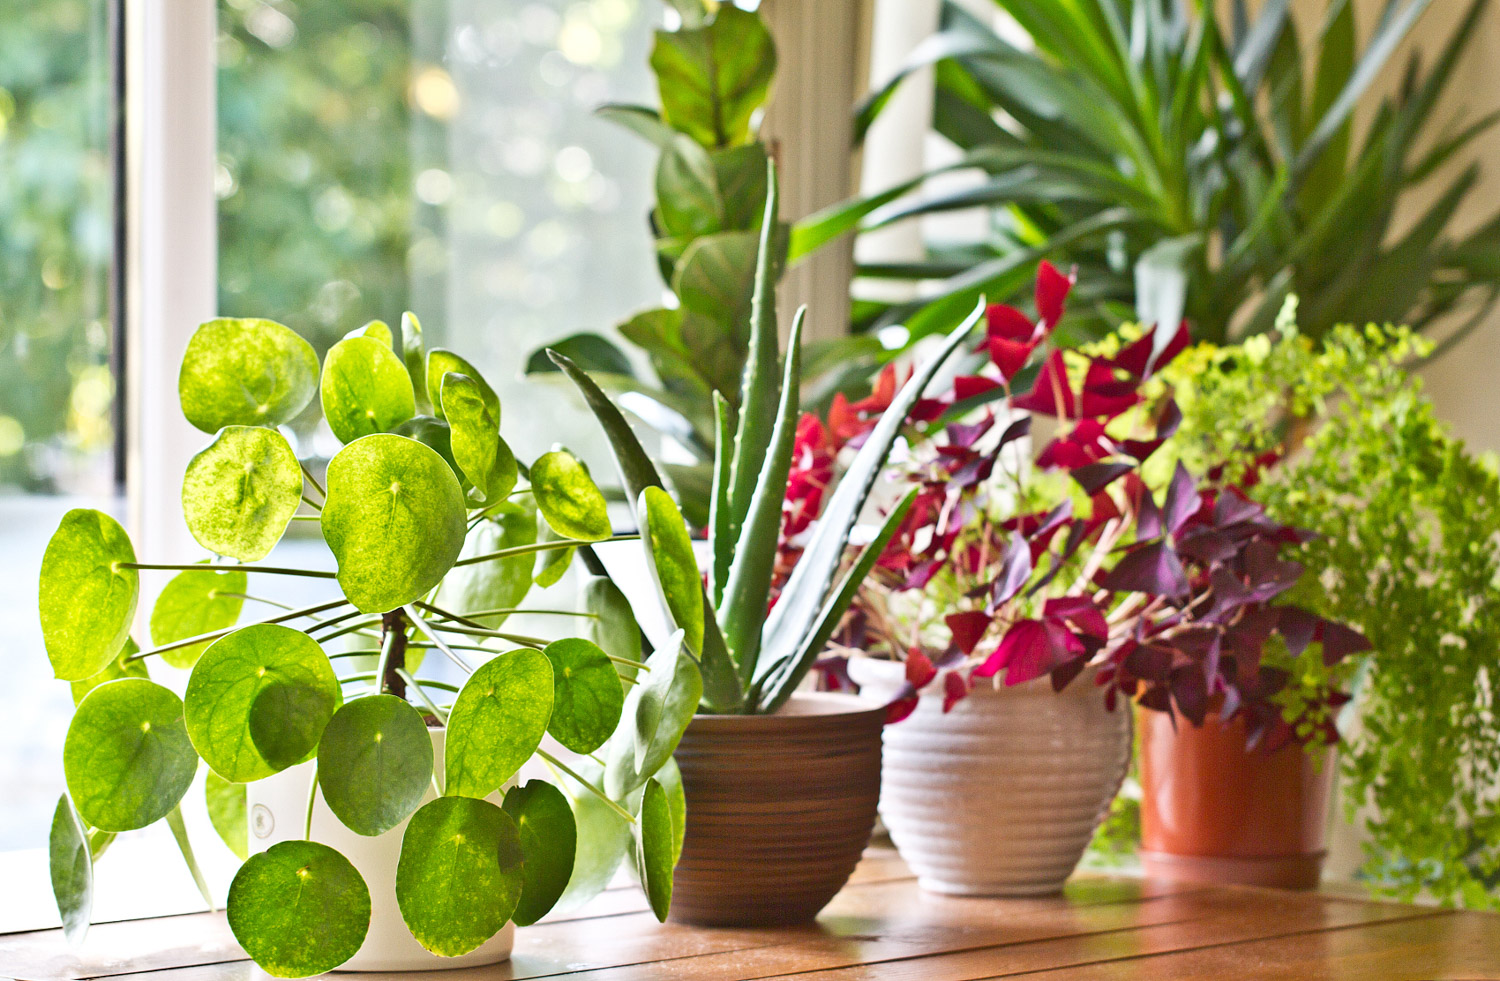
2. Put the seeds with openings in warm water to germinate, and keep the water temperature at 15 ℃. You must see light before you can germinate. It is best to change the water three times a day, which is conducive to budding

3. A few days later, the bowl lotus sprouted. After germination, the shell of bowl lotus seeds can be stripped to half of the lotus body, not all of them

5. Insist on changing water every day and maintaining sufficient light, which can make the small buds of Wanlian grow to 5-10cm
6. When the buds grow white roots, they can enter the mud
7. Prepare a transparent fish tank, put the pond mud in the tank and soak it with water. Generally, soak it for 1-2 days. When the pond mud melts to the point where there are no large blocks, change the water several times to precipitate the pond mud

8. Just press the budding seeds into the pond mud until the seeds completely cover the pond mud

9. After planting the seeds, slowly add water to the fish tank. Put the bowl lotus in the direct sunlight, and it will soon be able to string roots and grow new leaves
3. Hydroponic evergreen
Operation steps
There are many varieties of evergreen, among which the most popular variety is Guangdong evergreen. Guangdong evergreen grade 4 evergreen, light requirements are not strict, very shade resistant
1. You can cut a branch from the evergreen plant, preferably in an oblique section

2. Cut off the cut branches at the Yellow place at the bottom, and then insert them directly into the hydroponic bottle. Change the water once every 2-3 days to ensure the cleanness of the water quality. It won't be long before evergreen can take root
(author: licunling1213; source: evergreen bar)
4. Hydroponic Ivy
Operation steps
1. Select the branches cut from Ivy and insert them directly into the water. It will take about a week to take root

2. In the process of rooting, don't let Ivy direct sunlight. You can put it in a ventilated astigmatism place or a cool and ventilated place. Pay attention to changing water. You can change water once every 2-3 days before rooting. After the roots grow, you can reduce it to changing water once every 3-5 days

3. Ivy roots can gradually be exposed to direct sunlight after growing for a week. As long as you care carefully, you can get a beautiful hydroponic ivy

5. Hydroponic Anthurium
Operation steps
1. If you want to make Anthurium andraeanum hydroponics, you have to choose robust plants, and then gently tap around the flowerpot to remove the pot
2. Carefully remove the soil around the root system, and then soak it with water to clean the soil on the root system

3. Trim the residual roots of Anthurium andraeanum, soak them in 0.1% potassium permanganate solution for about 15 minutes, and then wash them with clean water

4. Add clean water into the hydroponic flask. The amount of clean water generally drowns 2 / 3 of the root system, so that the hydroponic Anthurium is ready

6. Hydroponic Chlorophytum
Operation steps
1. Chlorophytum has stolons on which many small Chlorophytum grow. When these small Chlorophytum grow to more than 5cm, you can take a basin, add water to it, and put the stolon in the water

2. A few days later, white buds will grow at the bottom of Chlorophytum, which is the air root of Chlorophytum. In other words, the stolon will grow its own roots in the water

3. When the air root grows a little longer, you can cut it off, and then put it in a hydroponic flask, and a new Chlorophytum will be ready. It's best to use cold boiled water for hydroponic culture. If you want to use tap water, it's best to put it overnight and let the chlorine in the water evaporate before using it

(author: Gemini candle in the wind source: hydroponic bar)
In fact, in addition to the flowers introduced today
There are many flowers that can be hydroponically cultured
Such as copper coin grass, asparagus, rich bamboo Wait
If you are interested
You can try it at home ~

 jackfruit
 snake plant
 hibiscus
 hydrangea
 lavender
 Green roses climb al...
 If you don't pay att...
 Management of four g...


