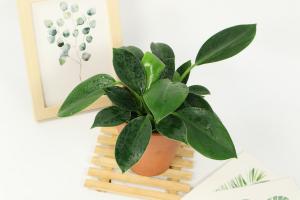
Introduction
Creating DIY pot plants out of cement is a great way to add some new decor to your home or garden. They are durable and long lasting, meaning they are worth the time and effort invested. Before you get started, gather all of the materials and tools you will need for this project.
Materials Needed
Cement mix
Water
Sand
Measuring cups
Mixing container
Gardening gloves
Molds (such as plastic containers or buckets)
Spray paint or acrylic paint
Paint brushes
Step-by-Step Guide
Step 1: Choose your Molds
The first thing you need to decide is what molds you want to use. You can choose to use existing containers or plastic buckets or create your own using materials like cardboard or foam. Some great options for pot plant molds include small plastic containers, flowerpots, and bowls.
Step 2: Prepare the Cement Mix
Once you have chosen your molds, you can start preparing the cement mix. Mix the cement with sand and water according to the package instructions until it has a smooth consistency. Make sure to wear gardening gloves to protect your skin from the chemicals used in cement.
Step 3: Pour the Cement Mix into Molds
Pour the cement mix into the molds, making sure to fill each one evenly. You can use a trowel or spatula to help smooth the surface and make sure there are no air bubbles left. Leave the cement to set for at least 24 hours, depending on the humidity and temperature of the room.
Step 4: Remove the Molds
Once the cement has set, it is time to remove the molds. Carefully flip each mold over and gently tap it to loosen the pot plant. If it is still stuck, you can use scissors or a knife to cut away the mold. Be careful not to damage the cement!
Step 5: Add Finishing Touches
Now that your pot plant is free from its mold, you can work on adding a bit of color and style. You can choose to spray paint it or use acrylic paint to create a unique design. Make sure to let the paint dry completely before adding soil and plants.
Conclusion
Making pot plants out of cement is a fun and easy DIY project that can help you create some beautiful and unique home decor. Remember to take your time and follow the steps carefully to ensure you have a long-lasting pot plant. Mix and match colors and styles to create a truly one-of-a-kind plant pot that you can be proud of!

 how many times do yo...
 how many planted tre...
 how many pine trees ...
 how many pecan trees...
 how many plants comp...
 how many plants can ...
 how many plants and ...
 how many pepper plan...


