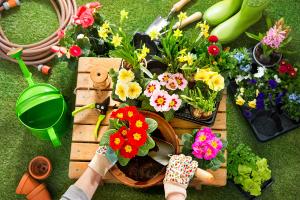
How to Make Your Own Plant Pots
Introduction
House plants are a great way to add some greenery and freshness to your home. However, buying plant pots can be expensive, and sometimes you just can’t find the right style or color. The good news is that making your own plant pots is easier than you might think. Not only can you save money, but you can also create a unique and personalized look for your house plants. In this article, we will take you through the steps of making your own plant pots.
Step 1: Choose Your Materials
The first step in making your own plant pots is to choose the materials that you will use. There are many options available, but some popular choices include terracotta clay, cement, or even recycled materials like old tin cans, plastic bottles or coffee mugs. Each material has its pros and cons, so choose one that fits your preferences, budget and the type of plants you are growing.
Step 2: Prepare Your Material
Once you have chosen your material, prepare it for making the plant pots. For example, if you are using clay, knead it to make it pliable and easy to work with. If you are using cement or plaster, mix it according to its instructions. If you are using recycled materials, clean and remove any labels, and then cut or shape them to the desired shape of your pot.
Step 3: Choose a Pot Design
The next step is to choose the design of your pot. You can either choose to make a simple and classic shape or create something more intricate and unique. You can use cookie cutters, molds, or even make a pattern, and then trace it onto your material. Be creative and remember, this is your chance to make something that is special and uniquely yours.
Step 4: Make Your Plant Pot
Now that you have all your materials ready, and your design is mapped out, it is time to create your plant pot. Molding clay or cement using your hands, or pouring cement or plaster into a mold requires patience and a gentle touch. If you are making a DIY pot with recycled materials, you may need to use a glue gun or drill to attach pieces together. Just remember to take your time and make sure that you are happy with the result.
Step 5: Let Your Plant Pot Dry and Cure
After you have created your plant pot, let it dry and cure according to the instructions of your chosen material. If you have used terracotta clay, let it dry for at least 24hrs before firing it in the kiln. For cement and plaster pots, give them at least 48 hours to cure. For recycled material pots, wait at least a day before planting in them.
Step 6: Plant Your Favorite House Plant
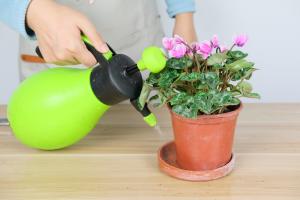
Once your plant pot is dry and cured, it is time to choose your favorite house plant and plant it. There are many house plants to choose from, and each one has its specific requirements, so be sure to choose one that will thrive in your homemade pot using the right soil, watering frequency, and sunlight.
Conclusion
Making your own plant pots is a fun and rewarding activity that allows you to customize your house plants' presentation. With some creativity, patience, and the right materials, you can create beautiful, unique, and personalized pots that will add a touch of natural beauty to your home. So, grab your materials and start creating your own plant pots today!

 how many times do yo...
 how many planted tre...
 how many pine trees ...
 how many pecan trees...
 how many plants comp...
 how many plants can ...
 how many plants and ...
 how many pepper plan...
