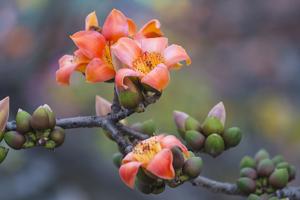
How to Layer a Potted Plant
Layering a potted plant can give it a more decorative look and add some dimension to your garden. It’s a simple technique that can be easily done at home. Follow these steps to layer a potted plant and give your garden a fresh, new look.
Step 1: Choose your plants
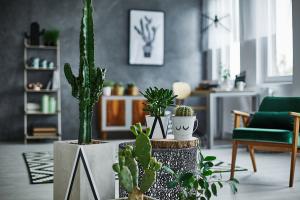
The first step in layering a potted plant is to choose the right plants. You’ll need to choose plants that have different heights and colors. Look for plants with varying sizes and textures to add interest to your indoor or outdoor garden. Consider the growing conditions as well. Choose plants that thrive in similar environments to ensure that they grow well together in the same pot.
Step 2: Set up your container
The second step is to set up your container. Choose a container that is large enough to accommodate all of the plants you’ve chosen. Make sure it has good drainage to prevent waterlogging. Fill the container with good quality potting soil, and mix in some organic compost to provide essential nutrients.
Step 3: Plant your largest plant
The next step is to plant your largest plant. This will be the centerpiece of your potted plant. Place it in the center of the container and add enough soil to cover the roots. Gently pack the soil around the base of the plant to secure it in place. Water the plant thoroughly and let it settle in for a few days before layering on the other plants.
Step 4: Add the next layer
The next step is to add the next layer of plants. Choose a plant that is slightly smaller than your centerpiece plant. Place the plant in the container next to your centerpiece and bury the root ball in the soil. Gently pack the soil around the base of the plant and water it thoroughly. Repeat this step with the remaining plants, adding them in decreasing order of size from the center of the container outwards.
Step 5: Finishing touches
After planting all of your plants, add a layer of mulch to the top of the soil. This will help retain moisture in the pot and provide extra nutrients for your plants. You may also choose to add decorative stones or other embellishments to the pot for a more polished look.
Final thoughts
Layering a potted plant is a simple way to add interest and texture to your indoor or outdoor garden. It’s important to choose plants that complement each other and thrive in similar growing conditions. With a little bit of patience and creativity, you can create a beautiful and unique potted plant that will be the envy of all your neighbors.

 how many times do yo...
 how many planted tre...
 how many pine trees ...
 how many pecan trees...
 how many plants comp...
 how many plants can ...
 how many plants and ...
 how many pepper plan...