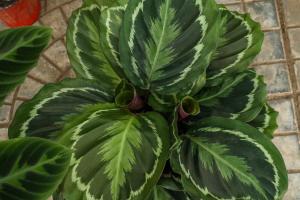
How to Wrap a Potted Plant with Tissue Paper
Wrapping a potted plant with tissue paper can be a great way to give it as a gift or to protect it while transporting it to a new location. Here are some simple steps to follow to create a beautiful and secure wrapping for your plant:
Materials Needed:
- Tissue paper (in your desired color or design)
- Scissors
- Tape
- Ribbon
Step-by-Step Instructions:
Step 1: Cut the Tissue Paper to Size
Begin by cutting a piece of tissue paper large enough to completely cover the pot and plant. Make sure to leave some extra paper on each side so that you can easily fold it around the pot.
Step 2: Wrap the Tissue Paper Around the Pot
Place the pot in the center of the tissue paper and carefully wrap the paper around it. Make sure the edges of the paper meet at the top of the pot.
Step 3: Fasten the Tissue Paper
Using tape, fasten the tissue paper to the pot to hold it securely in place. You may need to use several pieces of tape to ensure the tissue paper is held firmly in place.
Step 4: Decorate with Ribbon
Add a decorative touch to your wrapped plant by tying a ribbon around the top of the pot. This will not only give it a beautiful finishing touch, but it will also help to keep the tissue paper securely in place.
Tips for Wrapping a Potted Plant with Tissue Paper
- Choose a tissue paper color or design that complements the plant and pot
- If the plant has delicate leaves or flowers, make sure to wrap it carefully so as not to damage them
- Use a double layer of tissue paper if you are transporting the plant to protect it from any bumps or jostling
- Consider adding a gift tag to the ribbon to personalize the gift even further.
Wrapping a potted plant with tissue paper is an easy and effective way to protect and transport your plants while also giving them as a gift. By following these simple steps and tips, you can create a beautiful and secure wrapping that will accentuate the beauty of your plant.

 how many times do yo...
 how many planted tre...
 how many pine trees ...
 how many pecan trees...
 how many plants comp...
 how many plants can ...
 how many plants and ...
 how many pepper plan...


