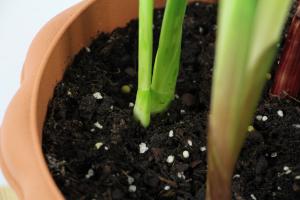
How to Self Water Plants DIY
Keeping your plants healthy and hydrated can be a challenge, especially when you're busy or away from home for an extended period. Fortunately, there's an easy solution: self-watering systems. With a little creativity and some simple materials, you can make your own DIY self-watering planters that keep your plants moist and happy without constant attention.
Materials
To make a self-watering planter, you'll need a few basic supplies:
A container: This can be a plastic container, a clay pot, or any other vessel that can hold soil and water.
A wick: You'll need something to move the water from the bottom of the container to the soil. Options include cotton string, nylon rope, or felt strips.
A water reservoir: This can be a second container or a tray that holds water and feeds it to the wick.
Tools: You'll need a drill, scissors or a utility knife, and possibly a measuring tape or ruler.
Soil and plants: Of course, you'll need something to grow!
Instructions
Here are some basic steps to follow for making your own self-watering planter:
Drill a hole in the bottom of your container. This will allow excess water to drain out.
Insert the wick into the hole from the inside of the container. Make sure the wick extends at least an inch or two outside the container.
Fill the bottom of the container with water and place it in your water reservoir. Make sure the water level is below the height of the wick.
Add soil to the container and plant your chosen plants.
That's it! As long as the wick remains in contact with the water, it will draw moisture up to the soil and keep your plants well hydrated. You can experiment with different materials and configurations to see what works best for your plants and your space.
Tips and Tricks
Here are a few additional tips for making and using self-watering planters:
Use a container with a tight-fitting lid or cover to reduce evaporation and keep your water reservoir clean.
Check the water level in your reservoir regularly and refill as needed.
Don't overfill your water reservoir, as this can lead to soggy soil and root rot.
Monitor your plants closely to make sure they're getting the correct amount of water. You may need to adjust the size or number of wicks depending on their needs.
Consider adding a layer of mulch, such as wood chips or leaves, to the top of your soil to reduce moisture loss and increase overall plant health.
Conclusion
Self-watering planters are a simple and effective way to keep your plants healthy and hydrated with minimal effort. With a bit of creativity and some basic materials, you can make your own DIY self-watering system that saves you time and ensures your plants thrive. Give it a try and see the difference it makes!

 how many times do yo...
 how many planted tre...
 how many pine trees ...
 how many pecan trees...
 how many plants comp...
 how many plants can ...
 how many plants and ...
 how many pepper plan...


