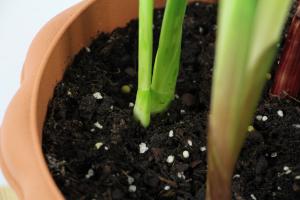
How to Transfer Potted Plants
Transferring potted plants from one container to another or from outdoors to indoors can be a daunting task. However, with a little bit of preparation and patience, you can easily transfer your plants without damaging them. Here’s how to transfer potted plants:
Choose the Right Container
The new container you choose for your plants should be slightly larger than your current pot to provide ample space for growth. It should also have proper drainage holes to prevent waterlogging. Ensure that the material and color of the pot match the plant’s requirements. A ceramic pot, for example, may be perfect for indoor plants but not for outdoor plants exposed to harsh weather conditions.
Prepare the New Container
Before transferring your plants, prepare the new container by filling it with fresh soil. Add enough soil to the pot, making sure to leave enough space at the top to water your plants. Make a hole in the center of the soil and scoop out enough soil from the center to accommodate the plant’s roots during the transfer process.
Prepare the Plants
Prepare the plants for the transfer by watering them a day or two before the process. This ensures that the plant is well hydrated and makes the transfer process easier. Gently remove the plant from the old container using a trowel or your hands. Ensure that you do not damage the roots as this can hinder the growth of the plant. Remove any dead or rotting roots and loosen the remaining roots gently.
Plant the Transfer
Place the plant in the center of the new pot, making sure that it is upright and centered. Add soil around the plant, gradually tamping it down as you fill the container. Ensure that the soil settles around the roots without leaving any air pockets. Add enough soil to the top of the container, leaving enough space at the top of the pot to water your plant. Water your plant and let it drain before moving it to its new location.
Care for the Newly Transferred Plants
Once you have transferred your plants, you need to take care of them to ensure healthy growth. Place the plant in a location that provides the right amount of light, depending on the plant’s needs. Water your plants regularly, making sure not to overwater them, and fertilize them as required. Observe your plants carefully and monitor their health to ensure that they are thriving in their new location.
Conclusion
Transferring potted plants can be a daunting experience, but following these simple steps can help make the process easier and less stressful for you and your plant. With a little bit of patience and care, your plants can thrive in their new pot and location.

 how many times do yo...
 how many planted tre...
 how many pine trees ...
 how many pecan trees...
 how many plants comp...
 how many plants can ...
 how many plants and ...
 how many pepper plan...


