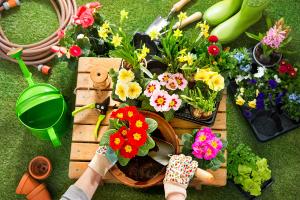
How to Build a Potting Planting Table
Having a designated space for planting and repotting your plants can make your gardening experience more organized and enjoyable. A potting planting table can serve as a workspace for your gardening projects and can be easily built at home using a few materials and steps.
Step 1: Choose Your Materials
The first step in building a potting planting table is choosing the right materials. The table can be made from a variety of materials such as wood, plastic, or metal. However, wood is a popular choice because it is sturdy, easy to work with, and has a rustic look that fits in with a garden atmosphere.
Your table should be at a comfortable height for you to work at, so measure the height of your waist and choose a height accordingly. Also, consider the size of your pots and choose a width that accommodates your needs.
Step 2: Gather Your Tools
Collecting the necessary tools beforehand can help the building process go smoothly. You will need a saw, drill, screws, sandpaper, nails, hammer, and a level. If you're using wood, make sure to also have a stain or paint if you wish to add a finishing touch to your table.
Step 3: Building the Tabletop
The tabletop is an essential part of the potting planting table as it serves as your workspace. Cut your chosen wood to the desired size of your tabletop using a saw. Sand the edges with sandpaper to create a smooth finish.
Next, lay the tabletop on a flat surface and attach legs using screws. Make sure the legs are attached evenly on each corner for stability. You can also use a level to ensure that the legs are at the correct angle.
Step 4: Adding the Shelf
A shelf beneath the tabletop can be helpful for storing pots, bags of soil, or other gardening tools. Measure the distance between the legs and cut a piece of wood to fit as the shelf. Attach the shelf with nails or screws to the legs.
Step 5: Finishing Touches
Once your potting planting table is built, you can add a finishing touch if you wish. You can stain, paint, or seal the wood to give it a polished look. You can also add hooks or hangers to the sides for additional storage options or décor.
Remember to keep your potting planting table clean and organized for a stress-free gardening experience.
Conclusion
A potting planting table is a valuable addition to any gardener's toolset. Building one at home can be a satisfying and easy project, requiring only a few materials and tools. By following these steps, you'll have a functional work surface that will help make your gardening more enjoyable and efficient.

 how many times do yo...
 how many planted tre...
 how many pine trees ...
 how many pecan trees...
 how many plants comp...
 how many plants can ...
 how many plants and ...
 how many pepper plan...


