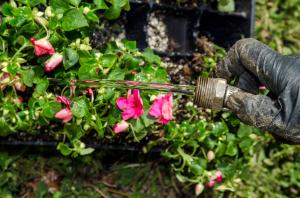
How to Drill a Hole in the Bottom of a Plant Pot
When it comes to keeping houseplants healthy, proper drainage is essential. Without adequate drainage, the soil can become waterlogged and cause root rot, which can ultimately kill the plant. One way to ensure proper drainage is by drilling a hole in the bottom of the plant pot. Here is a step-by-step guide on how to do so:
Materials Needed
Before you get started, gather the necessary materials. Here are the items you will need:
Plant pot
Drill
Drill bit
Masking tape
Marker or pen
Old towel or cloth
Steps
1. Choose the Right Drill Bit
The first step is to choose the right drill bit for the material your plant pot is made of. If your plant pot is made of ceramic or clay, you will need a masonry drill bit. For plastic or metal plant pots, a standard drill bit should work. Make sure the drill bit is the appropriate size for the hole you want to create.
2. Tape the Bottom of the Pot
Once you have your drill bit, clean and dry the bottom of the plant pot. Then, apply a piece of masking tape over the center of the bottom of the pot. This will prevent the pot from cracking when you start to drill.
3. Mark the Center of the Tape
Using a marker or pen, mark the center of the masking tape. This will be where you start drilling the hole.
4. Place the Pot on a Towel
Place the pot upside down on an old towel or cloth. This will help to stabilize the pot and prevent it from slipping while you drill.
5. Start Drilling
Begin drilling slowly and steadily at the center of the masking tape. Apply gentle pressure and hold the pot steady with your other hand. Make sure the drill is perpendicular to the pot and keep the bit moving until it breaks through the bottom of the pot.
6. Clean up the Pot
Once you have drilled the hole, remove the tape from the bottom of the pot. Use a damp cloth to wipe away any dust or debris left from the drilling process.
7. Test the Drainage
Fill the pot with soil and water the plant. Check to make sure the water is draining properly from the hole you drilled. If the pot is still draining too slowly, you may need to drill a larger hole or make additional holes.
Drilling a hole in the bottom of a plant pot is a simple and effective way to improve drainage and promote healthy plant growth. With the right tools and a bit of care, you can easily create the perfect hole for your plant.

 how many times do yo...
 how many planted tre...
 how many pine trees ...
 how many pecan trees...
 how many plants comp...
 how many plants can ...
 how many plants and ...
 how many pepper plan...

