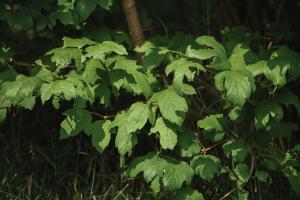
How to Plant a Japanese Maple Seed
Japanese maple trees are beautiful, elegant and renowned for their striking foliage. If you want to have a Japanese maple in your garden, but don't want to spend a fortune buying a fully-grown tree, you can try planting a Japanese maple seed yourself! In this article, we will guide you through the steps of planting a Japanese maple seed.
Step 1: Collect the Seeds
The first step in planting a Japanese maple seed is to collect the seeds. You can do this by either buying seeds from a garden center or by collecting them from an existing tree. If you choose to collect the seeds yourself, wait until they have matured and turned brown. You can then remove the seeds from the tree and separate them from their wings.
Step 2: Preparing the Soil
Once you have collected the seeds, you must prepare the soil for planting. Japanese maples prefer well-draining soil that is slightly acidic. Mix the soil with some peat moss to acidify it, and add some perlite to improve drainage. Make sure to choose a location that receives partial shade, as Japanese maples don't like direct sunlight.
Step 3: Planting the Seeds
Now that the soil is ready, it's time to plant the seeds! Dig a hole in the soil that is about twice the size of the seed and fill it with soil. Place the seed in the hole with the pointed end facing down and cover it with soil. Water the soil lightly to moisten it, but be careful not to overwater it, as this can cause the seed to rot.
Step 4: Caring for the Seed
Once you have planted the seed, it's important to care for it properly. Keep the soil moist by watering it lightly every day. You should also cover the area with a layer of mulch to help keep the soil moist and the seed warm. Make sure to remove any weeds or grass that are growing around the seed, as they can compete for water and nutrients.
Step 5: Transplanting the Sapling
After a few months, the Japanese maple seed should start to germinate and grow into a sapling. Once it has grown to a few inches tall, it's time to transplant it into a larger pot or outside into the ground. Make sure to choose a location that still receives partial shade and has well-draining soil. Water the sapling regularly for the first few weeks to help it adjust to its new environment.
In conclusion, planting a Japanese maple seed is not difficult, but it does require some patience and care. By following these steps, you can grow a beautiful Japanese maple tree in your own garden!

 how many times do yo...
 how many planted tre...
 how many pine trees ...
 how many pecan trees...
 how many plants comp...
 how many plants can ...
 how many plants and ...
 how many pepper plan...


