NO.1
The finished product is like this~
The steps are also relatively simple. First, print the contents of the label on paper., Of course, handwriting is also OK
Step 2: take transparent tape to seal and compact all the printed contents
Step 3: get ready for card insertion. This can be refitted with all the plastic thin skin products that can be found at home, such as the tube body of toothpaste, hand cream, capsule medicine board, etc. you can turn waste into treasure with your eyes that are good at finding. Cut these plastic thin skin products into the shape shown in the figure below
Step 4: cut the printed content with a knife. And soak in water
Step 5: gently rub the white paper with your hands and wipe it clean, but don't work too hard and don't rub off the printed content
Step 6: stick the rubbed adhesive tape to the desired position of the label
Roar, look, is it beautiful
NO.2
First look at the finished product drawing~

Prepare toothpicks (single headed), ice cream sticks, scissors, glue and pens~

Step 1: first cut the ice cream stick into an appropriate size
Step 2: write the name of the meat and dry it~

Step 3: stick the toothpick and the cut ice cream stick with glue, preferably AB glue or brother and sister~

Just dry it~

NO.3
With a beautiful colored tape, a pair of scissors and a small wooden stick, you can make the following labels
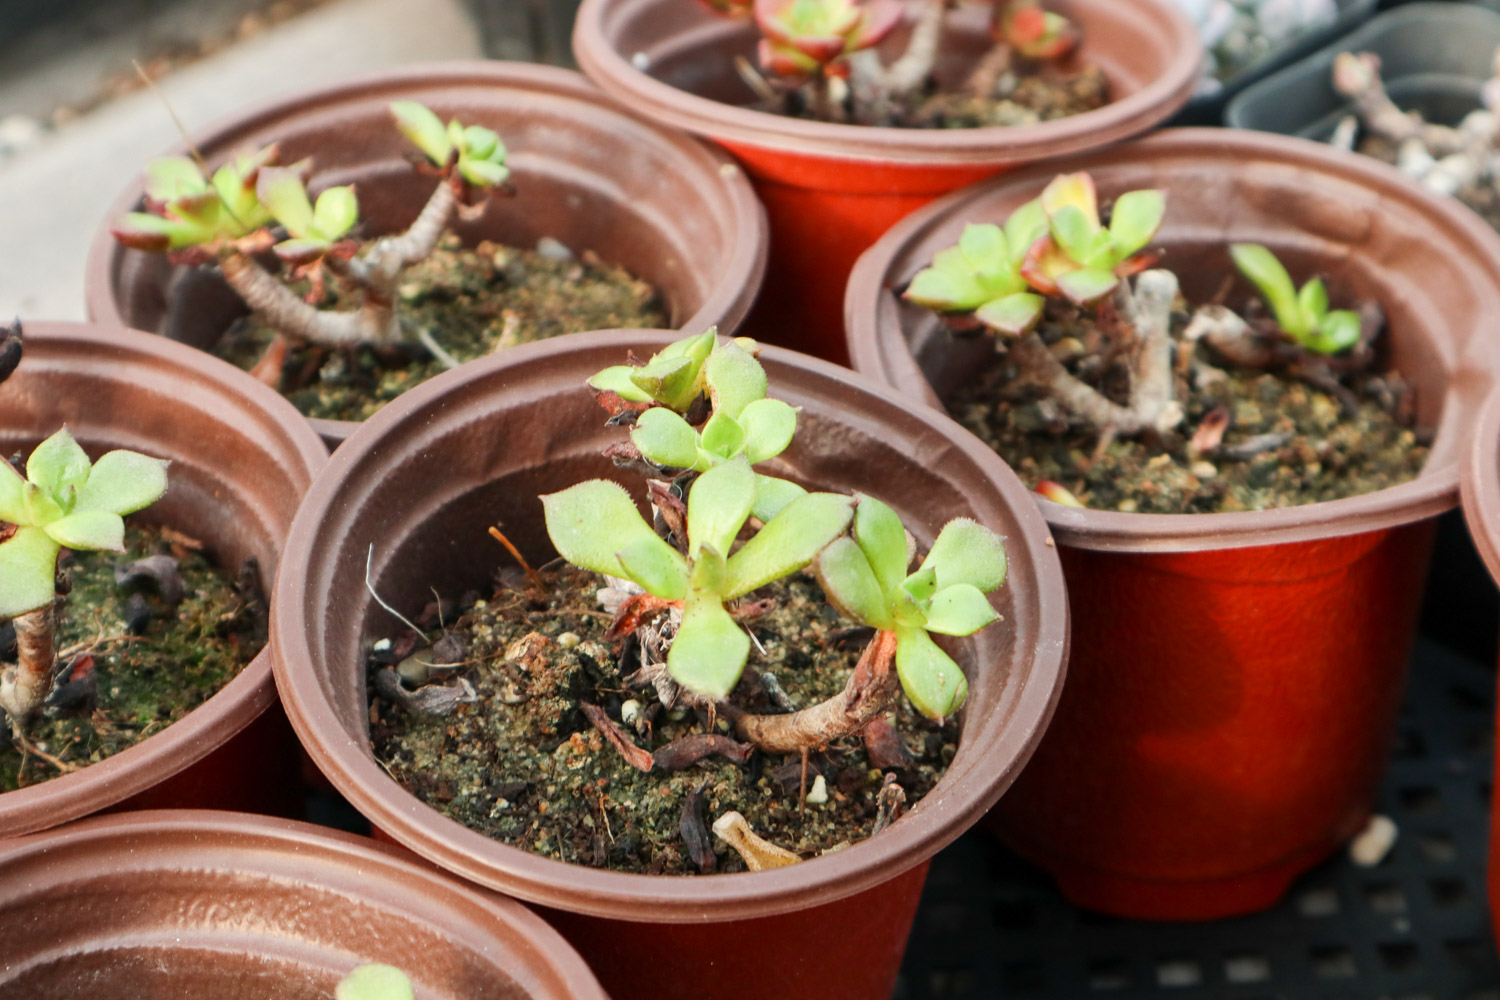
You can see it with one picture~
NO.4
It's summer. Are you eating delicious ice cream again? Don't throw away the ice cream stick after eating~
You can draw beautiful patterns, do simple decoration and use waste
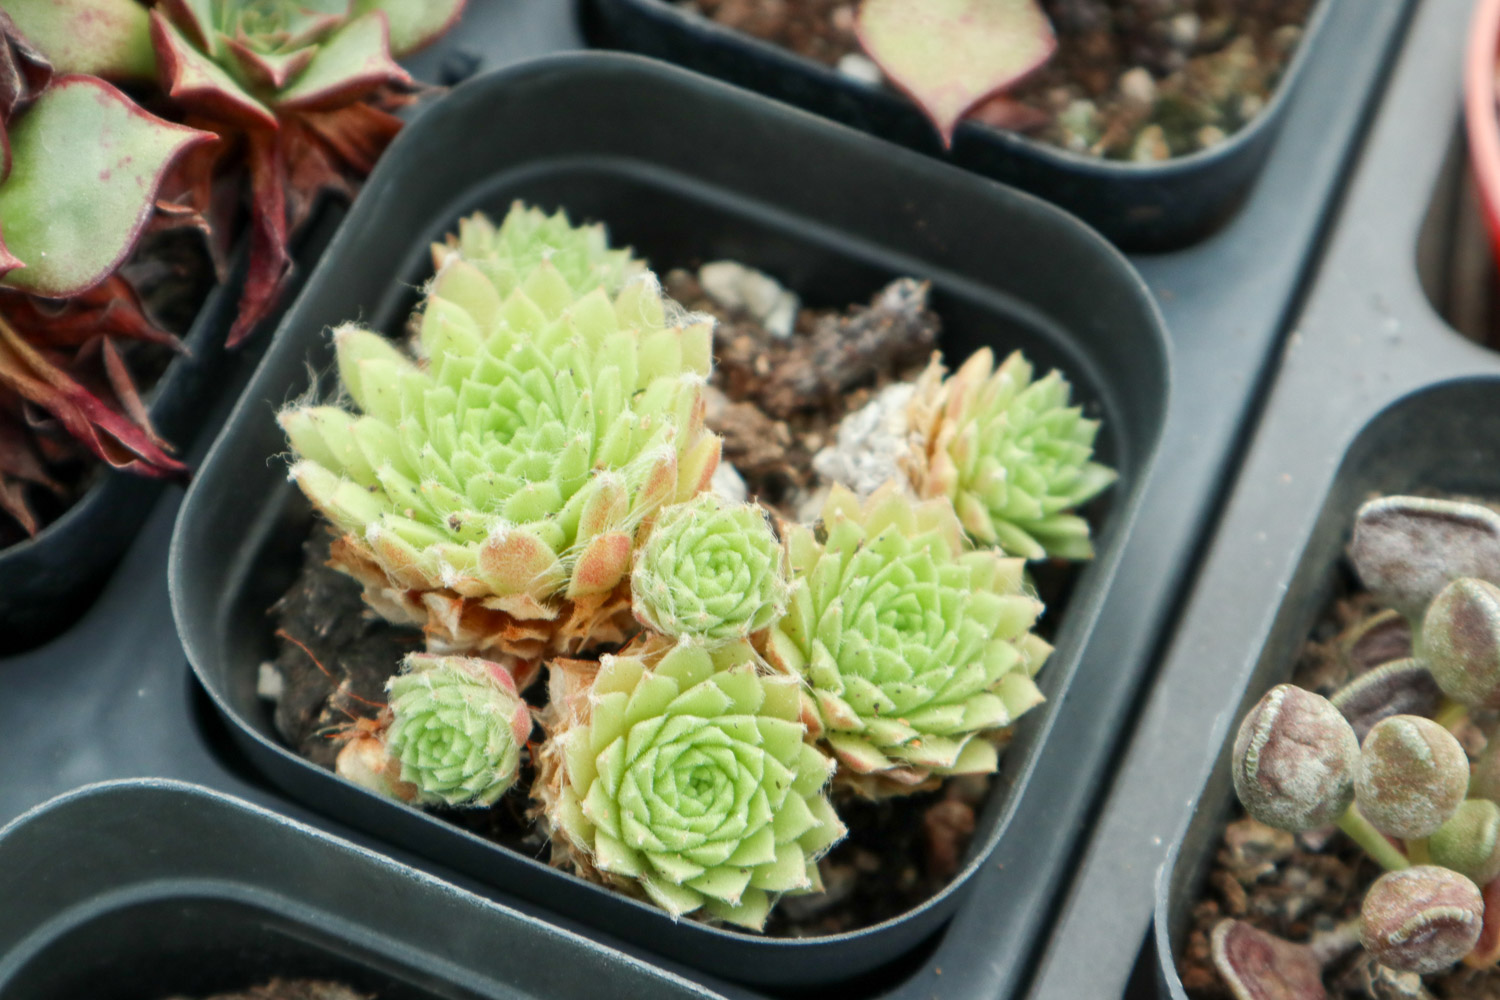
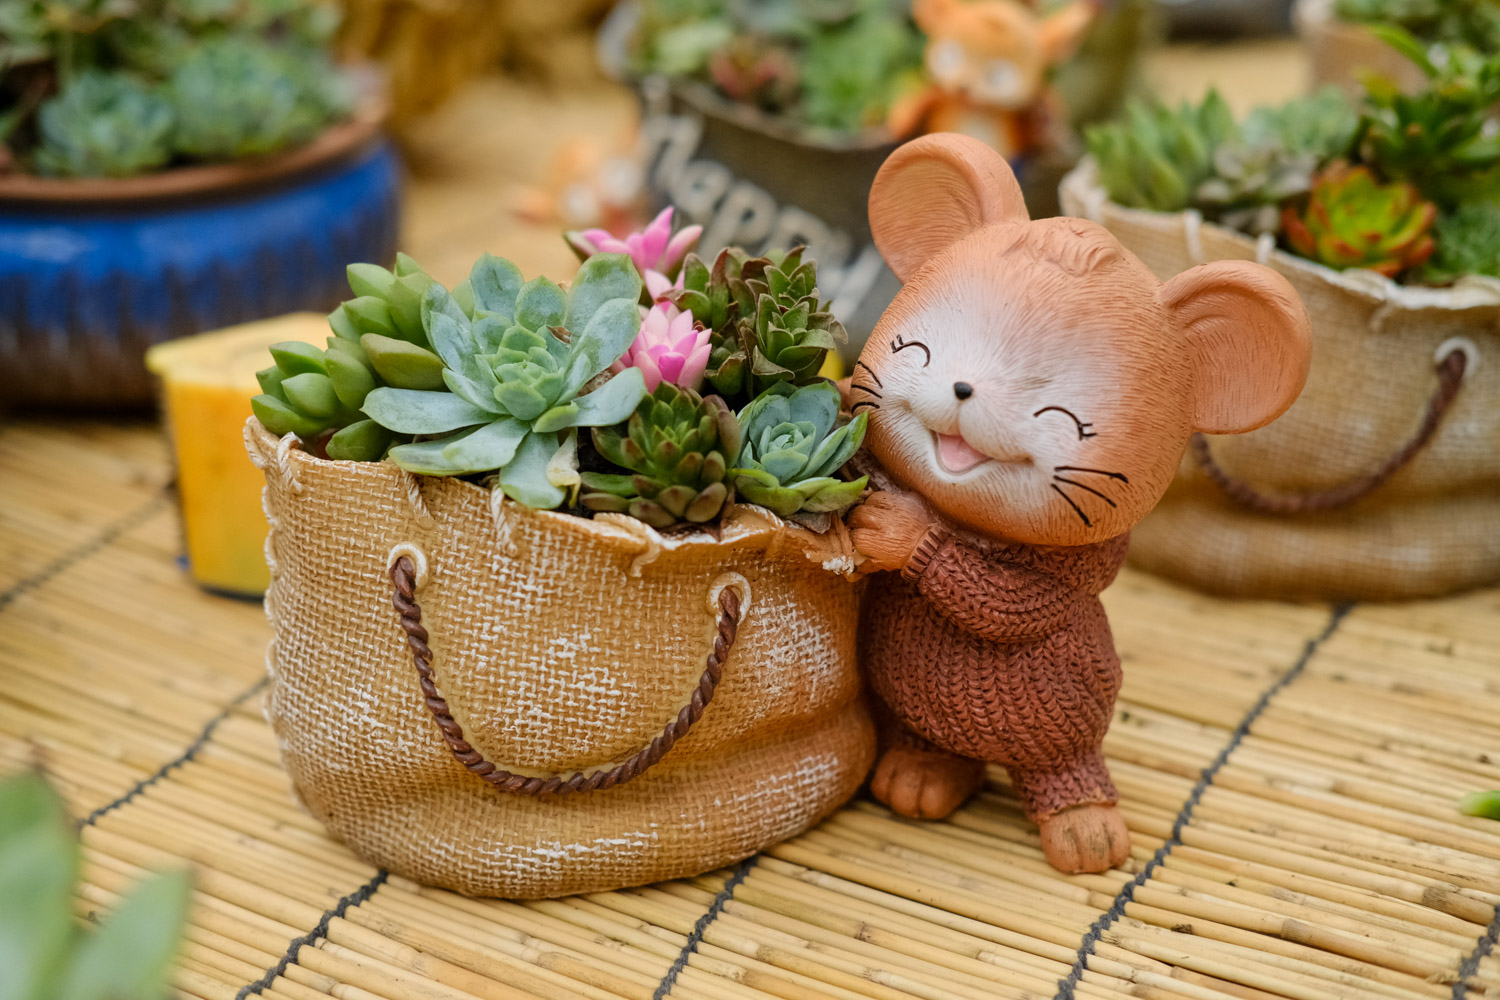
This is completely free to play by yourself~
NO.5
Clothes clips are OK! (lazy Dharma)
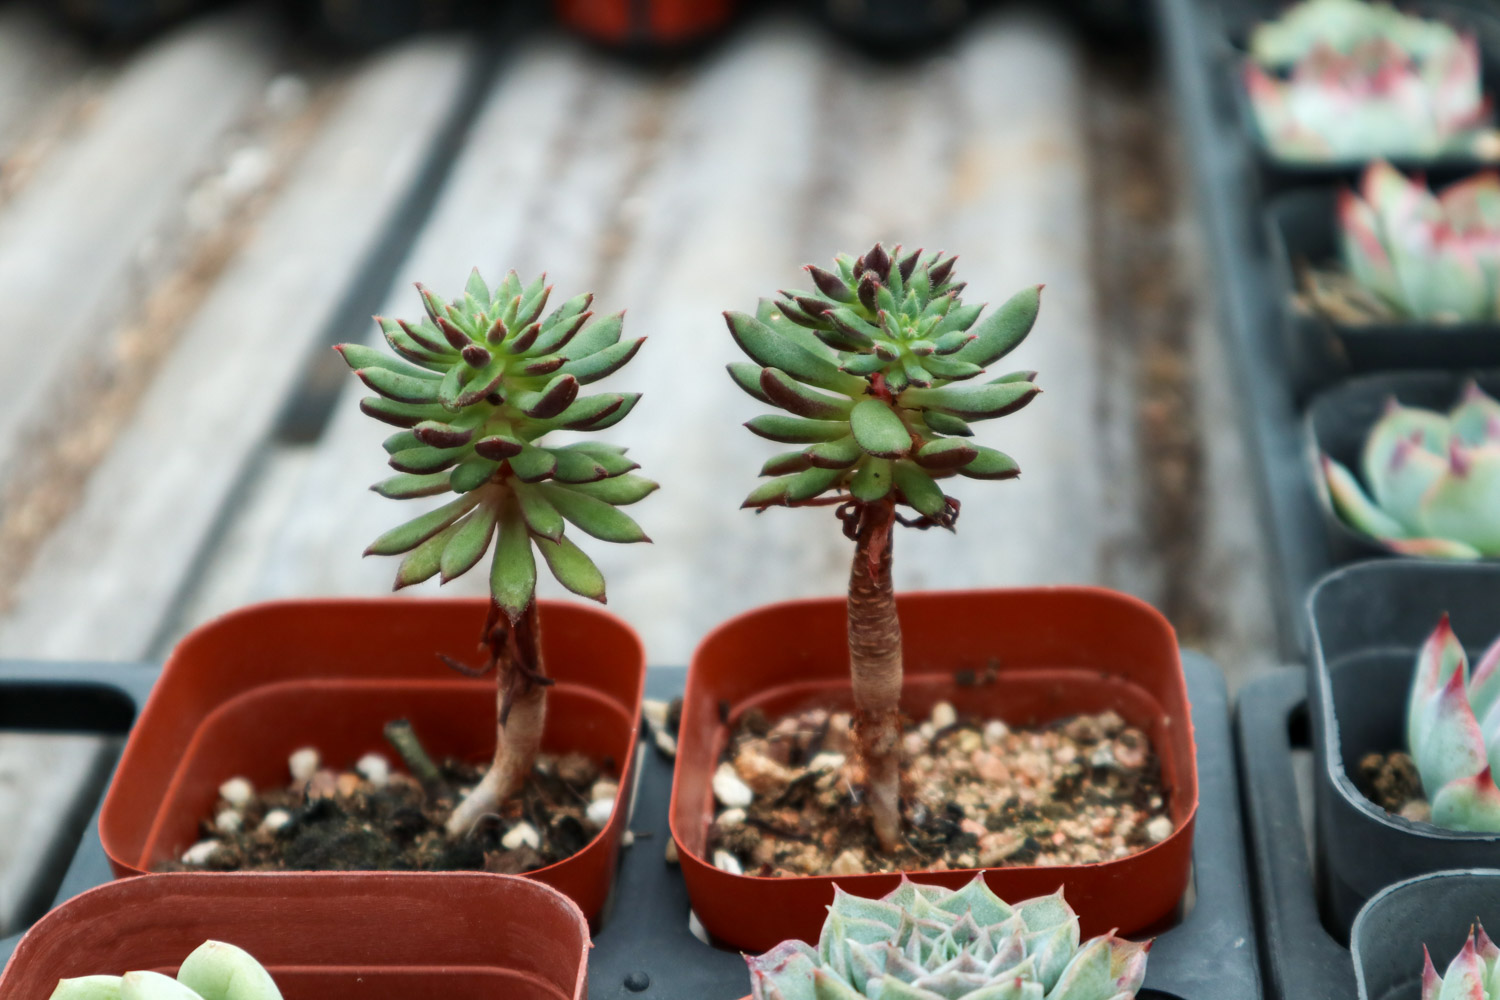

 how many times do yo...
 how many planted tre...
 how many pine trees ...
 how many pecan trees...
 how many plants comp...
 how many plants can ...
 how many plants and ...
 how many pepper plan...