Longevity flower
Longevity flower must be raised by many people ~ because it looks so beautiful when it blooms! However, the older the longevity flower is, the less it blooms, because many flower friends will buy a new pot every year. In fact, it doesn't have to be so troublesome ~ longevity flower branches can take root quickly and feed well, so as to ensure that you have no shortage of longevity flowers every year

Branching steps:
1. Cut the selected branches. Note that when cutting, it should be cut at about 1cm above the axillary bud. While obtaining the cuttings, the mother plant can also be divided
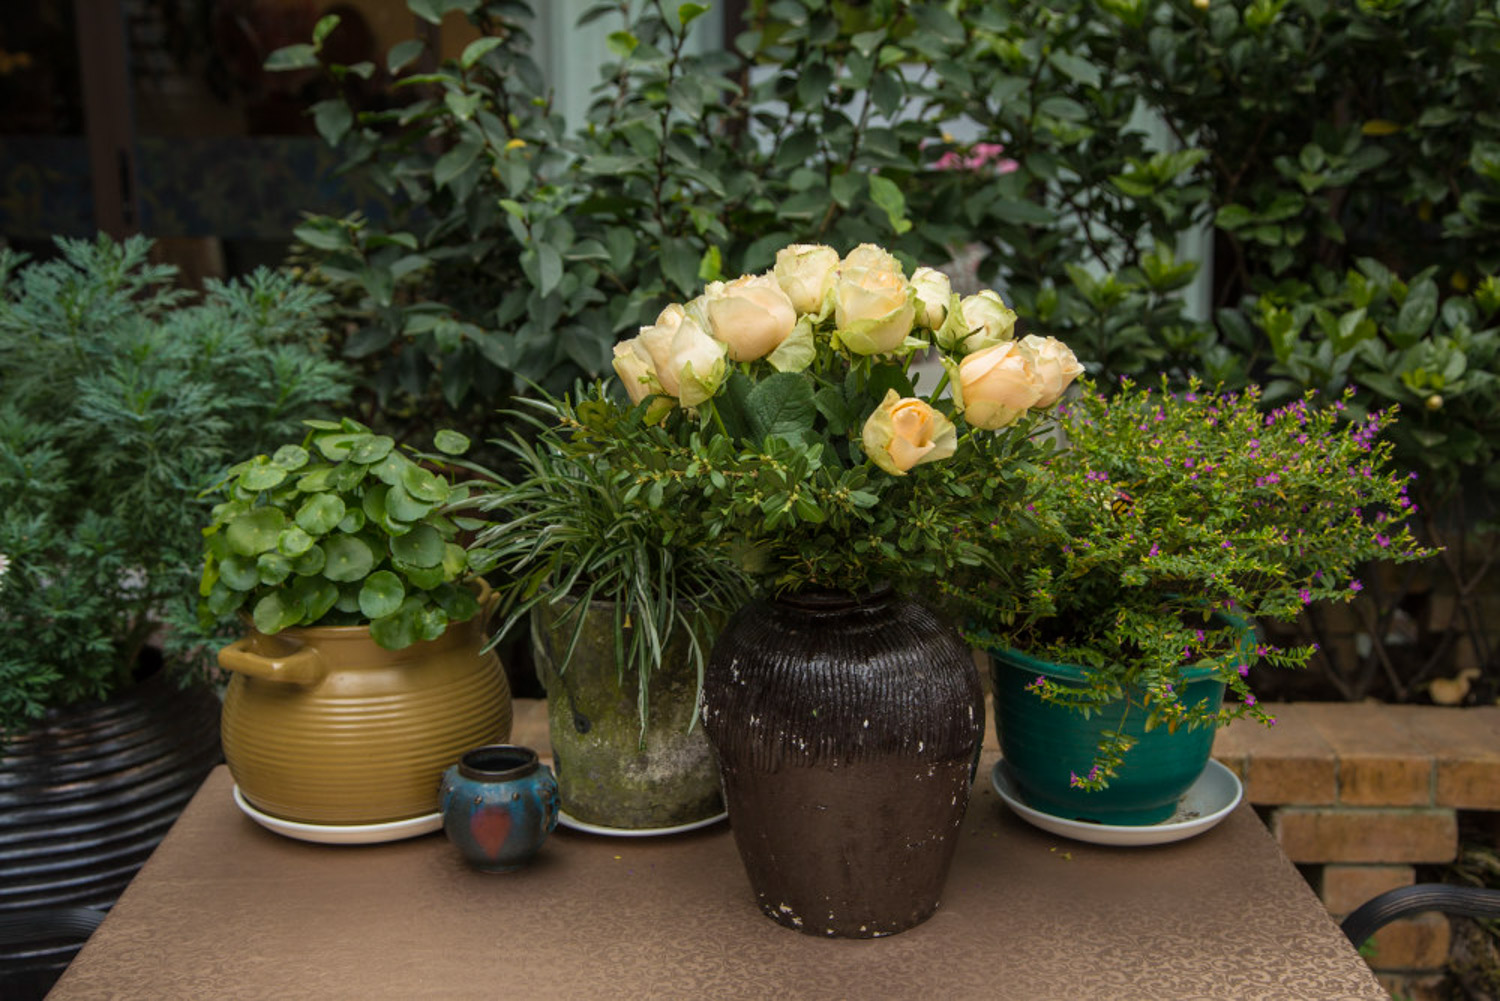
2. The reduced branches shall be segmented. Two nodes with leaves shall be reserved on each segment, and then the leaves at the bottom shall be removed

3. Prepare appropriate branch soil, peat soil, nutrient soil, river sand, vermiculite, perlite, etc. Put it into the prepared flower pot and water it until it is slightly wet

4. Disinfect the prepared cuttings with Carbendazim and put them in a cool place for 1 day
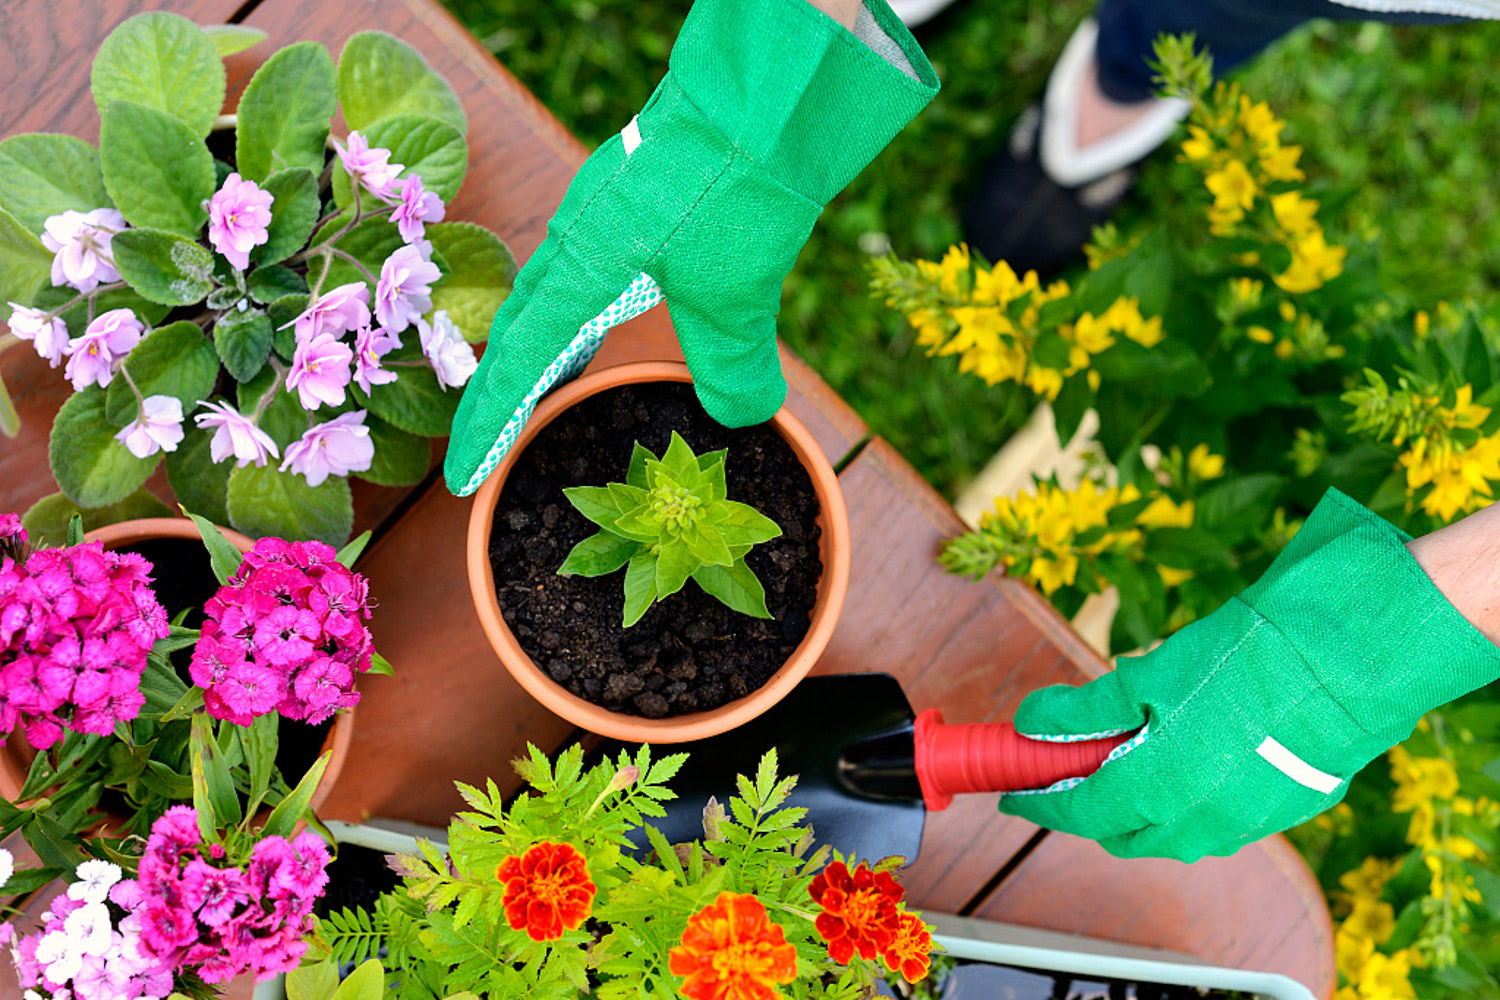
(author: Mint cotton skirt source: hyacinth bar)
5. Insert the branches of Changshou flower into the prepared soil and put them in a cool and ventilated place for a few days. After that, just keep the soil moist and take root in about half a month

(author: headmaster of Yubei middle school source: cutting bar)
6. Tip: if you don't think you can see the rooting when you insert it in the soil, you can insert the branches of Changshou flower into the water after the fourth step is completed, and then transplant it after rooting

(author: simple becomes stupid source: Sina Weibo)
Aloe Vera
Aloe Vera has many advantages at home ~ it not only looks good, but also purifies the air. If it is well-made, it can even beautify your home
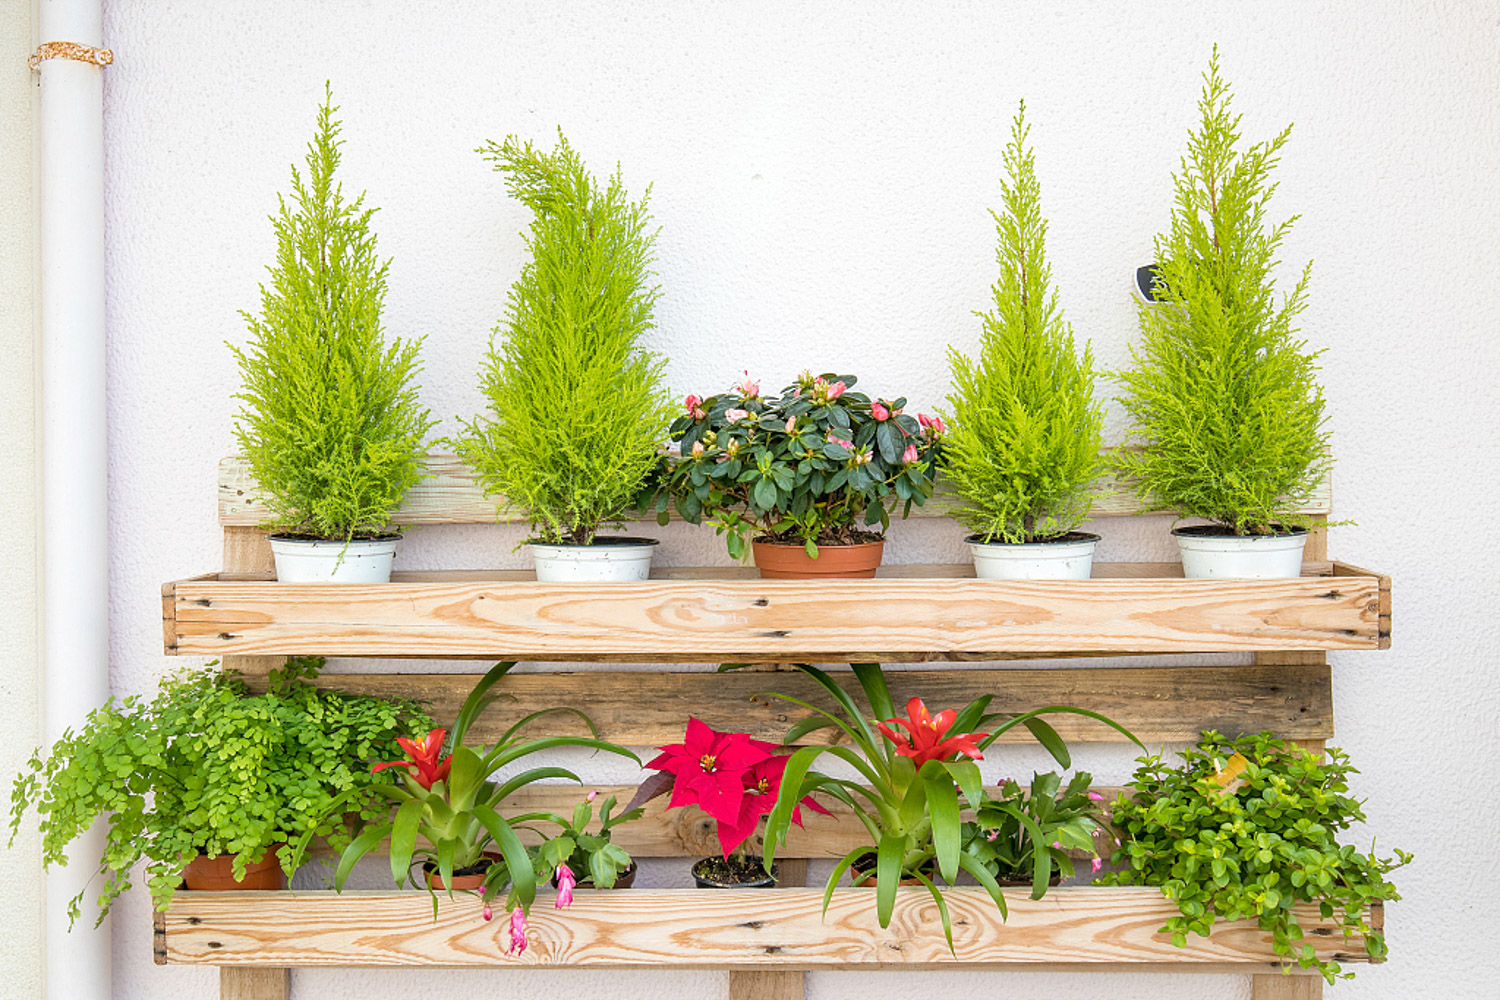
Main points of ramet:
Aloe vera, which is generally about 10 cm long, will burst out many small buds around it. These small buds are the object we want to separate~

2. Take all aloes and buds out of the flowerpot and clean the soil attached to the root system. The action should be light and do not damage the root system
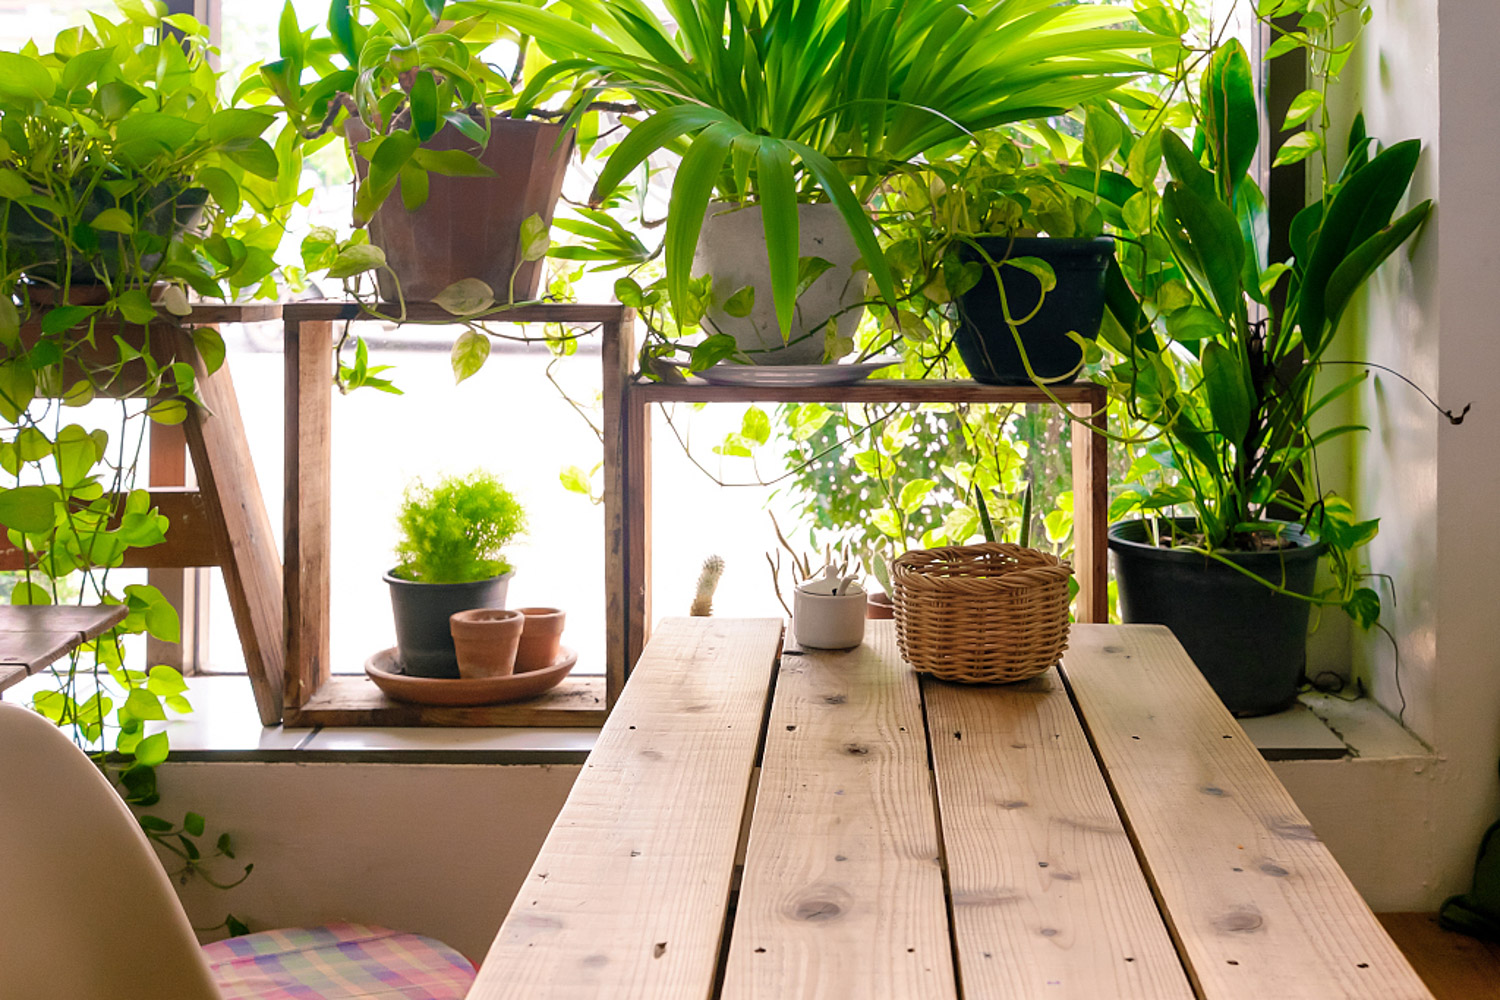
3. Observe whether the small buds have grown a complete root system. The survival rate will be higher only if the relatively large small buds that have grown many roots themselves are selected. Don't choose buds without roots
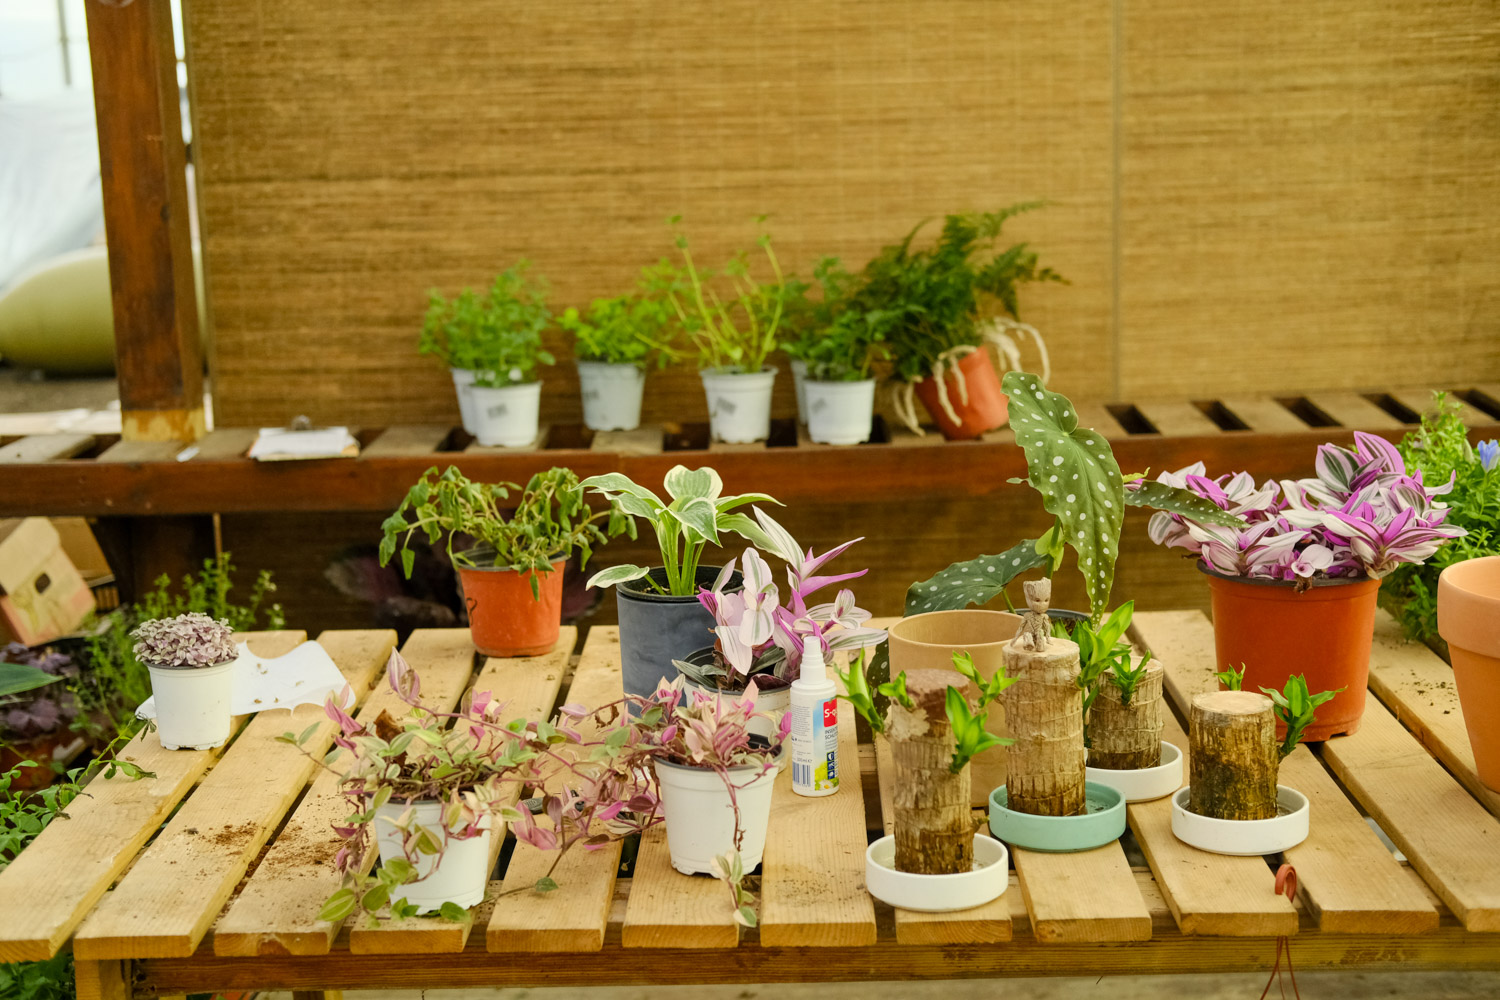
4. After selecting the bud, hold the growth point between the bud and the mother plant with your fingers, and then break it gently, and the bud will fall. Put the bud in the shade for about 1 day and wait for the wound to dry
5. Fill the selected flowerpot with some soil, not all, and then put the buds into the flowerpot, hold them with your hands, and then fill them slowly. Pay attention to the root system when filling, so that the root system can expand naturally. There is not too much soil. Just bury all the root systems of Aloe Vera
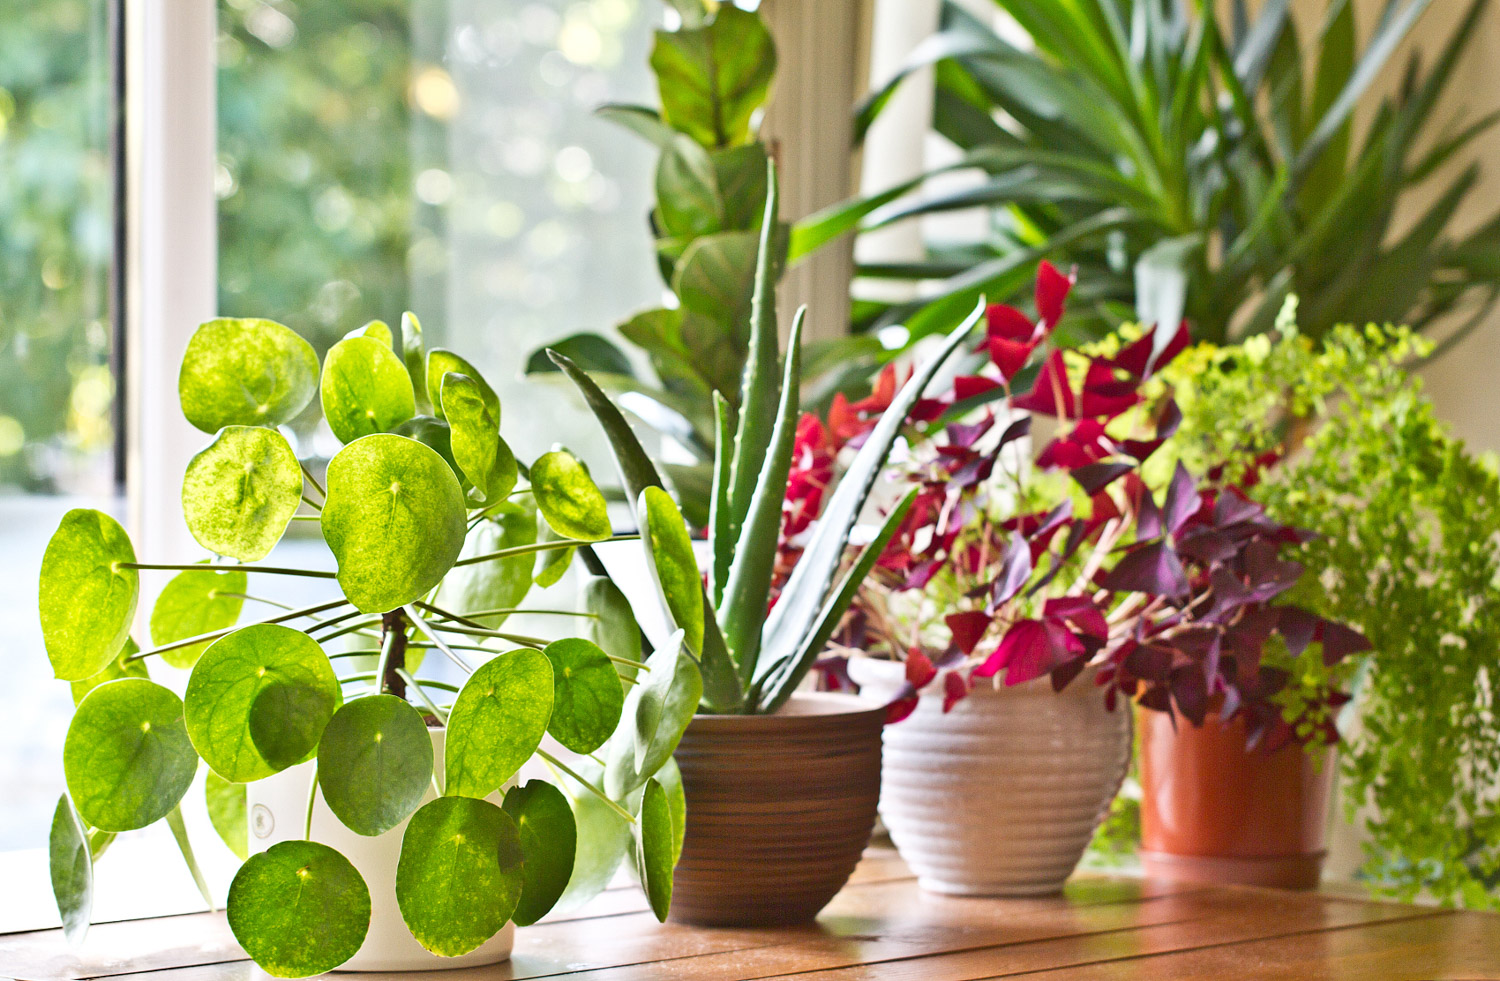
6. After the filling is completed, gently press around the flowerpot with your fingers, pour water once at the same time, and then put it in a cool and ventilated place for slow seedling. After about a week, new roots will grow and continue to grow

Ivy
Ivy is also one of the common plants in the home. Its leaves are special and evergreen all the year round. It is an indispensable decoration in the home
Key points of branch insertion:
1 select about 10cm strong branches from the top of ivy and cut them

2. Remove all the leaves at the lower part of the branch, leaving only 2 ~ 4 leaves at the top

3. Poke a few holes under the disposable cup and put it into the soil with good permeability and price ratio, or directly use pure perlite or vermiculite for cutting, with a high success rate

(author: Mi xiaoyitian source: Sina Weibo)
4. Poke a hole in the middle of the cup with your fingers or chopsticks, fill the soil after putting the branches in, and compact them slightly to avoid the branches from tilting

5. After watering, put it in a place with bright indoor light. Keep the basin soil moist in the first few days. Wait until one week later, the watering is dry and wet. If the temperature is appropriate, it will take about 15 ~ 20 days to take root
6. Don't rush to transplant after rooting. Let it grow in the cup for about a month and a half before transplanting. At this time, its root system has grown well, and the possibility of transplanting survival increases
Hupilan
Because the leaf pattern is very simple, the flower pattern is like a tiger's home, and many become friends of the tiger

Key points of leaf insertion:
1. Take a healthy leaf of hupilan

2. If the leaf of hupilan is very long, the leaf can be cut into small segments of about 5 ~ 10cm with a sharp knife. If the leaf is short, cutting can be carried out directly
Long leaf segment

Just take off the short leaves

3. Use carbendazim to disinfect hupilan, or apply rooting powder to the wound of hupilan

4. Prepare the container for leaf insertion, and put the medium with good permeability into it, such as river sand, peat, vermiculite and perlite. Wet the soil slightly

5. Insert the leaf tip upward into the soil for 2 ~ 3cm
Cut short

Whole blade inserted

(author: Xinghu Feiyue source: Yuhua Valley Forum)
6. If the temperature is appropriate, the leaves can be kept in a bright place for a month~

(author: Xinghu Feiyue source: Yuhua Valley Forum)
7. Note that if the cutting is the leaves of Phnom Penh hupilan, the newborn buds will not have Phnom Penh
Crab claw orchid
Crab claw orchid is an epiphyte with flat stems and colorful flowers, which is loved by people. The most common breeding method of crab claw orchid is stem insertion

(author: 221.205.223. * source: Ximing mine bar)
Key points of stem insertion:
Cut a healthy stem section from the plant of crab claw orchid. Note that there should be at least two sections in a section

(source: flower culture exchange)
2. Soak in potassium permanganate or carbendazim solution for about 5 minutes for disinfection, and then put it in the scattered light for about 1 day to let the water on the crab claw dry in the shade

3. Put the soil mixed with peat and river sand 1:1 into the prepared container and pour it through with water until it is slightly wet

4. You can poke a hole in the soil with your fingers or chopsticks, which is enough to insert the branches of crab claw orchid. Then insert the stem node of crab claw orchid, cover it with soil and compact it slightly

(author: sdtazzy# source: osmanthus bar)
5. Next, keep the basin soil moist and take root and sprout in about 6 ~ 8 weeks~

After reading so many breeding methods, have you learned a few tricks? Go and try it

 how many times do yo...
 how many planted tre...
 how many pine trees ...
 how many pecan trees...
 how many plants comp...
 how many plants can ...
 how many plants and ...
 how many pepper plan...


