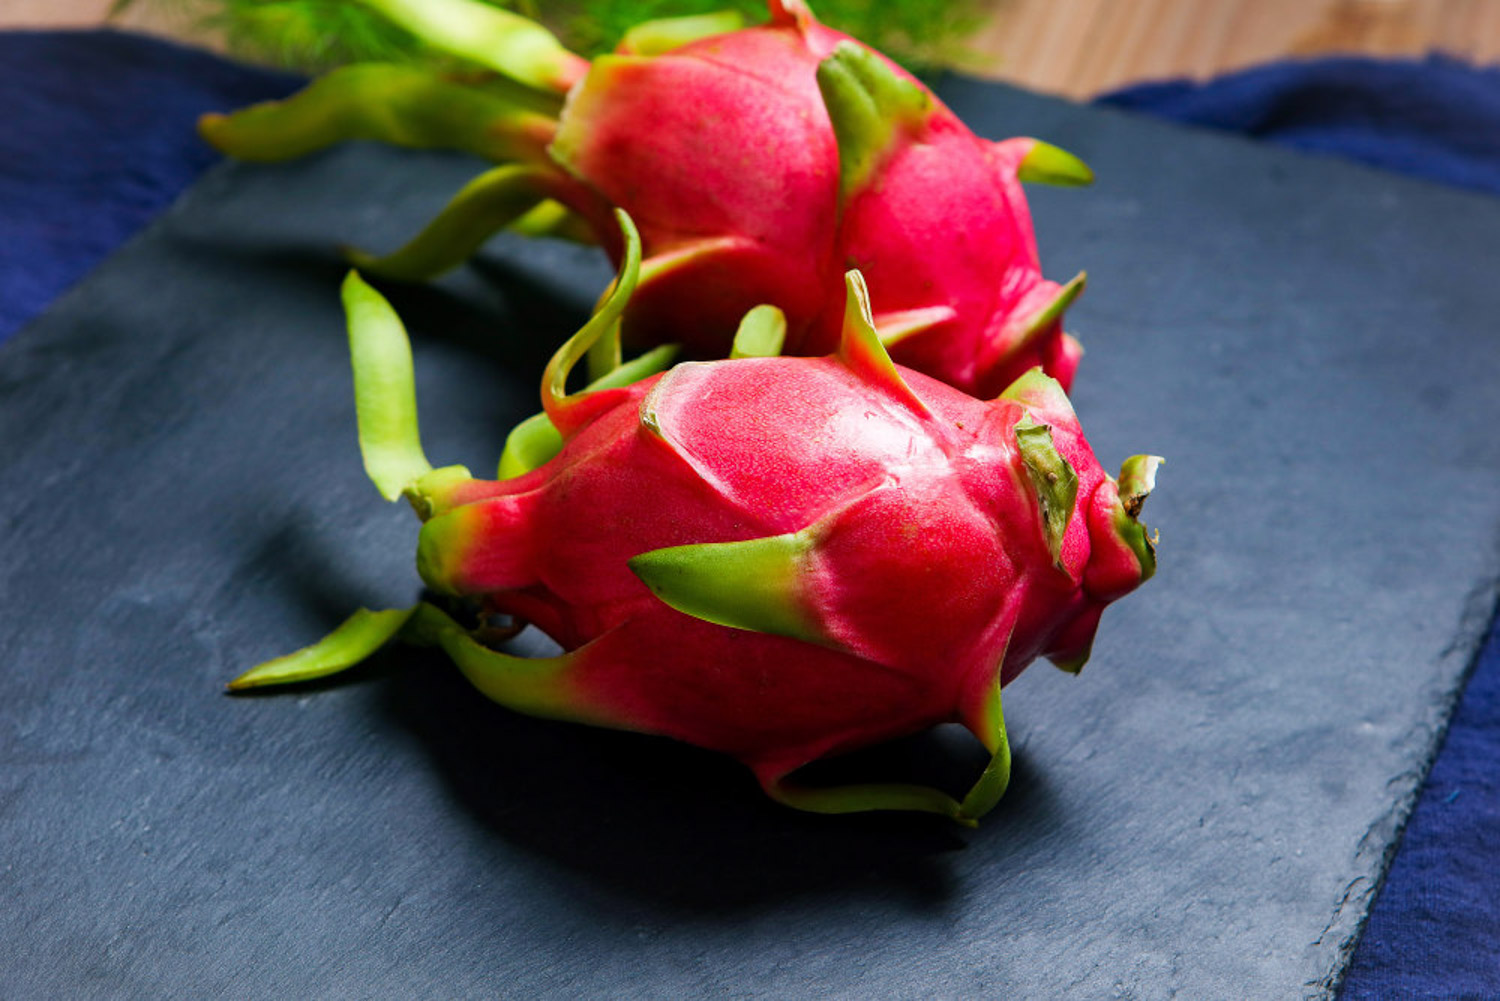
Pitaya can also be planted on the balcony, with fruit hanging all over the branches

Author:Amsterdam Date:2022-04-05 21:37

Fire dragon fruit is planted on the balcony. It is usually cut by branches, and it is very easy to live. Some people eat the fruit in half a year. I feel like this can not only eat delicious pitaya, but also save a lot of money!

Pitaya planting method

Step 1: buy branches

Pitaya is more suitable for cutting. If you want to cut, you should prepare cuttings. In fact, there are branches on the Internet. You can buy all kinds of branches directly from the Internet and try them. You can also find someone who grows pitaya at home to cut roots and branches
pitaya

Step 2: treatment of branches

The branches of Pitaya cutting should be longer, so as to grow faster and bear fruit earlier. The lower part of the wood can be cut out with a skewer
pitaya

Step 3: dry the branches

The treated cuttings can be dried in a cool place, and the wound will heal in about 4-5 days

pitaya

Step 4: prepare the soil

When selecting soil, it is basically enough to be permeable and breathable. If it is planted in a flower pot, it is best to use some permeable sand or add some sand to the garden soil
pitaya

Step 5: cutting in soil

Insert the dried branches into the soil and pay attention to ensure that the branches do not fall down

pitaya

Step 6: stick firmly

If you find that the branches are long and easy to fall down during cutting, you can insert a stick in the soil, and then fix the branches to the stick with adhesive tape
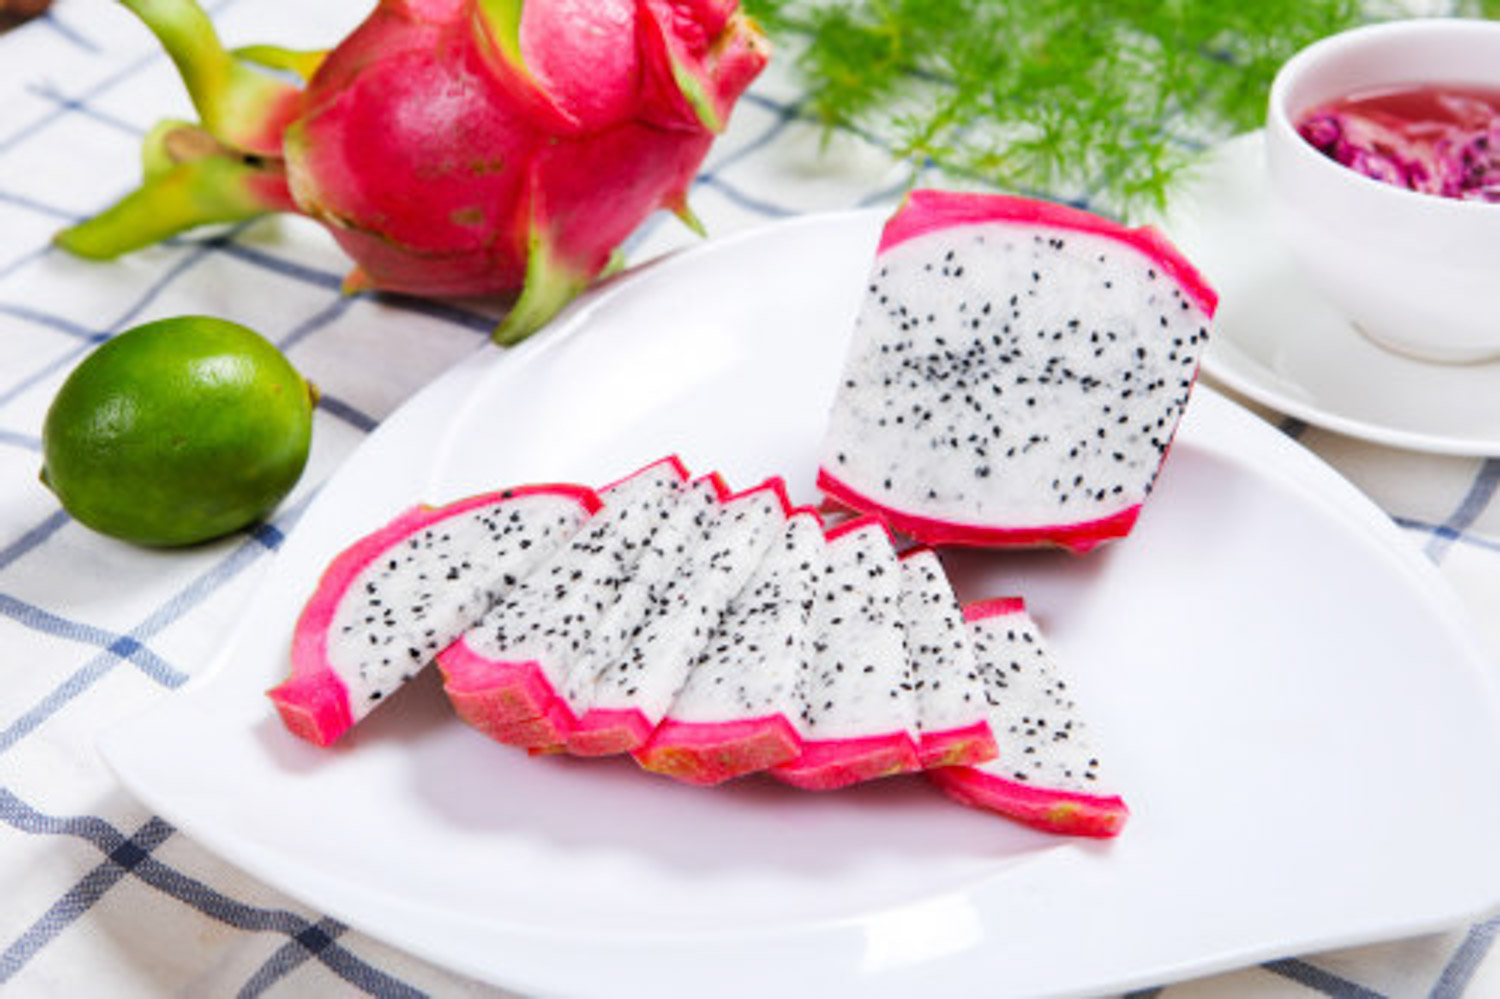
pitaya

Step 7: don't water just after planting

After planting, you can put the flowerpot in a place with astigmatism and ventilation, but pay attention not to water it within a month, otherwise it will rot
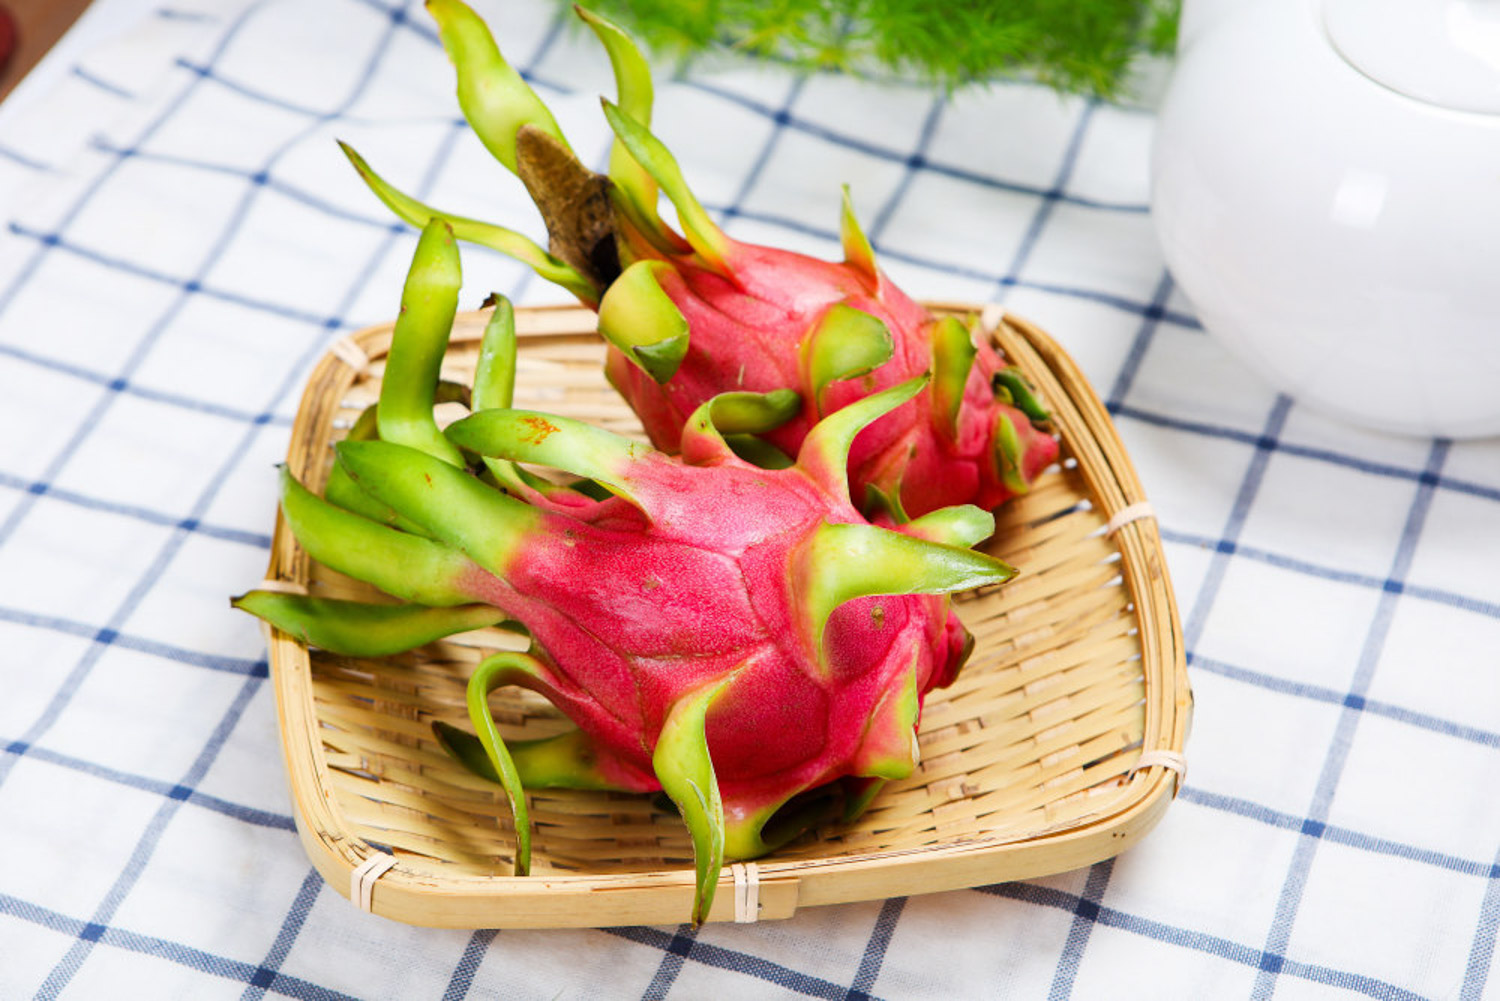
pitaya

Step 8: daily maintenance

When the Pitaya takes root, you can water it. Pay attention to the sun, keep the temperature above 8 ℃, and apply some organic fertilizer, and the Pitaya will grow quickly
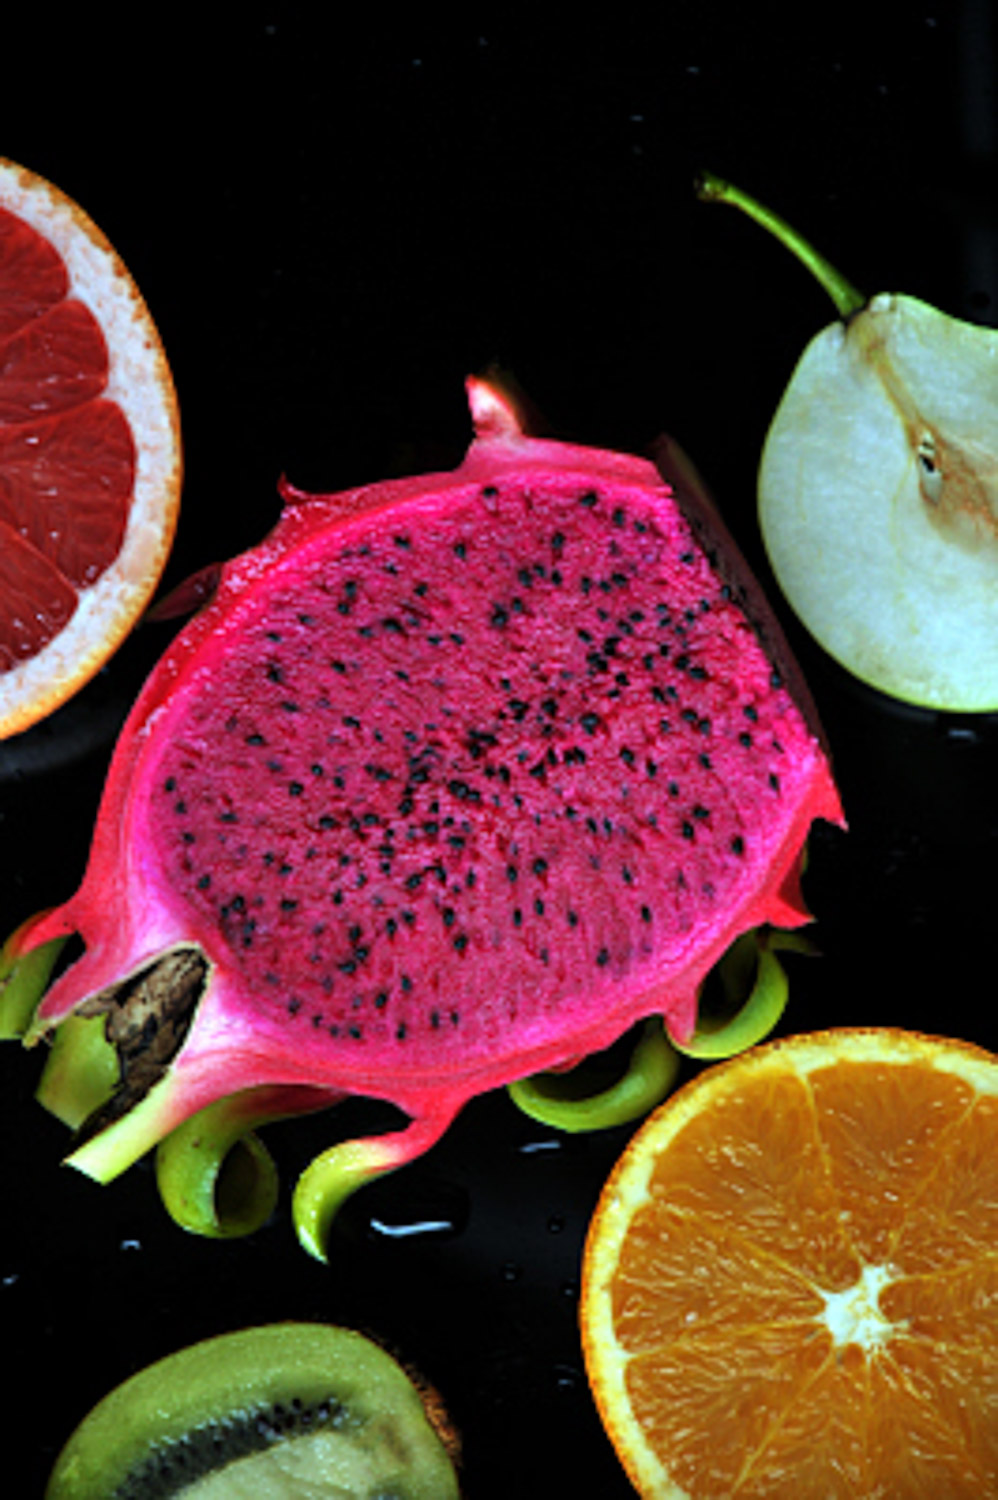
pitaya

Step 9: how to pollinate

After flowering, pitaya needs artificial pollination to bear more fruits. Generally, pitaya of different plants are pollinated, and the results are greater

During artificial pollination, gently sweep a circle of stamens with a cotton swab, collect their pollen, and then sweep the pollen onto the pistil in the middle of other flowers

pitaya

Step 10: harvest the fruit

After the fire dragon fruit bears fruit, you can cover it with a net bag to prevent mosquitoes. When the fruit turns red, you can pick it off< span>

pitaya

© Copyright Theflowerwiki.Com. All Rights Reserved. Sitemap DMCA Privacy Policy Novelhall Youbrief
Top

Pitaya can also be planted on the balcony, with fruit hanging all over the branches

Amsterdam
2022-04-05 21:37
Description Fire dragon fruit is planted on the balcony. It is usually cut by branches, and it is very easy to live. Some people eat the fruit in half a year. I feel like this can not only eat delicious pitaya, but also save a lot of money!

Pitaya planting method

Step 1: buy branches

Pitaya is more suitable for cutting. If you want to cut, you should prepare cuttings. In fact, there are branches on the Internet. You can buy all kinds of branches directly from the Internet and try them. You can also find someone who grows pitaya at home to cut roots and branches

pitaya

Step 2: treatment of branches

The branches of Pitaya cutting should be longer, so as to grow faster and bear fruit earlier. The lower part of the wood can be cut out with a skewer

pitaya

Step 3: dry the branches

The treated cuttings can be dried in a cool place, and the wound will heal in about 4-5 days

pitaya

Step 4: prepare the soil

When selecting soil, it is basically enough to be permeable and breathable. If it is planted in a flower pot, it is best to use some permeable sand or add some sand to the garden soil

pitaya

Step 5: cutting in soil

Insert the dried branches into the soil and pay attention to ensure that the branches do not fall down

pitaya

Step 6: stick firmly

If you find that the branches are long and easy to fall down during cutting, you can insert a stick in the soil, and then fix the branches to the stick with adhesive tape

pitaya

Step 7: don't water just after planting

After planting, you can put the flowerpot in a place with astigmatism and ventilation, but pay attention not to water it within a month, otherwise it will rot

pitaya

Step 8: daily maintenance

When the Pitaya takes root, you can water it. Pay attention to the sun, keep the temperature above 8 ℃, and apply some organic fertilizer, and the Pitaya will grow quickly

pitaya

Step 9: how to pollinate

After flowering, pitaya needs artificial pollination to bear more fruits. Generally, pitaya of different plants are pollinated, and the results are greater

During artificial pollination, gently sweep a circle of stamens with a cotton swab, collect their pollen, and then sweep the pollen onto the pistil in the middle of other flowers

pitaya

Step 10: harvest the fruit

After the fire dragon fruit bears fruit, you can cover it with a net bag to prevent mosquitoes. When the fruit turns red, you can pick it off< span>

pitaya

More
Related articles