Clivia
Mature Clivia sprouts at the rhizome almost every year. Flower friends can separate these buds when changing pots for Clivia in spring, and it will be a new flower in a few days
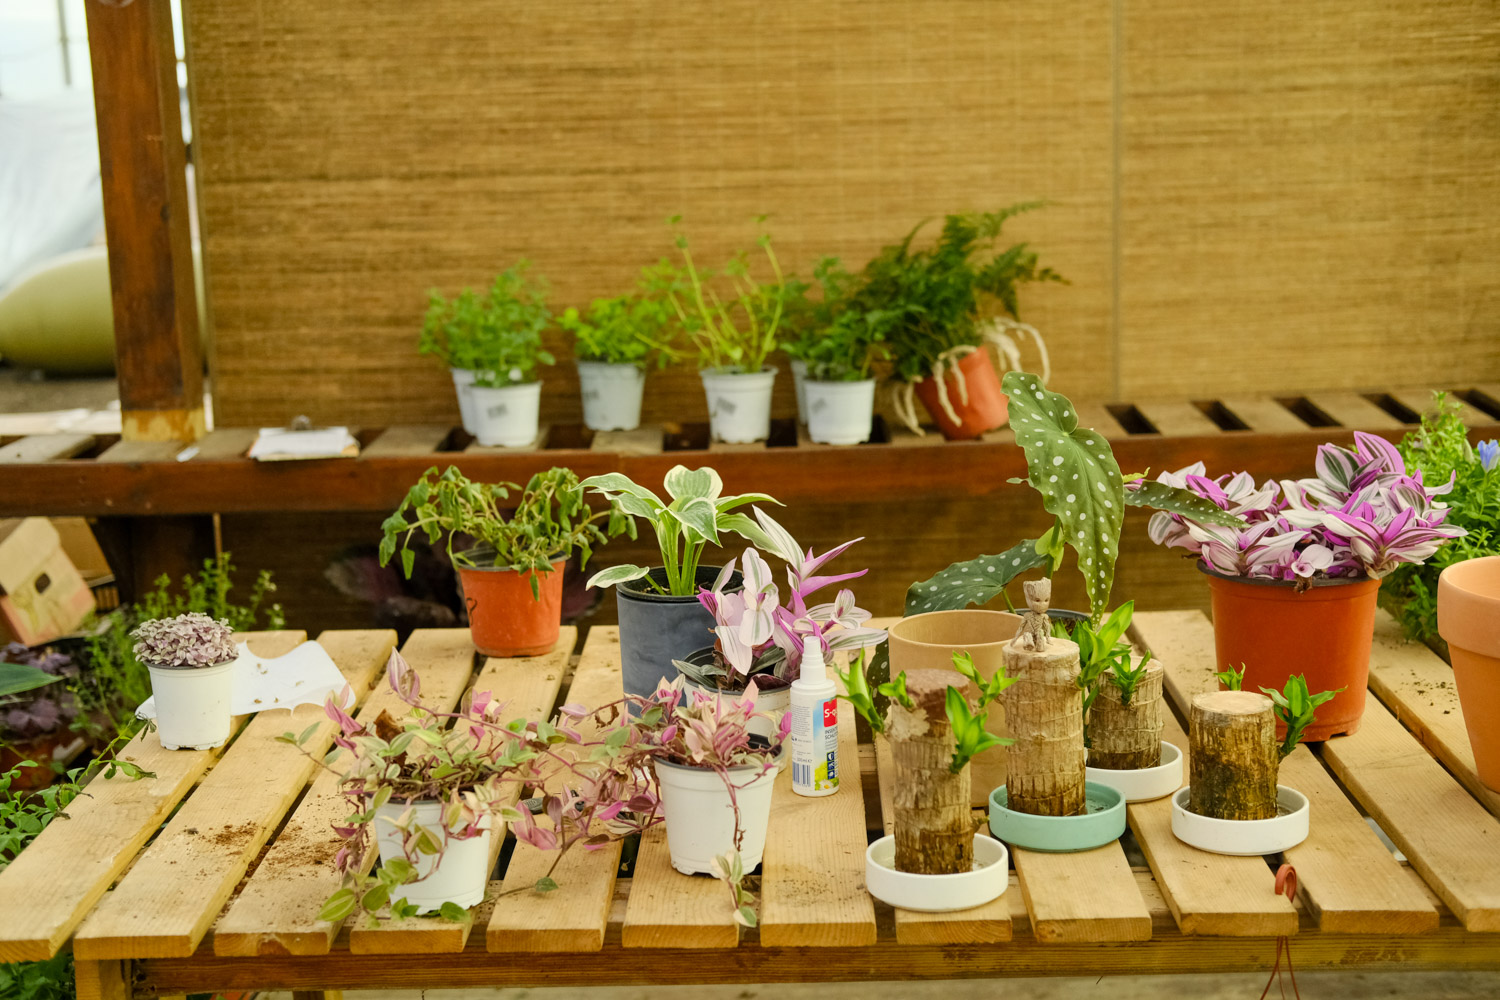
1. Carefully pull the Clivia out of the basin. With the help of the flower shovel, pay attention not to use too much force to avoid damaging the root system

2. Clean up the soil of the root system and observe the root system
3. Break off the buds carefully. It's best to take part of the root system in order to survive in the later stage
4. Clean up the root system and cut off the old roots and rotten roots

5. Soak the root of Clivia in carbendazim solution (carbendazim: water = 1:2000) for 20-30 minutes for disinfection
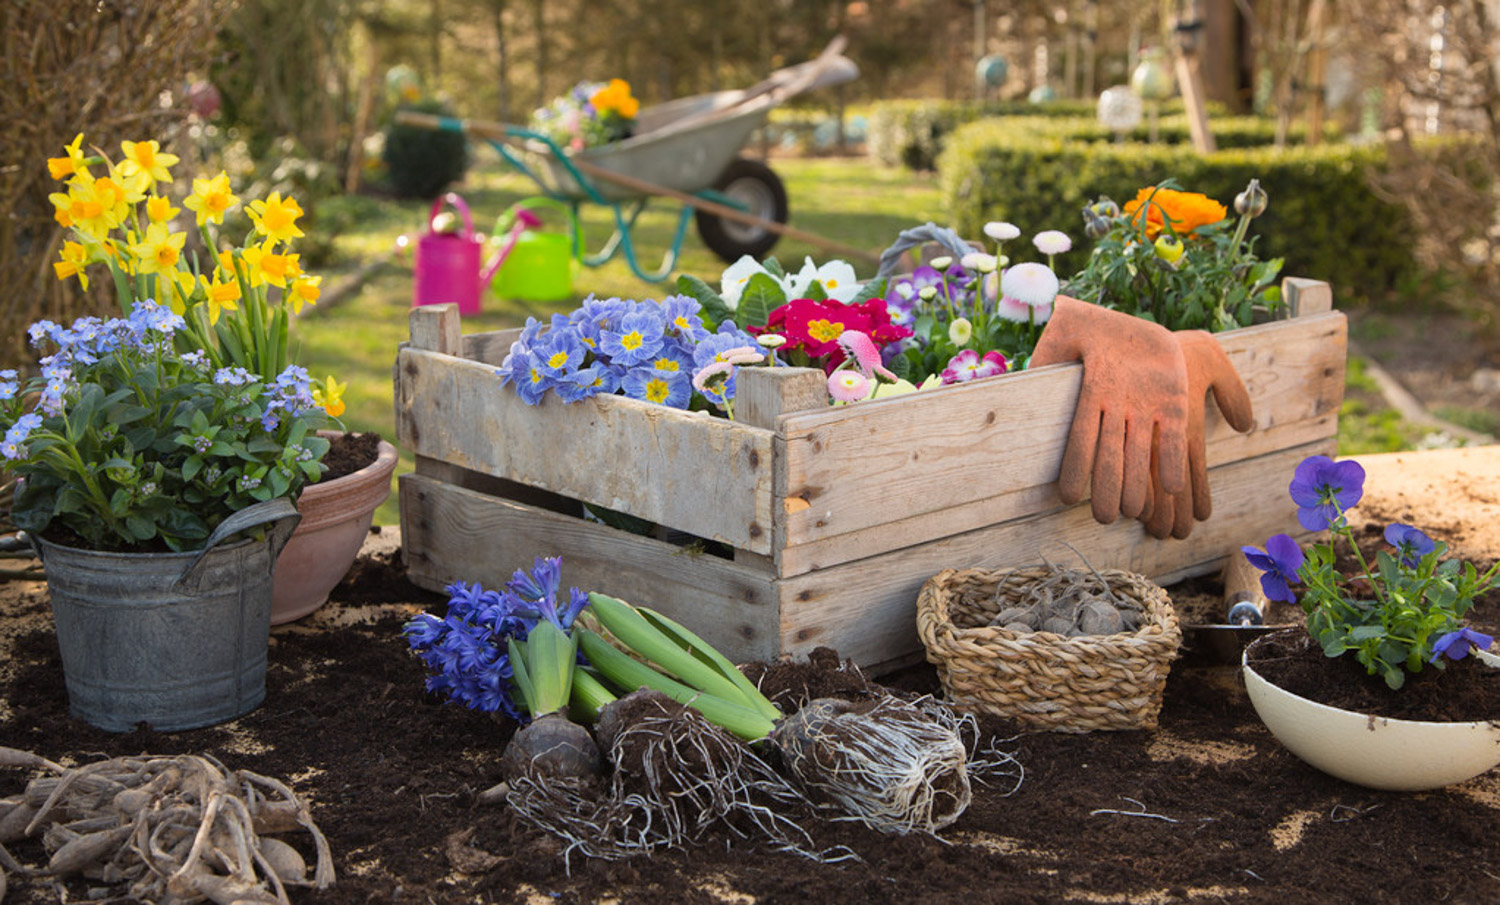
6. Put the sterilized Clivia in a cool and ventilated place to dry. It's best to apply some carbendazim to the root wound
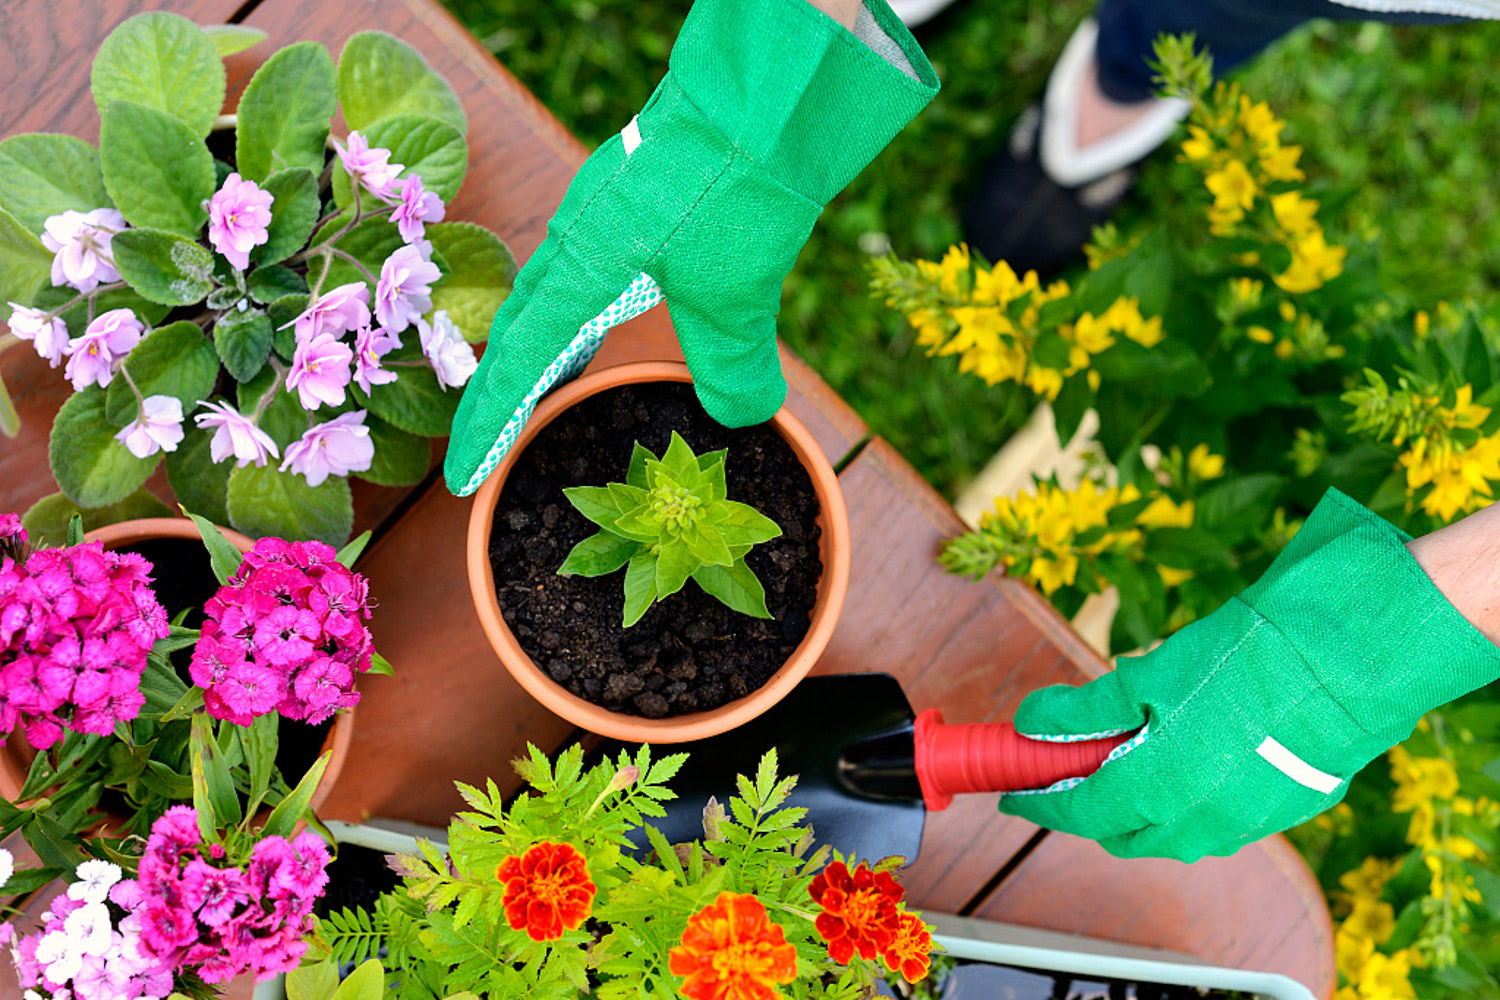
7. After the roots are dried, Clivia can be put into the basin again
Basin soil can be configured according to the ratio of rotten leaf soil: pine needle soil: river sand = 3:2:1. For rootless buds, the proportion of sand should be increased

8. Water until the water can seep through the permeable hole at the bottom of the flowerpot. After that, put the Clivia in a cool and ventilated place. Don't bask in the sun. After raising new leaves, you can maintain it normally

Asparagus
Asparagus is a cluster plant, that is, many asparagus grow in a basin. Asparagus will continue to grow new plants with its growth, and slowly the original basin will not fit. At this time, it is not conducive to the growth of asparagus without changing the pot and dividing plants, which is easy to cause rotten roots, yellow leaves, etc

1. Carefully clean out the soil in the flowerpot, be careful not to hurt the root system, and finally take out the whole plant
(author: no temper source: Liyang merchants)
2. Clean up the soil at the root
Gently tap the root with your hand to remove the soil. The action should be gentle. Finally, rinse it with water

(author: dynamic hero, source: Asparagus bar)
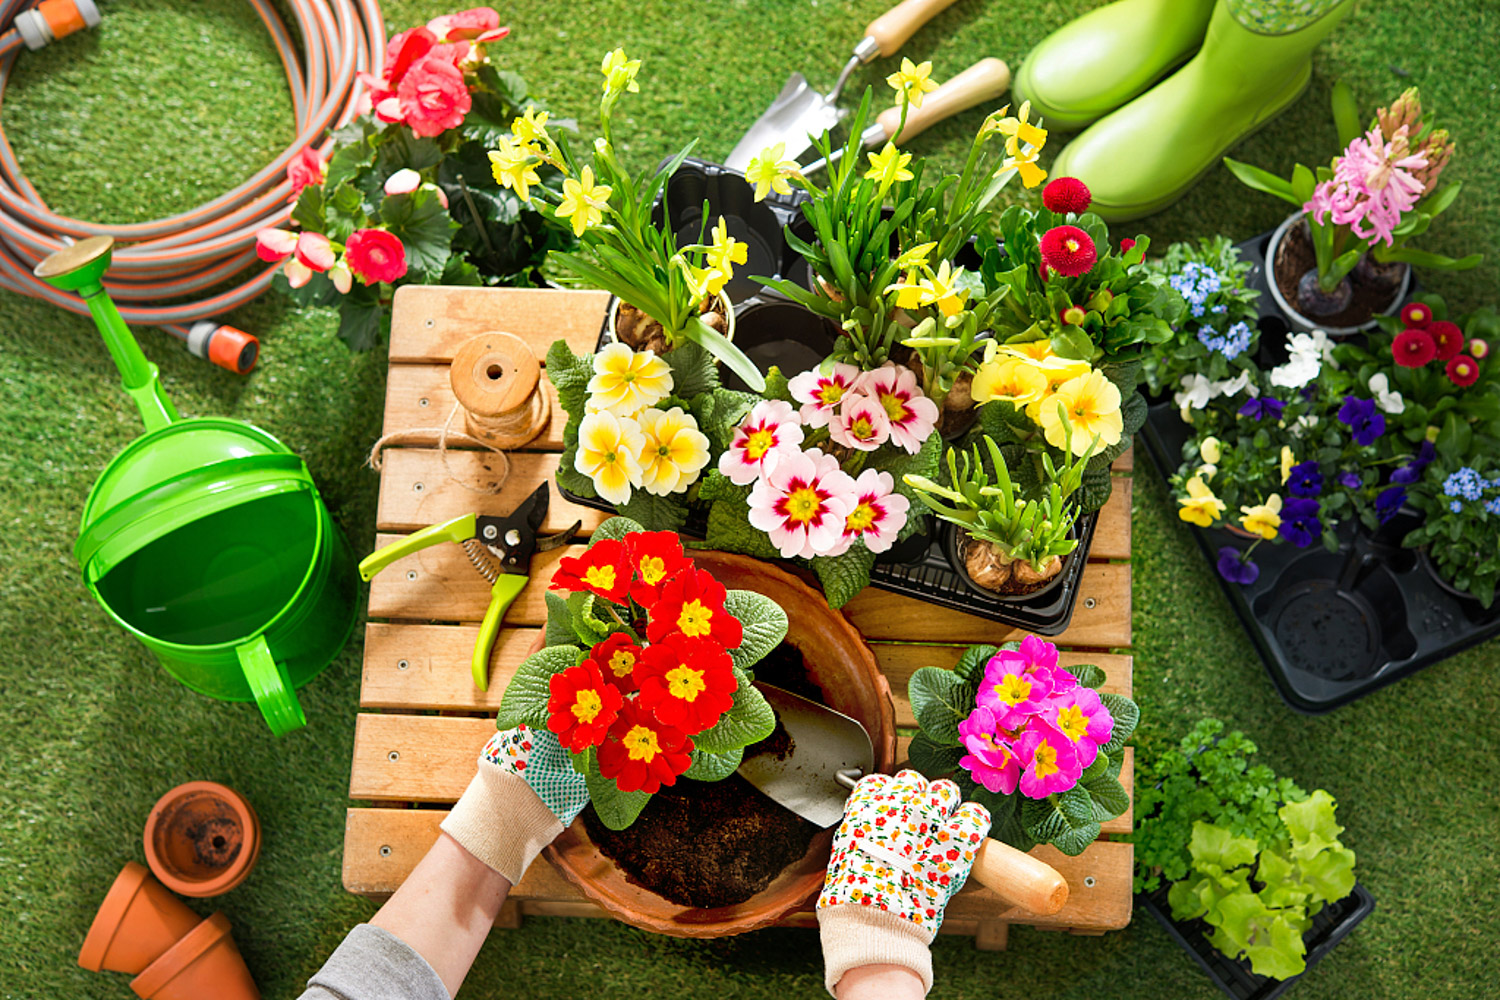
3. If you carefully observe the root system, you will find some nodes of root meristem, which can be broken with a gentle break here. If you can't break it, don't use brute force. You should find the wrong place and look for it again
(author: Mo Yilan, source: Baidu experience)
4. Apply some carbendazim to the wound and dry it in a cool and ventilated place. For beginners, each asparagus had better not be too small

(author: dynamic hero, source: Asparagus bar)
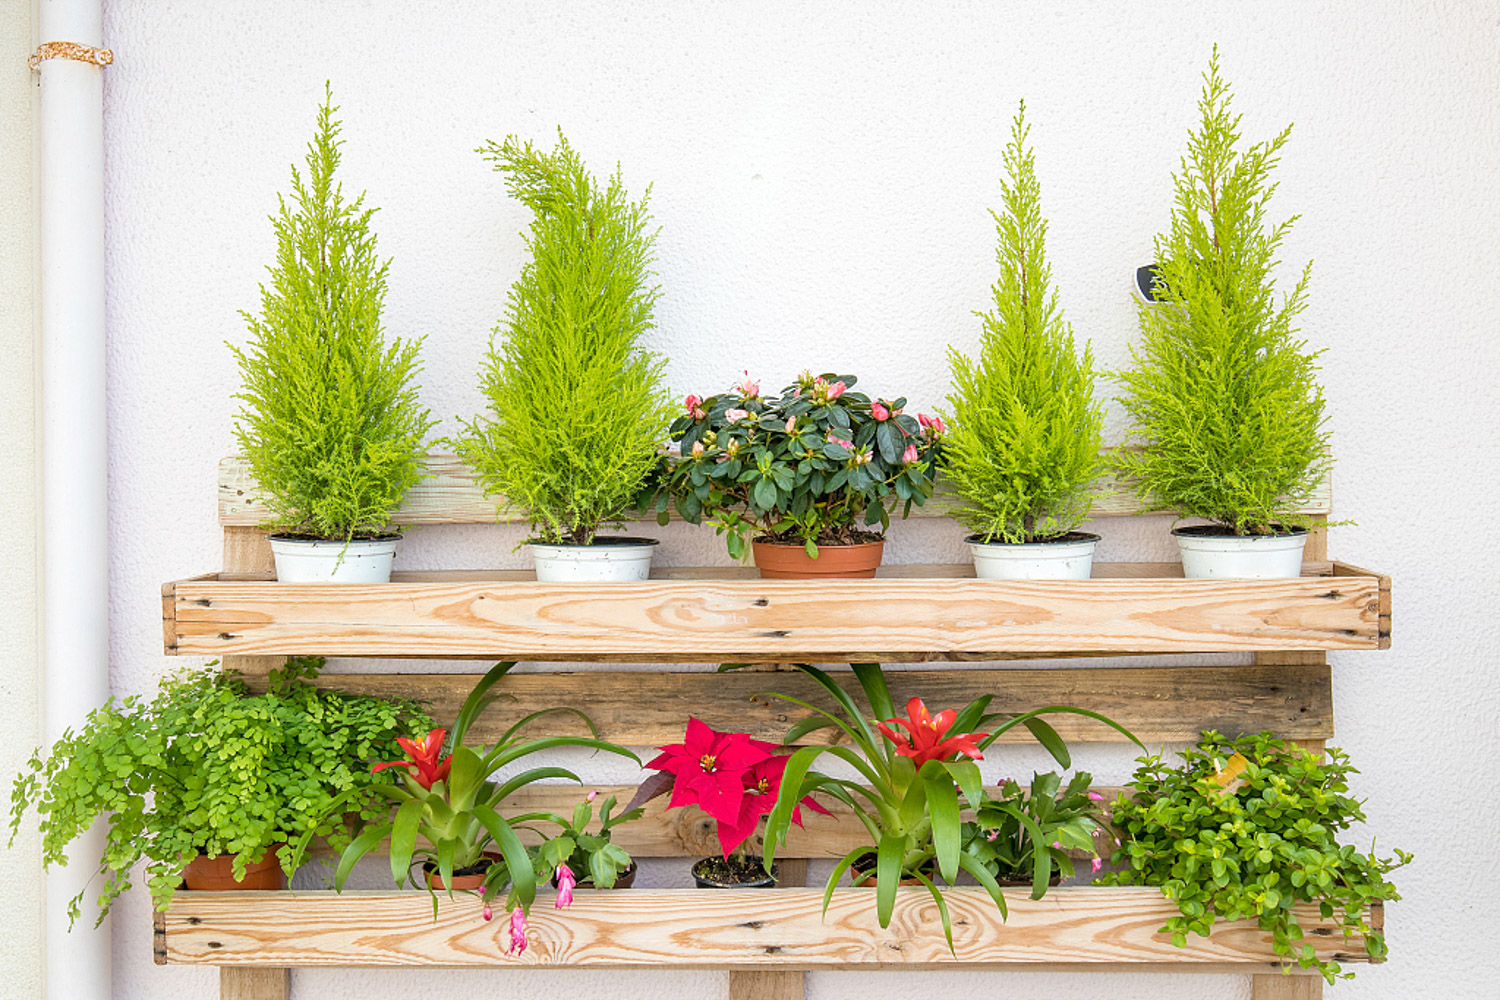
5. After the roots are dried, asparagus should be put into the basin again. Asparagus likes loose and fertile sandy soil. It can mix rotten leaf soil and coarse sand in the ratio of 7:3
(author: the joy of early Zen} source: Asparagus bar)
6. Lay a layer of ceramsite at the bottom of the flowerpot to prevent root rot

7. A layer of soil is placed on the ceramsite, which can be mixed with organic fertilizer as base fertilizer

(author: no temper source: Liyang merchants)
8. After putting in asparagus, shake the plant gently while filling the soil. Finally, slightly compact the basin soil by hand and water it thoroughly

(author: dynamic hero, source: Asparagus bar)
9. Put it in a cool and ventilated place for a week
Chlorophytum
In the process of growth, Chlorophytum grows branches. This is the baby of Chlorophytum. When the Chlorophytum on the branches gives birth to a little heel, it can be transplanted
(author: leim945; source: Baidu experience)
1. Find the new branch of Chlorophytum
(author: leim945; source: Baidu experience)
2. In the figure below, small fine roots will grow at the place indicated by the arrow, so flower friends can observe at any time

(author: leim945; source: Baidu experience)
3. Cut off the new Chlorophytum

(author: leim945; source: Baidu experience)
4. Bury the small Chlorophytum in loose and fertile soil. It doesn't need to be buried too deep. It can be 1-2 cm and watered thoroughly

5. After being buried in the soil for 3 or 4 days, the roots of Chlorophytum will be obvious

(author: leim945; source: Baidu experience)
6. Put the propagated small plants in a cool and ventilated place and keep them in a slow basin for about a week

Lily
Lily is a bulbous flower, which will wither after opening that year, but I don't know if flower friends have such experience: after Lily withers, cut off the stems and leaves and stop watering, but before long, new lily buds grow in the flower pot! What's going on

(author: iamtong 219; source: Lily bar)
This is Lily giving birth to a baby! There will be a circle of small seed balls on the periphery of the old seed ball of lily. These seed balls will be broken off and replanted, which is a pot of new Lily

(author: Wuyang love war source: Lily bar)
1. It is best to divide the lily bulb after the lily withers and before the dormancy period. The seed bulb can be stored in the sand for winter and planted after the spring warms up

(author: Wuyang love war source: Lily bar)
2. Remove the lily from the basin, gently shake off the soil, and rinse the root with clean water

(author: Wuyang love war source: Lily bar)
3. Use a sharp and detoxified knife to separate the seed balls. It is best to take some roots on each seed ball in order to survive in the later stage

(author: Wuyang love war source: Lily bar)
4. Put the divided seed balls in carbendazim solution (carbendazim: water = 1:2000) for 20-30 minutes and two hours for disinfection

(author: Mint cotton skirt source: hyacinth bar)
5. The seed balls are stored in the sand after drying. Loose and fertile soil should be selected when putting them into the basin. The soil can be configured according to the proportion of peat soil: river sand: sawdust = 6:3:1

(author: xiaoxiaodiyn source: Lily bar)
6. Put in the seed ball and cover the soil. If conditions permit, flower friends can apply some base fertilizer, water it and put it in a cool and ventilated place

(author: xiaoxiaodiyn source: Lily bar)
7. Because the root system will be damaged during ball division, the germination time of Lily may be longer, about 3 or 4 weeks, and the soil should be slightly moist during this time period

Orchid
During the growth of orchids, false bulbs will grow, that is, as the saying goes, "reed head". Generally, people will break it off and throw it away in the process of changing pots, but it can take root and sprout. It is really a rare good breeding material

(author: LVYE Qingfeng 139; source: Orchid bar)
1. When changing pots, break off the reed heads, select fresh, healthy, full and disease-free reed heads, and cut off the rotten roots

(author: 18444916 Xu Song)
2. Soak the reed head in potassium permanganate solution for two hours, disinfect and dry it in a cool and ventilated place

(author: 124.228.147. * source: Nanhua University bar)
3. Conditional flower friends can dip the reed head with some germinal powder, and then put it in the plant material to promote germination. The plant material can be water moss, coconut bran, sawdust, etc. in short, it should be loose and breathable with good water retention

4. Prepare clean plastic bags

5. Wrap the reed head with plant material and wet it slightly with water

6. Put the reed head in a plastic bag. The plastic bag needs to poke a few holes to breathe, and then put it in a warm and sunny place

7. About 3 weeks, the reed head will sprout

8. The sprouted reed head shall be planted into the basin according to the steps of orchids into the basin. The planting material shall be loose and fertile. It can be rotten leaf soil, pine needle soil and vermiculite mixed in the proportion of 3:3:4. After planting, the potted plant shall be placed in a cool and ventilated place for maintenance

Have flower friends learned
The Tomb Sweeping Day holiday is coming soon
Wish flower friends have a good time
Huahua will continue to share the knowledge of raising flowers during the holidays~
(Note: the pictures come from the Internet and the copyright belongs to the original author. Due to restrictions, some pictures cannot be found and the author has not been marked. If your rights and interests are infringed, please contact Huahua wechat qdxixi or qq1273160598 for deletion or copyright payment.)< span>

 how many times do yo...
 how many planted tre...
 how many pine trees ...
 how many pecan trees...
 how many plants comp...
 how many plants can ...
 how many plants and ...
 how many pepper plan...

