How to turn a pot of meat into a pot of meat
Huahua has always liked meat. I feel that cute little thing is melting Huahua's heart. But as summer approaches, there is always a problem with this meat. In order to avoid the annihilation of the whole army, flowers must be cutted to make more meat into more pots
1 fleshy leaf cuttings 1. If you want to cut with fleshy leaves, you must select strong leaves. Those unhealthy leaves that are yellow or have damaged roots must not be used, otherwise black rot is easy to occur
(author: runninglj; source: Sina blog) 2. Prepare the nutrient soil required for cutting, mix peat soil and vermiculite (perlite) in the ratio of 1:1, and then pour water once 3. Put the prepared nutrient soil in the seedling box or any container, and then put the fleshy leaves flat on the soil, or insert the lower end of the leaves into the soil 4. After a period of time, it will be found that fleshy roots and buds. Do not water before rooting. If the soil is too dry, spray water on the soil with a watering can
(author: runninglj; source: Sina blog) 5. When the fleshy buds grow up, they can be transferred to the flowerpot for further maintenance. With so many fleshy leaves, cutting can turn into a big fleshy family in minutes
(author: runninglj; source: Sina blog) 2 fleshy stem insert summer is the time when meat is the most prone to problems. In addition to black rot, it is the overwatering that leads to overgrowth. But the overgrowth is not terrible at all. Just cut the overgrowth stem 1. If you find that there is too much meat in your home, you can choose to cut off the too long stem
2. Apply carbendazim on the cut fleshy wound, put it in the shade for 2-3 days, and wait for the wound to dry 3. Prepare the nutrient soil needed for cutting, put it in the flower pot and keep the pot soil slightly moist 4. Inserting meat into the soil and curing it under scattered light without water before rooting can improve the rooting speed 5. If the environment is suitable, it can take root in about a week. After the fleshy roots take root and sprout, bury the roots in the soil and keep them in the sun normally
(author: Mengdi meaty source: meaty bar)
How can one pot of green pineapple become many pots
most families must have a pot of green pineapple with solid skin, and Huahua is no exception. The green pineapple is growing wildly. If it is bred intentionally, it will be so much that it won't be able to be put down at home
(author: lan_ying6858; source: lvluo bar) 1 Soil Planting of green pineapple 1. Cut off the wild green Wisteria at home, with a length of about 10cm, and cut the lower end into a 45 ° inclined incision. It is best to have air rooting on each cutting branch
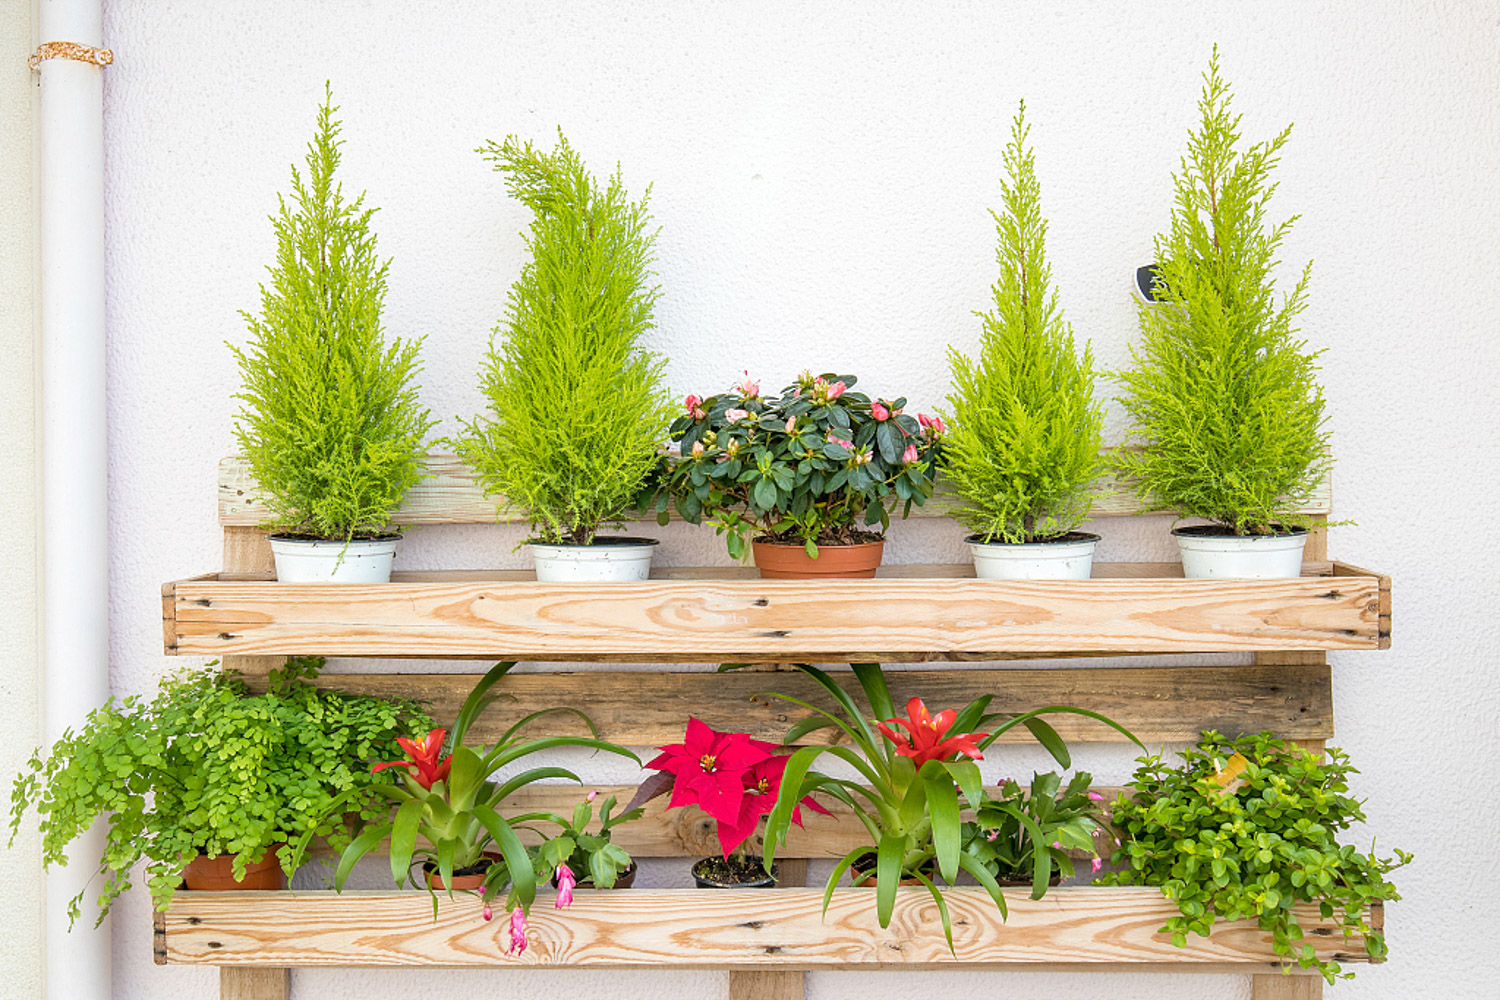
2. Cut off the leaves of the green rose vine that needs cutting, and keep at least 1-2 leaves on each vine for photosynthesis 3. Apply some rooting powder on the cut of the cuttings, and then insert the cuttings into the prepared soil. The depth is about 1 / 2 of the branch, and then water it once and put it in a cool and ventilated place. In order to ensure that green pineapple can take root, pure garden soil must not be used, and the soil must be strictly disinfected. It can be exposed to the sun or watered with carbendazim 4. Pay attention to water spraying for cutting green pineapple, maintain high air humidity, and take root in about 7 days. After taking root, as long as you take good care of it, you will soon get many pots of green pineapple
2 hydroponic culture of green pineapple 1. The hydroponic culture of green pineapple is the same as the soil culture. The branches with air rooting must be selected for cutting, because such branches have a faster rooting speed
2. Cut off the branches with air rooting, with the length of about 10-15cm, and cut the cutting edge obliquely into 45 °, so as to increase the water absorption area 3. Insert the branches of green pineapple into the hydroponic flask and add water less than 1 / 3-2 / 3 of the branches. In order to promote the rapid rooting of green pineapple, you can dilute aspirin tablets 50 times with water and add water to promote the rooting 4. Before the Green Rose takes root, change the water once every 2-3 days, and clean the inner wall of the bottle at the same time; It's better to add nutrient solution in water for about one and a half months in summer, but it's better to use nutrient solution for root growth
How to turn one pot of rose into many pots
Huahua especially likes Chinese rose, not only because of its big and colorful flowers, but also because it blooms every month. There are flower rewards almost 12 months a year! So, some flower friends want to ask, what should we do to make it grow more quickly
(author: Guangyuan hydropower ceramics source: Rose Bar) water cutting propagation method of January rose 1. For the water cutting of rose, the things to be prepared include sponge, mineral water bottle, cutting branches with leaves, needles and scissors

2. First cut the sponge into small pieces with a width of 2cm and a height of 4cm, and then insert the sponge into the hole with a needle. The direction of the hole should be along the height of 3cm, and the size of the hole should be equal to the thickness of the rose branch 3. Insert the cuttings with complete leaves into the sponge block, and the insertion depth is 1 / 2 of the sponge height 4. Put the rose branches and sponges into the bottle, stretch the leaves of the branches with chopsticks, and then pour water into the bottle. Mineral water and cold boiled water are the best. The depth of water should be about 2 / 3 of the height of the sponge. Never let the leaves and buds be submerged by water 5. Put the plastic bottle in the sun and try to make the leaves face south to improve photosynthesis. The lid of the plastic bottle does not need to be twisted, so that the rose branches can exchange air to avoid suffocation 6. If the temperature is high in summer, the water in the bottle is easy to rise in temperature. At this time, a black cloth or takeout bag can be wrapped around the lower part of the bottle for shading treatment, and the rose branches will soon take root 7. Transfer the rooted rose to the flower pot. The soil can be mixed in the proportion of garden soil, plant ash 2:1. When transferring rose branches, just bury the sponge directly. In this way, you can change 1 pot of roses into 100 pots

(author: Xi snail source: cutting bar) bud point cutting of February rose in addition to cutting with branches, rose can also be cut with buds, and the survival rate is also very high 1. For the bud insertion of rose, the bud taking time is in the bud stage of the branch, as long as there is a pair of leaves on the bud tip. The buds must be healthy and full, and can be directly picked from the rose mother plant. The best time is in the morning or evening, which can avoid dehydration of bud point
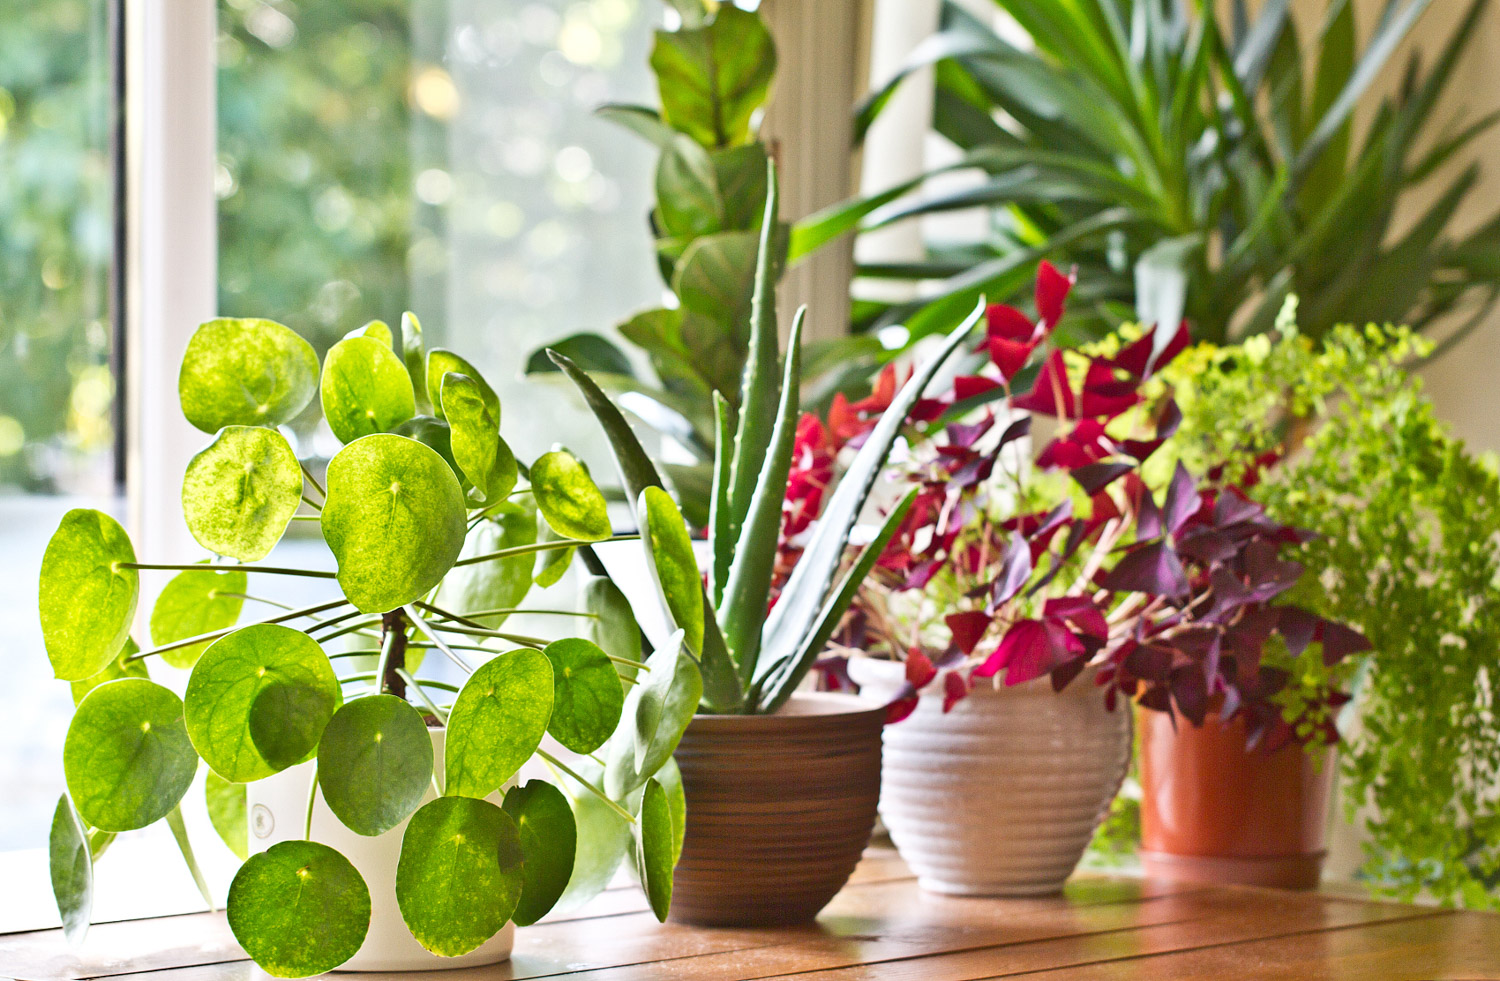
(author: Sun Ya egg source: moshang flower) 2. Trim the bud points and cut off all the overlapping leaves on the bud points, leaving only the innermost layer. Because the most tender leaves contain a lot of growth hormone, it is easy to promote rooting and survival 3. Soak the pruned buds in carbendazim solution for about 10 seconds. The ratio of carbendazim to water is 1:2000 4. The soil needed for cutting can be vermiculite and perlite, with a ratio of 2:1 Because the bud point is particularly easy to air dry, the water demand is large, and the humidity of vermiculite is relatively large, which is very suitable for the needs of bud point rooting 5. Insert the bud point into the soil, and the insertion depth is about 1 / 3 of the whole bud point. Then spray water on the bud point and the soil with a watering can, which is conducive to the better integration of the bud point with the soil 6. In order to promote the bud to take root as soon as possible, a layer of fresh-keeping film can be covered on the soil, and then the soil can be transferred to a dark box for shading treatment 7. In about 7 days, the bud can grow healing tissue. After that, the bud can be placed in a cool and ventilated place for photosynthesis during the day, and it can take root in about 15 days after shading at night 8. Transfer to flower pot after rooting. The basin soil can be mixed according to the ratio of peat soil and perlite 1:1, and then poured with water once. The seedlings are buried in the soil, and then placed in a cool and ventilated place for maintenance for 1 week, and then accept the sunshine 9. Wait until the seedlings grow up, and then change the pots again. Cutting with bud point can also make one pot of rose become more pots

(author: Sun Ya egg source: moshang flower)
How to grow longevity from one basin to many basins
because it implies good luck for health and longevity, many flower friends will raise longevity at home. Today, Huahua will introduce to you how to make a pot of longevity at home more
(author: Dawn dream 236 source: longevity flower bar) 1 long-lived branch cuttings 1. When cutting longevity flowers, we must choose strong branches, and the branches with the highest survival rate are used for cutting
(author: Teresa source: Changshou flower bar) 2. Deal with the cuttings of Changshou flower, remove the leaves near the lower part of the branches, generally only keep two leaves, then smear the wounds of the branches with Carbendazim and dry them in a cool and ventilated place 3. The soil for cutting must be loose and breathable. Peat soil and perlite (vermiculite) can be mixed according to the ratio of 3:1, and then the long-lived flower branches can be cut into the soil 4. After that, put it in a cool and ventilated place with scattered light. Pay attention to keep the basin soil moist and take root in about 2 weeks. After rooting, transfer the branches to the flower pot, and you can get many pots of longevity flowers

2 long-lived leaf cuttings 1. Select healthy long-lived flower leaves and put them in a cool and ventilated place to dry the wound 2. The soil for cutting longevity flower can be peat soil, garden soil and perlite. Bury the dried leaves and petioles in the soil, expose the leaves outside, and then put them in a cool and ventilated place 3. The root of long-lived peanut takes a long time. During this period, as long as the soil is dry, spray a little water to keep the soil moist 4. When the long-lived peanut root is found, it can be transferred to the flowerpot
How does Chlorophytum grow from one basin to many
Chlorophytum is easy to feed and can reproduce in many pots without much care. Therefore, it is the favorite flower of flowers
(author: Beer surplus source: Chlorophytum bar) 1 Chlorophytum cutting Chlorophytum plants have many stolons. Cut off the stolons and insert them into the soil to live 1. Cut off the stolon of Chlorophytum

(photo Author: yaohengrui0710 source: Flower bar) 2. Cut the leaves on the stolon, that is, the small Chlorophytum plant, from the stolon 3. Insert the cut plants directly into the soil. The soil can be mixed with peat soil and garden soil in the ratio of 1:1. Don't insert too deep when cutting, otherwise it will lead to the rotten heart of Chlorophytum 4. Pour water once and put it in a cool and ventilated place for maintenance. You will soon get many pots of Chlorophytum 2 Chlorophytum ramets 1. Remove the mother plant of Chlorophytum from the pot and wash away the soil, and cut off all the old roots, weak roots and fine roots 2. Cut the old roots of Chlorophytum to ensure that three stems remain on each cut plant 3. Transplant the ramet Chlorophytum directly into different flower pots
(author: Civic source: Tibetan Flower Pavilion)
How do geraniums change from one basin to many
geranium is a kind of flower that Huahua likes very much. Its flowers are colorful. It looks very good when the yard is full. Huahua can't put it down! So, how can we turn it into a multi basin? Learn from Huahua
(author: love little juero, source: Geranium bar) 1 leaf cuttings of Geranium 1. If you want to insert geranium leaves, you must select strong leaves and put them in a ventilated place to dry the wound for 1-2 days
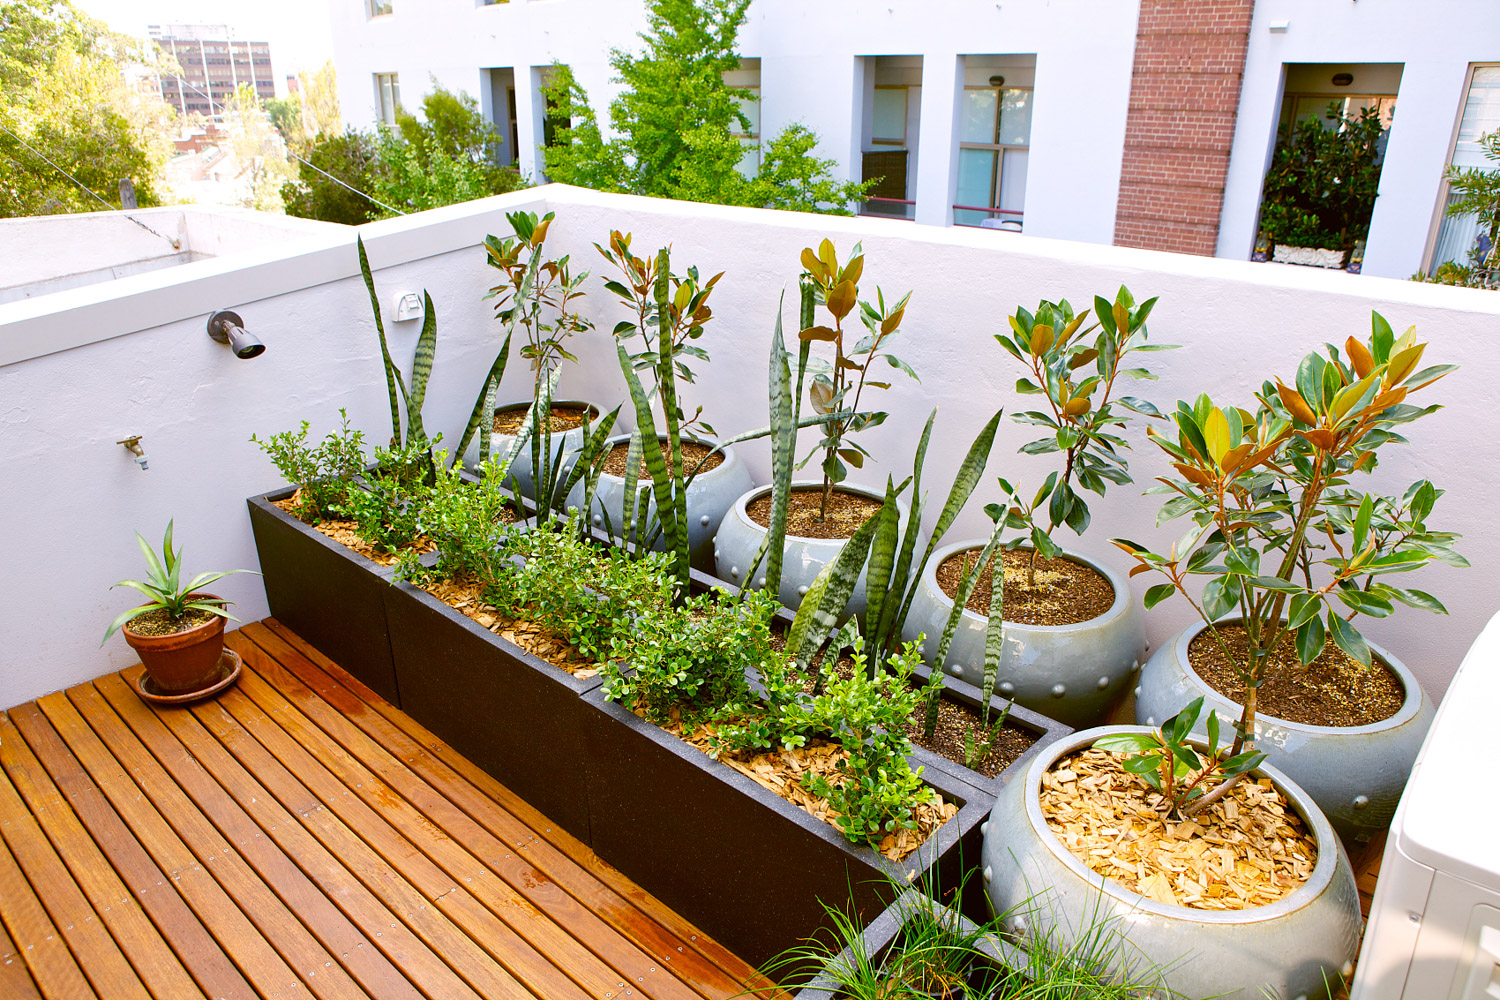
2. The soil for cutting can be made of large particles of vermiculite, sand or perlite, and then poured with water once to insert geranium leaves into the soil 3. The cutting geranium leaves took root in about one month 4. After rooting, the geranium was transferred to the soil. If the soil is found to be white, water it once, and often spray water towards the leaves 2 Geranium stem insert 1. Select the robust Geranium branches, cut them obliquely by 45 ° with a knife, apply carbendazim on the wound, and put them in a cool and ventilated place to dry for a period of time 2. The soil for cutting Geranium can be pure sand or mixed with garden soil and perlite in the ratio of 3:1, and the branches can be inserted into the soil 3. It takes about a month to take root. Cut the rooting Geranium seedlings into the soil, and then water them once 4. Put the geranium under the sun for curing, and pay attention to shade in the high-temperature season in summer, so as to find that the basin soil turns white, and then pour it














 how many times do yo...
 how many planted tre...
 how many pine trees ...
 how many pecan trees...
 how many plants comp...
 how many plants can ...
 how many plants and ...
 how many pepper plan...


