Amphibious cutting method (Gardenia as an example)
Whether it is water cutting or soil cutting, the pot moving after rooting is a big difficulty. The new root system is too young, and most of the casualties will be caused by carelessness in the process of transplanting. The amphibious cutting method introduced by Huahua today does not need to move the pot, and the survival rate is high, which is particularly worry-free

Applicable flowers
Suitable for humidity resistant: Gardenia, green rose, Fugui bamboo, turtle backed bamboo, hanging bamboo plum, June snow and other flowers
Operation steps
1. Seal the permeable hole
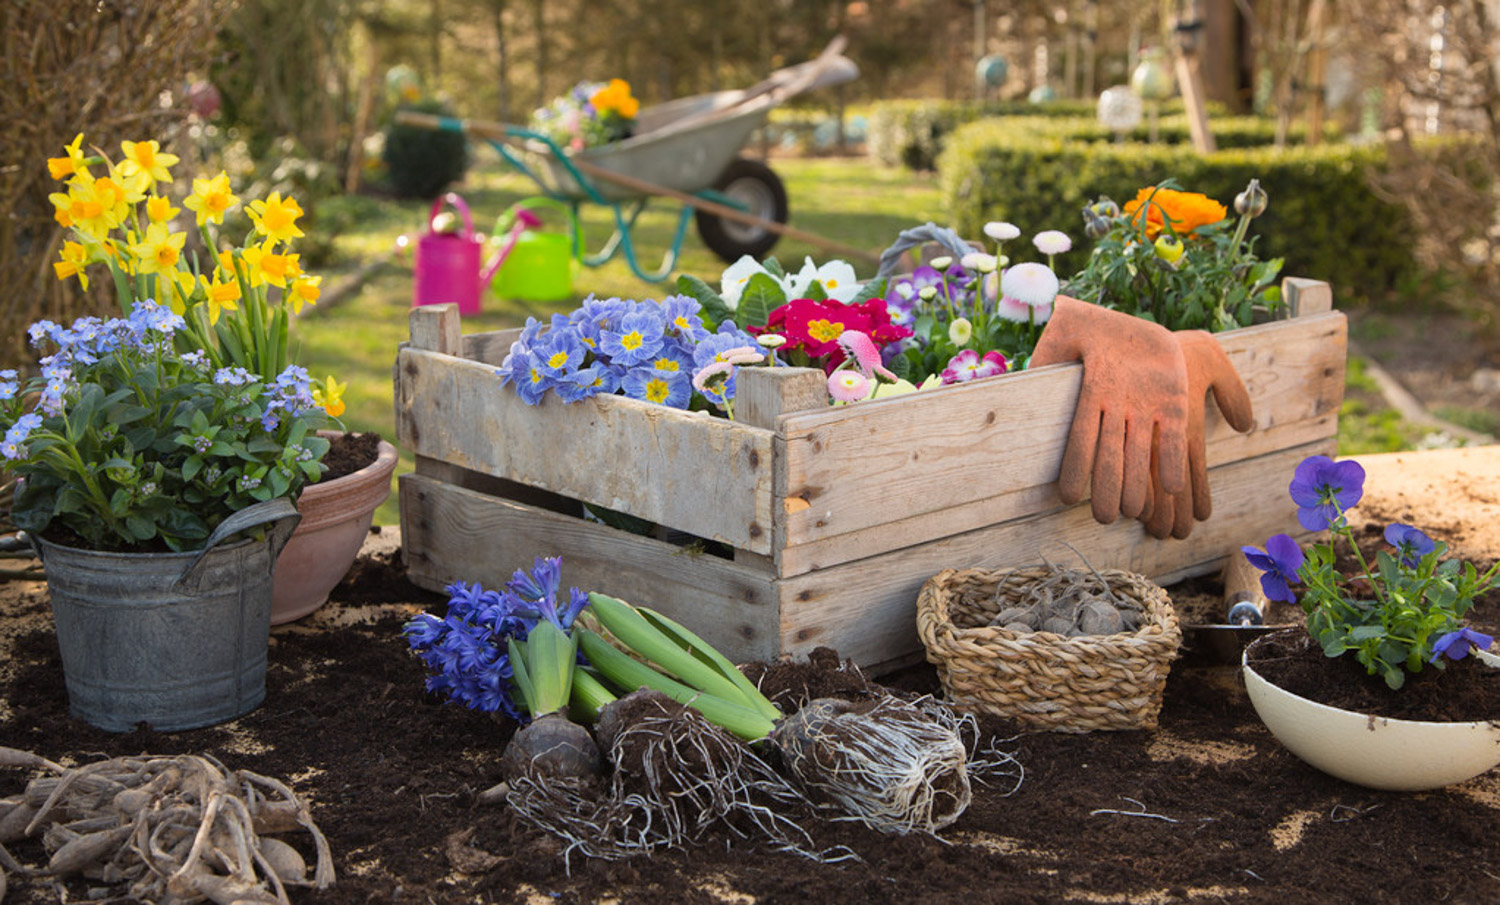
Prepare a flower pot of moderate size. First, use plastic bags and other impermeable things from the outside to block the water hole at the bottom to make it watertight, or seal it with wax oil dripping from candles from the inside. Ensure that the permeable hole at the bottom can be pierced from the outside
2. Pour into the soil
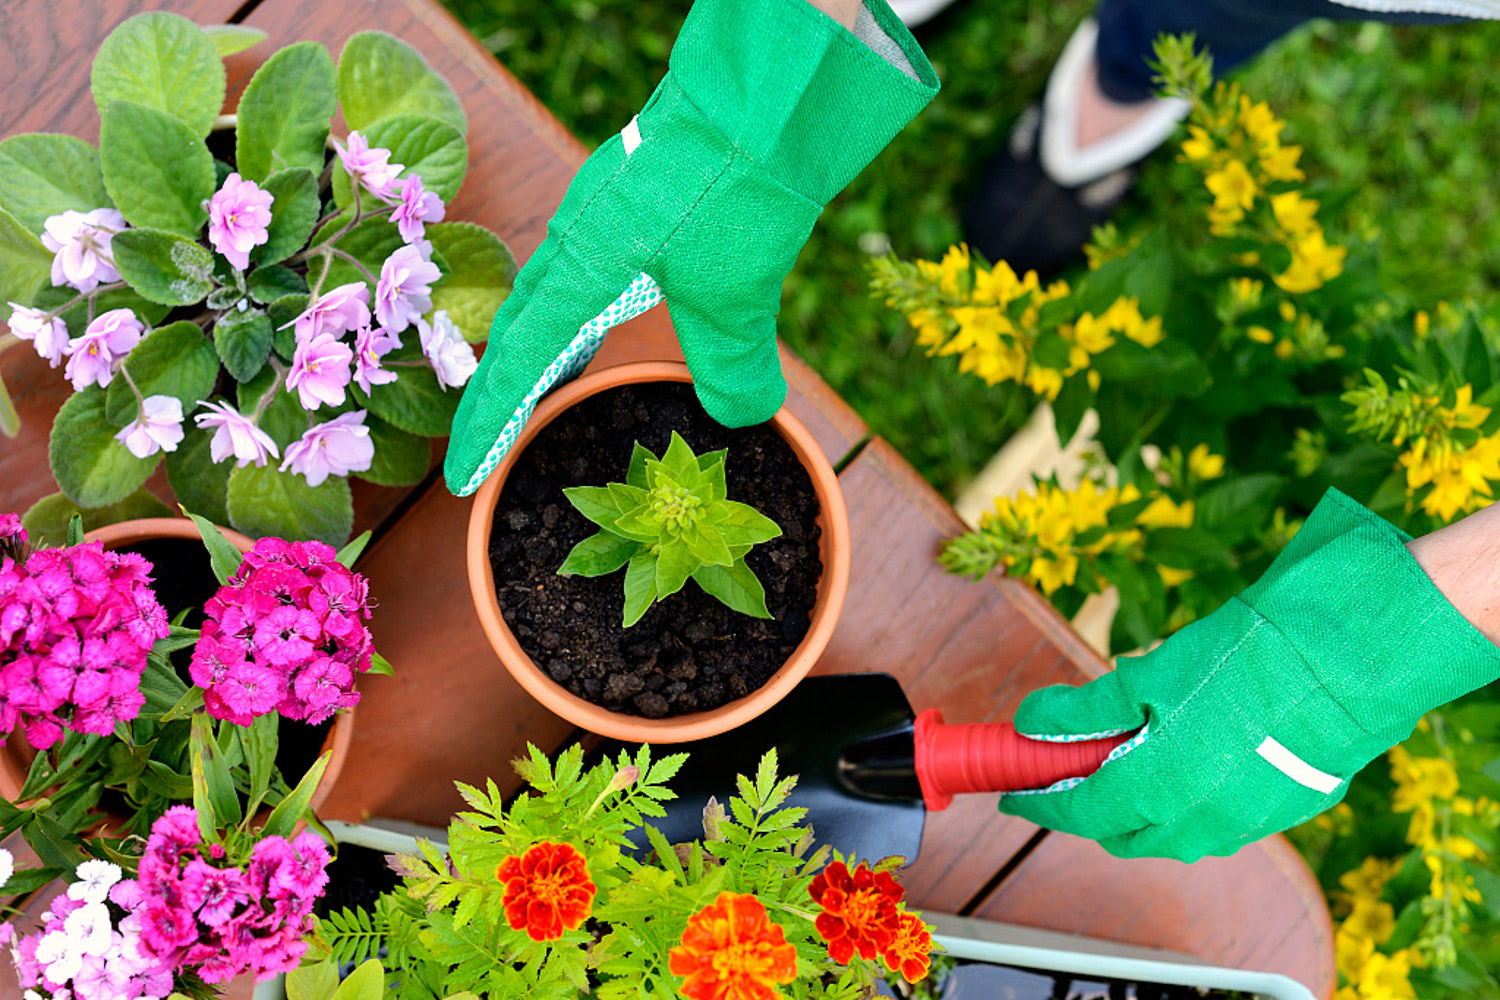
Pour the cutting soil accounting for about 3 / 5 of the height of the pot into the flowerpot, which is loose and breathable. It is better to use plain soil instead of fertilizer, such as barren garden soil or red soil

3. Spread sand
Spread about 1 / 5 basin of sand on top of the soil. The sand and the soil in the previous step had better be exposed to the sun for 2 days in advance, or poured with boiling water for several times to sterilize and disinfect, so as to avoid the branches from being infected by bacteria in the soil, resulting in black stems and rotten roots
4. Inject clean water
Along the edge of the basin, slowly inject clean water to slowly wet the soil until there is a water layer of about 1 cm above the sand surface. PS: make sure that the permeable hole at the bottom of the basin is watertight

5. Treatment of branches
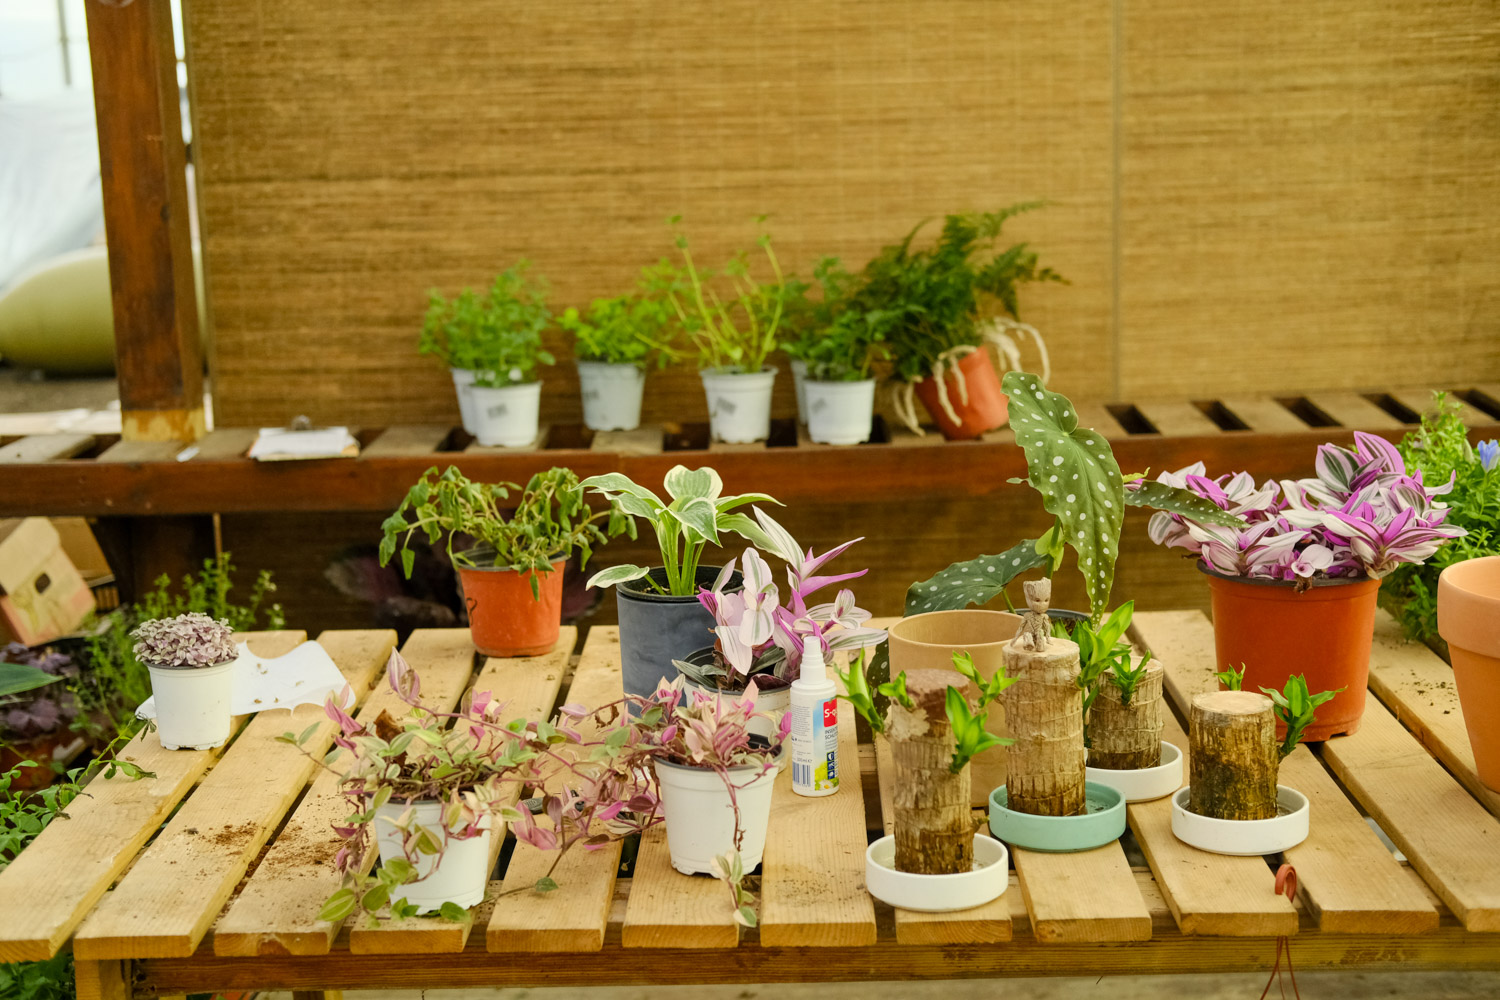
The Gardenia branches to be cutted shall be treated with a length of about 10-15 cm. The lower end of the branches shall be obliquely cut into horseshoe shape with a clean blade, and the wound shall be dried for 1-2 hours
6. Cutting branches
Insert the branches into about 1 / 3 of the sand layer, remove all the leaves below the water layer, do not be too dense between the branches, and insert 3-4 branches into the flower pot with a diameter of about 10cm

7. Rooting period maintenance
Keep the surface of the cuttings in the sand basin ventilated and clean every week
8. Transfer to normal potting maintenance
It will take about 2-3 weeks to take root. After taking root, you can poke the permeable hole at the bottom to make the water flow clean. After 3-5 days, when the soil on the surface is dry, you can water normally without changing pots and transplanting, and turn to normal potted maintenance
Tray vermiculite cutting method (rose as an example)
Rose cutting has always been a big problem. Many flower friends have tried 7-8 times and failed to survive. It's too hard. In fact, as long as you learn the following vermiculite cutting method, you can also cut alive. PS: because it's more detailed, it seems that there are a lot of steps, but as long as you learn it, you can ensure 100% survival
Applicable flowers
It is suitable for cutting rose, jasmine, gardenia, camellia, triangle plum, Milan, azalea and other flowers
Operation steps
1. Prepare soil for cutting
Prepare cutting matrix, vermiculite, perlite and sand, but the particles should be larger and not too fine. The highest survival rate of cutting is vermiculite, pure vermiculite. Put vermiculite and other cutting substrates in the sun for a few days in advance, or pour Carbendazim and potassium permanganate solution to kill the bacteria

2. Processing cutting container
Prepare a number of transparent disposable plastic cups or lunch boxes, plastic bottles, etc., and drill a number of permeable holes at the bottom with awls, scissors and other tools. The reason for choosing a transparent plastic cup is to facilitate the observation of rooting in the future

3. Vermiculite wetting
Pour vermiculite into a plastic cup and fill it. Prepare a tray or basin, shallow plate and other containers, and pour some water into the container. Put the plastic cup filled with vermiculite into the tray containing water, let the water pass through the permeable hole at the bottom, and soak the vermiculite from bottom to top until the soil on the surface is wet. If you can't wait, you can pour the vermiculite directly from top to bottom

4. Disinfection of scissors and blades
Before cutting branches, first burn scissors, blades and other cutting tools with a lighter to eliminate disinfection, otherwise it is easy to cause bacterial infection and reduce the survival rate of branches

5. Select cutting branches
Select the branches within one year, which are strong and free of diseases and pests. The buds between leaves and branches have not germinated. It is best to just bloom, and the survival rate is the highest
6. Treatment of cuttings
Cut off the flower and the first branch at the bottom of the flower, and cut it flat when cutting; Leave the second and Third branches below, and cut them obliquely with a blade when cutting the lower side. Attention: the blade must be sharp, or the cambium will not take root easily if squeezed

7. Cut off some blades
Only one leaf is left on the branch, and this leaf should be cut in half to reduce nutrient consumption

8. Paoduowenling
Soak the branches in the solution of potassium permanganate for 2-3 minutes, and then put them into the dry solution of potassium permanganate according to the instructions
9. Dip in rooting water
If you have rooting water at home, dip the lower part of the branch with rooting water. The ratio of rooting water to clean water is 1:200. Take it out immediately after dipping it for 10-15 seconds. Of course, you can't dip it if you don't have it at home
10. Insert rose branches
Insert several holes in the vermiculite surface with a wooden stick, then insert the rose branches, bury the soil and compact slightly

11. Cutting branch maintenance
Pour clean water into the tray and put the whole cutting device in a place with astigmatism and ventilation. Don't worry about it at ordinary times. Just add water when you see there is no water
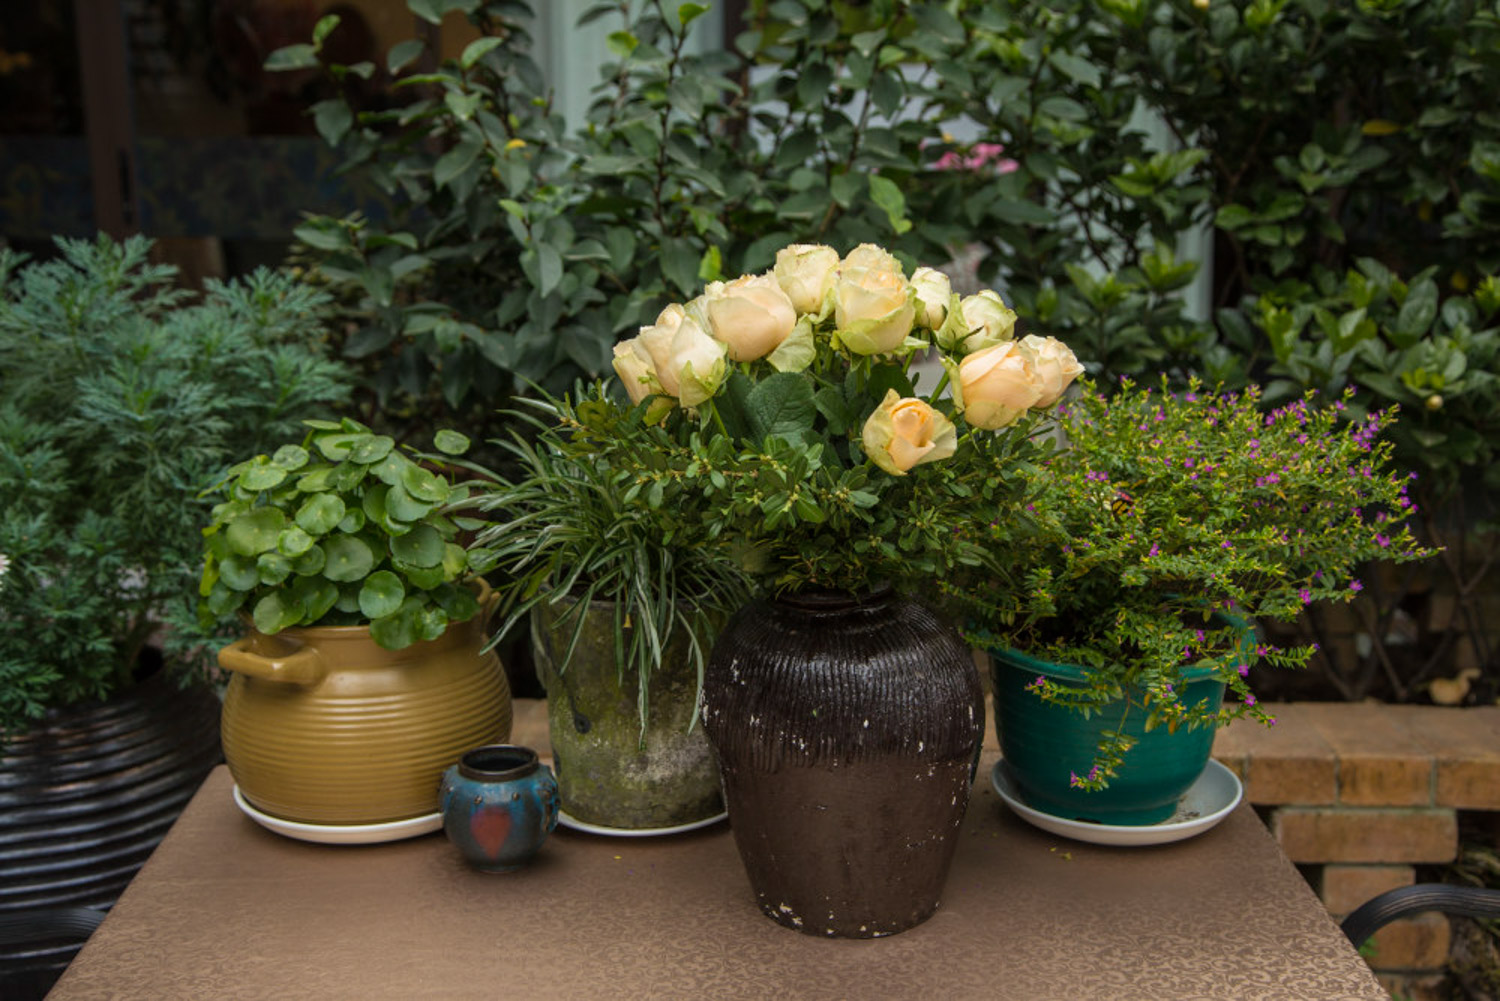
12. Wait to take root
About 2-3 weeks later, we can see the root system of baihuahua. When the root system is about as long as the branch, or longer, it can be transplanted
PS: at the end of the article, I will tell you how to transplant after rooting to improve the survival rate. Continue to look down

foam box batch cutting method
there are foam boxes for flower friends in the family. Don't just throw them away. The foam box is a very good cuttage tool. It keeps warm and moisturizes and is easy to live. Besides, it has large area and can cut dozens of branches. p>

Applicable flowers
It is suitable for most herbal flowers such as Catharanthus roseus, geranium, Petunia, Marguerite, green pineapple, mint and so on
Cutting steps
1. Prepare foam box
prepare a foam box, complete without holes, otherwise the water will leak easily. p>

2. Prepare cutting matrix
Prepare the bottom sand of the fish tank. If there is no bottom sand of the fish tank, perlite and sand can also be used. It is better not to be too fine, but to be thicker

3. Wash sand
pour the bottom sand into the foam box and rinse it repeatedly with clean water. The thickness of the bottom sand must be well grasped so that the branches can be inserted into the bottom sand to stand and the bottom can not directly touch the bottom of the foam box. p>

4. Sand disinfection
Pour potassium permanganate solution into the bottom sand of the fish tank for disinfection (carbendazim can also be used), so that the solution does not exceed the bottom sand of the fish tank. The proportion of potassium permanganate does not need to be too high, and the color is purple

5. Treatment of branches
Prepare the cuttings, strong and oblique cut at the bottom. Catharanthus roseus, geranium, Petunia, green pineapple, mint and other herbaceous flowers can live even if there are flowers on the branches

6. Cutting branches
the bottom of the branch is inserted into the bottom of the fish tank. Notice: do not let the bottom of the branches touch the foam box. p>

7. Never mind
after cutting, place the entire foam box in the astigmatism and ventilation area. The temperature is guaranteed to be above 20 degrees, until the water in the box is dried. Basically, it takes root. If the temperature is too low, it takes a long time to take root. You need to add more water

8. Rooting and transplanting
At the current temperature, it can take root after 1 week, and then it will be transplanted into the flowerpot. This method can be carried out in spring, summer and autumn, and in winter if the indoor temperature is higher than 18 degrees. It's very easy to live


 how many times do yo...
 how many planted tre...
 how many pine trees ...
 how many pecan trees...
 how many plants comp...
 how many plants can ...
 how many plants and ...
 how many pepper plan...


