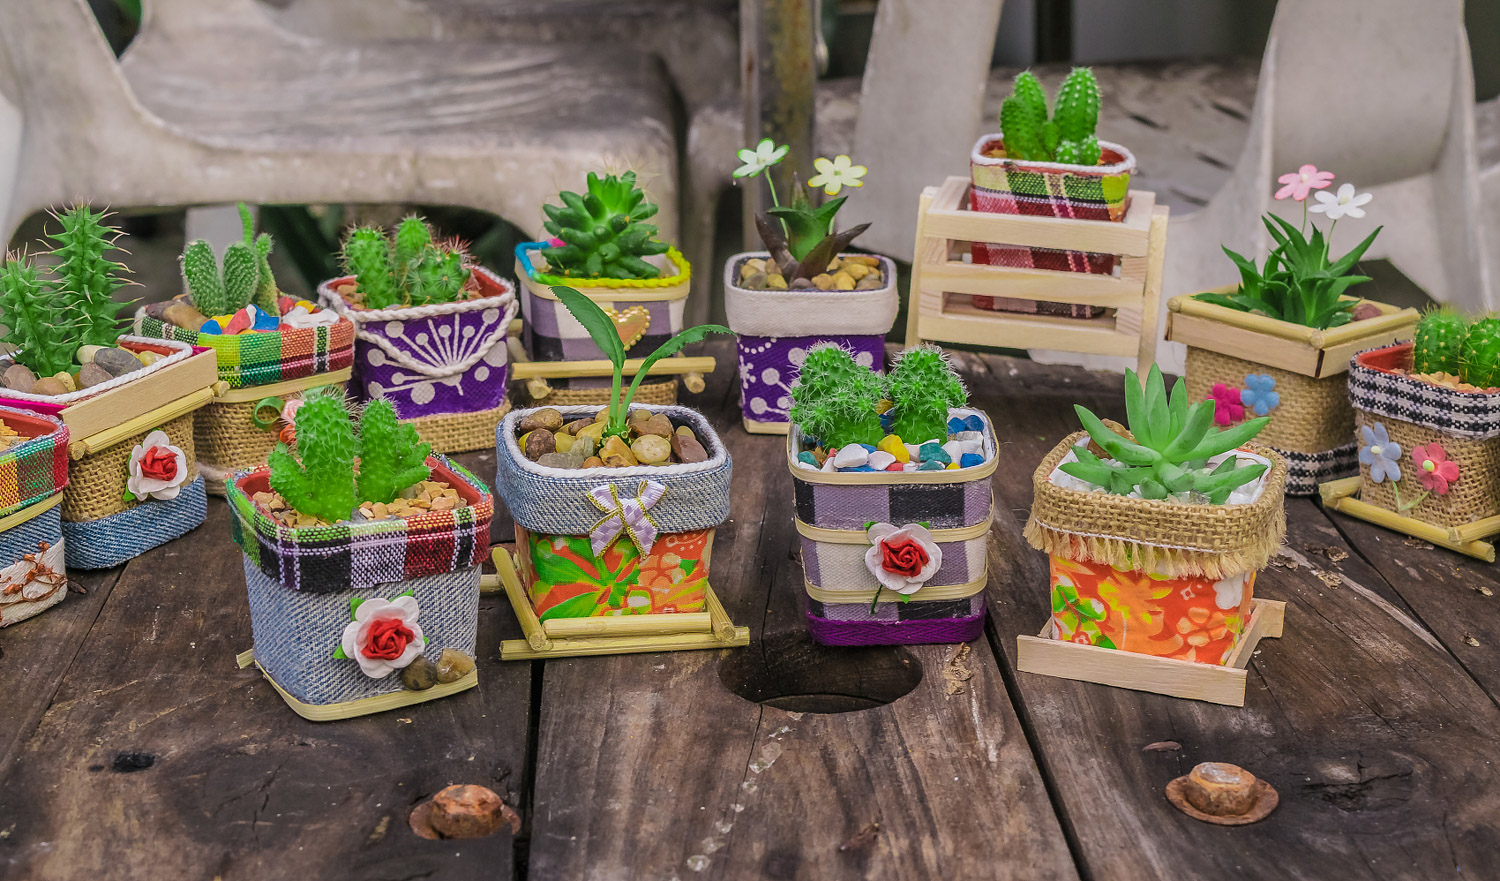
Who still spends money on raising flowers and vegetables? Just one plastic bottle!

Author:JamesZ Date:2022-04-05 12:05

The plastic bottle is simply an invincible all-round flower raising artifact! Planting vegetables, cutting, layering, inducing roots and sowing. I'm proficient in everything. With plastic bottles, it doesn't cost much to raise flowers.

8 plastic bottles to build a three-dimensional vegetable garden

It's good to plant some green vegetables on the balcony in summer, which can be eaten and cool. But what if some families don't have a place to grow them? Today, I'll teach you a good way to plant small vertical gardens with plastic bottles. Spinach, celery, lettuce, coriander... Can be planted, which saves land, money and looks good

1. Find a plastic bottle Cut off the bottom
flowers and plants

2. Use the tip of scissors to poke 4-6 water holes on the upper part of mineral water to facilitate drainage, and the bottle mouth should be covered
flowers and plants

3. Prepare nutrient soil according to the proportion of peat soil: vermiculite: Perlite = 4:1:1, mix evenly, and fill the nutrient soil into the plastic bottle
flowers and plants

4. Put the plastic bottle filled with soil upside down next to the wall and guardrail of your house, and fix it firmly with rope and iron wire
flowers and plants

5. As in the above steps, screw off the cap, cut off the bottom and fill the prepared plastic bottle with soil without drilling a water hole
flowers and plants

6. Pile up the plastic bottles one by one as shown in the figure below
flowers and plants

7. Put the plastic bottles stacked together in the plastic bottle placed at the beginning of the bottom
flowers and plants

8. Or fixed to the wall or guardrail with rope or wire
flowers and plants

9. For the top plastic bottle, keep the bottle cap, and drill a water outlet hole on the bottle cap
flowers and plants

10. Cut off the bottom of the plastic bottle and put it upside down on the top of a string of plastic bottles
flowers and plants

11. Pour water on the top of the plastic bottle
flowers and plants

12. In this way, the water gradually flows through the small hole of the bottle cap to the lower plastic bottle to soak and wet the soil
flowers and plants

13. With a sharp knife, cut the other plastic bottles except the first plastic bottle at the top into a small square window. Be careful not to cut them off completely. Only the left and right sides are cut off, and the lower part is not cut off. This plastic bottle is equivalent to a switch, which closes the vegetables and soil so as not to fall out
flowers and plants

14. Open the plastic sheet, poke a hole with your finger and plant the vegetables, flowers and seedlings you want to plant
flowers and plants

15. By analogy, other plastic bottles are planted with similar vegetables or flowers. Note that the 1-2 plastic bottles above can be kept for water storage without holes, and can be watered automatically at ordinary times
flowers and plants

16. In this way, an automatic watering vegetable wall will be planted. The watering will be added to the plastic bottle at the top. If fertilizing, the fertilizer can be dissolved in the water and into the soil with the water. A month later, the vibrant vegetable wall was planted. It's convenient to pinch and eat
flowers and plants

Plastic bottle high altitude pressing strip

High altitude layering is a method with high survival rate and low risk in flower reproduction. High altitude layering sounds troublesome. In fact, it only needs a plastic bottle to solve it. Basically, this method is applicable to all woody flowers
flowers and plants

1. Select a strong and healthy branch and use a sharp knife to cut two circles on the bark of this branch. The width of these two circles is about 1-2 cm
flowers and plants

2. Peel off the cut bark

flowers and plants

3. Prepare a plastic bottle, cut off half at the lower part and cut off the bottle mouth at the upper part to make the plastic bottle funnel-shaped, and then cut a vertical seam in the middle
flowers and plants

4. Break the vertical cut seam, put the plastic bottle around the peeled bark, and then wrap it around with iron wire to fix it
flowers and plants

5. Fill the plastic bottle with sand, vermiculite or nutrient soil, and then pour it with water. Wrap the outside and up and down of the plastic bottle with plastic bags to try not to leak soil or water

flowers and plants

flowers and plants

6. Water the soil in the plastic bottle when it is dry. After 1-2 months, we will see that white roots will grow in the plastic bottle

flowers and plants

flowers and plants

7. Cut off the rooted branches and plant them in the flowerpot

flowers and plants

Plastic bottle cutting artifact, 100% rooting

Plastic bottle cutting is basically applicable to all flowers, especially rose and gardenia. The rooting rate is higher than other cutting! Specific methods, Huahua takes Gardenia as an example to explain in detail

flowers and plants

1. Don't throw away the plastic bottle you usually drink. No matter what model, you can use it for cutting

flowers and plants

2. Cut a section of woody branches of gardenia, about 1 year old. Cut the bottom at an angle of 45 degrees to increase the contact area with water, promote rooting, cut off the leaves at the lower part of the branches, and cut off half of the leaves at the upper part to reduce nutrient consumption

flowers and plants

3. Find a piece of foam and cut it in a circle according to the diameter of the plastic bottle. p>

flowers and plants

4. Drill a small hole in the middle of the foam and insert Gardenia branches into the foam. p>

flowers and plants

5. Use a wallpaper knife to cut the transverse surface at the position of 1 / 3 - -- 1 / 2 of the upper part of the plastic. Be careful not to cut it completely, leaving part of it connected together

flowers and plants

6. Insert the foam of Gardenia branches and fill the bottom part of the plastic bottle with half full. p>

flowers and plants

7. Place the foam with gardenia branches into the middle part of the lower plastic bottle and immerse the lower part of the foam into the water. p>

flowers and plants

8. Cover the top of the plastic bottle back, then seal the incision with tape, and open the plastic cover on the top at the same time

flowers and plants

9. Put the plastic bottle in a place with astigmatism and ventilation. There is no need to add additional water. White roots will grow in about 2-3 weeks

flowers and plants

flowers and plants


© Copyright Theflowerwiki.Com. All Rights Reserved. Sitemap DMCA Privacy Policy Novelhall Youbrief
Top

Who still spends money on raising flowers and vegetables? Just one plastic bottle!

JamesZ
2022-04-05 12:05
Description The plastic bottle is simply an invincible all-round flower raising artifact! Planting vegetables, cutting, layering, inducing roots and sowing. I'm proficient in everything. With plastic bottles, it doesn't cost much to raise flowers.

8 plastic bottles to build a three-dimensional vegetable garden

It's good to plant some green vegetables on the balcony in summer, which can be eaten and cool. But what if some families don't have a place to grow them? Today, I'll teach you a good way to plant small vertical gardens with plastic bottles. Spinach, celery, lettuce, coriander... Can be planted, which saves land, money and looks good

1. Find a plastic bottle Cut off the bottom

flowers and plants

2. Use the tip of scissors to poke 4-6 water holes on the upper part of mineral water to facilitate drainage, and the bottle mouth should be covered

flowers and plants

3. Prepare nutrient soil according to the proportion of peat soil: vermiculite: Perlite = 4:1:1, mix evenly, and fill the nutrient soil into the plastic bottle

flowers and plants

4. Put the plastic bottle filled with soil upside down next to the wall and guardrail of your house, and fix it firmly with rope and iron wire

flowers and plants

5. As in the above steps, screw off the cap, cut off the bottom and fill the prepared plastic bottle with soil without drilling a water hole

flowers and plants

6. Pile up the plastic bottles one by one as shown in the figure below

flowers and plants

7. Put the plastic bottles stacked together in the plastic bottle placed at the beginning of the bottom

flowers and plants

8. Or fixed to the wall or guardrail with rope or wire

flowers and plants

9. For the top plastic bottle, keep the bottle cap, and drill a water outlet hole on the bottle cap

flowers and plants

10. Cut off the bottom of the plastic bottle and put it upside down on the top of a string of plastic bottles

flowers and plants

11. Pour water on the top of the plastic bottle

flowers and plants

12. In this way, the water gradually flows through the small hole of the bottle cap to the lower plastic bottle to soak and wet the soil

flowers and plants

13. With a sharp knife, cut the other plastic bottles except the first plastic bottle at the top into a small square window. Be careful not to cut them off completely. Only the left and right sides are cut off, and the lower part is not cut off. This plastic bottle is equivalent to a switch, which closes the vegetables and soil so as not to fall out

flowers and plants

14. Open the plastic sheet, poke a hole with your finger and plant the vegetables, flowers and seedlings you want to plant

flowers and plants

15. By analogy, other plastic bottles are planted with similar vegetables or flowers. Note that the 1-2 plastic bottles above can be kept for water storage without holes, and can be watered automatically at ordinary times

flowers and plants

16. In this way, an automatic watering vegetable wall will be planted. The watering will be added to the plastic bottle at the top. If fertilizing, the fertilizer can be dissolved in the water and into the soil with the water. A month later, the vibrant vegetable wall was planted. It's convenient to pinch and eat

flowers and plants

Plastic bottle high altitude pressing strip

High altitude layering is a method with high survival rate and low risk in flower reproduction. High altitude layering sounds troublesome. In fact, it only needs a plastic bottle to solve it. Basically, this method is applicable to all woody flowers

flowers and plants

1. Select a strong and healthy branch and use a sharp knife to cut two circles on the bark of this branch. The width of these two circles is about 1-2 cm

flowers and plants

2. Peel off the cut bark

flowers and plants

3. Prepare a plastic bottle, cut off half at the lower part and cut off the bottle mouth at the upper part to make the plastic bottle funnel-shaped, and then cut a vertical seam in the middle

flowers and plants

4. Break the vertical cut seam, put the plastic bottle around the peeled bark, and then wrap it around with iron wire to fix it

flowers and plants

5. Fill the plastic bottle with sand, vermiculite or nutrient soil, and then pour it with water. Wrap the outside and up and down of the plastic bottle with plastic bags to try not to leak soil or water

flowers and plants

flowers and plants

6. Water the soil in the plastic bottle when it is dry. After 1-2 months, we will see that white roots will grow in the plastic bottle

flowers and plants

flowers and plants

7. Cut off the rooted branches and plant them in the flowerpot

flowers and plants

Plastic bottle cutting artifact, 100% rooting

Plastic bottle cutting is basically applicable to all flowers, especially rose and gardenia. The rooting rate is higher than other cutting! Specific methods, Huahua takes Gardenia as an example to explain in detail

flowers and plants

1. Don't throw away the plastic bottle you usually drink. No matter what model, you can use it for cutting

flowers and plants

2. Cut a section of woody branches of gardenia, about 1 year old. Cut the bottom at an angle of 45 degrees to increase the contact area with water, promote rooting, cut off the leaves at the lower part of the branches, and cut off half of the leaves at the upper part to reduce nutrient consumption

flowers and plants

3. Find a piece of foam and cut it in a circle according to the diameter of the plastic bottle. p>

flowers and plants

4. Drill a small hole in the middle of the foam and insert Gardenia branches into the foam. p>

flowers and plants

5. Use a wallpaper knife to cut the transverse surface at the position of 1 / 3 - -- 1 / 2 of the upper part of the plastic. Be careful not to cut it completely, leaving part of it connected together

flowers and plants

6. Insert the foam of Gardenia branches and fill the bottom part of the plastic bottle with half full. p>

flowers and plants

7. Place the foam with gardenia branches into the middle part of the lower plastic bottle and immerse the lower part of the foam into the water. p>

flowers and plants

8. Cover the top of the plastic bottle back, then seal the incision with tape, and open the plastic cover on the top at the same time

flowers and plants

9. Put the plastic bottle in a place with astigmatism and ventilation. There is no need to add additional water. White roots will grow in about 2-3 weeks

flowers and plants

flowers and plants


More
Related articles