Clivia
1. What to do after rotten roots
1. Rotten root performance:
Traces of decay appear at the bottom of Clivia, leaves fall off, plants are unstable and can be easily shaken, which are the signs of the rotten roots of Clivia
2. Clivia debotting:
Take the Clivia out of the pot and clean up the soil at the root
3. Cut off rotten roots:
Cut off the rotten root system with a sharp knife and the rotten leaves together. If the rotten root is serious, you can completely cut off the whole root system, but pay attention to keep healthy bulbs
4. Disinfection and sterilization:
Soak the root in potassium permanganate solution for half an hour, disinfect and dry it in a ventilated and cool place

5. Soaking rooting powder solution:
The rooting powder is diluted with water in the ratio of 1:50. Soak the root of Clivia in it for two hours and dry it in the shade for standby

6. Induced root of water Moss:
Prepare some water moss, wrap the roots of Clivia with blisters, and put them together in a flowerpot. Water moss can be replaced by sawdust or coconut bran

7. New root retransmission:
Put the Junzi orchid basin in a cool and ventilated place, touch the water moss and spray water on it. You can often lift the plant to check the hair roots. In about 20 days, Junzi orchid can grow white and fat roots again
2 how to put the basin back on
1. Soil preparation:
(1) Old tree bark:
Lay some old bark at the bottom of the flowerpot. Pine bark is the best. The fresh bark needs to be rotten (sealed with water and exposed to the sun) before it can be used

(2) Base fertilizer:
Put a layer of fried melon seeds and Castor Seeds on the bark as the base fertilizer. It is not suitable to apply fertilizer at the initial stage of changing the basin. Therefore, it is necessary to put a layer of organic fertilizer on the bottom of the soil when changing the basin
(3) Soil preparation:
The rotten leaf soil and vermiculite are configured in the ratio of 2:1. Pine needle soil, coarse sand, cinder, sawdust, coconut bran, rotten peanut shell and melon seed shell can be mixed in the soil

2. Upper basin:
Sprinkle several layers of prepared soil on top of the base fertilizer, and then spread the root system of Clivia on the soil, holding Clivia with one hand and filling the flowerpot with the other. When filling, pay attention to fix the root system with soil, and do not compact until the soil is completely filled
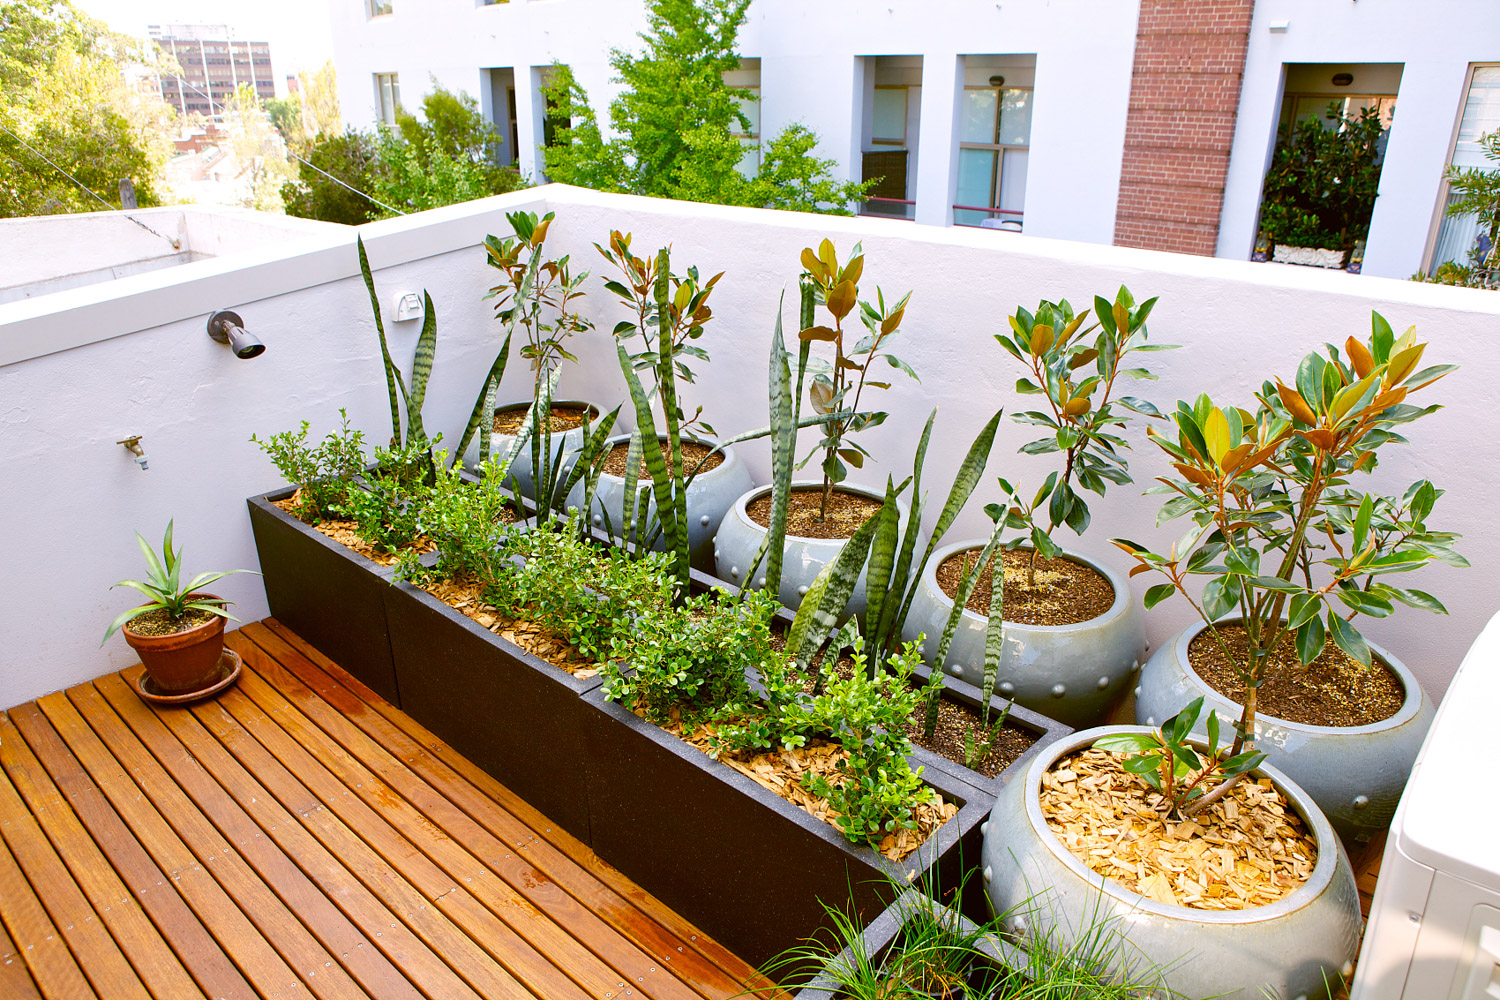
3. Watering:
After the soil is filled, water immediately, pour a lot of water until the water flows out of the permeable hole at the bottom of the flowerpot
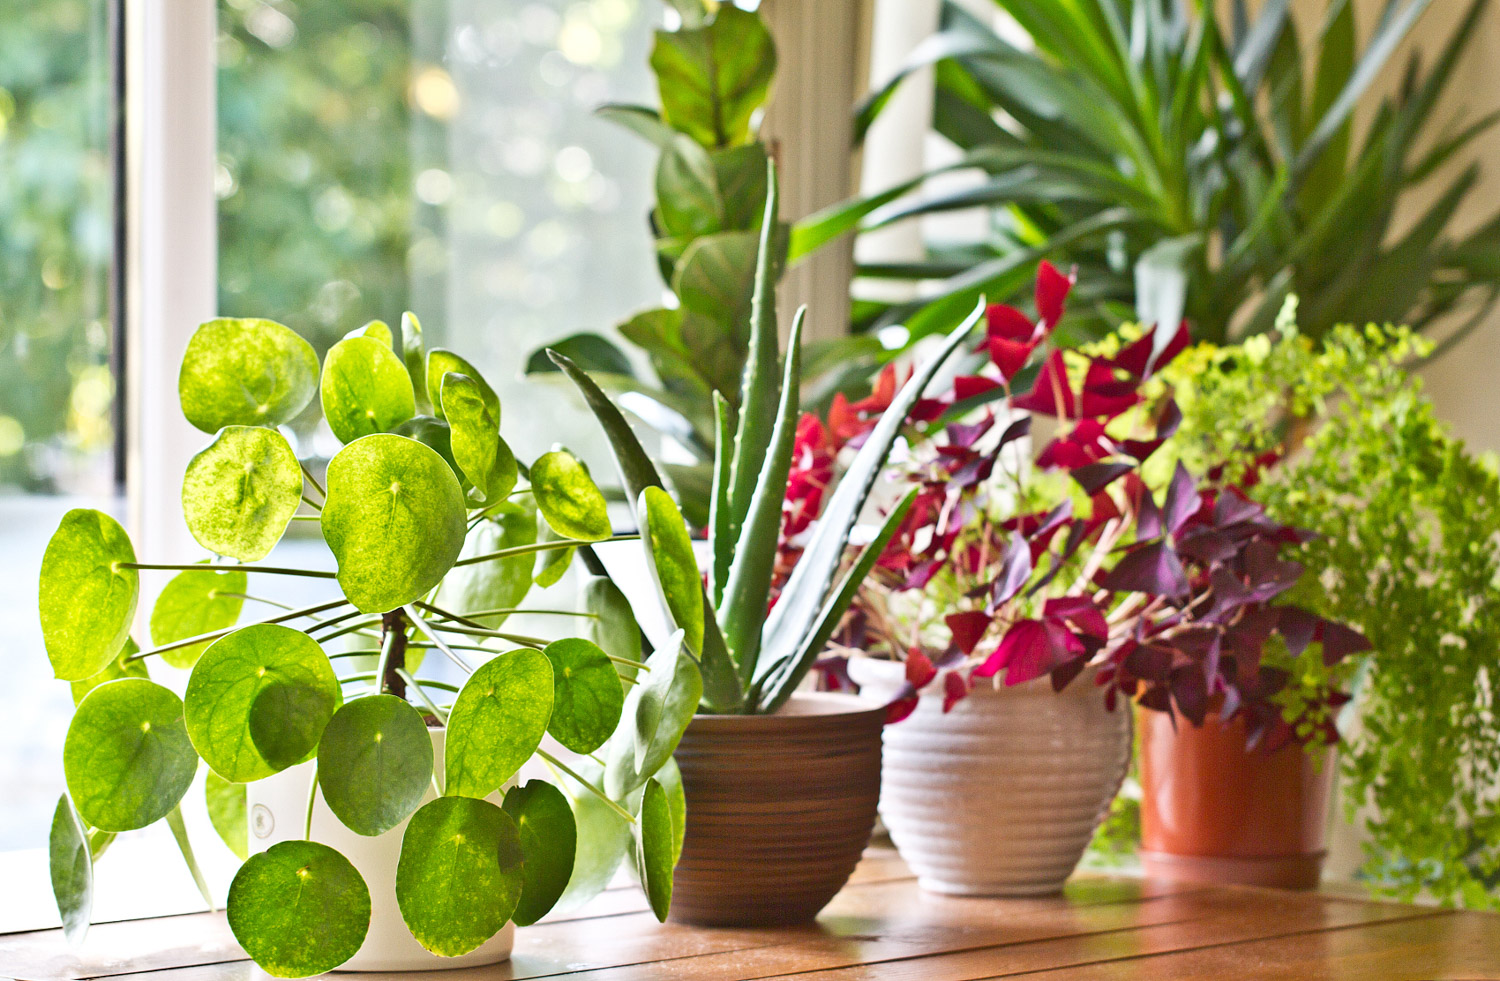
3. How to maintain in the later stage
1. Cool and ventilated:
Put the Clivia in a cool and ventilated place after putting it in the basin
2、注意浇水:
You must pay attention to the watering after the pot is put on. You can't let the roots rot again. The flowers are basically watered once every 5-7 days. Flower friends should water according to their own pot size and the degree of soil looseness
Fleshy
1. What to do after rotten roots
1. Rotten root performance:
The fleshy bottom leaves are black and soft, and the stems are rotten and can be easily shaken. This is the performance of rotten roots. It should be treated in time to avoid the continuous spread of rotten roots and affect the whole plant
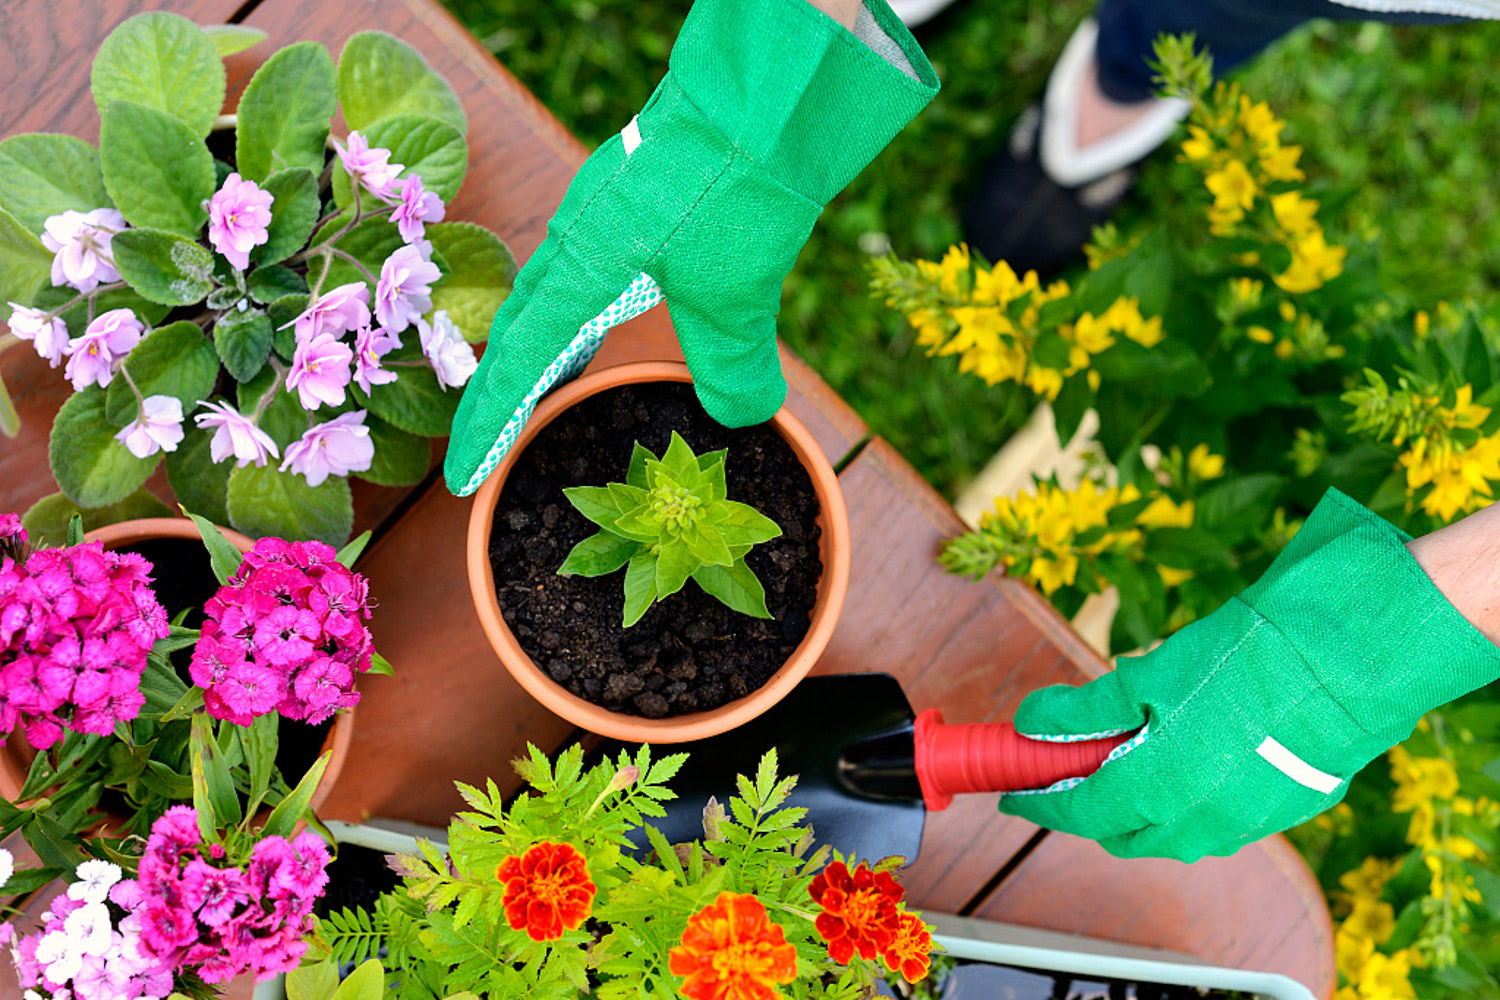
2. Meat removal basin:
Take the meat out of the flowerpot and clean up the soil at the root. The soil should be discarded and the flowerpot should be washed clean to avoid secondary infection

3. Removal of rotten roots:
Take off all the rotten leaves to reveal the green and healthy stems. Scald the knife with a lighter, disinfect it, and then cut off the rotten roots. Be sure to remove them all

4. Apply carbendazim:
Apply some carbendazim to the fresh wound for disinfection, and then put it in a cool and ventilated place to dry

2 how to put the basin back on
1. Soil preparation:
(1) Ceramsite:
Ceramsite is a relatively large granular soil with good water permeability. Putting it at the bottom of a succulent basin can effectively prevent succulent root rot
Lay a layer of gauze on the bottom of the fleshy basin, and then evenly lay a layer of ceramsite

(2) Soil preparation:
Succulent soil can be divided into nutrient soil and granular soil
Nutrient soil: rotten leaf soil, peat soil, rice husk carbon, coconut bran, sawdust, plant ash, etc
Granular soil: Perlite, hematite, green zeolite, vermiculite, coconut bran, Luzhao soil, rainbow stone, coarse sand, diatomite, diurite, etc
The nutrient soil and granular soil shall be configured in the proportion of 3:2 and evenly spread in the flower pot
2. Upper basin:
Lay a layer of green zeolite (or other granular soil) on the surface of the basin soil, and then put the rootless meat on the soil surface

3. How to maintain in the later stage
1. Do not water temporarily:
In order to make the meat root again as soon as possible, do not water the meat after it is put into the pot for the time being, and then water it after 1 week
2. Less watering after rooting:
Fleshy leaves have strong water storage capacity. Don't water frequently. Flowers basically water their meat once every half a month to avoid rotten roots
Fortune tree
1. What to do after rotten roots 1. Rotten root performance:
A large number of Facai leaves turn yellow and fall off, the root bark folds and softens, and the bark falls off, which is the manifestation of the rotten root of Facai tree
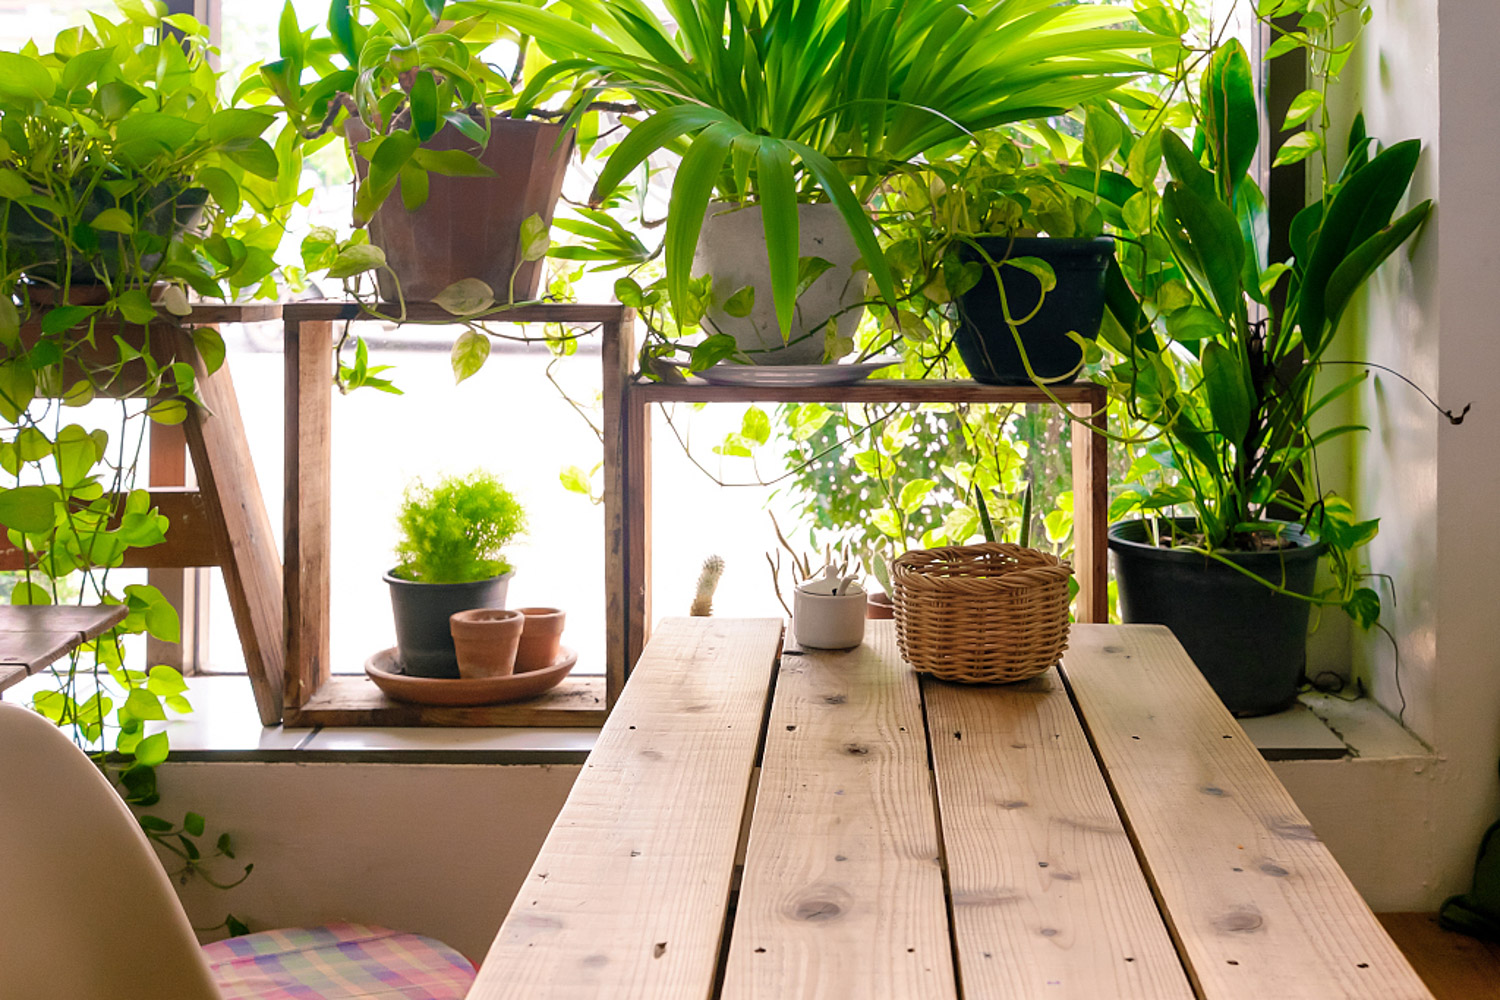
2. Fortune tree shedding:
Clean the rich tree from the flower pot and wash the soil at the root

3. Clean the rotten part:
Remove all rotten roots, stems and leaves, and cut the stems until fresh and clean wounds are exposed

4. Disinfection and sterilization:
Soak the fresh wound in potassium permanganate solution for half an hour, and then dry it in the shade

5. Apply rooting powder:
Smear some rooting powder on the wound of fortune tree, or soak it in rooting powder solution, dry it and set it aside

2 how to put the basin back on
1. Soil preparation:
(1) Broken tiles
After the broken tiles on the roadside are picked up, they are cleaned and placed at the bottom of the flowerpot, which can enhance the water permeability of the basin soil and avoid rotting roots again

(2) Base fertilizer
Lay a layer of fermented chicken manure as the base fertilizer, because it is not suitable to apply fertilizer when changing the pot to take root. At this time, the base fertilizer can slowly provide nutrition for the plant

(3) Soil preparation
Mix rotten leaf soil and vermiculite in the proportion of 2:1, and then sprinkle them evenly in the flower pot
2. Upper basin:
When the soil in the flowerpot is filled to 2 / 3, put the treated fortune tree in, then hold the fortune tree with one hand and continue filling with the other hand. After filling, slightly compact the soil with one hand
3. Watering:
Water the fortune tree thoroughly at one time until the water flows out of the permeable hole at the bottom of the flowerpot
3. How to maintain in the later stage
1. Cut off yellow leaves:
After the fortune tree is put into the pot again, the unhealthy leaves should be cut off to prevent it from continuing to consume the nutrition of fortune tree and slow down the rooting speed

2. Less watering:
The root system of fortune tree is very underdeveloped, so it should be watered less. The plant type of fortune tree of flowers and flowers is relatively small. It is basically watered once every 10 days. Flower friends should water according to the actual situation, rather dry than wet
Green Rose
1. What to do after rotten roots
1. Rotten root performance:
A large area of yellow leaves, lodging and wilting appear in the green rose, and the stems near the roots rot and blacken, which is the manifestation of the rotten roots of the green rose

2. Green Luotuo basin:
Take the rotten green pineapple out of the flowerpot, clean the soil at the root, throw away the waste soil, and clean the flowerpot

3. Remove the rotten part:
Cut off all the rotten roots of the green pineapple, leaving healthy stems and leaves. Note that the yellow leaves should also be removed

4. Disinfection and sterilization:
Soak the roots of green pineapple branches in carbendazim solution for half an hour and dry them after disinfection

2 how to put the basin back on
1. Prepare basin soil:
(1) Flowerpot
If the green pineapple rots more and leaves few healthy branches, you can choose a shallower flowerpot, which is conducive to later watering and management
A layer of gauze shall be padded on the permeable hole of the flowerpot to prevent soil leakage

(2) Charcoal
Eat the charcoal left over from the barbecue at home, smash it into pieces the size of your finger belly, and place it at the bottom of the flowerpot
Charcoal has good water permeability and anti-corrosion. It is a sharp weapon to prevent secondary root rot of green pineapple

(3) Base fertilizer
Sprinkle 7 or 8 grains of compound fertilizer on charcoal. Diamine can be used. It is relatively slow-release and will not hypertrophy and damage the root

(4) Soil preparation
Put peat soil and cinder (or perlite) in the proportion of 2:1 and sprinkle them evenly in the flower pot
2. Upper basin:
After the soil is filled, poke several small holes 5-6cm deep with your fingers on the surface of the basin soil, put the treated green rose branches in, bury and fix them

3. Watering:
Water until the water flows out of the permeable hole at the bottom of the flowerpot

3. How to maintain in the later stage
1. Astigmatism ventilation:
The green pineapple after being put into the basin again should be placed in a place with astigmatism and ventilation. Do not accept direct sunlight immediately, otherwise it is easy to wilt

2. Watering carefully:
In order to promote the green rose to grow roots again, the watering frequency can be appropriately reduced, watering once every 6-7 days, but pay attention to watering its leaves frequently to avoid withered leaves
Chlorophytum
1. What to do after rotten roots
1. Rotten root performance:
The part of Chlorophytum leaves close to the soil is blackened and rotten, and the plants are lodging and wilting. This is the manifestation of Chlorophytum rotten roots, which should be removed from the pot in time for treatment

2. Chlorophytum removal basin:
After the rotten roots, the Chlorophytum should be taken out of the flowerpot in time to clean up the soil at the root

3. Removal of rotten roots:
If Chlorophytum still has healthy roots that are not rotten, you can use a sharp knife to remove the rotten roots and leaves, soak them in carbendazim solution for disinfection and dry them

4. Stolon recurrence:
If, unfortunately, all the roots of Chlorophytum are rotten, then we can only cut off the newly born Chlorophytum on the Chlorophytum stolon and send roots again
Cut it off and immerse its roots in water. It will grow roots in about 10 days

2 how to put the basin back on
1. Soil preparation:
(1) Broken stone
Throw more than ten pieces of gravel at the bottom of the flowerpot, which can enhance the water permeability of the basin soil

Pebbles can also be used. In short, coin sized stones insoluble in water can be used
(2) Base fertilizer
More than a dozen slow-release fertilizers are sprinkled at the bottom of the flowerpot. In the slow seedling stage when fertilization cannot be applied, the base fertilizer can supplement nutrition for Chlorophytum
(3) Pine needle soil
Fertile pine needle soil is buried under the old pine trees for many years. Flower friends can bring some back to raise flowers. However, remove the new pine needle on the surface and use the old pine needle under it

(4) Soil preparation
Pine needle soil, together with some rotten leaf soil, coarse sand and cinder, is a good soil for raising Chlorophytum

2. Upper basin:
Sprinkle the soil evenly in the basin, fill it, dig a hole with your hands, put the treated Chlorophytum in and bury it

3. Watering:
Water thoroughly until the water flows out of the permeable hole at the bottom

3. How to maintain in the later stage
1. Astigmatism ventilation:
After the Chlorophytum is put in the basin, it should be placed in a place with astigmatism and ventilation, and do not accept direct sunlight

2. Temporarily reduce watering:
In order to promote the root growth of Chlorophytum, after it is put into the basin, the watering can be reduced temporarily and watered once every 6-7 days

 how many times do yo...
 how many planted tre...
 how many pine trees ...
 how many pecan trees...
 how many plants comp...
 how many plants can ...
 how many plants and ...
 how many pepper plan...


