Clivia
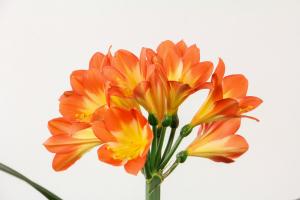
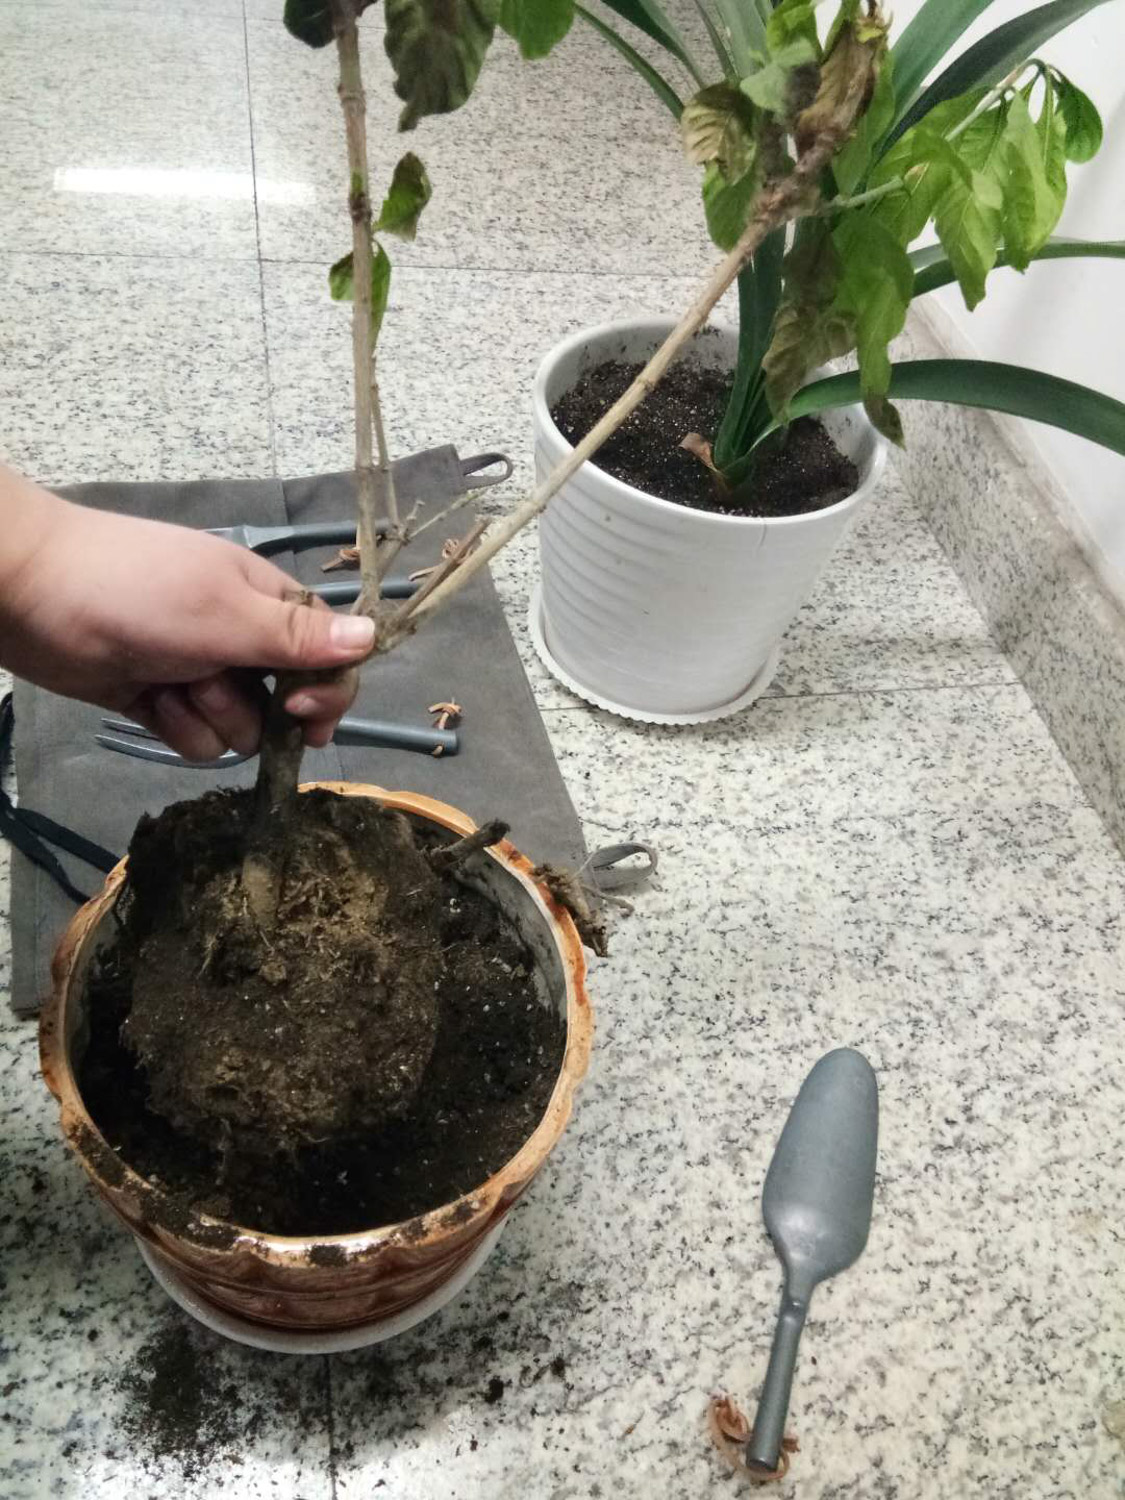
After raising Clivia for more than 2-3 years, many small buds will burst out on the mother plant of Clivia. These small buds can be cut and planted in the soil to become new Clivia
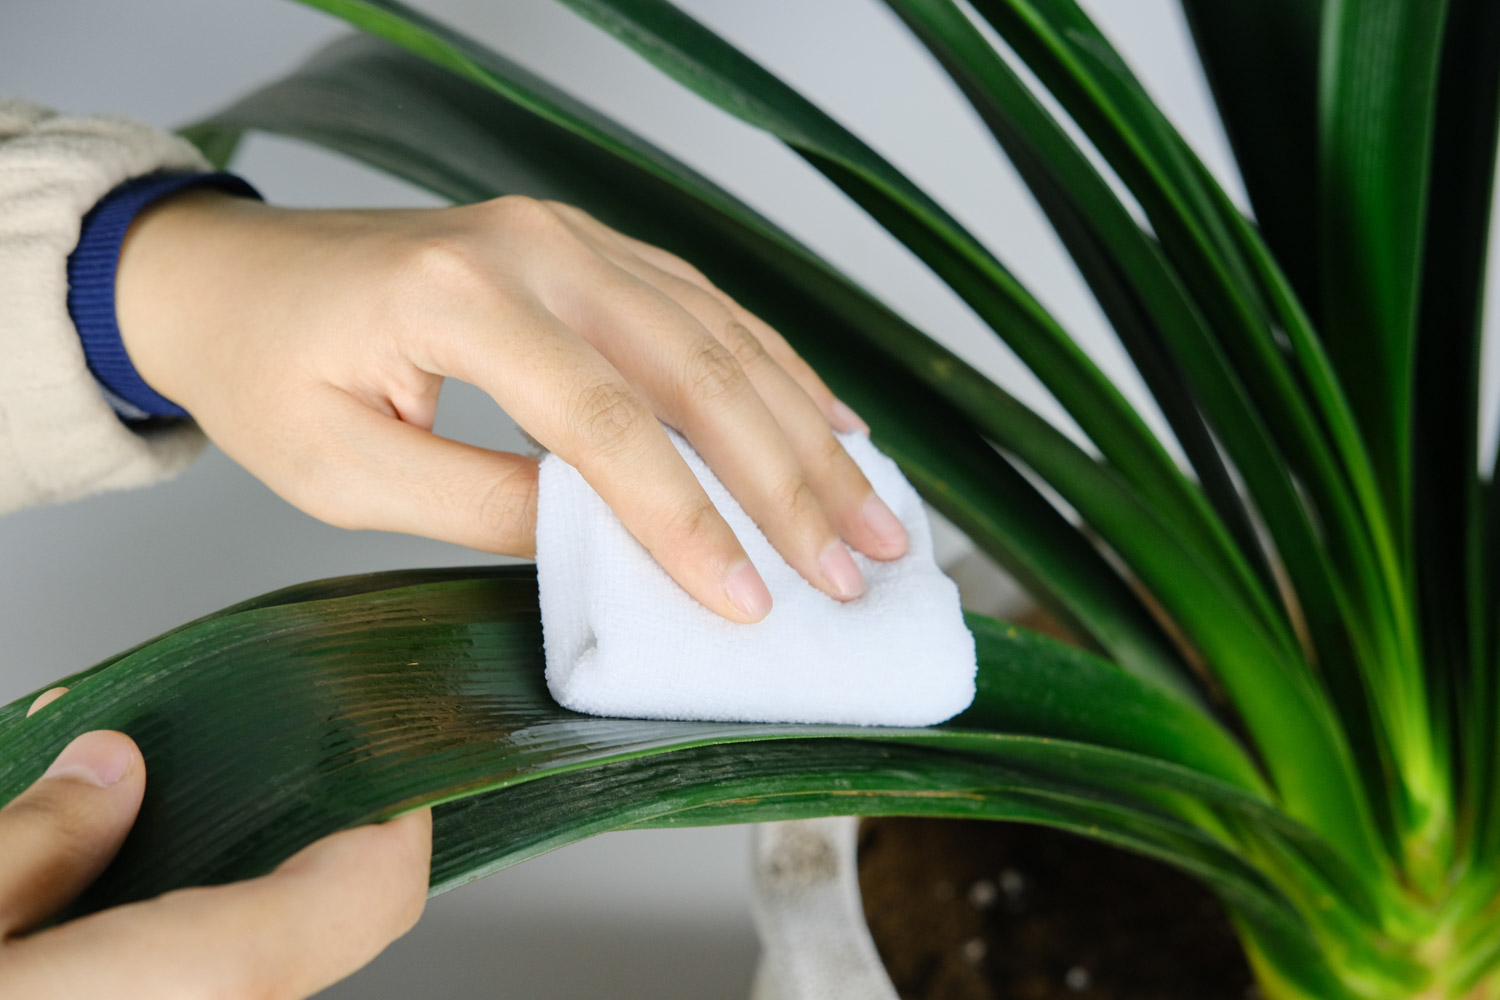
Operation steps:
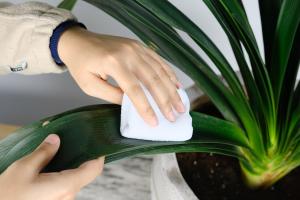
1. After discovering that the Clivia at home has burst into small buds, don't worry. When the small buds grow 2-3 leaves, remove the basin of Clivia. It is best not to water within 1 week before removing the basin, so as to separate the basin soil
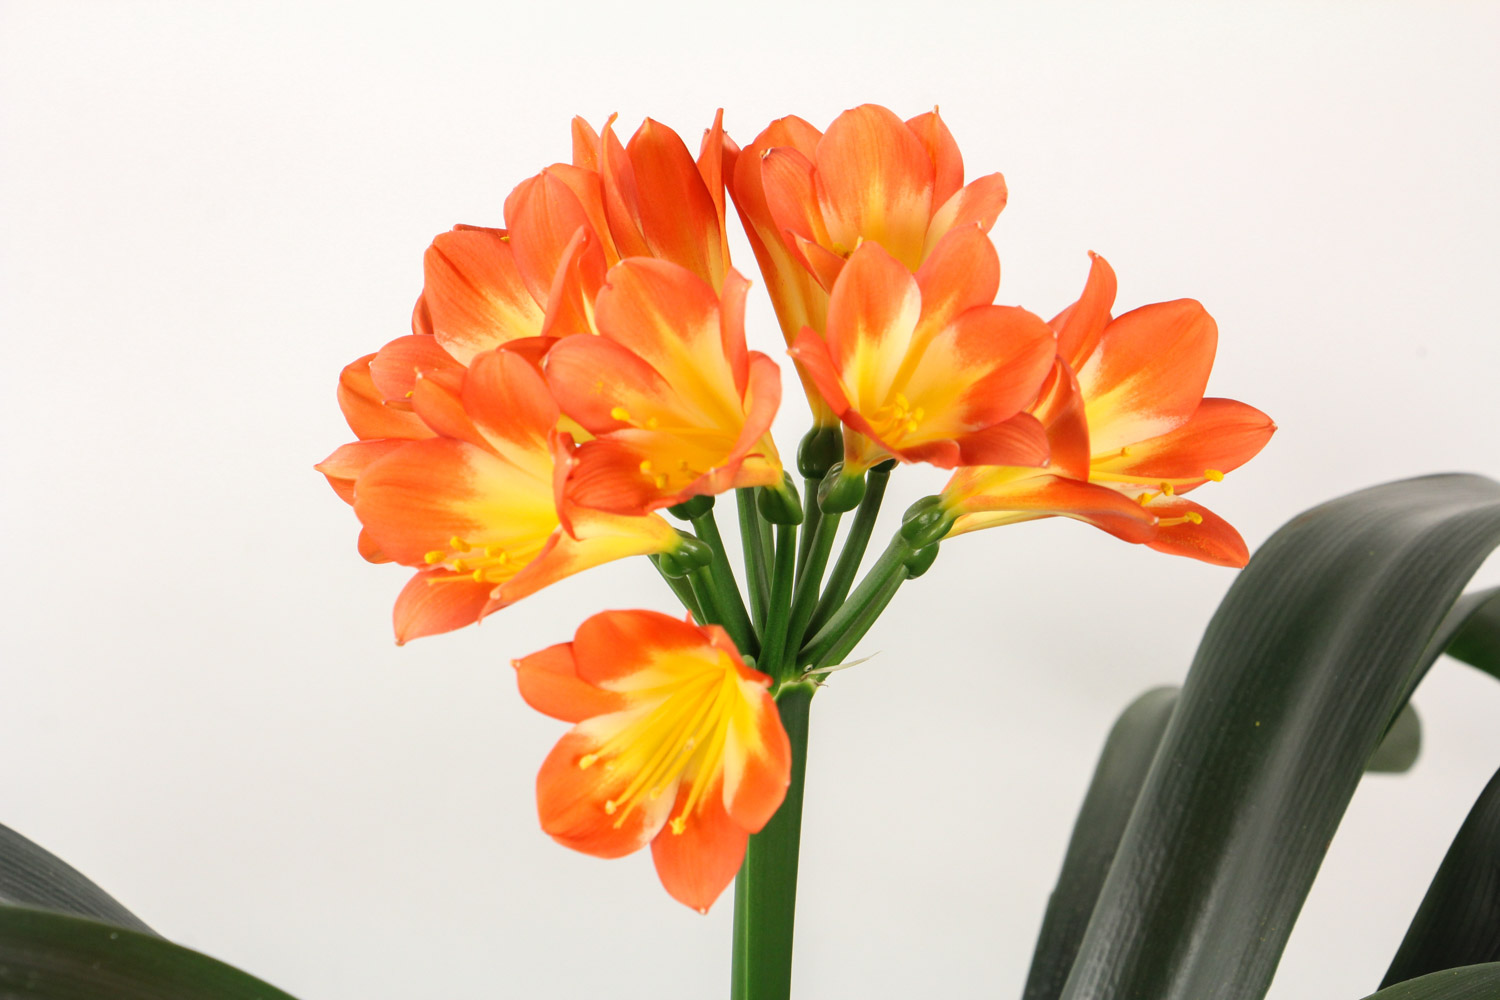
2. Turn the flowerpot upside down, hold the root of Clivia with one hand, and slowly tap the flowerpot with the other hand, so as to make Clivia off the pot. After removing the pot, clean the soil on the root system of Clivia
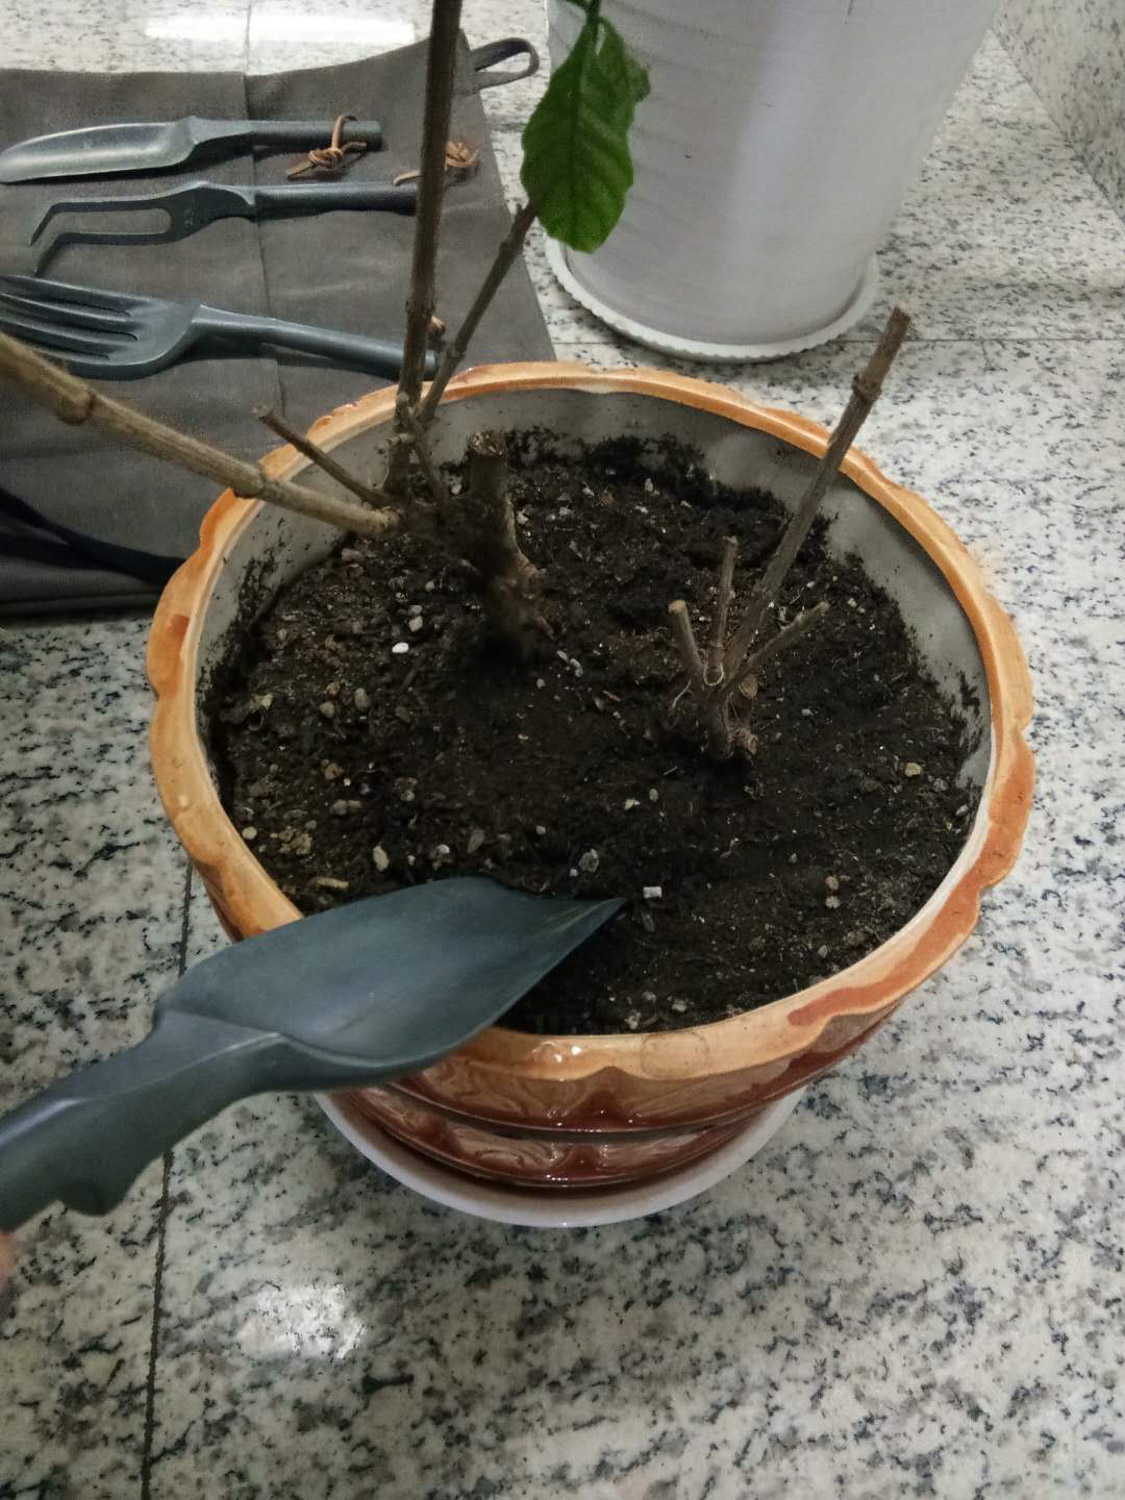
3. Soak the roots of Clivia in carbendazim solution or potassium permanganate solution for about 20 minutes, and then dry them in a cool and ventilated place
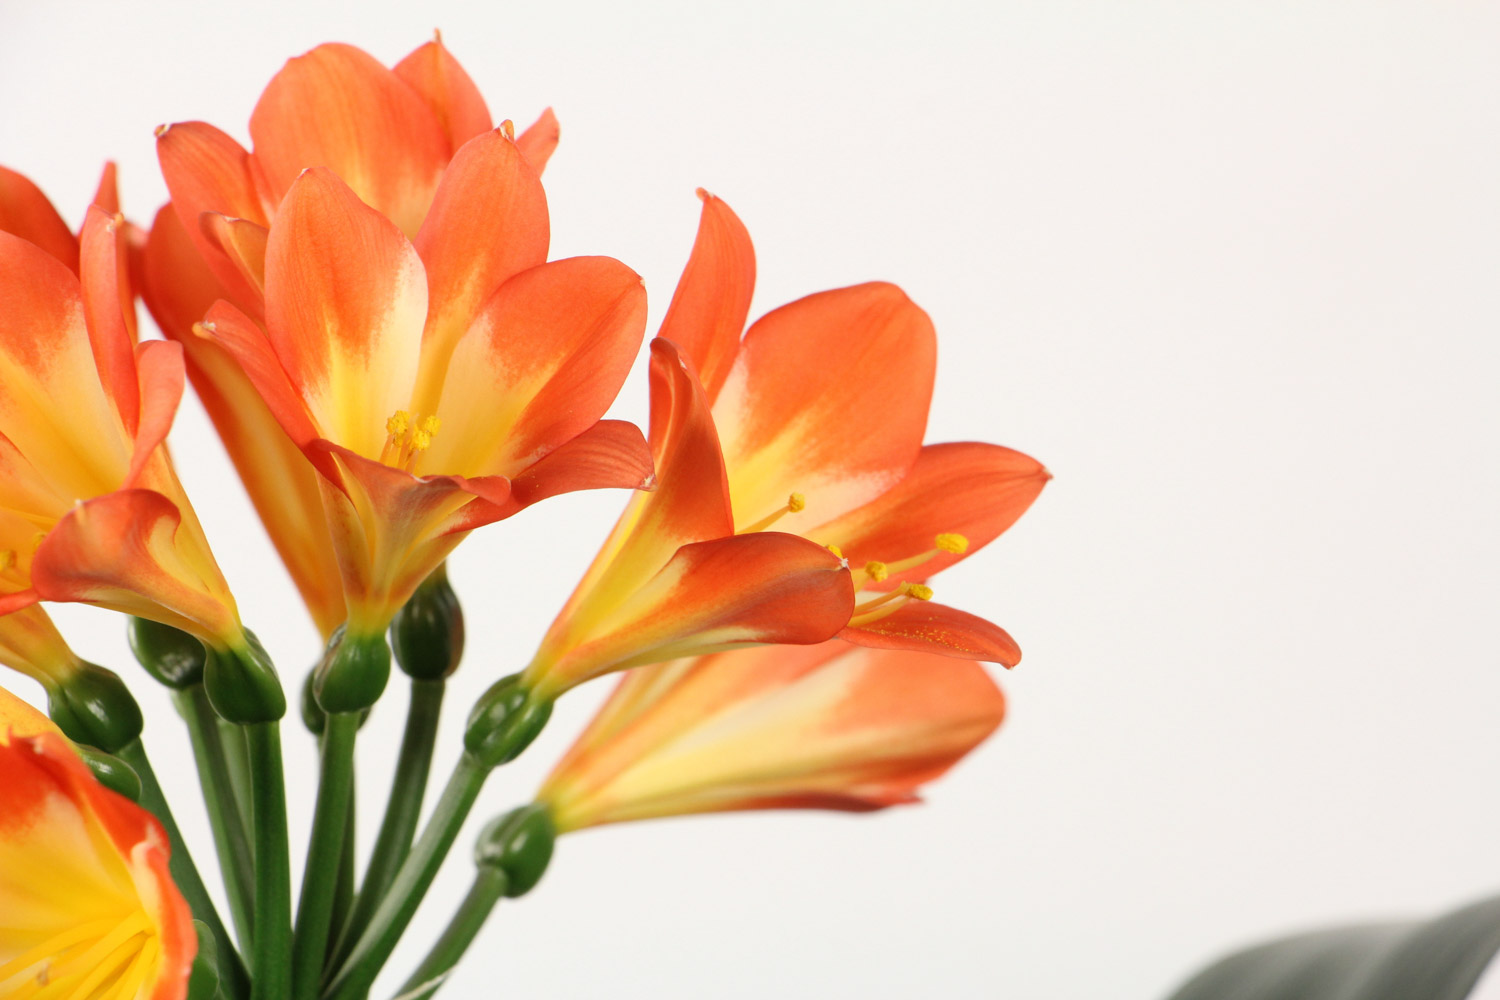
4. After the roots are dried, cut off the roots with Clivia buds with a sterilized knife. In order to make the survival rate of cut Clivia buds higher, it is best to take more roots when cutting, so as to take root faster and more
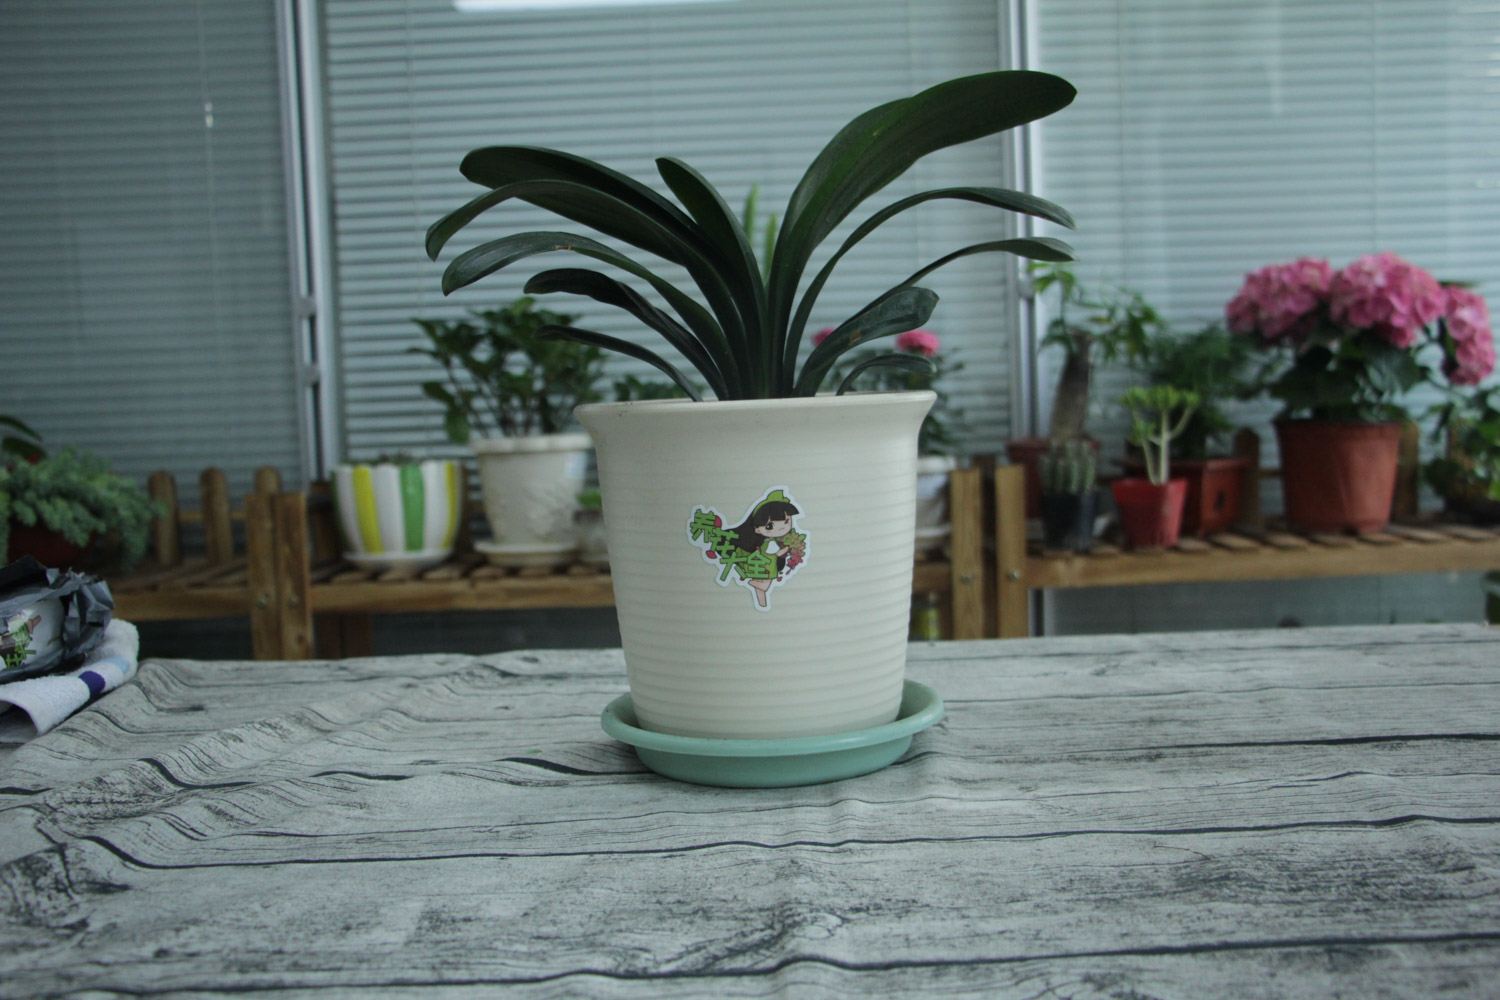
5. The cut Clivia buds and mother plant wounds should be sprinkled with carbendazim powder to achieve the effect of sterilization and disinfection, and then placed in a cool and ventilated place to dry the wound
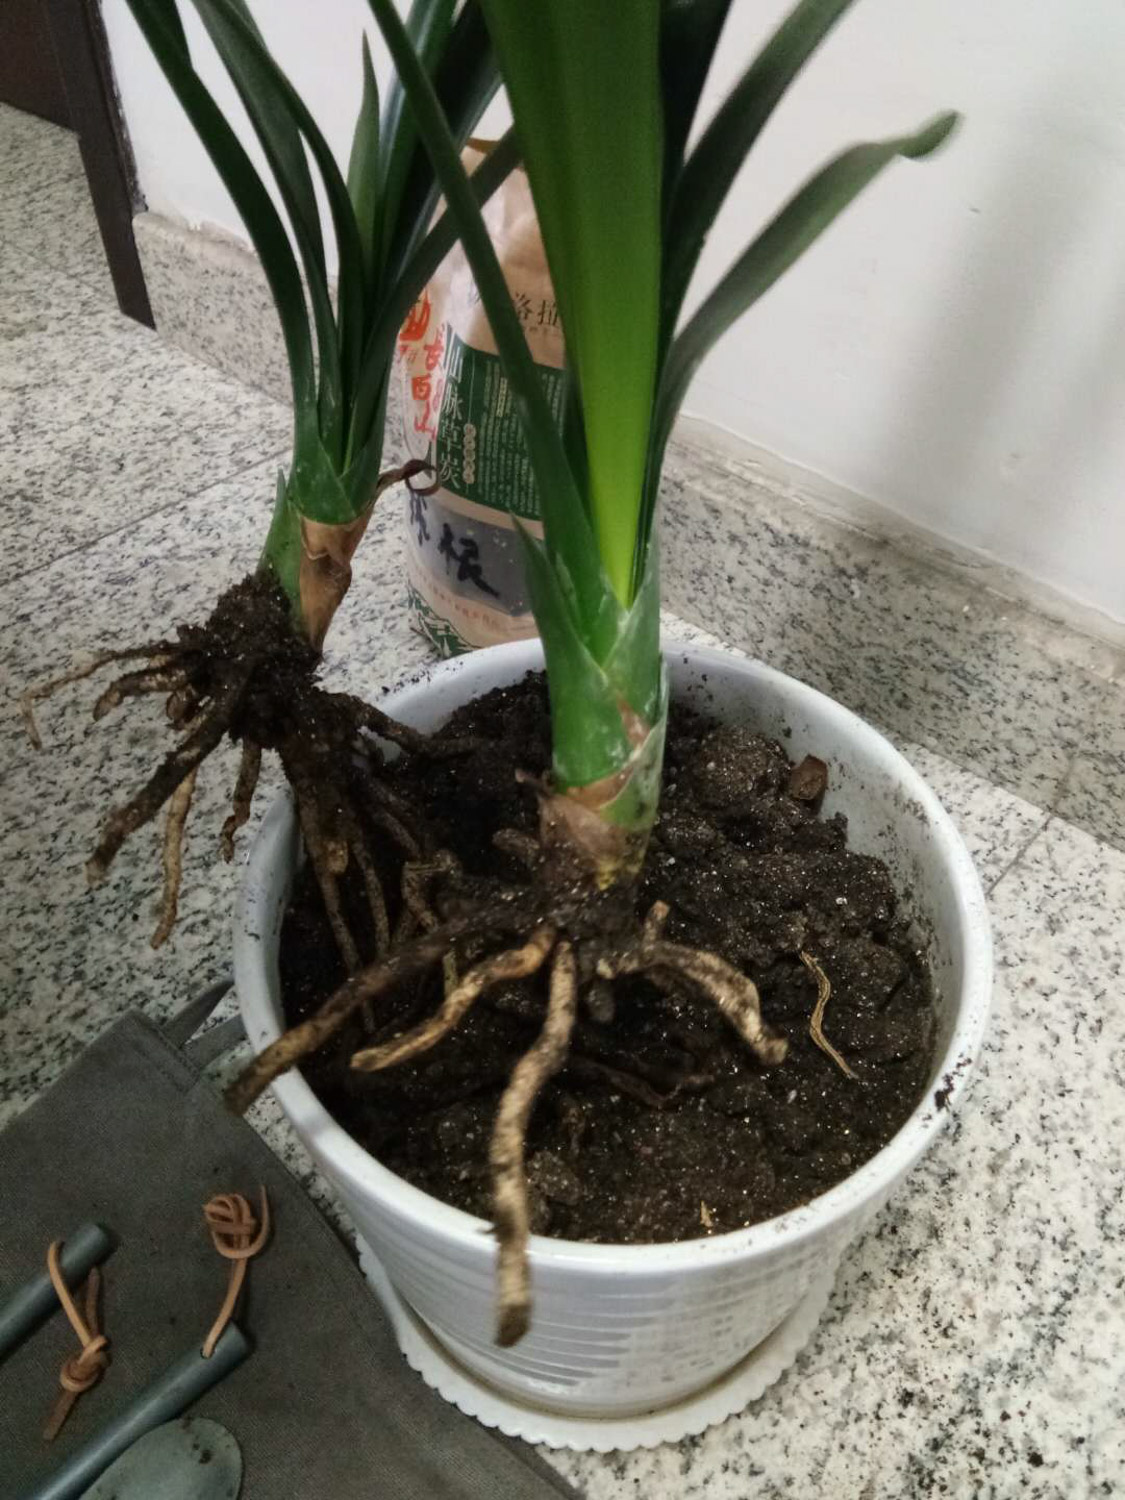
6. After the wound is dried, the basin operation can be carried out. Loose and breathable nutrient soil must be selected for the soil. Garden soil and perlite can be configured in the proportion of 3:1, and pine needles can be added
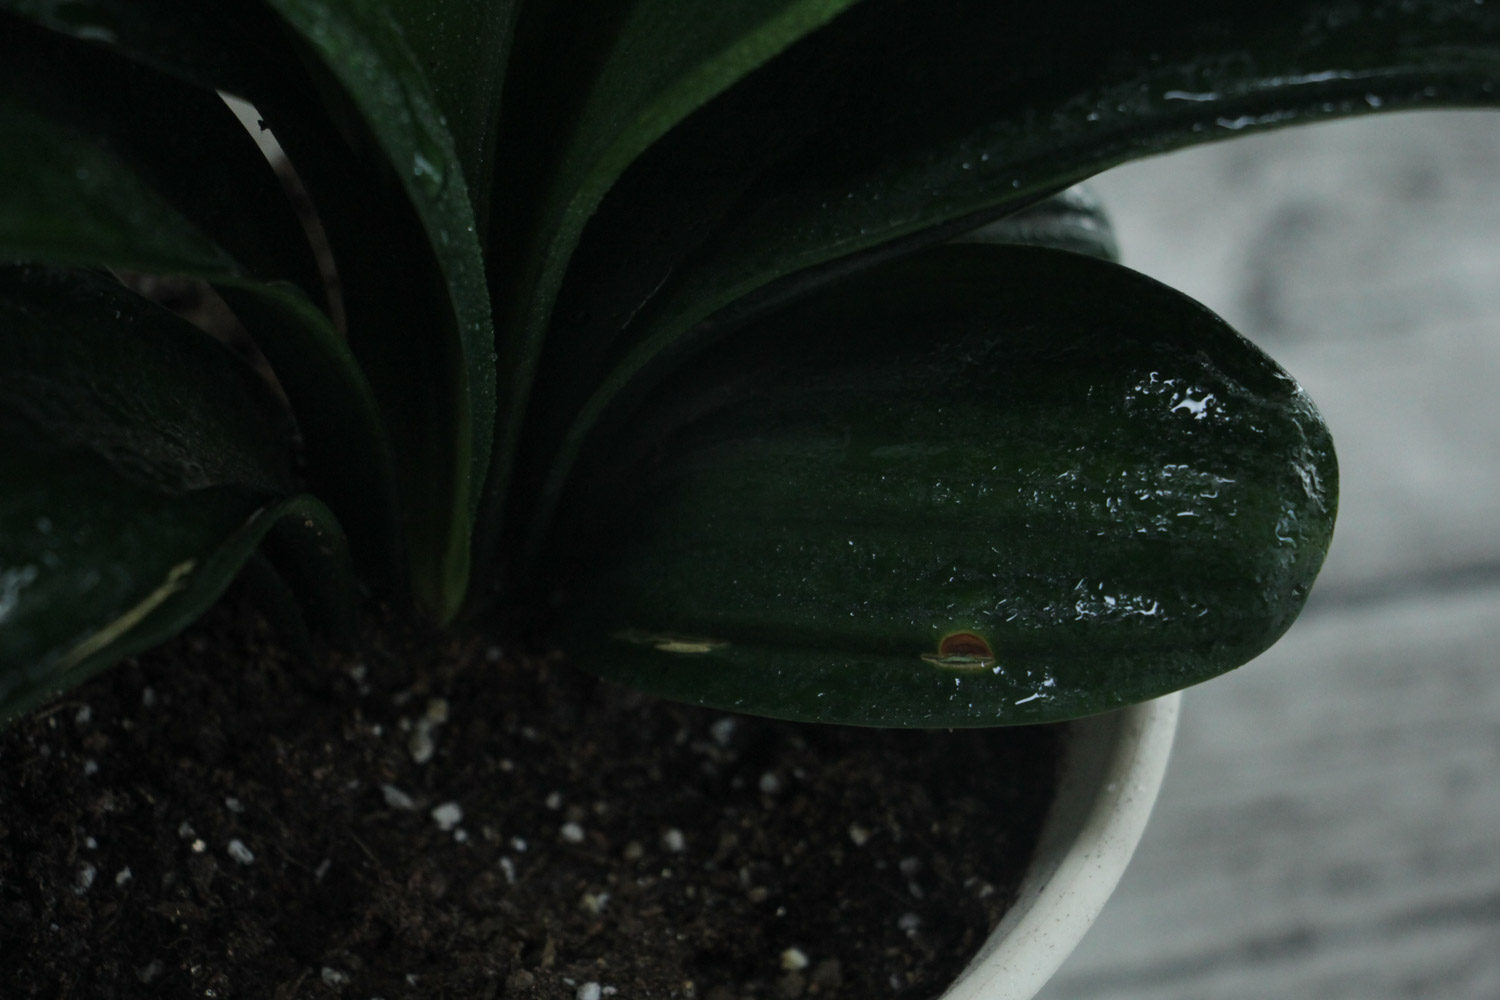
7. Put it in a cool and ventilated place for 2-3 weeks after putting it in the basin again, so that the small buds of Clivia can adapt to the new soil and grow again. After this operation, one Clivia can become several pots
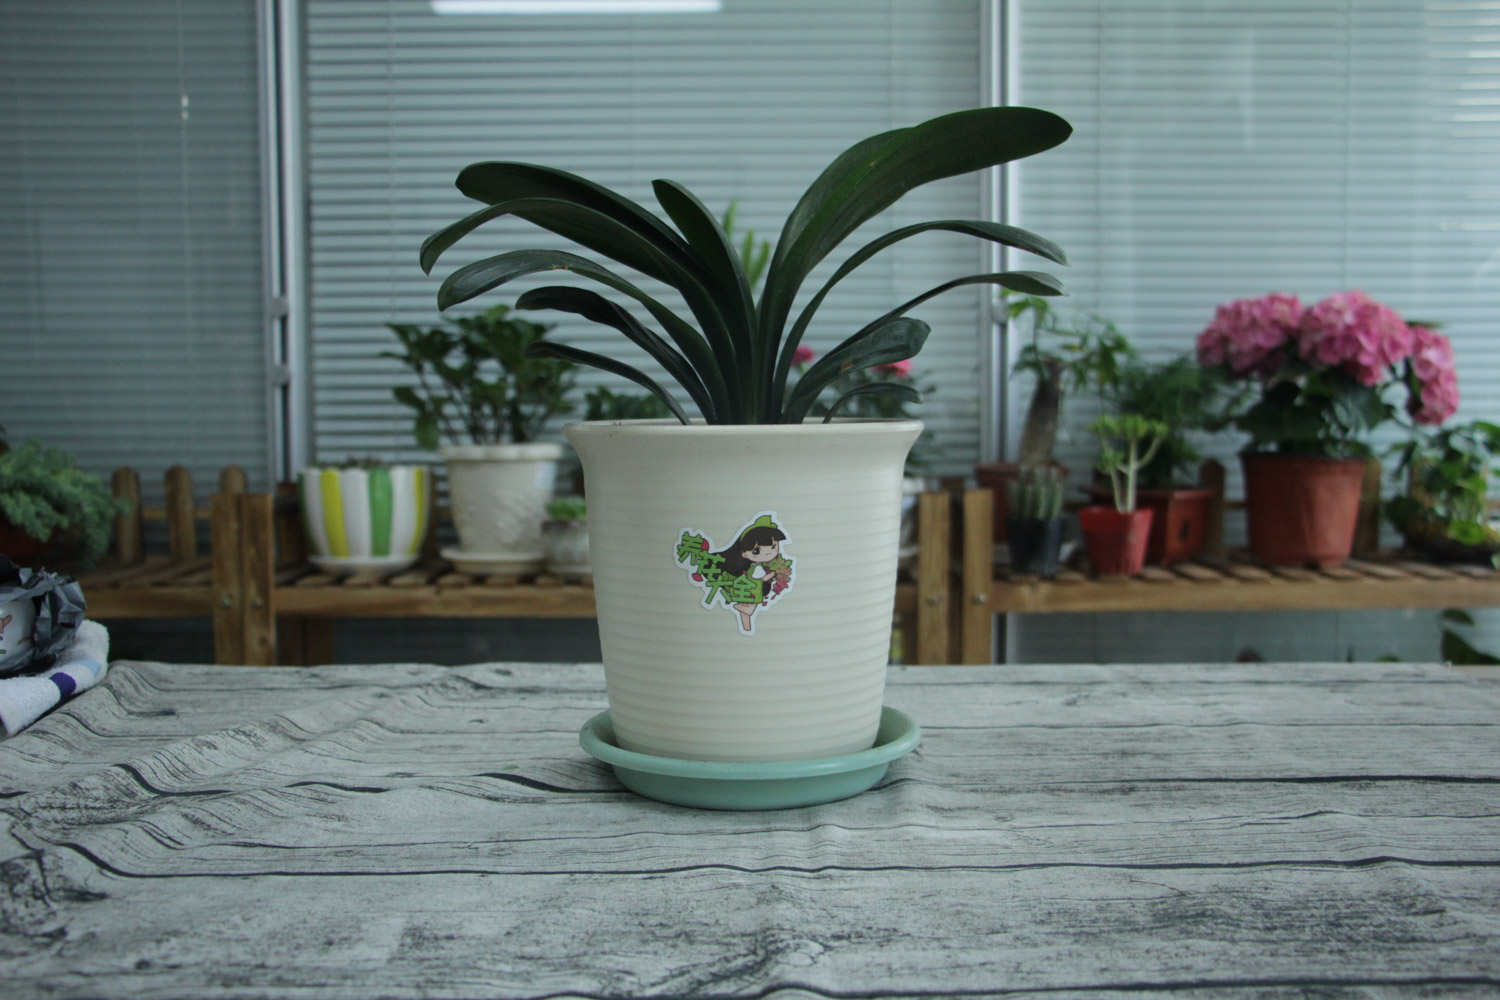
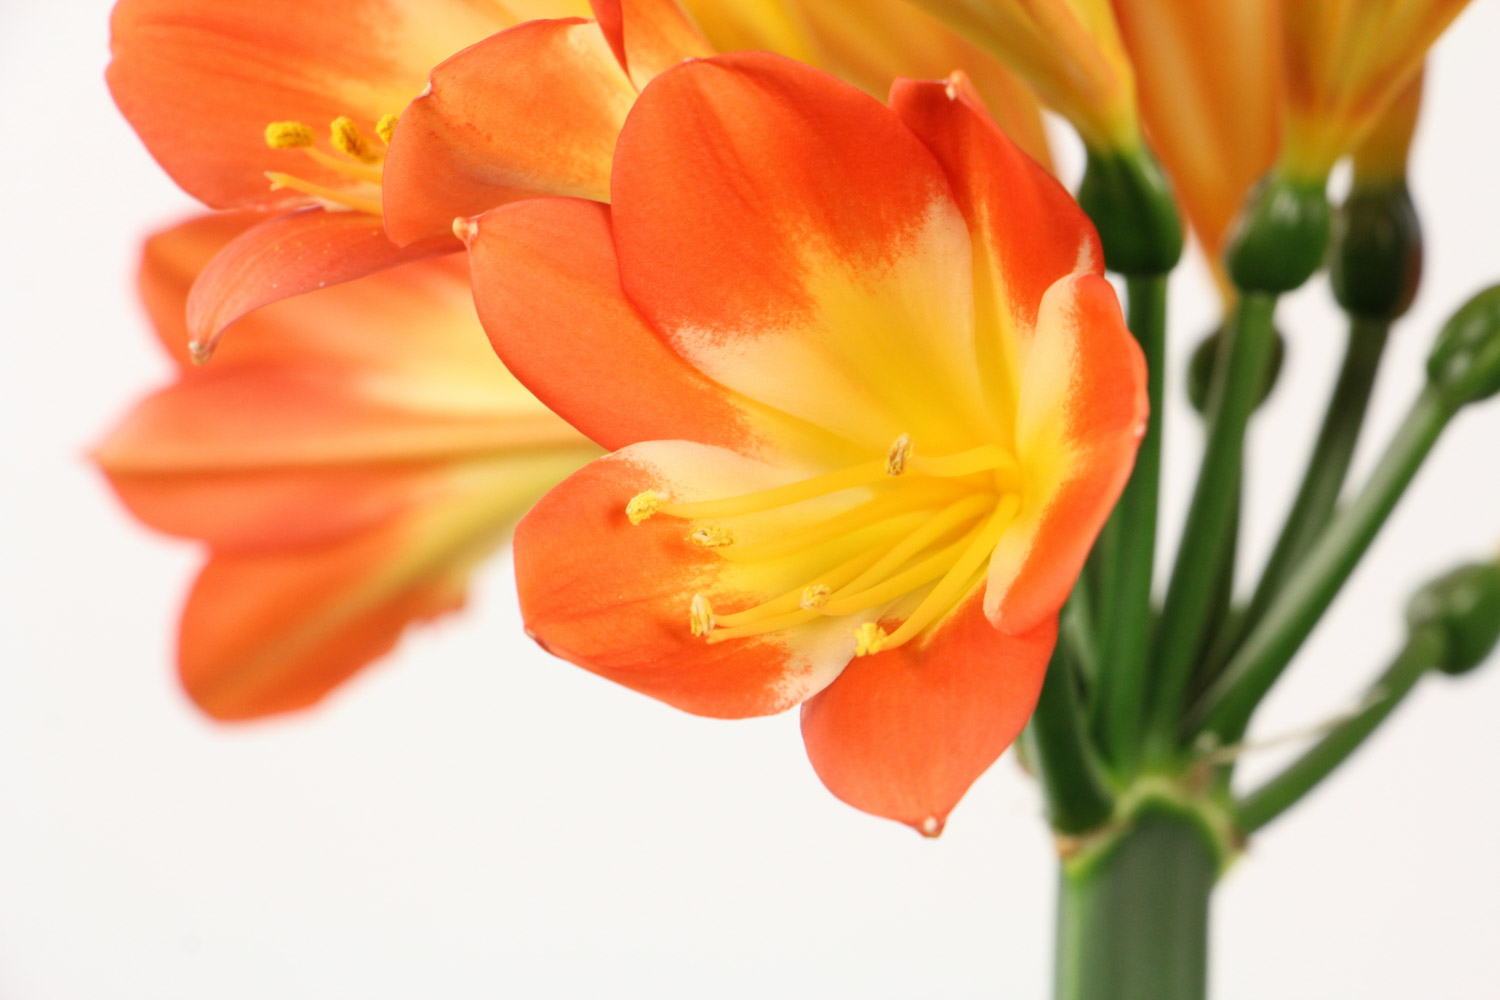
Chlorophytum
Some flower friends raise Chlorophytum very well. They not only develop waterfalls, but also grow a lot of small Chlorophytum. These small Chlorophytum are cut off and become new Chlorophytum again. Do you think it's particularly convenient for flower friends
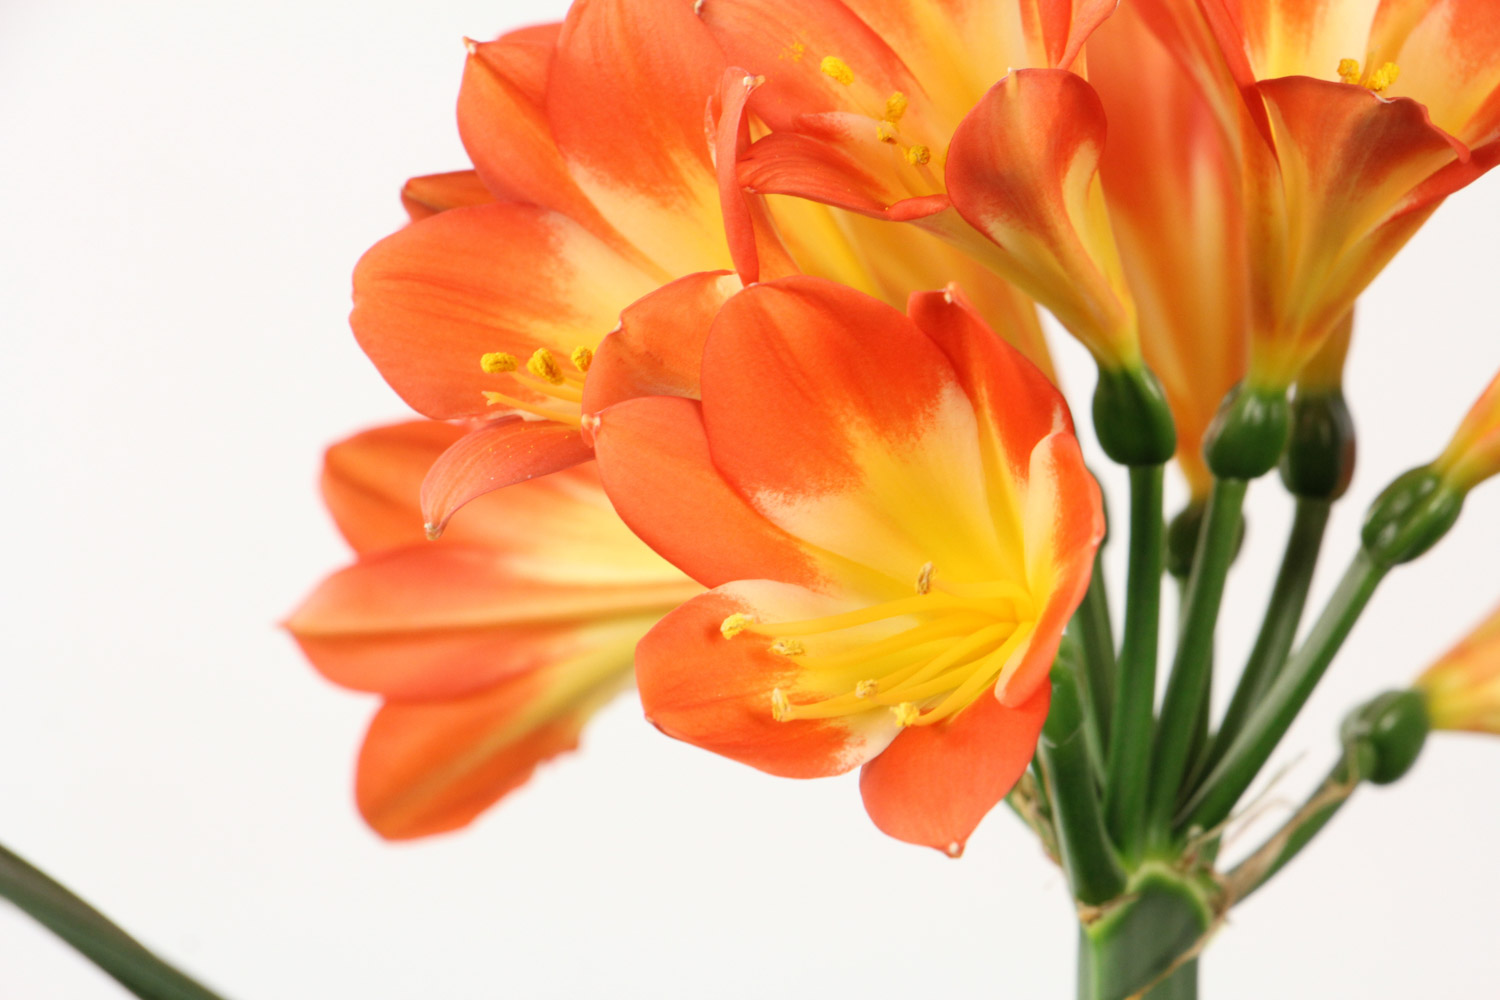
Operation method:
1. Cut off the small Chlorophytum on the mother plant of Chlorophytum with sterilized scissors
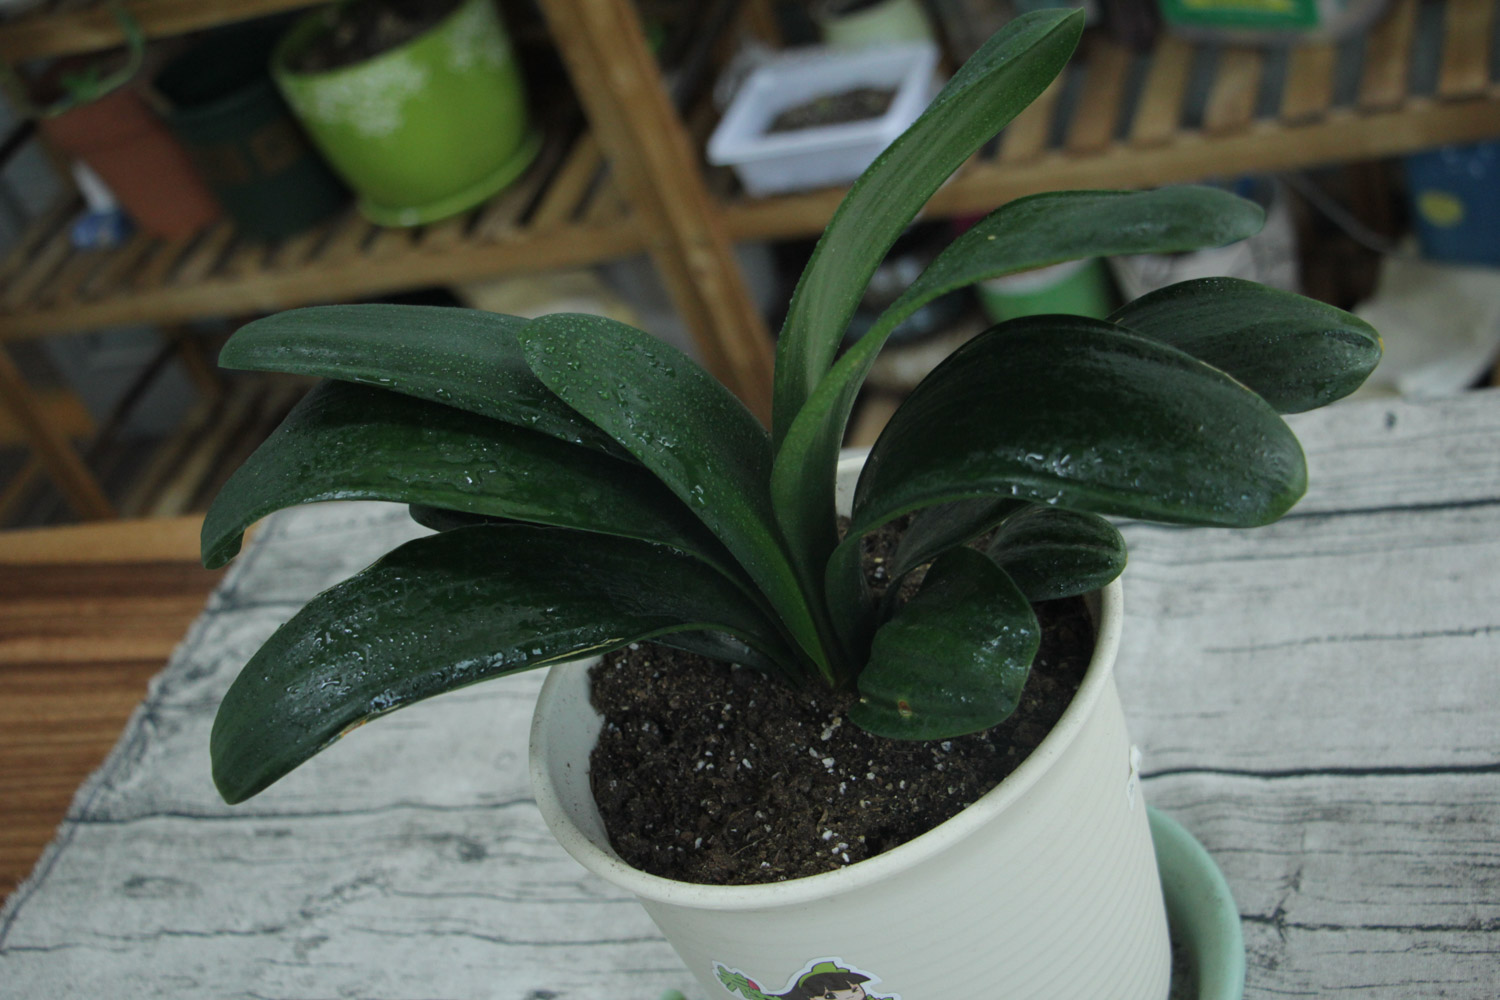
2. It's better to take root with some air on the cut Chlorophytum, so it's easier to take root and survive
3. Prepare the required soil. The soil must be loose, breathable and well drained. It can be mixed with rotten leaf soil and river sand in the ratio of 3:1, and then pour it for water once
4. Insert the small Chlorophytum into the soil about 2-3cm, and then put it in a cool and ventilated place to ease for a period of time, and then maintain it normally
Orchid
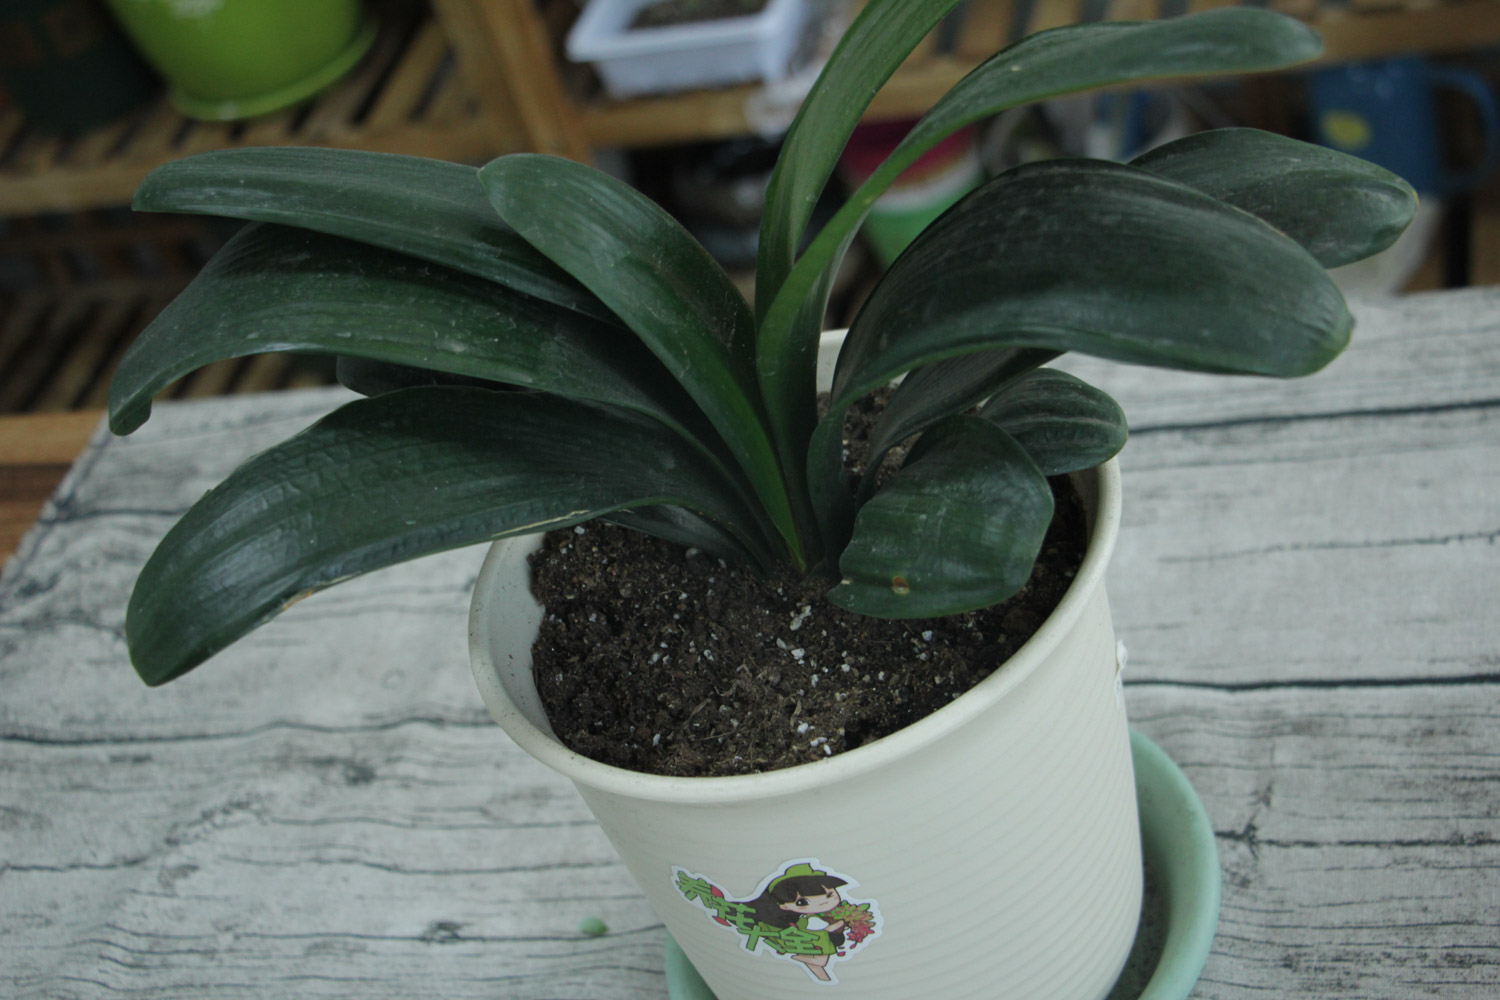
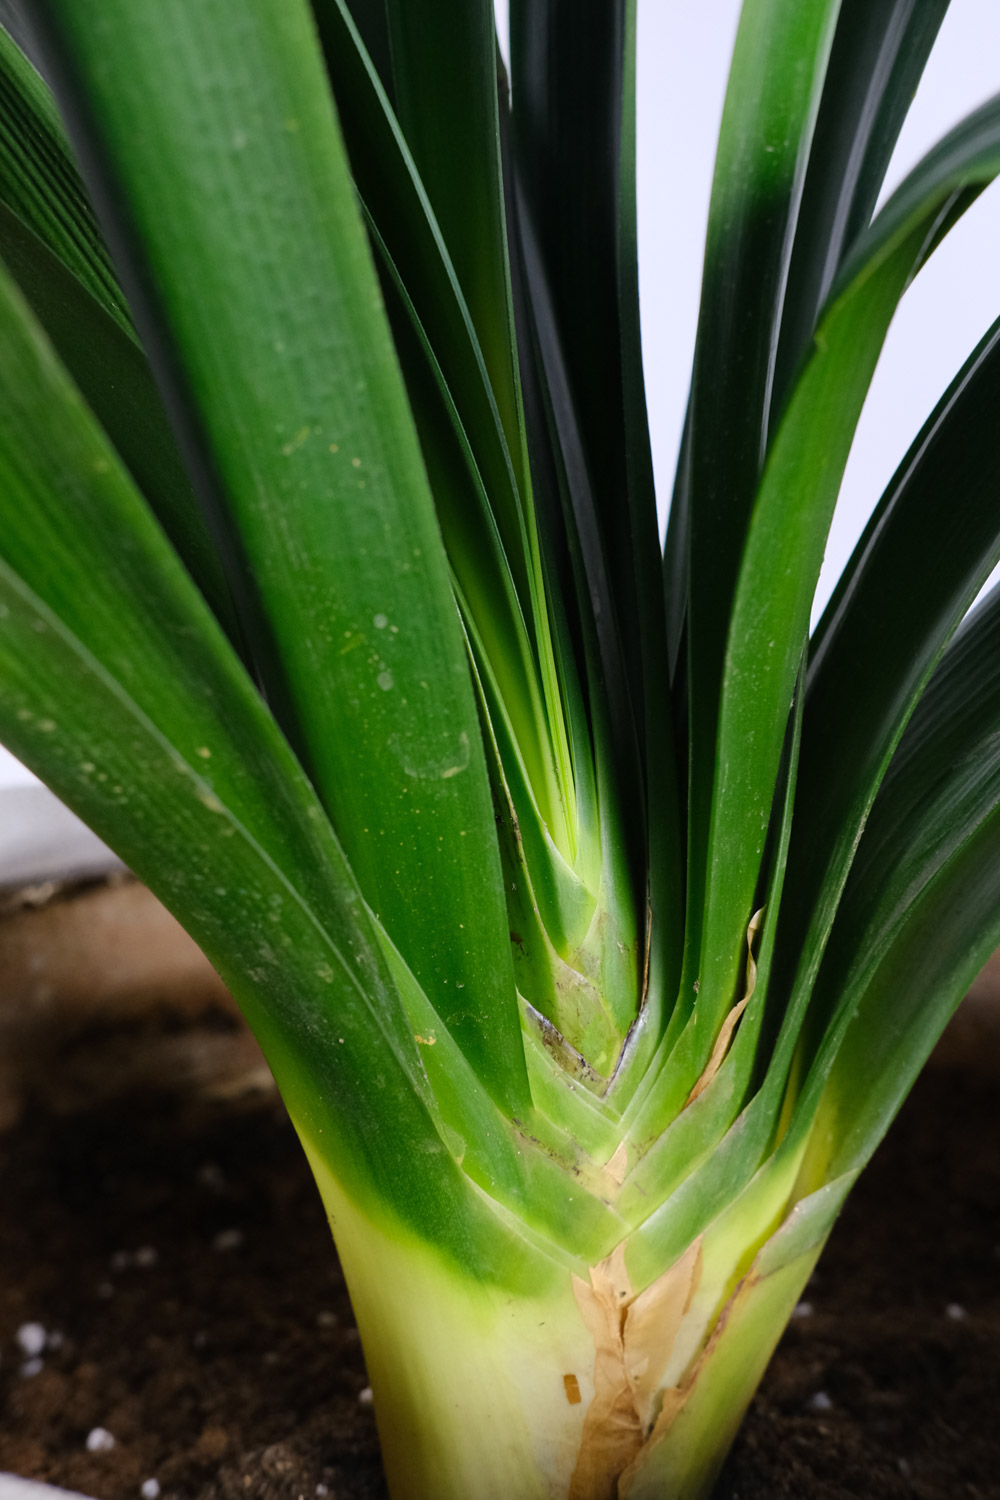
There are many friends who raise orchids around Huahua, but there are few friends who can raise orchids very well. After all, orchids are not easy to raise, but if you can raise an orchid, it can turn into several pots in a minute
Operation steps:
1. Before branching, cut off the water for 10-15 days, so that there is less water in the root system after removing the pot, and it is not easy to break the root in operation. When taking off the pot, first pat around the pot, and then turn it over and pour it out slowly. Remember not to damage the new buds and root tips
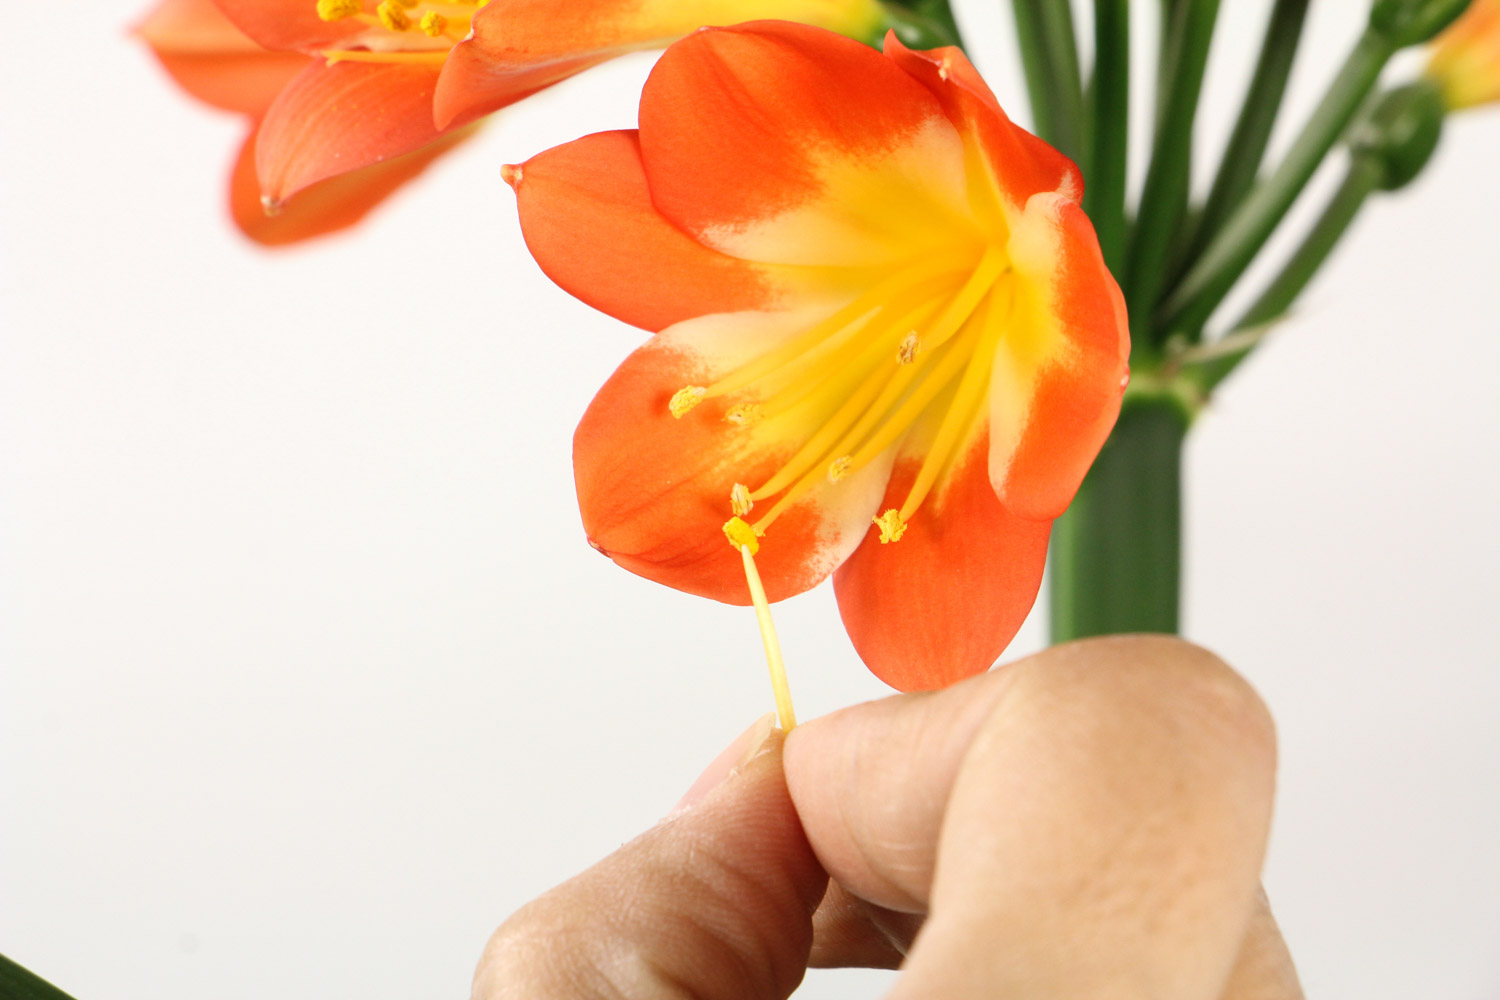
2. After removing the pot, clean the soil on the orchid root system, and then clean it with clean water to comb the root system neatly and expose the root system of white flower
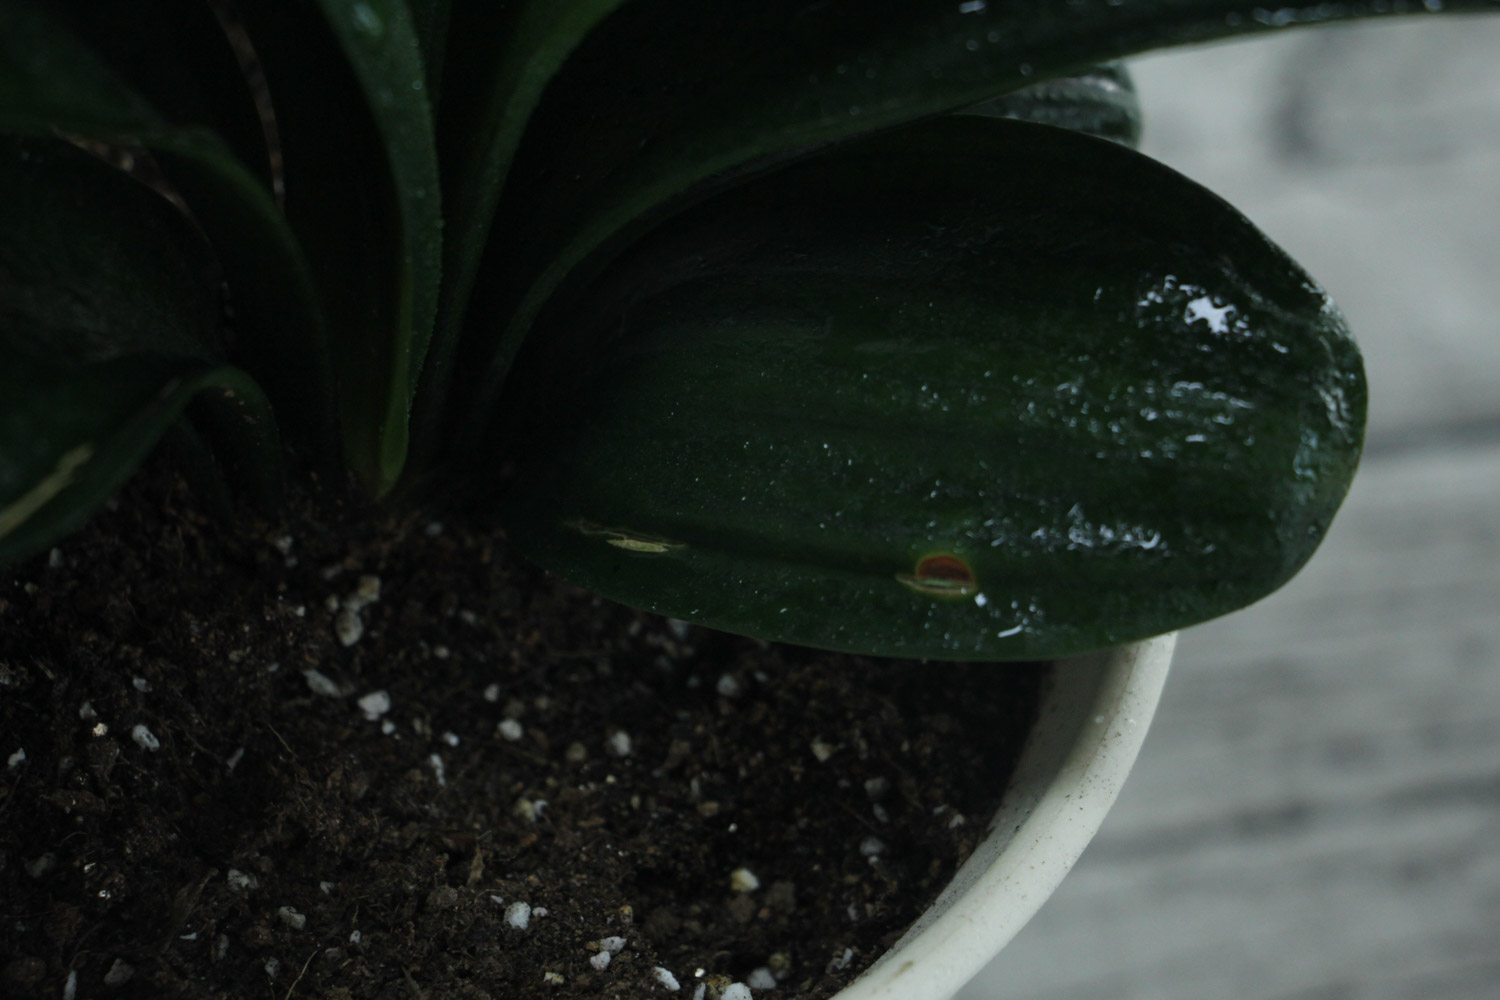
3. Use sterilized scissors to separate the orchids to ensure that each orchid plant has at least one strong root system
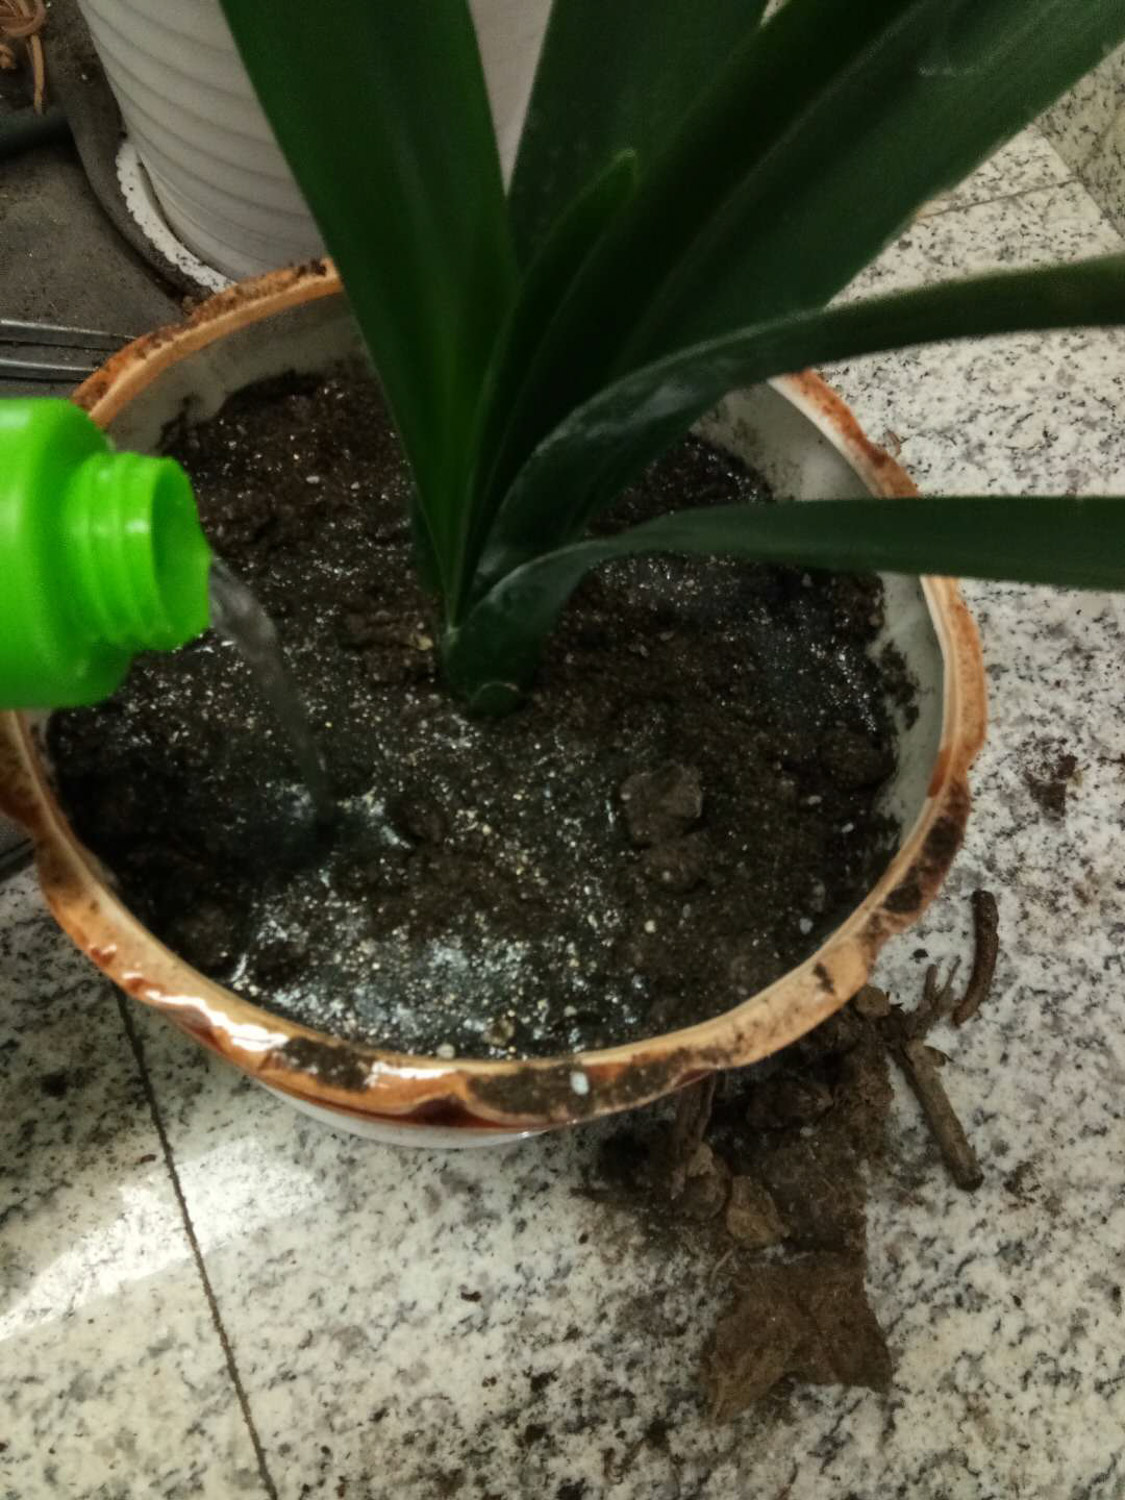
4. After dividing the orchid, soak it in carbendazim solution for more than half an hour to achieve the purpose of sterilization and disinfection. Then take it out and dry the wound in a cool place
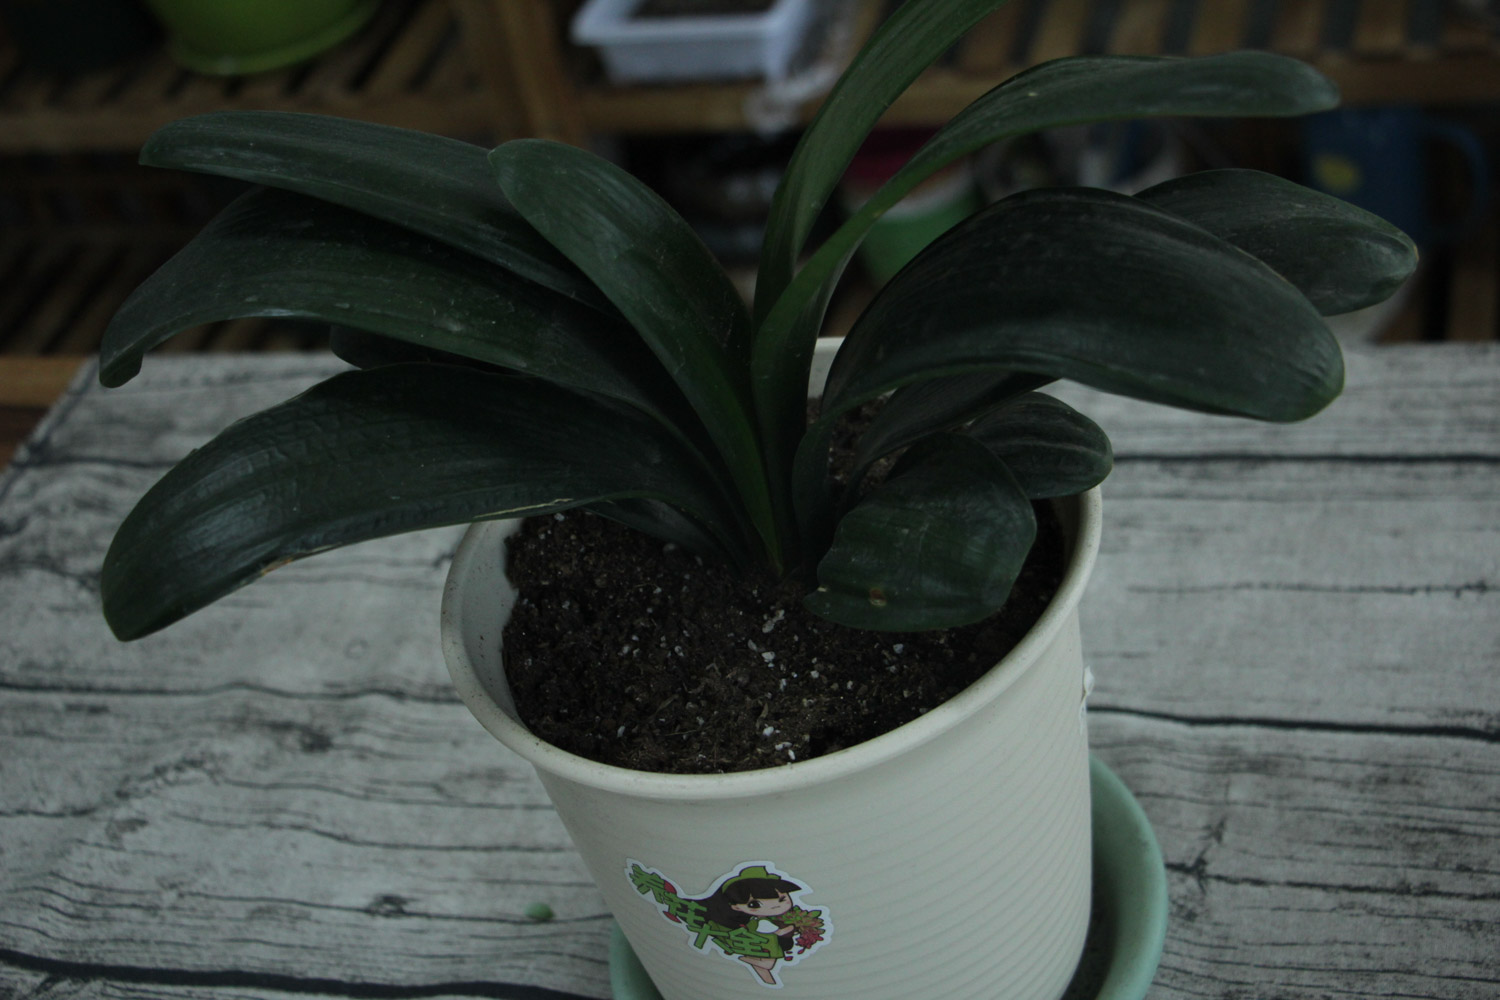
5. After drying the root system, put it in the basin again. The planting materials for raising orchids must be loose and breathable. Ceramsite, bark, cinder, sawdust and so on can all be used. After the orchids are put into the basin, they should be watered once, and then placed in a cool and ventilated place for 1-2 weeks
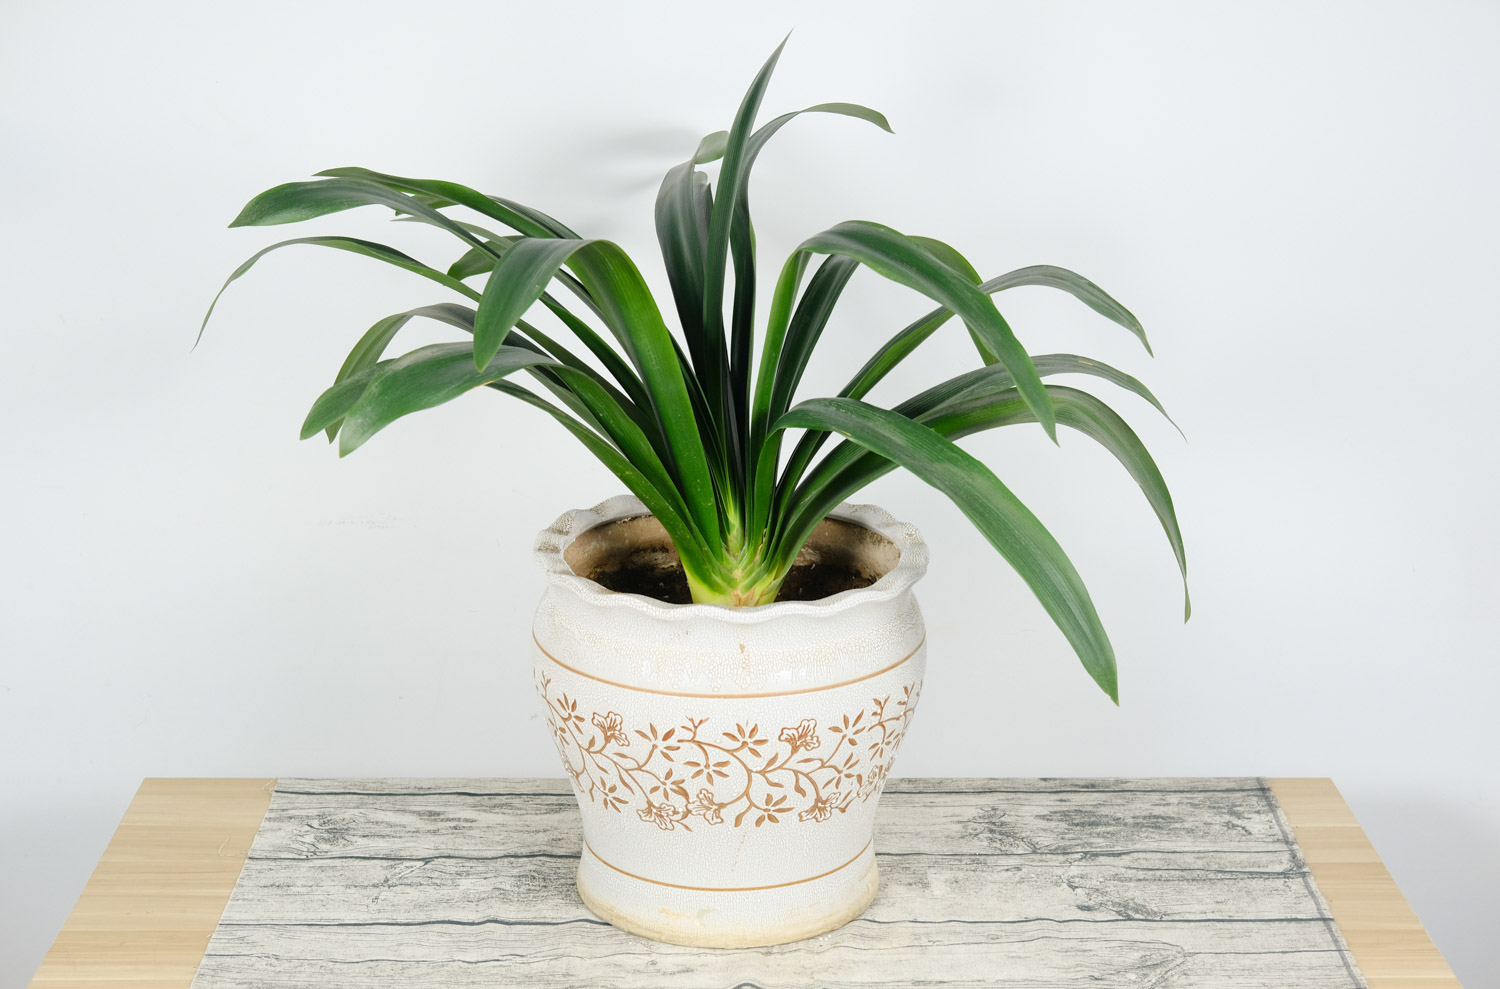
Asparagus
Now many people raise asparagus. If you want to change one asparagus into more than one, you can also use the method of branching to reproduce
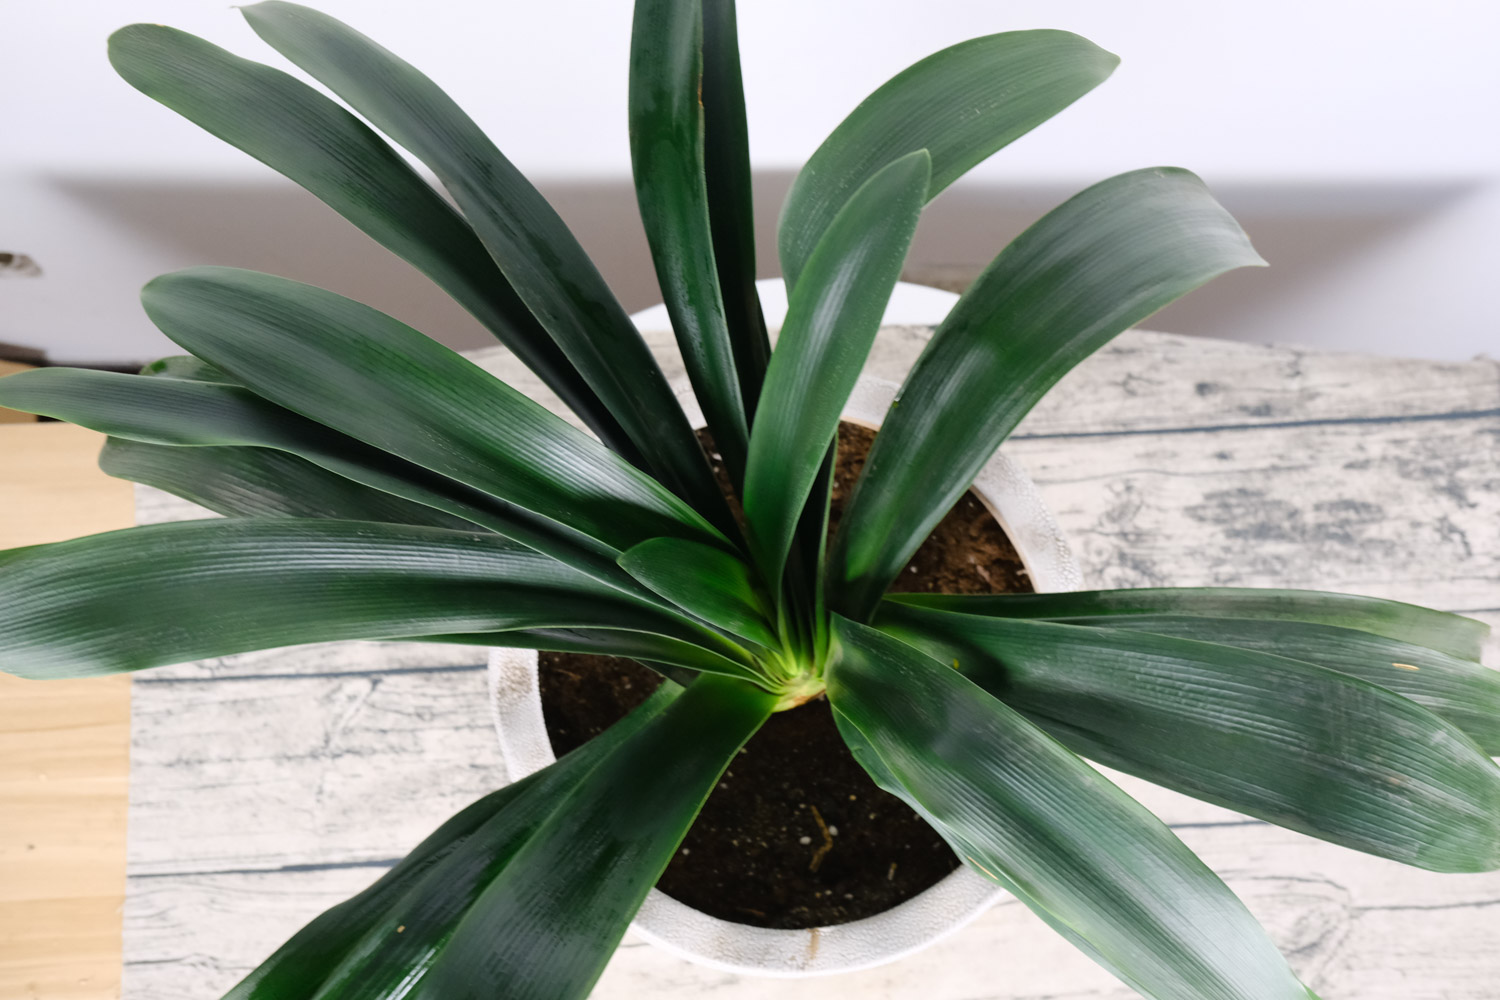
Operation steps:
1. If you want to separate asparagus, you must ensure that the asparagus has a service life of more than 2-3 years. At the same time, there are many new branches sprouting at the root, so that the survival rate after branching is higher
2. First, take off the basin of asparagus, and then gently tap the root of Asparagus with your hand to make the soil on the root fall off. Remember to move gently, otherwise the root will be damaged
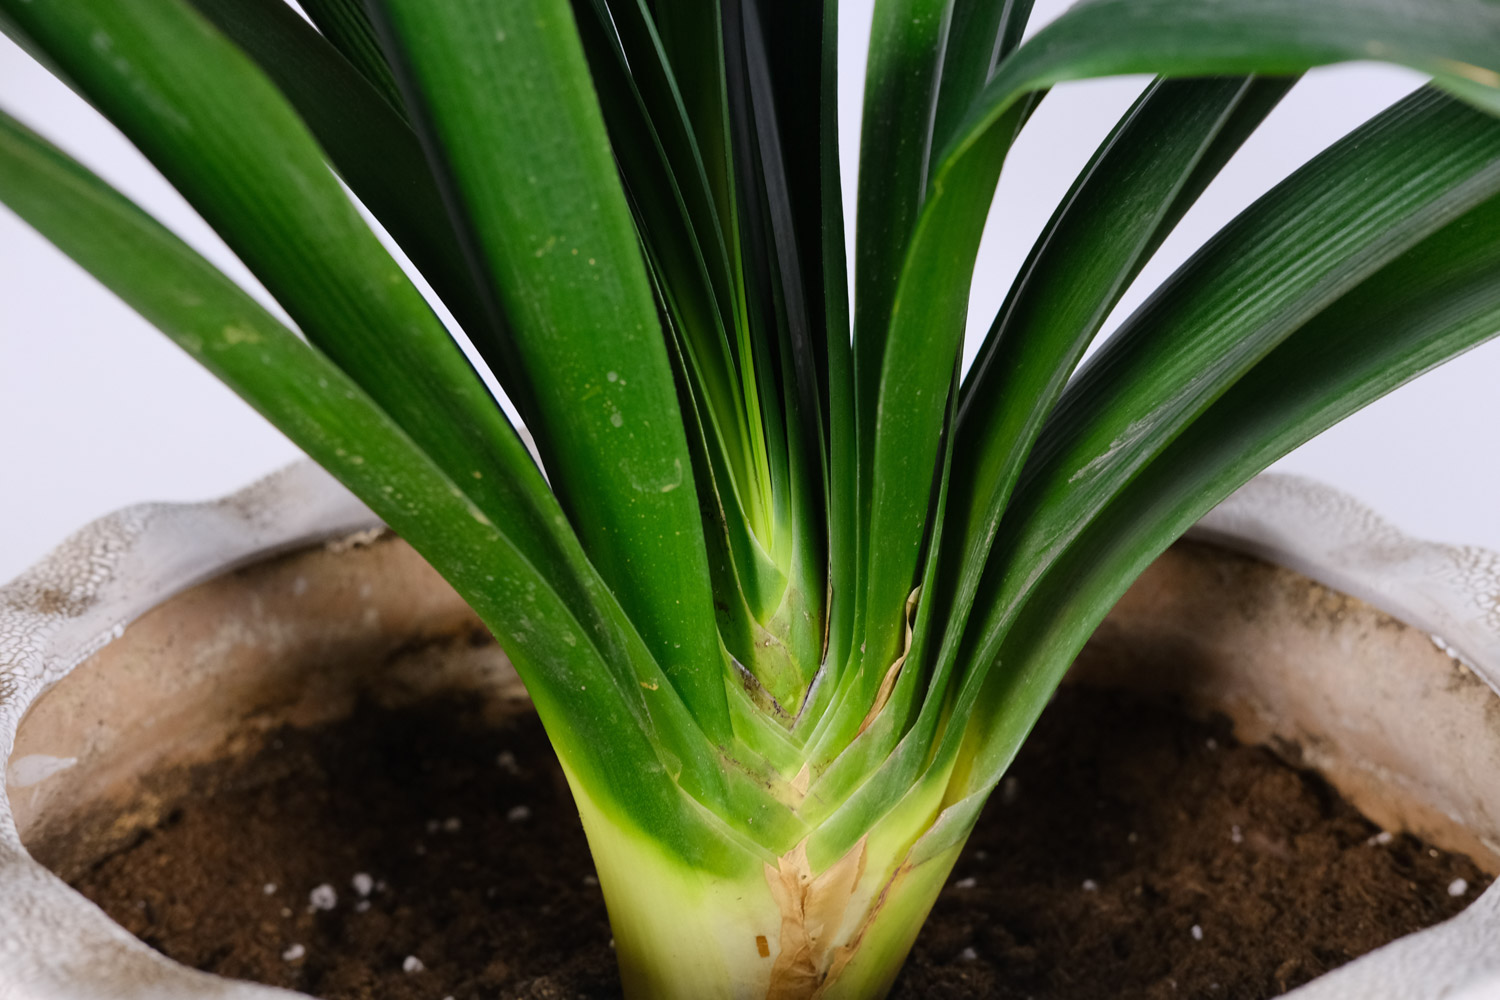
3. Rinse the root with clean water. At this time, we will find that there are many meristematic nodes on the root system of asparagus. Find these nodes and break them gently. Don't force them apart with brute force, otherwise they will damage the root system and won't survive easily
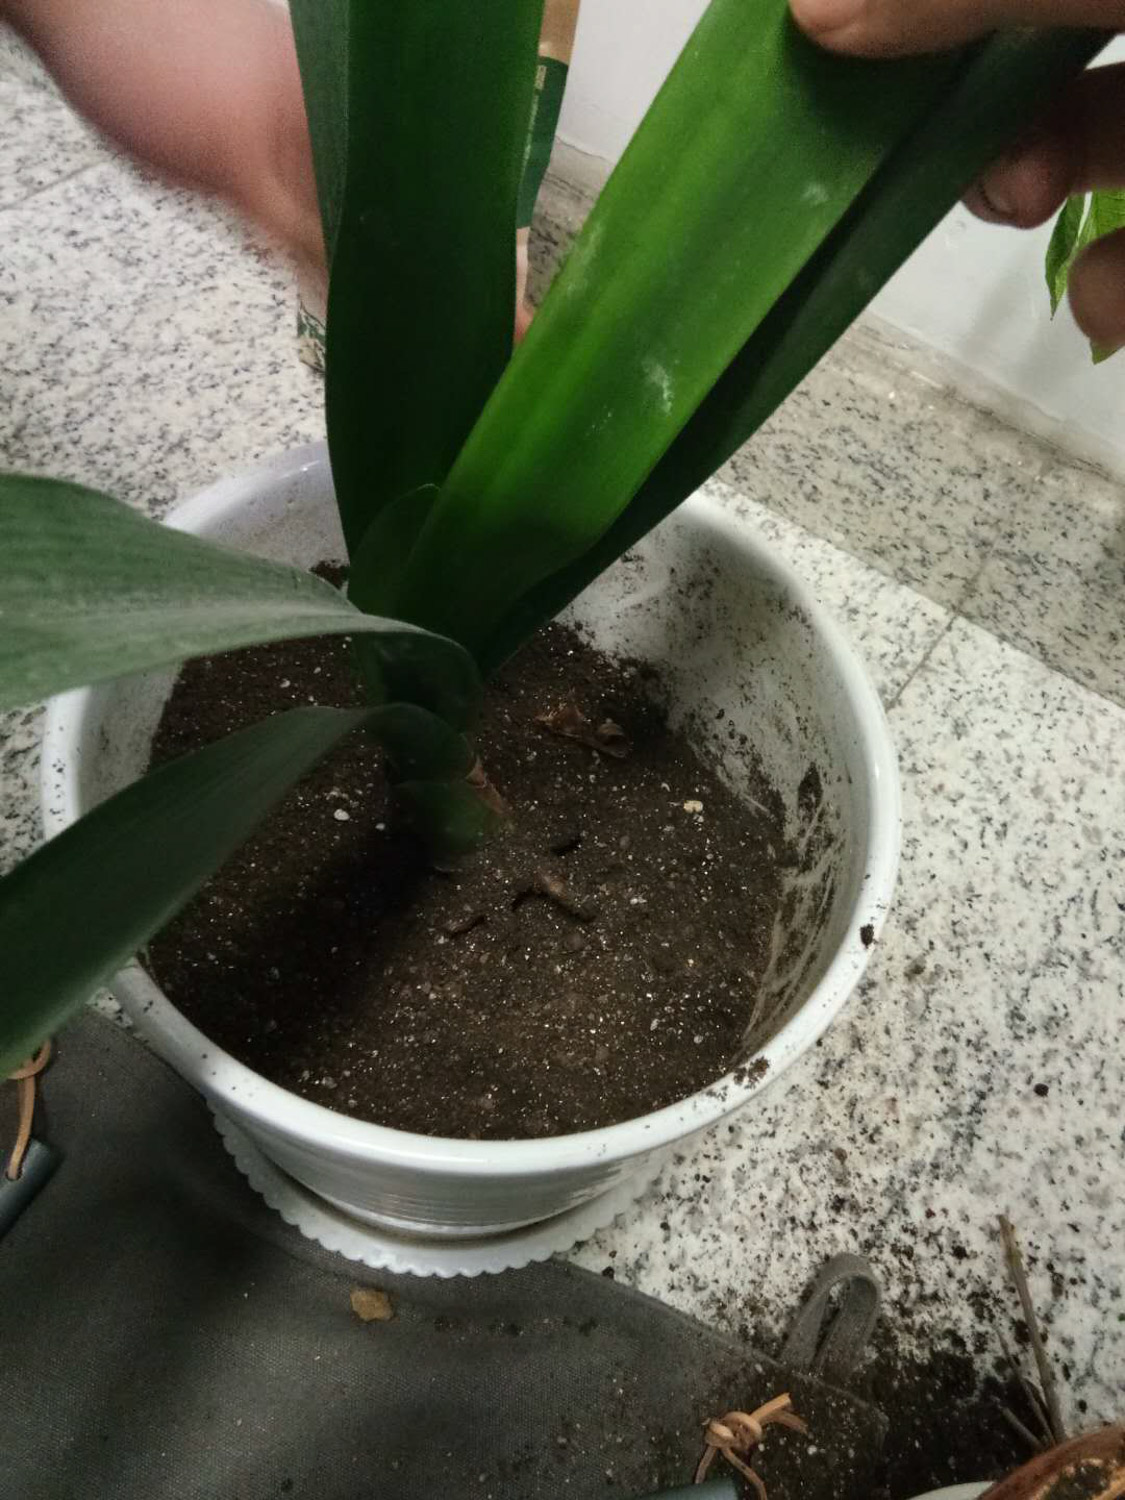
4. Determine how much to divide the plant into. In order to ensure the survival rate of asparagus, it is best to make the root system of each plant stronger. The asparagus used for flowers can be divided into 3-4 pots
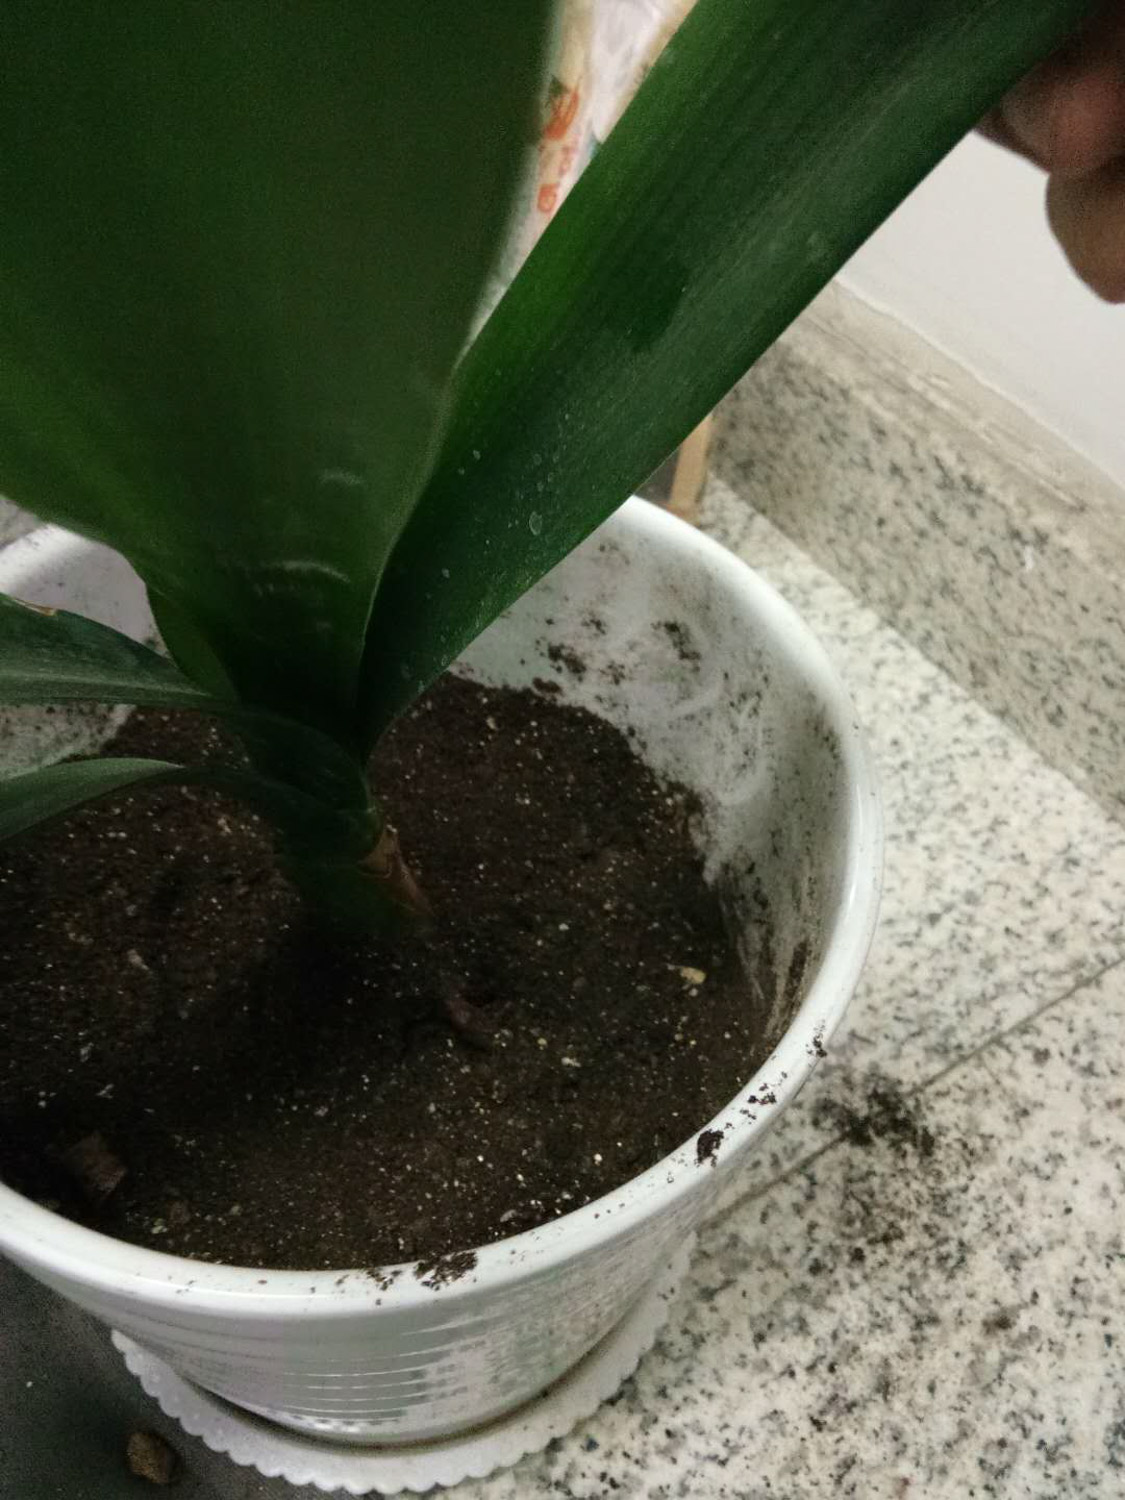
5. Place some soil on the bottom of the pot, and then put the well divided asparagus into it. Hold the asparagus with one hand and fill the soil with the other hand. Note that when dividing, the root system must be evenly distributed in the flower pot, which is conducive to the survival of the root system. In this way, the branching of asparagus will be completed
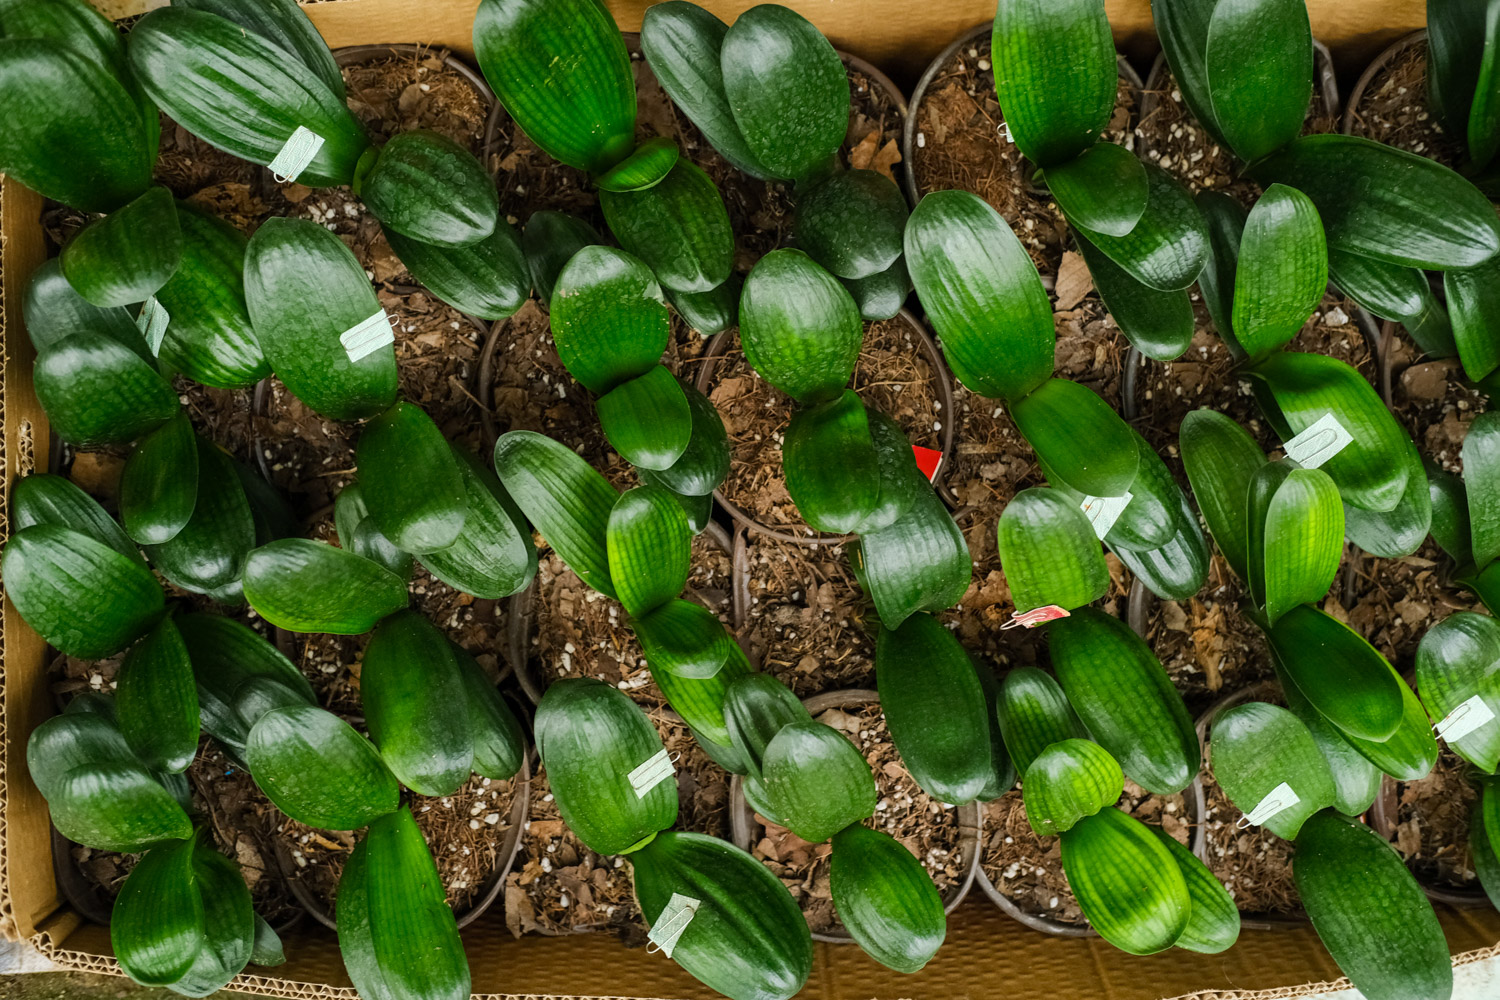
White palm
Many people are still willing to call it plain sailing. After all, this represents the good wishes of many people. Huahua thinks that if the white palms at home can become more pots, does it mean that the next year will be more smooth
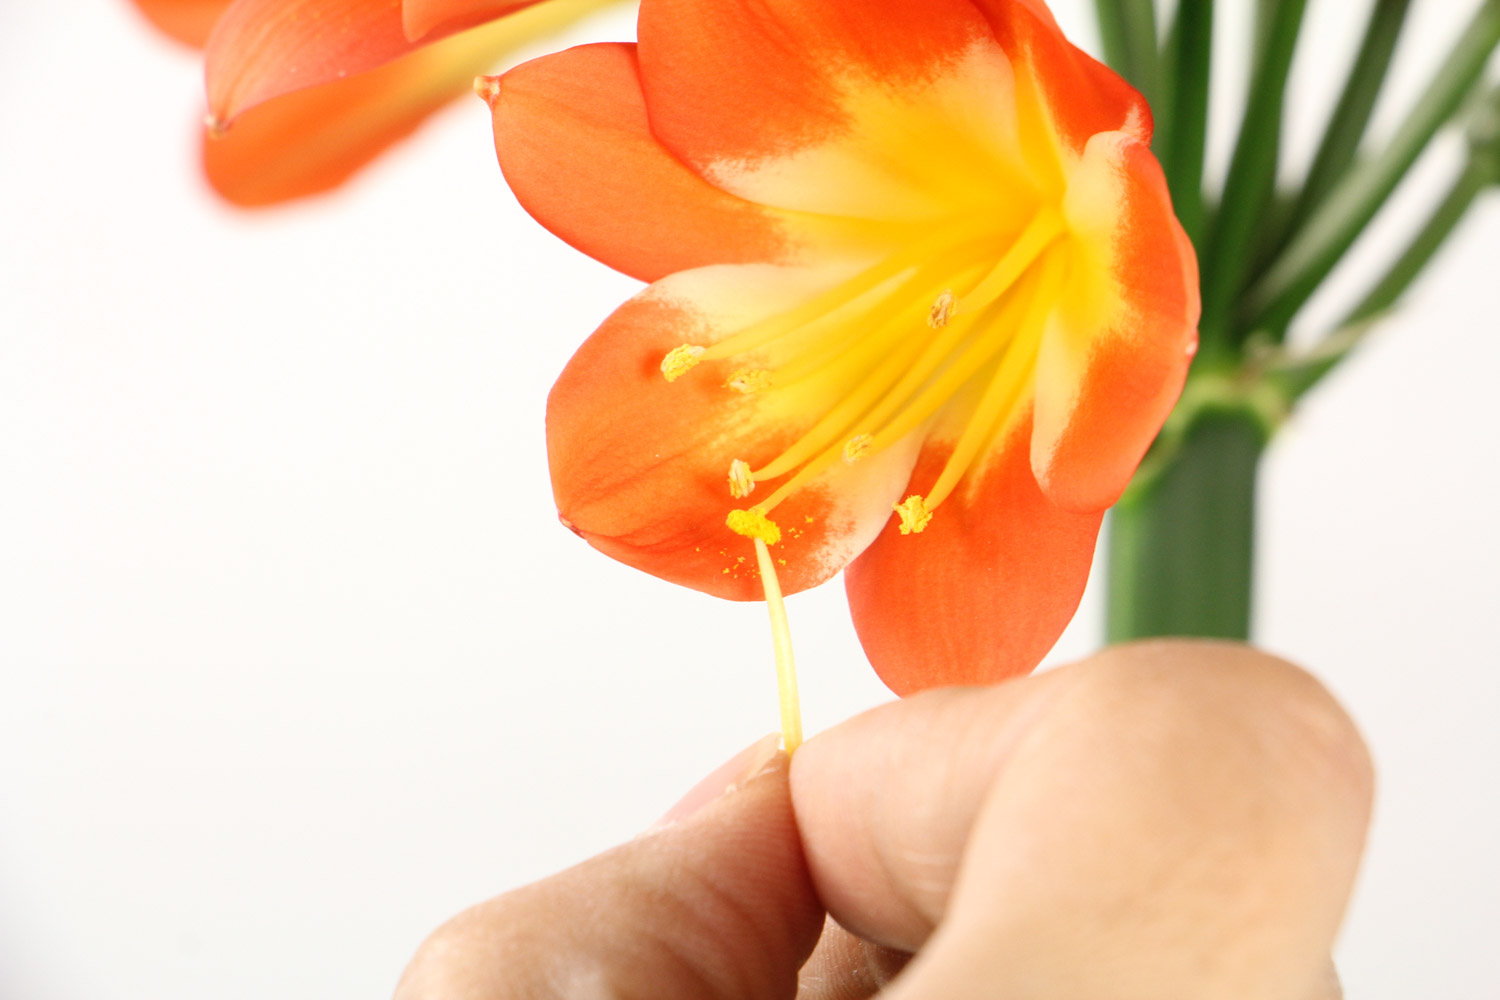
Operation steps:
1. First, remove the pot from the white palm and clean up the soil on the root system. When dealing with the root system, be careful not to damage the root system
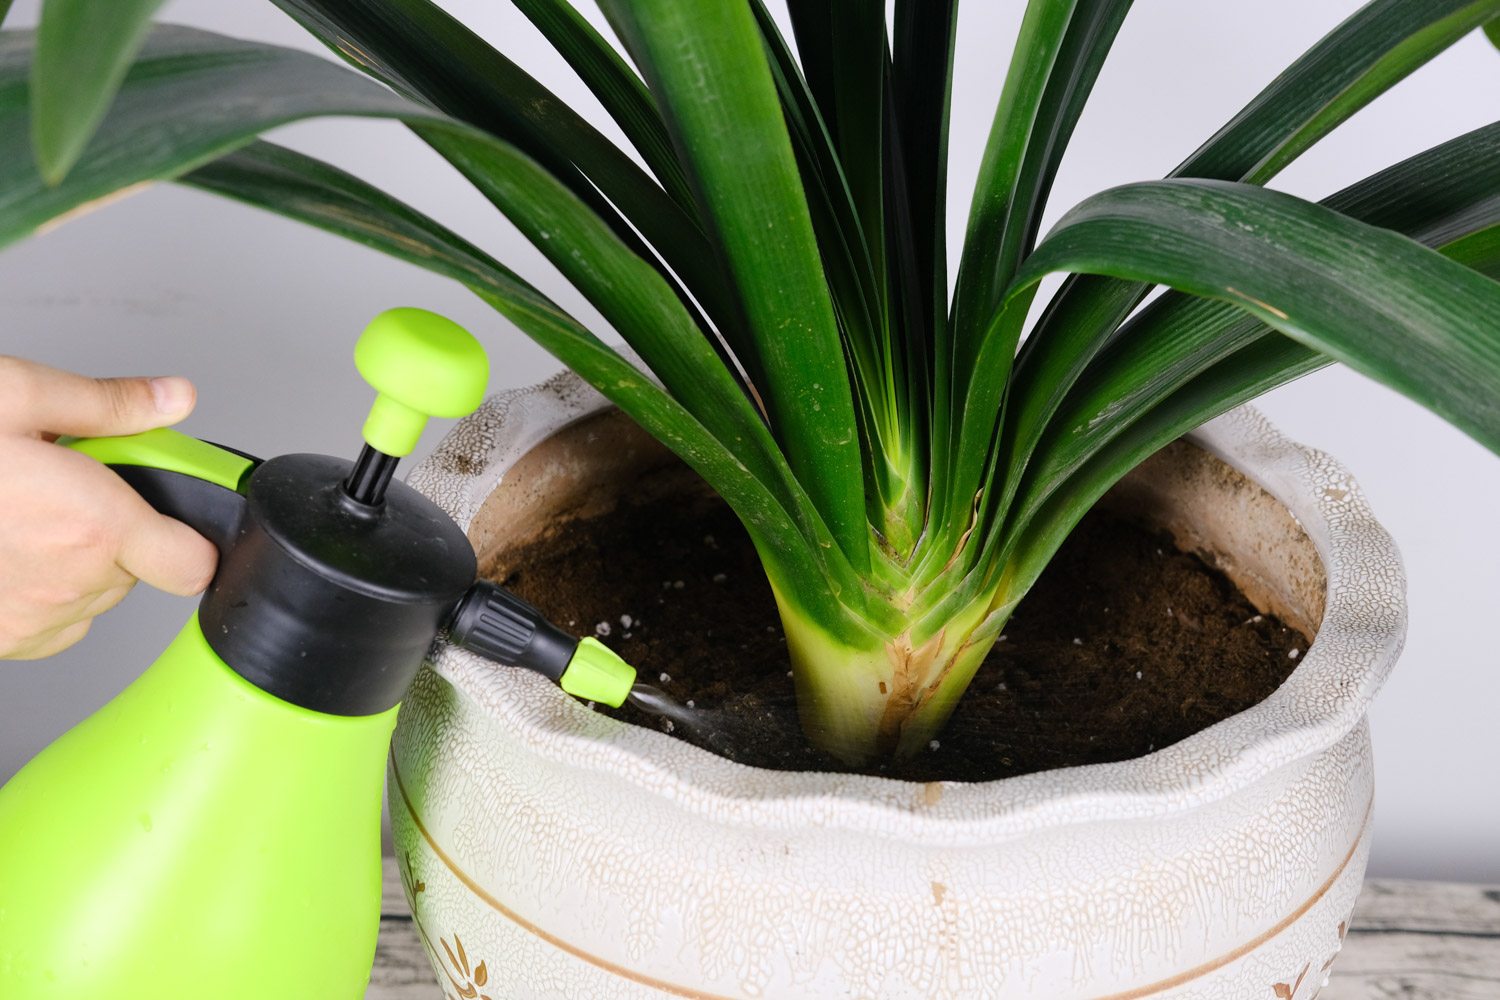
2. Comb the root system, and then divide it directly. When dividing plants, ensure that each separated plant has a strong root system, so as to ensure the survival rate after dividing plants
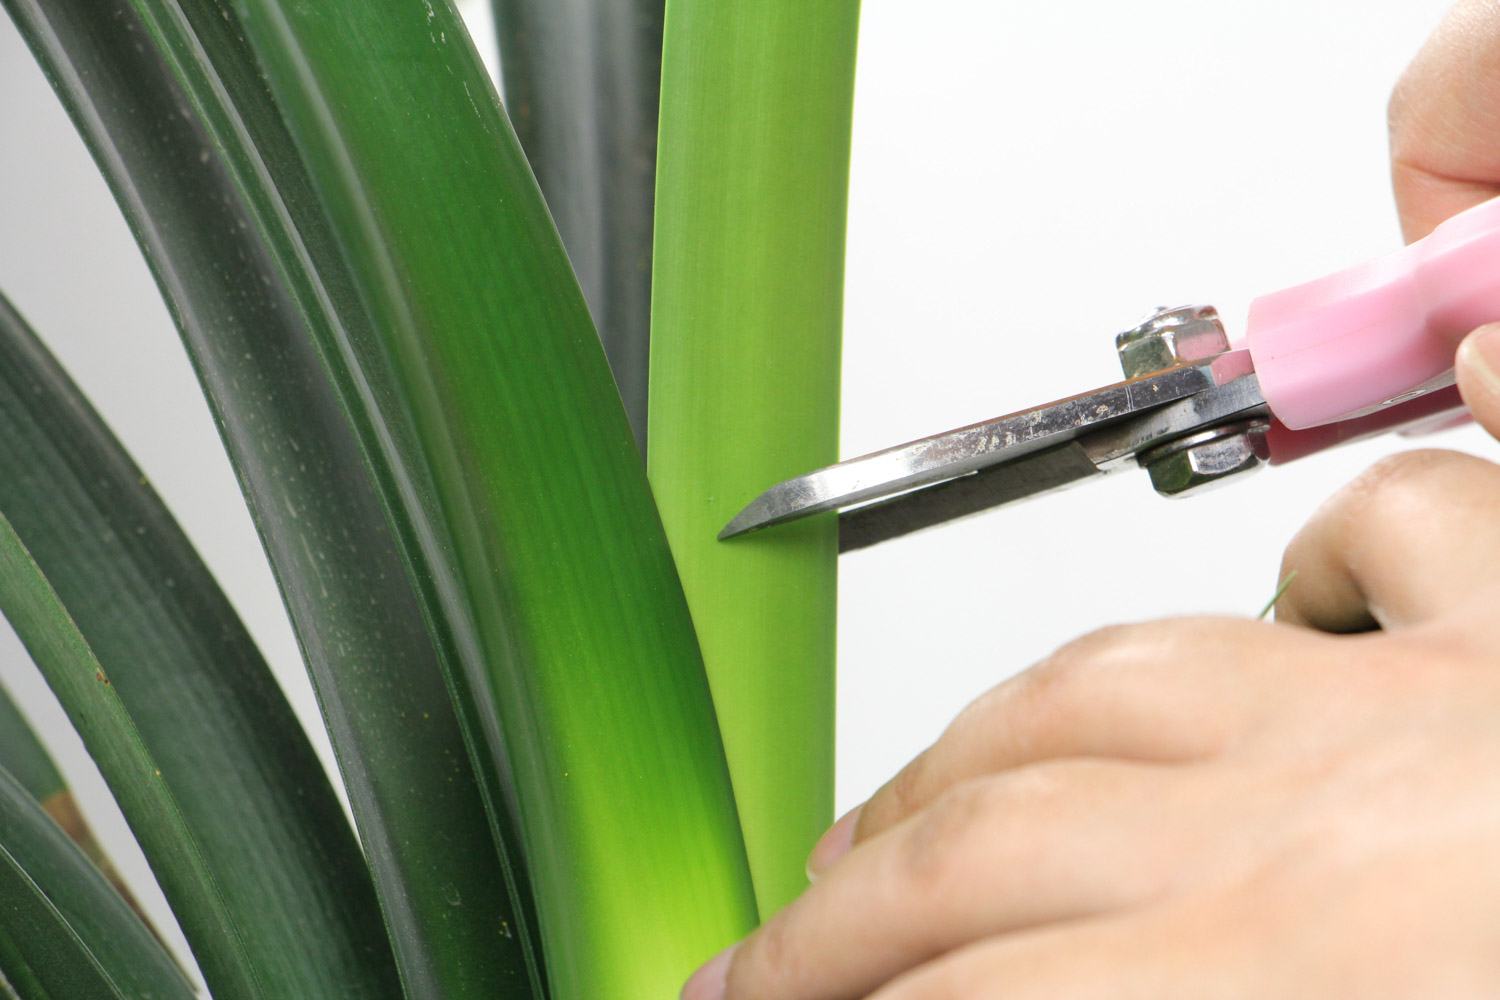
3. After branching, dry the wound in a cool and ventilated place, and then put it in a basin. The basin soil must be loose and breathable. Peat soil and perlite can be configured in the proportion of 2:1
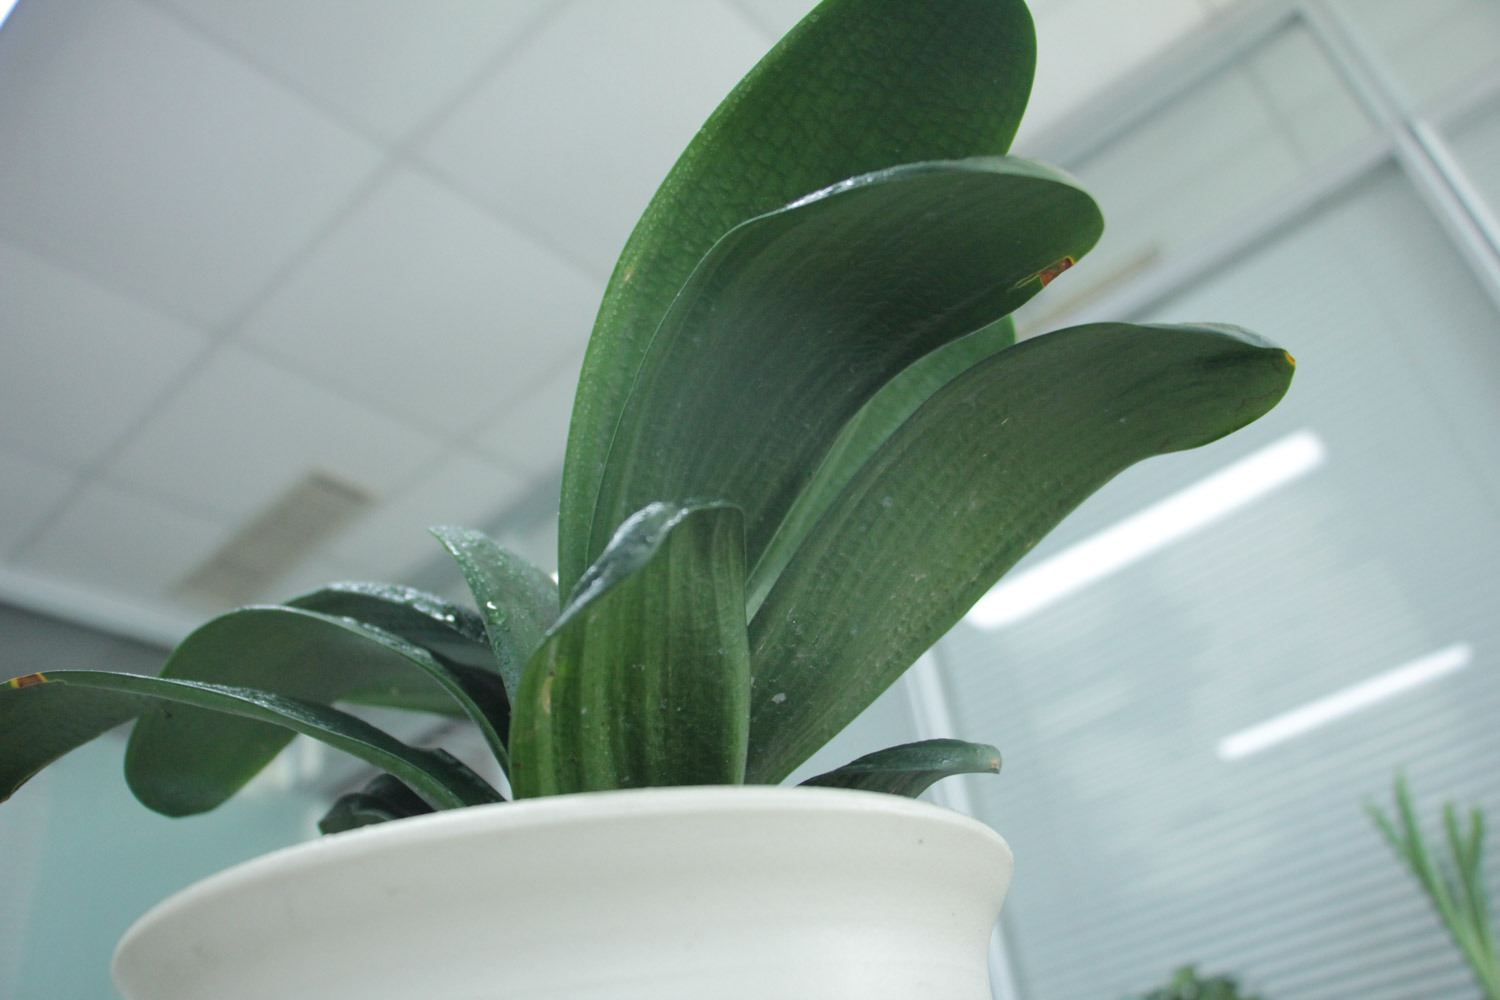
4. The white palm after being put in the basin should be placed in a cool and ventilated place for 1-2 weeks, and then transferred to the scattered light for curing

 how many times do yo...
 how many planted tre...
 how many pine trees ...
 how many pecan trees...
 how many plants comp...
 how many plants can ...
 how many plants and ...
 how many pepper plan...