Bury a plastic bottle in the soil. Fertilization is tasteless and does not need retting
Fertilizing flowers is a troublesome, time-consuming and laborious work. If it is not well applied, it is easy to attract insects and take root. Today, Huahua will teach you an easy and clean fertilization method, and the fertilizer effect is quite good
Operation steps:
1. Find a mineral water bottle. It should not be too long. A small mineral water bottle can be used. It should not be too wide. The diameter should not exceed 1 / 6 of the diameter of the flowerpot
2. As shown in the picture, use sharp scissors to cut off the bottom of the mineral water bottle
3. Bury the mineral water bottle with the bottom removed into the soil of the flowerpot. Note that the mineral water bottle is buried along the edge of the flowerpot. Do not touch the flower root system, otherwise it is easy to hinder the growth of the flower root system and burn the root
4. Open the lid of the mineral water bottle, you can cut the leftover fruit peel and picked rotten vegetable leaves into small pieces, throw them in, and then tighten the lid, so that the rotten vegetable leaves and fruit peel can ferment in it
5. Because of the protection of plastic bottles, it will not directly contact the root system during the process of composting and will not hurt the root system. After the flowers and leaves mature, they can be fully replenished after 2-3 months. And those thrown in later will stay in the upper layer and continue to ferment
6. Using this method to fertilize potted flowers will not only not burn the roots, but also be very clean, will not attract small insects, and will not have peculiar smell. I'm really worried about insects in the bottle. I can spray some insecticides or throw a few carbofuran pills inside
One month without watering, the flowers are still green and watery
Many flower friends are particularly afraid of New Year holidays or business trips, because the flowers at home have not been watered for ten and a half days and months. When they go home, they all dry to death and want to cry without tears! Last year, the old flower farmer told Huahua about an automatic watering method. Last year, he tried it. He went home for the new year for one month. When he came back, the flowers were still green and special

Operation steps:
1. Find a plastic washbasin, a little bigger
2. Prepare several watertight sealed bags or plastic bags, fill the bag with clean water and tie the mouth tightly

3. Put the water loving flowers such as Cyclamen, green rose, white palm and copper coin into the washbasin
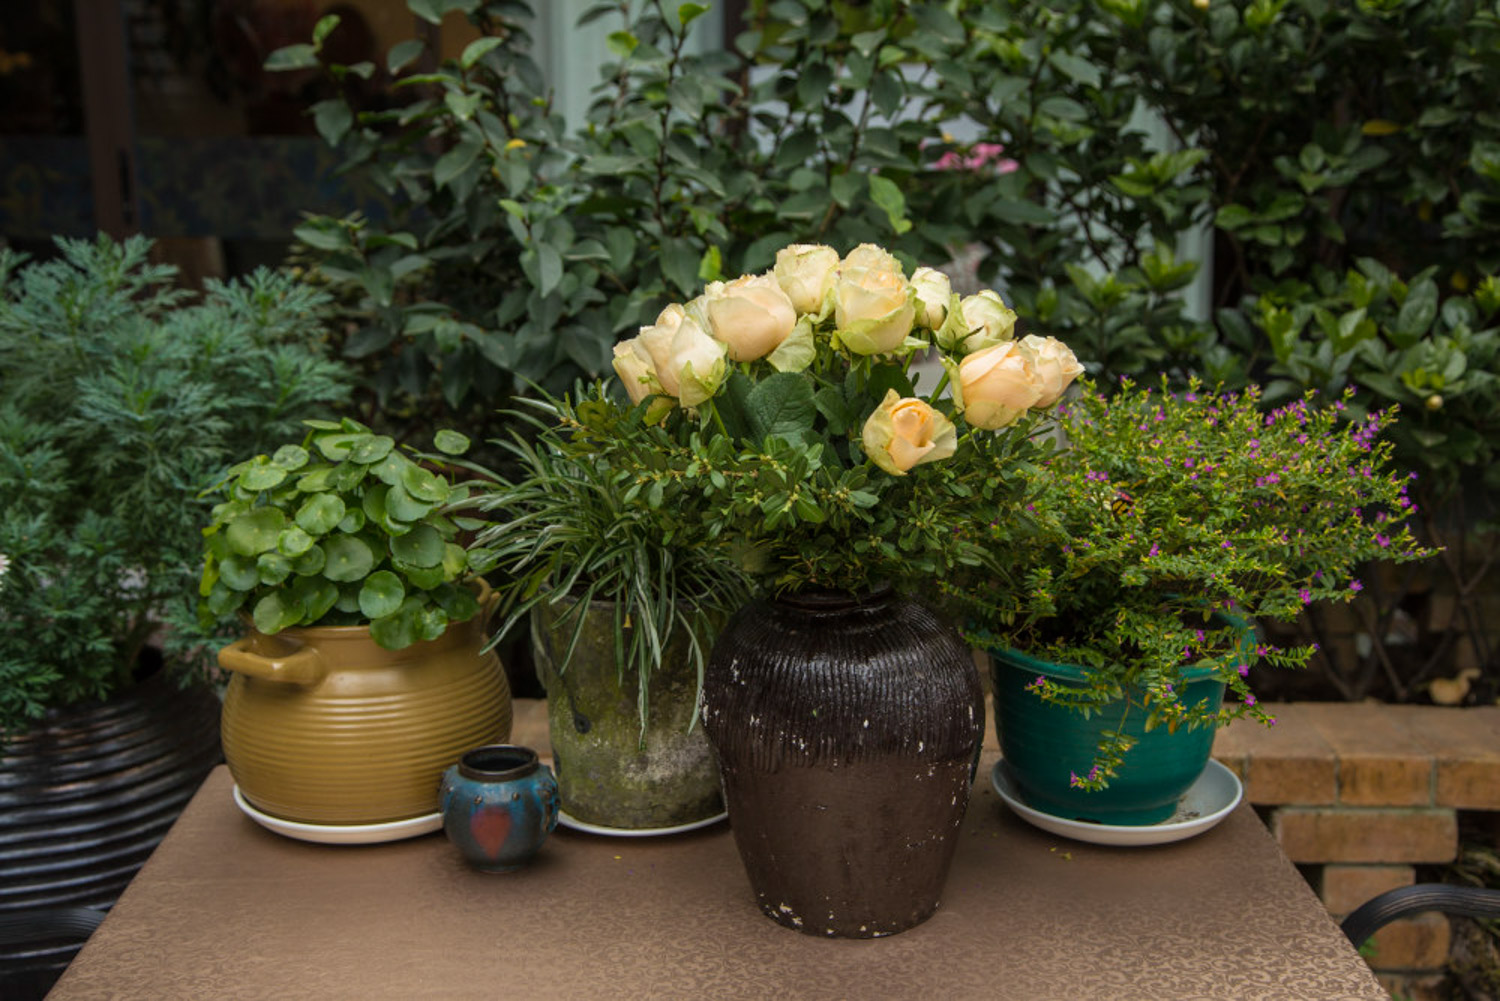
4. Put the plastic bags filled with water into the washbasin. The number of plastic bags filled with water can be adjusted according to the length of time away from home. If you are away from home for only half a month, you can put one. If you are away from home for one month, you can put two, one on each side

5. Use a needle on the plastic bag and gently prick 2-3 holes. The holes should not be too large. Let the water flow out as slowly as possible, not too fast
6. The water flowing through the plastic bag hole will slowly pass through the permeable hole of the flowerpot and penetrate into the bottom of the flowerpot, so that the root system can absorb water for half or even a month. Moreover, because the hole is small and the water flow is slow, there will be no ponding, resulting in root rot
foam box makes the greenhouse, the day is cold, the flower is not frozen! h2>
Recently, it has snowed all over the country and the temperature has dropped. Many flowers of Huayou's family have been frostbitten or even frozen to death. It's heartache! Although the pain, but we must not give up treatment, and then quickly according to the following method, use foam box to build a small greenhouse for the flowers, the day is cold, and not afraid of the flowers freeze! p>
1. When buying seafood, fruits or electrical appliances, there will be foam boxes. Do not throw them away and pick them up completely. If there is no home, you can go to the fruit stand to buy a few. p>
2. To prepare a few circles of wire or lead wire, first compare the width of the foam box, make 2 arcs with wire, and each circle has 1 circles around it. The arc ends are respectively inserted into the 4 corners of the foam box, then the tape is wrapped around a few loops to fix them. p>
3. Cut a section of straight iron wire, pass through the small ring in the middle of the arc iron wire, and then fasten each other
4. Find a piece of plastic film or a large plastic bag, cover it on the wire frame we built, and wrap it with rubber band or tape
5. On both sides of the film, properly open a small gap to facilitate ventilation, and then put the flowers in a small greenhouse, it's OK! If the warmth is not enough, you can also spread some cotton clothes or thin quilt on it. No matter how cold it is, you are not afraid to freeze the flowers
6. Because the materials and conditions of each family are different, let's give full play to the style of the greenhouse according to the materials at hand

10 plastic bottles to grow vegetables for the whole family
Winter dishes are so expensive. I basically go to the vegetable market and go in for one or two hundred. It's really painful! It's better to plant some at home. You can plant vegetables for a winter with only 10 plastic bottles

1. Do not throw away the plastic bottles left over from drinking water and drinks. Collect them with the same size and diameter

2. Pick up the first plastic bottle and cut off the bottom with scissors

3. Turn the plastic bottle with the bottom cut off, tighten the cap, and then use scissors to poke several small holes in the position shown in the figure below

4. Mix peat soil, perlite and vermiculite according to the ratio of 4:1:1, and then put them into the first plastic bottle

5. Put the plastic bottle filled with soil with the cover facing down next to the railing, wall or iron frame, and fix it with tape or rope. Don't let it fall down

6. Continue to cut off the bottom of the eight plastic bottles and fill them with soil. Be careful not to drill water holes

7. Cut off the bottom of the plastic bottle, fill it with soil, take off the cover and stack it together as shown in the figure below

8. Stack the 8 plastic bottles on the first one

9. Fix the plastic bottles just stacked on the railing or wall with tape or rope

10. Take the 10th plastic bottle, keep the bottle cap, and punch several small permeable holes on the bottle cap

11. Cut off the bottom of the 10th plastic bottle and put it upside down on the top plastic bottle

12. Pick up the watering can and slowly pour water into the 10th plastic bottle

13. In this way, the water will gradually penetrate downward through the cap of the 10th plastic bottle

14. The water seeps down layer by layer until the soil of the first plastic bottle is completely soaked

15. Use a wallpaper knife to cut out a small square window in the middle of the first to ninth plastic bottles. Cut the upper, left and right of the small window, and do not cut the lower part

16. Finally, in the middle of each plastic bottle, a small switch device of plastic sheet is formed, which can keep the seedlings, seeds and soil from leaking out

17. Remove the plastic sheet and poke a small hole into the soil with your index finger

18. Plant the vegetable seedlings or seeds you want into small holes and bury them in the soil

19. Except for the 10th plastic bottle on the top layer, which is used to store and water, other bottles are operated like the above figure, planted with vegetables and finished

20. If the food needs watering, pour the water directly into the top plastic bottle. If you don't want to water too often, you can also add 1-2 more water storage plastic bottles on it. If you need fertilizer, just add compound fertilizer directly to the water! Very convenient! Less than 2 months indoors, the dishes are green and can be picked and fried

21. The small vegetable garden made by the above method can also be planted on its own corner or customized wooden frame. It is not only convenient to plant and eat fresh vegetables, but also form a beautiful scenery and add a touch of green to the home

foam cutting method, rooting for minutes! h2>
Although many cutting methods have been introduced before Huahua, many flower friends still complain with Huahua that cutting is so troublesome and difficult to take root! Today Huahua will teach you a super simple cutting method. Rooting is super simple

Picture and creativity: Liu Haoran
1. Prepare a container for water, such as washbasin, tank and water tank. Fill it with water at least 5cm deep

2. Find some foam boxes, cut them into small pieces, and drill 1-2 holes in each middle of 1 centimeters. p>

3. Prepare cutting branches. All flowers such as longevity, Rhododendron, camellia, rose and gardenia are basically OK. The branches should be soaked in carbendazim for 5-10 minutes in advance to disinfect

4. Insert cuttings into the pores of the foam and put the foam on the water surface. p>

5. Put the washbasin in a place with astigmatism and ventilation. Don't worry. If you want to observe whether it takes root, just pick it up and have a look ~

6. After the branches take root, they can be transplanted into the soil for normal maintenance

These very useful flower tricks
Huahua, let's stop here today
Flower friends, if you think these tricks are great
You can share it with more partners who love flowers
Or leave a message in the lower right corner to share your unique flower cultivation skills

 how many times do yo...
 how many planted tre...
 how many pine trees ...
 how many pecan trees...
 how many plants comp...
 how many plants can ...
 how many plants and ...
 how many pepper plan...


