Just one move, Clivia asparagus... One pot becomes more pots, and you don't have to buy flowers anymore!

Author:JamesZ Date:2022-04-02 14:39

I don't think there are enough flowers at home. Do you want to buy a second pot after buying one? Today, Huahua teaches you a little way. You can get a lot of potted flowers without spending a penny. Come and learn quickly!

Clivia

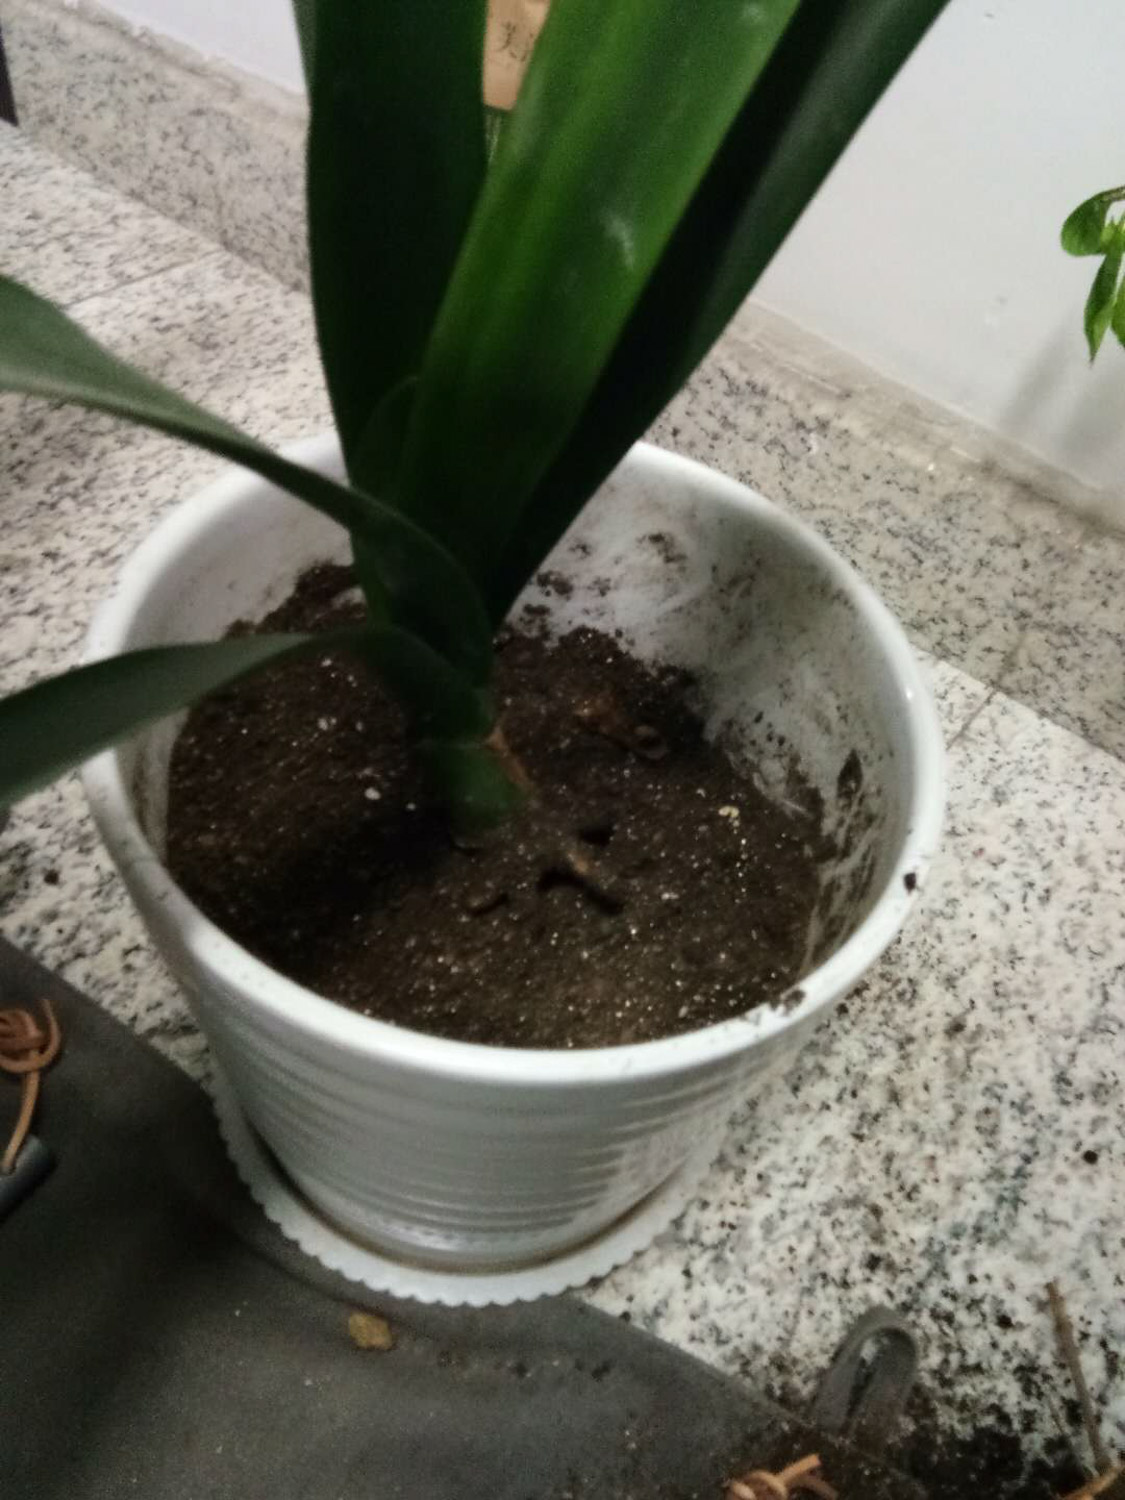
Usually, mature Clivia sprouts new buds at its roots every year. When you change the pots for Clivia in the spring, you can plant these new buds in other pots and take good care of them. It will be a new flower in a few days~
Clivia

Branching method of Clivia:

1. Remove the Clivia from the basin and be careful not to hurt the roots and buds of the Clivia

2. Clean up the soil of the root system and carefully break off the small buds. It is best to take part of the root system, which is conducive to survival

3. Clean up the root system and cut off the diseased and old roots. And apply carbendazim powder on the wound

4. Dry the Clivia in a well ventilated place. At the same time, prepare basin soil suitable for the growth of Clivia, and make basin soil according to the ratio of rotten leaf soil: pine needle soil: river sand = 3:2:1. For rootless buds, increase the proportion of sand. Then plant Clivia in the soil

5. Water until the water can seep through the permeable hole at the bottom of the flowerpot. Place the Clivia in a cool and ventilated place. Be careful not to put it in the sun. After new leaves grow, it can be maintained normally

Lily

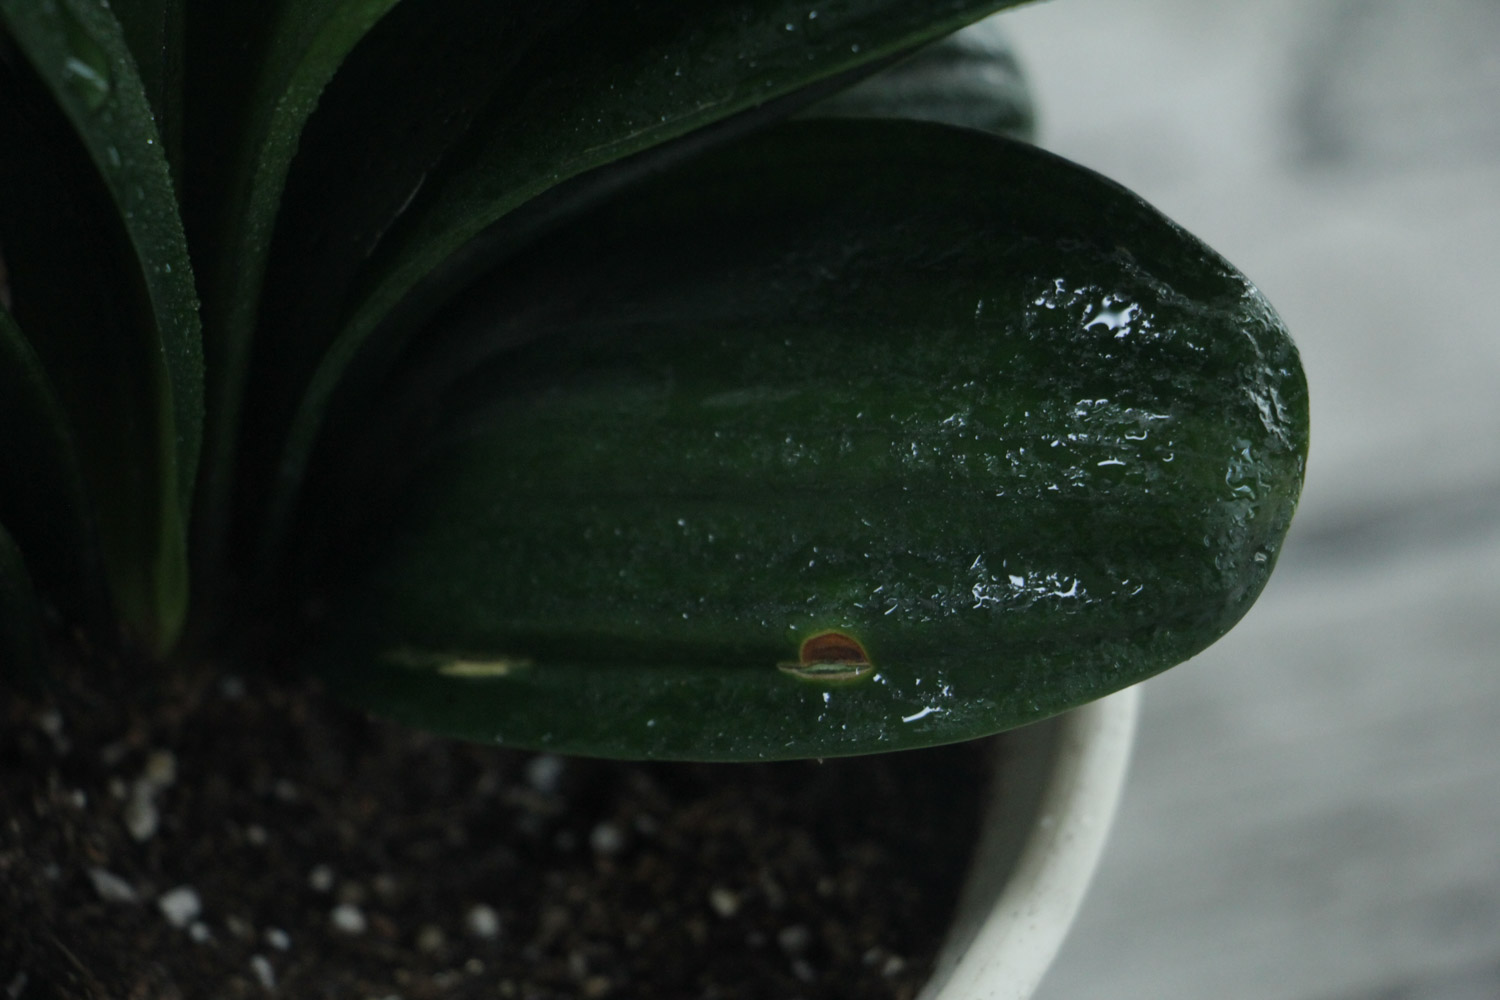
Because lilies are bulbous flowers, there will be a circle of seed balls on the periphery of the old seed balls of lilies. These seed balls are the materials of our ramets
Clivia

Dividing method of Lily:

1. After the lily withers and before the dormancy period, remove the lily from the pot, gently shake off the soil, and rinse the root with clean water

2. Use a sterilized and sharp knife to separate the seed balls. It is best to take some roots on each seed ball in order to survive in the later stage

3. Put the seed ball to be divided into strains into carbendazim solution (carbendazim: water = 1:2000) for disinfection for 20 ~ 30 minutes. After disinfection, the seed balls are dried and stored in sand. Fertile and loose soil should be selected for basin loading. The soil can be configured according to the proportion of peat soil: river sand: sawdust = 6:3:1, and some slow-release fertilizer can be added at the bottom of the soil as the base fertilizer

4. Put in the seed ball and cover the soil. If conditions permit, flower friends can apply some base fertilizer, water it and put it in a cool and ventilated place. New buds will appear in about 3 or 4 weeks. During this time, keep the soil slightly moist

Asparagus

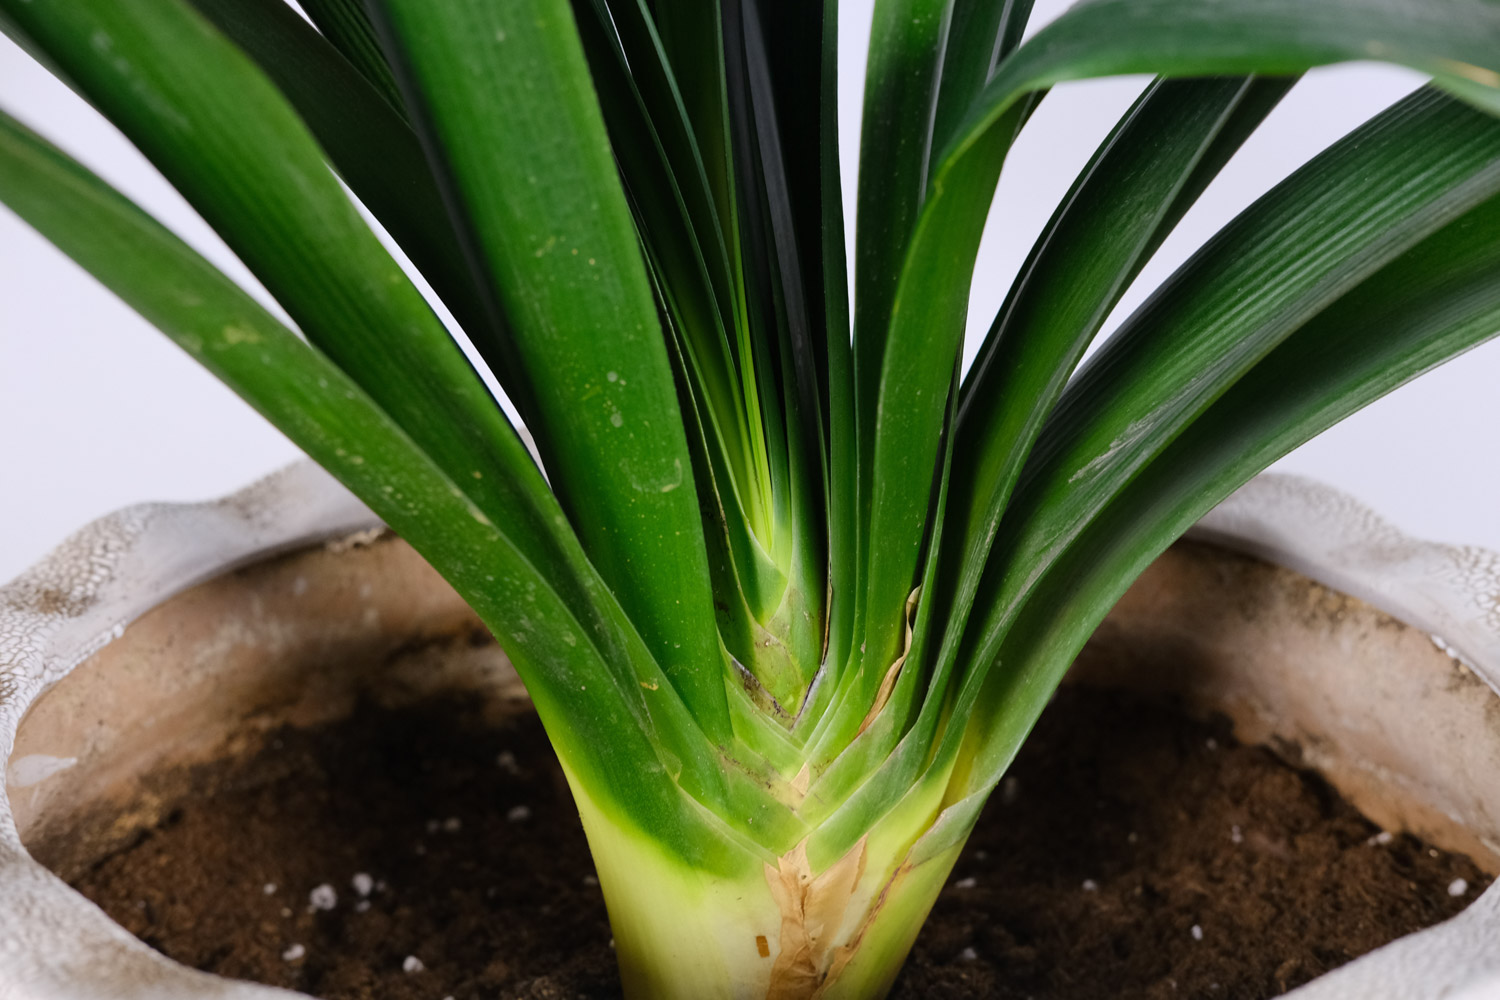
Asparagus will continue to grow new plants as it grows. If the original pot cannot fit, it is necessary to change the pot or separate plants, otherwise it is not conducive to the growth of asparagus, and may cause problems such as rotten roots and yellow leaves
Clivia

Branching method of asparagus:

1. Carefully clean out the soil in the flowerpot, be careful not to hurt the root system, and finally take out the whole plant. Gently tap the root with your hand to remove the soil. The action should be gentle. Finally, rinse it with water

2. Find the node of root meristem and break it gently. If you can't break it, you may have found the wrong place. Don't break it with brute force, but find the node again. Be careful not to choose too small asparagus

3. Sprinkle some charcoal powder or soot on the wound, and then put it in a cool and ventilated place to dry. After the root is dried, it can be put into the basin again

4. The bottom of the pot can be paved to prevent rotten seeds. A layer of soil is placed on the ceramsite, which can be mixed with organic fertilizer as base fertilizer. Note that asparagus likes loose and fertile soil, and the basin soil can be configured according to the ratio of rotten leaf soil: coarse sand = 7:3

5. After putting in the asparagus, shake the plant gently, fill in the basin soil prepared in advance, and finally gently compact the basin soil by hand. Pay attention to watering thoroughly when watering. Then put the asparagus in a cool and ventilated place for about 7 days

Chlorophytum

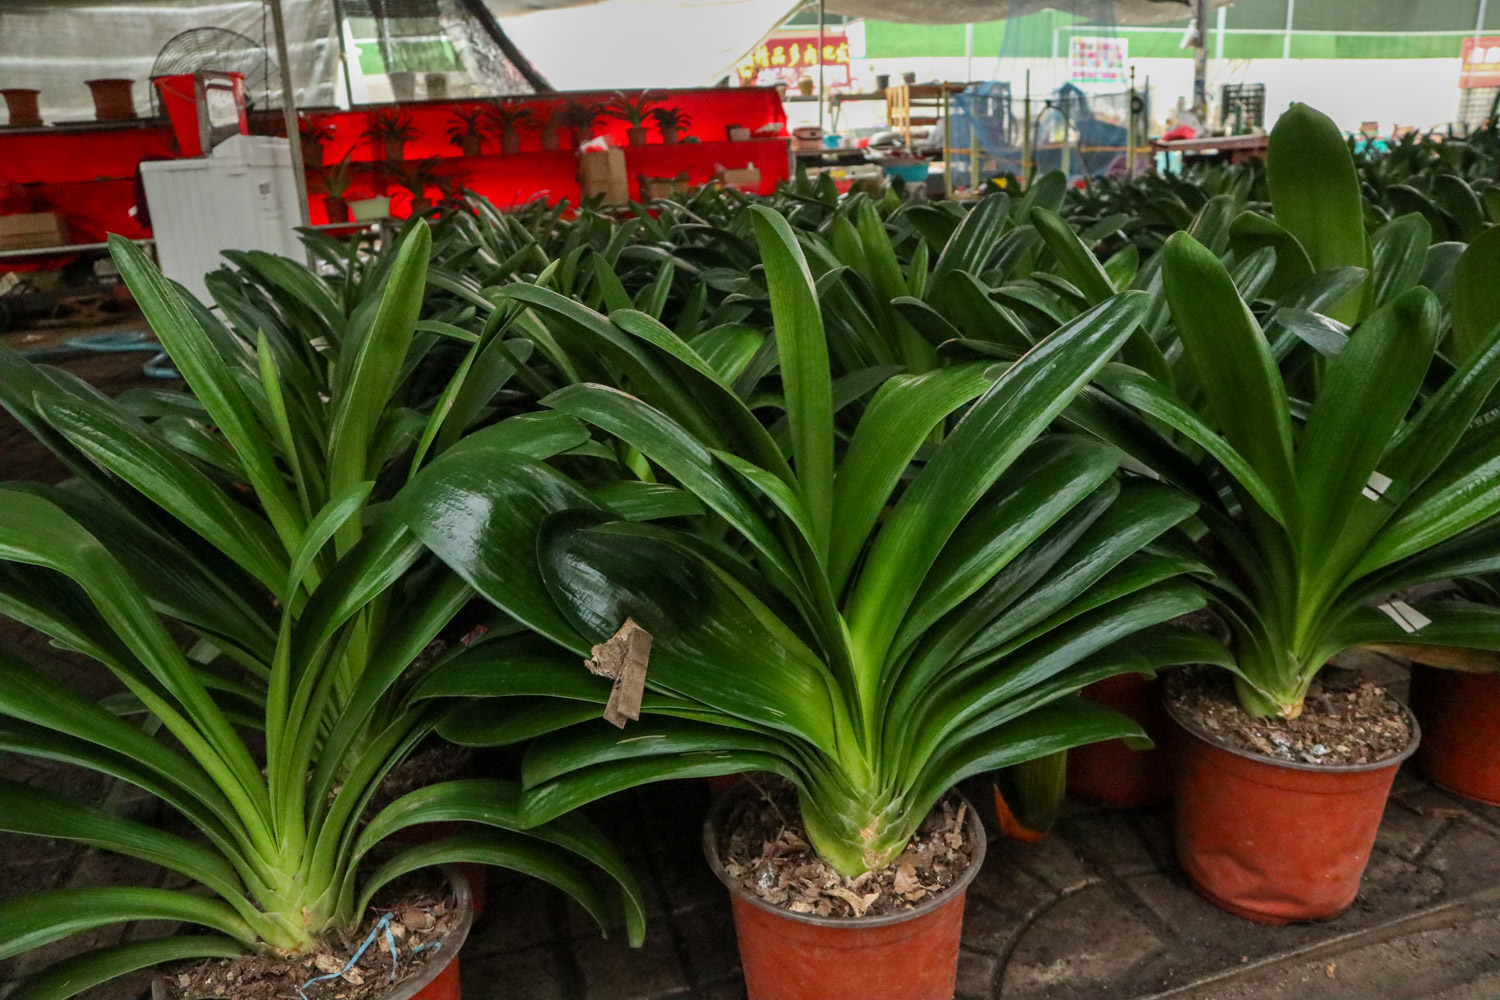
In the process of growth, Chlorophytum will branch out and grow small Chlorophytum. We can use these small Chlorophytum to ramet
Clivia

Branching method of Chlorophytum:

1. Find the newly born small Chlorophytum and cut it off

2. Select a flowerpot with a large permeable hole, put newspapers and tiles on the bottom to cover the permeable hole, and put a layer of ceramsite on the bottom as a drainage layer

3. Bury the small Chlorophytum in loose and fertile soil. It doesn't need to be buried too deep. It can be 1-2 cm and watered thoroughly

4. Put the planted Chlorophytum in a cool and ventilated place, and it can be maintained normally after about a week

Have you learned how to divide plants

Give it a try

© Copyright Theflowerwiki.Com. All Rights Reserved. Sitemap DMCA Privacy Policy Novelhall Youbrief
Top

Just one move, Clivia asparagus... One pot becomes more pots, and you don't have to buy flowers anymore!

JamesZ
2022-04-02 14:39
Description I don't think there are enough flowers at home. Do you want to buy a second pot after buying one? Today, Huahua teaches you a little way. You can get a lot of potted flowers without spending a penny. Come and learn quickly!

Clivia

Usually, mature Clivia sprouts new buds at its roots every year. When you change the pots for Clivia in the spring, you can plant these new buds in other pots and take good care of them. It will be a new flower in a few days~

Clivia

Branching method of Clivia:

1. Remove the Clivia from the basin and be careful not to hurt the roots and buds of the Clivia

2. Clean up the soil of the root system and carefully break off the small buds. It is best to take part of the root system, which is conducive to survival

3. Clean up the root system and cut off the diseased and old roots. And apply carbendazim powder on the wound

4. Dry the Clivia in a well ventilated place. At the same time, prepare basin soil suitable for the growth of Clivia, and make basin soil according to the ratio of rotten leaf soil: pine needle soil: river sand = 3:2:1. For rootless buds, increase the proportion of sand. Then plant Clivia in the soil

5. Water until the water can seep through the permeable hole at the bottom of the flowerpot. Place the Clivia in a cool and ventilated place. Be careful not to put it in the sun. After new leaves grow, it can be maintained normally

Lily

Because lilies are bulbous flowers, there will be a circle of seed balls on the periphery of the old seed balls of lilies. These seed balls are the materials of our ramets

Clivia

Dividing method of Lily:

1. After the lily withers and before the dormancy period, remove the lily from the pot, gently shake off the soil, and rinse the root with clean water

2. Use a sterilized and sharp knife to separate the seed balls. It is best to take some roots on each seed ball in order to survive in the later stage

3. Put the seed ball to be divided into strains into carbendazim solution (carbendazim: water = 1:2000) for disinfection for 20 ~ 30 minutes. After disinfection, the seed balls are dried and stored in sand. Fertile and loose soil should be selected for basin loading. The soil can be configured according to the proportion of peat soil: river sand: sawdust = 6:3:1, and some slow-release fertilizer can be added at the bottom of the soil as the base fertilizer

4. Put in the seed ball and cover the soil. If conditions permit, flower friends can apply some base fertilizer, water it and put it in a cool and ventilated place. New buds will appear in about 3 or 4 weeks. During this time, keep the soil slightly moist

Asparagus

Asparagus will continue to grow new plants as it grows. If the original pot cannot fit, it is necessary to change the pot or separate plants, otherwise it is not conducive to the growth of asparagus, and may cause problems such as rotten roots and yellow leaves

Clivia

Branching method of asparagus:

1. Carefully clean out the soil in the flowerpot, be careful not to hurt the root system, and finally take out the whole plant. Gently tap the root with your hand to remove the soil. The action should be gentle. Finally, rinse it with water

2. Find the node of root meristem and break it gently. If you can't break it, you may have found the wrong place. Don't break it with brute force, but find the node again. Be careful not to choose too small asparagus

3. Sprinkle some charcoal powder or soot on the wound, and then put it in a cool and ventilated place to dry. After the root is dried, it can be put into the basin again

4. The bottom of the pot can be paved to prevent rotten seeds. A layer of soil is placed on the ceramsite, which can be mixed with organic fertilizer as base fertilizer. Note that asparagus likes loose and fertile soil, and the basin soil can be configured according to the ratio of rotten leaf soil: coarse sand = 7:3

5. After putting in the asparagus, shake the plant gently, fill in the basin soil prepared in advance, and finally gently compact the basin soil by hand. Pay attention to watering thoroughly when watering. Then put the asparagus in a cool and ventilated place for about 7 days

Chlorophytum

In the process of growth, Chlorophytum will branch out and grow small Chlorophytum. We can use these small Chlorophytum to ramet

Clivia

Branching method of Chlorophytum:

1. Find the newly born small Chlorophytum and cut it off

2. Select a flowerpot with a large permeable hole, put newspapers and tiles on the bottom to cover the permeable hole, and put a layer of ceramsite on the bottom as a drainage layer

3. Bury the small Chlorophytum in loose and fertile soil. It doesn't need to be buried too deep. It can be 1-2 cm and watered thoroughly

4. Put the planted Chlorophytum in a cool and ventilated place, and it can be maintained normally after about a week

Have you learned how to divide plants

Give it a try

More
Related articles