Flower cultivation method 1: cutting rose
It's hard for roses to take root, but it's hard for them to take root. Huahua specially learned a rose cutting method from the old gardener downstairs. It's very simple. The survival rate is 100%. Only one plastic bottle is needed
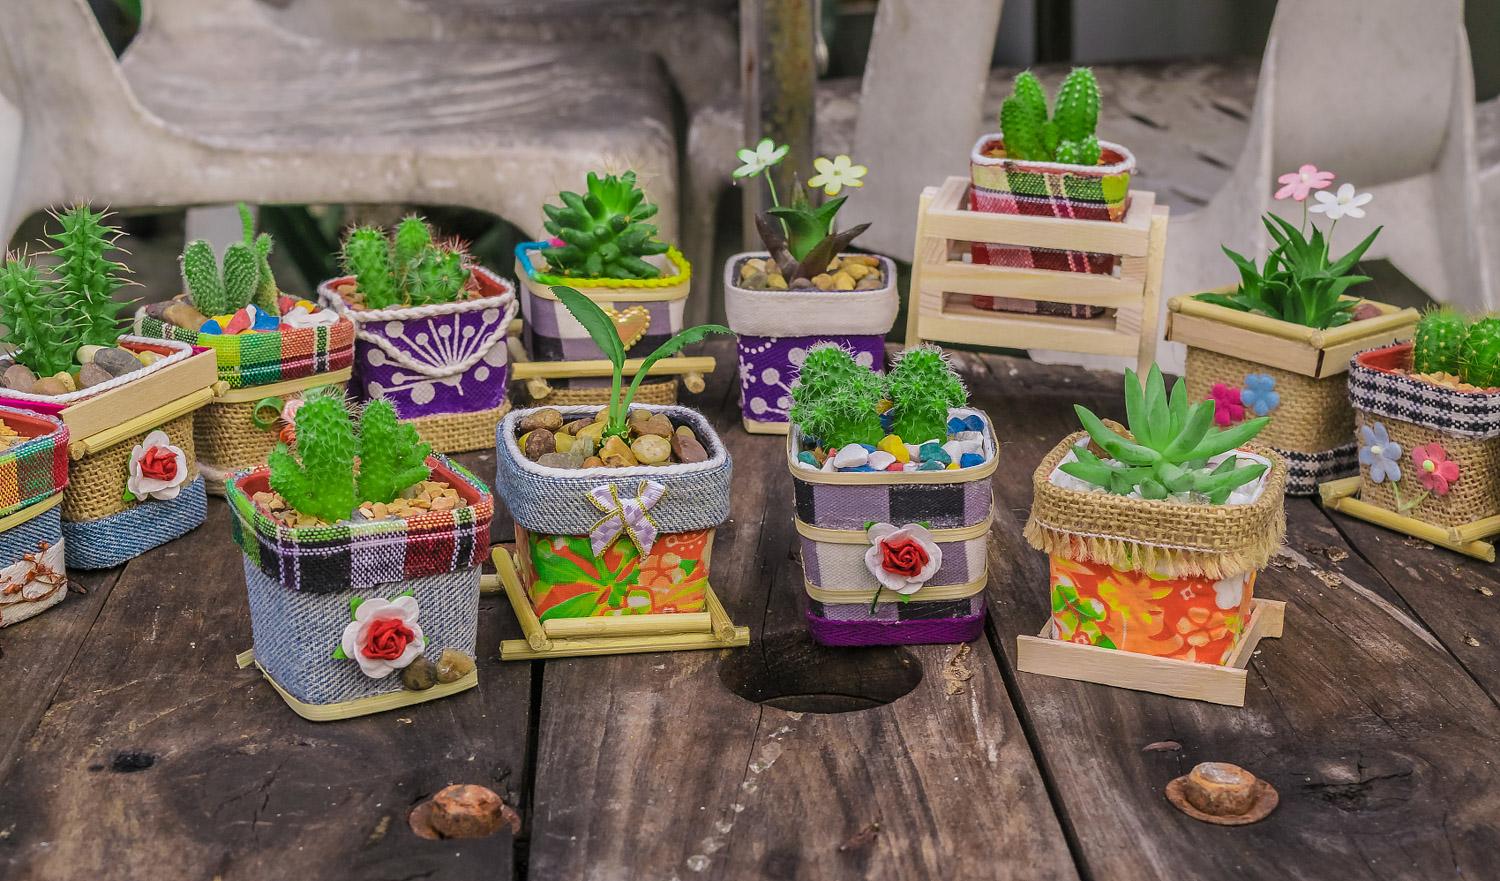
1. Cut rose branches
Cut off a section of robust rose branches, cut at an angle of 45 degrees, and the length is about 8 cm
2. The branches are planted in flowerpots or directly
Insert the branches into the soil at a depth of 2-3cm. Pour them with water and they can be inserted into the flowerpot. If you want to plant in the ground, you can directly insert them where you want to plant in the ground, so you don't have to transplant them
3. Buckle the plastic bottle on the rose branch
Cut off the relatively thin part close to the bottle mouth, accounting for about 1 / 4 of the bottle body, and then buckle it to the branch. There is no need to poke a hole in the bottle body. Just take the plastic bottle away when watering and keep it on at other times
4. After 15 days, the branches sprouted new leaves
Generally, after 15 days, the rose can grow new leaves. But during this period, we must keep the soil moist. When the soil is dry, we must water it in time. Take off the plastic bottle and then water it
It's best to find a large bottle, or you'll touch the leaves every time
5. Continue to deduct for 10 days, and then completely remove it
After the new rose leaves grow, continue to buckle the plastic bottle for 10 days. After 10 days, you can completely remove the plastic bottle! In this way, the survival rate of cut rose branches is 100%, and the leaves are emerald green. You are no longer afraid of black rods
Flower cultivation method 2: make green pineapple
A few plastic bottles can make a green pineapple, which is super simple! The longer the green rose, the more prosperous it is. The leaves are green and shining. Rub and climb for 10 meters
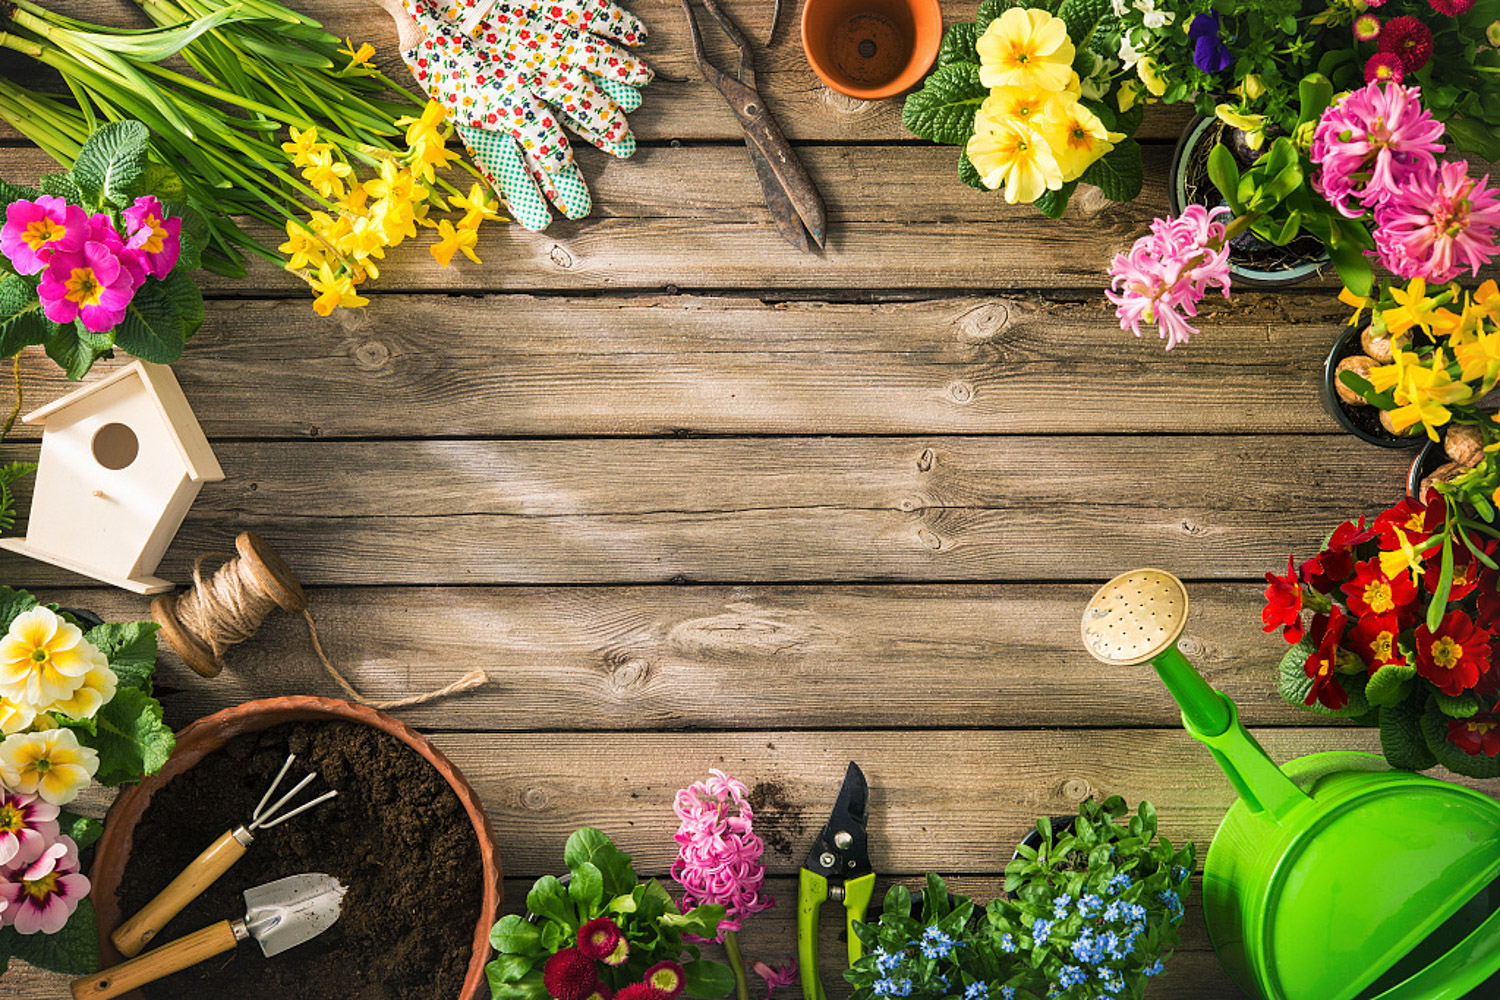
1. Cut off the bottom of the bottle and poke a hole in the bottle
Find a clean plastic bottle and try to find a relatively strong bottle. After removing the cap, cut off the bottom of the bottle, and then burn 20 holes of uniform size with red iron chopsticks on the bottle body
2. The bottle stands in the basin
Put pine needles on the bottom of the basin and put the plastic bottle in the center of the basin
3. Plant green pineapple
Fill the soil into the basin, fill the plastic bottle with pine bark or pine needles, let the bottle stand firmly in the basin, and then plant the green pineapple around and pour water
4. Insert the second plastic bottle onto the first one
Find the second plastic bottle, which is slightly larger than the diameter of the first one. Poke a hole in the bottle body, cut off the bottle mouth and bottom, and insert it into the first bottle mouth
5. Add pine bark to the second bottle
Fill the second bottle with pine bark and let it stand firmly. You can add a small amount of cake fertilizer
6. Wrapped palm
Wrap the mineral water bottle with palm skin. Generally, two layers are enough, and then tie it with a rope for several circles to fix it
7. You can continue to insert bottles later
Now the vine of this pot of green rose is still relatively short. Two plastic bottles are enough. When the green rose grows up, you can continue to insert the bottle and make the green rose column higher
Flower cultivation method 3: make flower pots with texture
As soon as you mention plastic bottles to make flower pots, some flower friends will say they are ugly. That's because you didn't choose the right bottle. If you choose some more textured beverage bottles, you can turn them into beautiful flower pots by cutting 2 knives
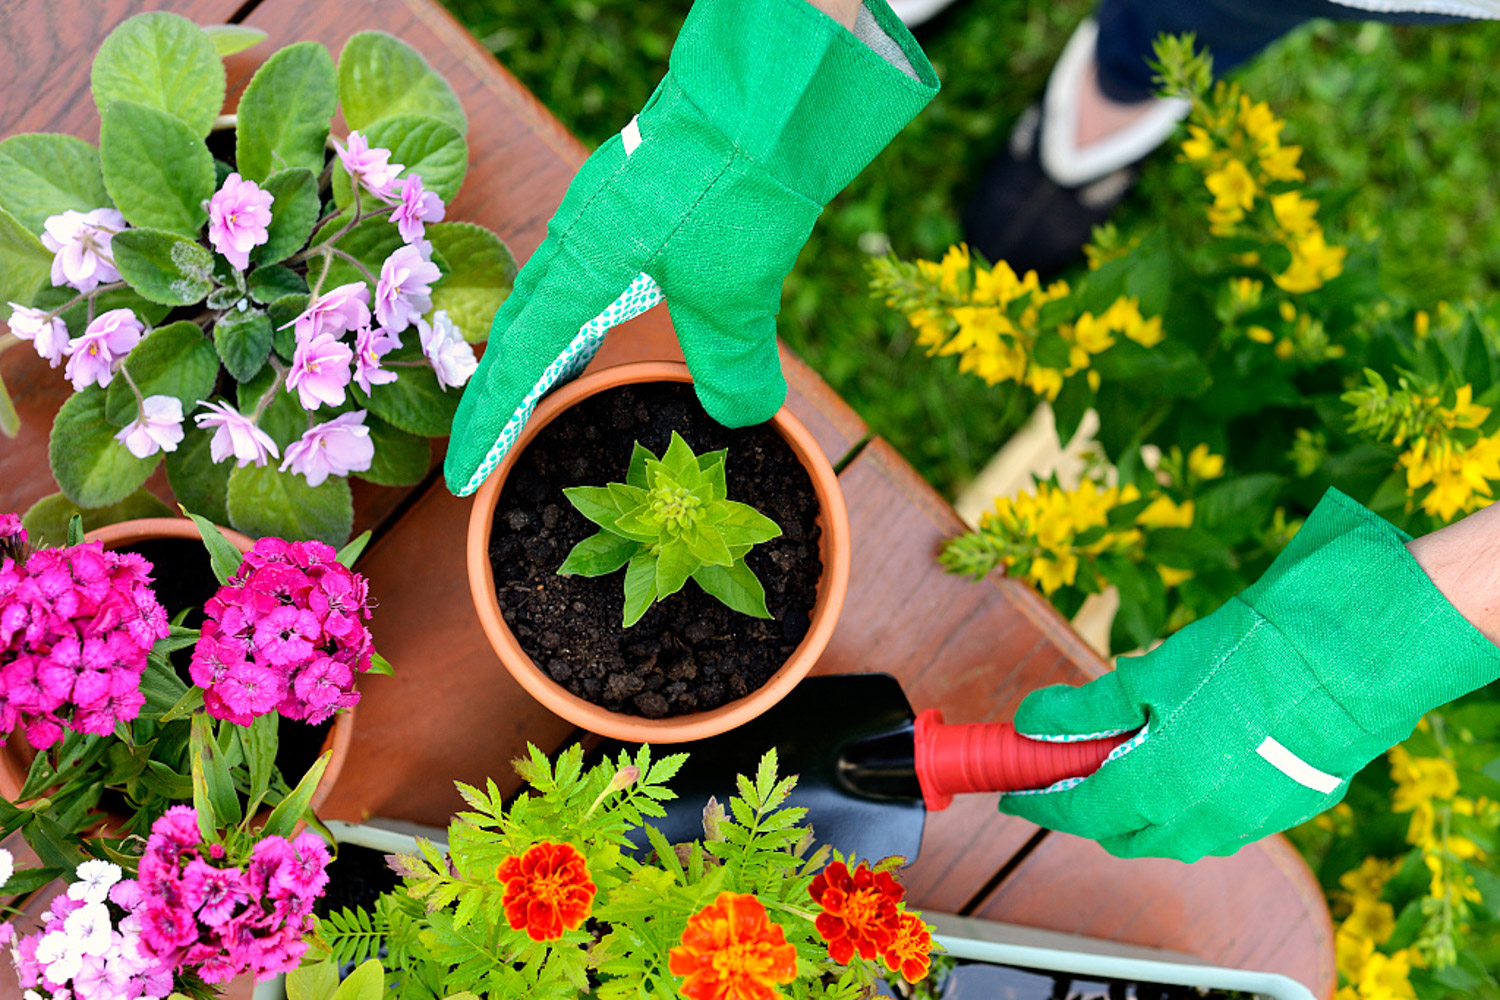
1. Find your favorite drink bottle
Like the two bottles below, the color is pretty good and the bottle is strong
2. Cut 1 knife and poke a hole in the bottle
This drink bottle is suitable for making flower pots horizontally. First cut a rectangular opening on the bottle body, and then poke several small holes on the side of the basin bottom to make water
3. Cut the edges into teeth
In order to make the flowerpot look better, you can cut the edge into beautiful serrations, which is more layered than when you don't cut it
4. Plant flowers
Just put the flowers on it. This color bottle looks good with any flowers
Flower cultivation method 4: automatic water absorption flowerpot
Sometimes when you go far away, you don't have time to water the flowers. The old worry flower is dried to death. In fact, it's all done with a plastic bottle! Let's see how the automatic water absorbing flowerpot is made

1. Thread the cotton thread through the bottle cap
Cut the plastic bottle into two parts, poke holes in the bottle cap, let the cotton thread pass through, and plant meat on the part with the bottle cap. The other part of the bottle is filled with water, and the other end of the cotton thread is put inside to absorb water
2. Insert the cap part into the bottom of the bottle
Insert the part of the bottle with more meat into another part, so that the water at the bottom of the bottle will slowly seep into the soil through the cotton thread to keep the soil moist, and the meat will grow well
Flower cultivation method 5: automatic flower watering artifact
In addition to the automatic water absorbing flowerpot, the plastic bottle can also be used as an automatic watering artifact. No matter how far away the door is, people are not afraid of the drought death of the flowers at home, which makes people very relieved
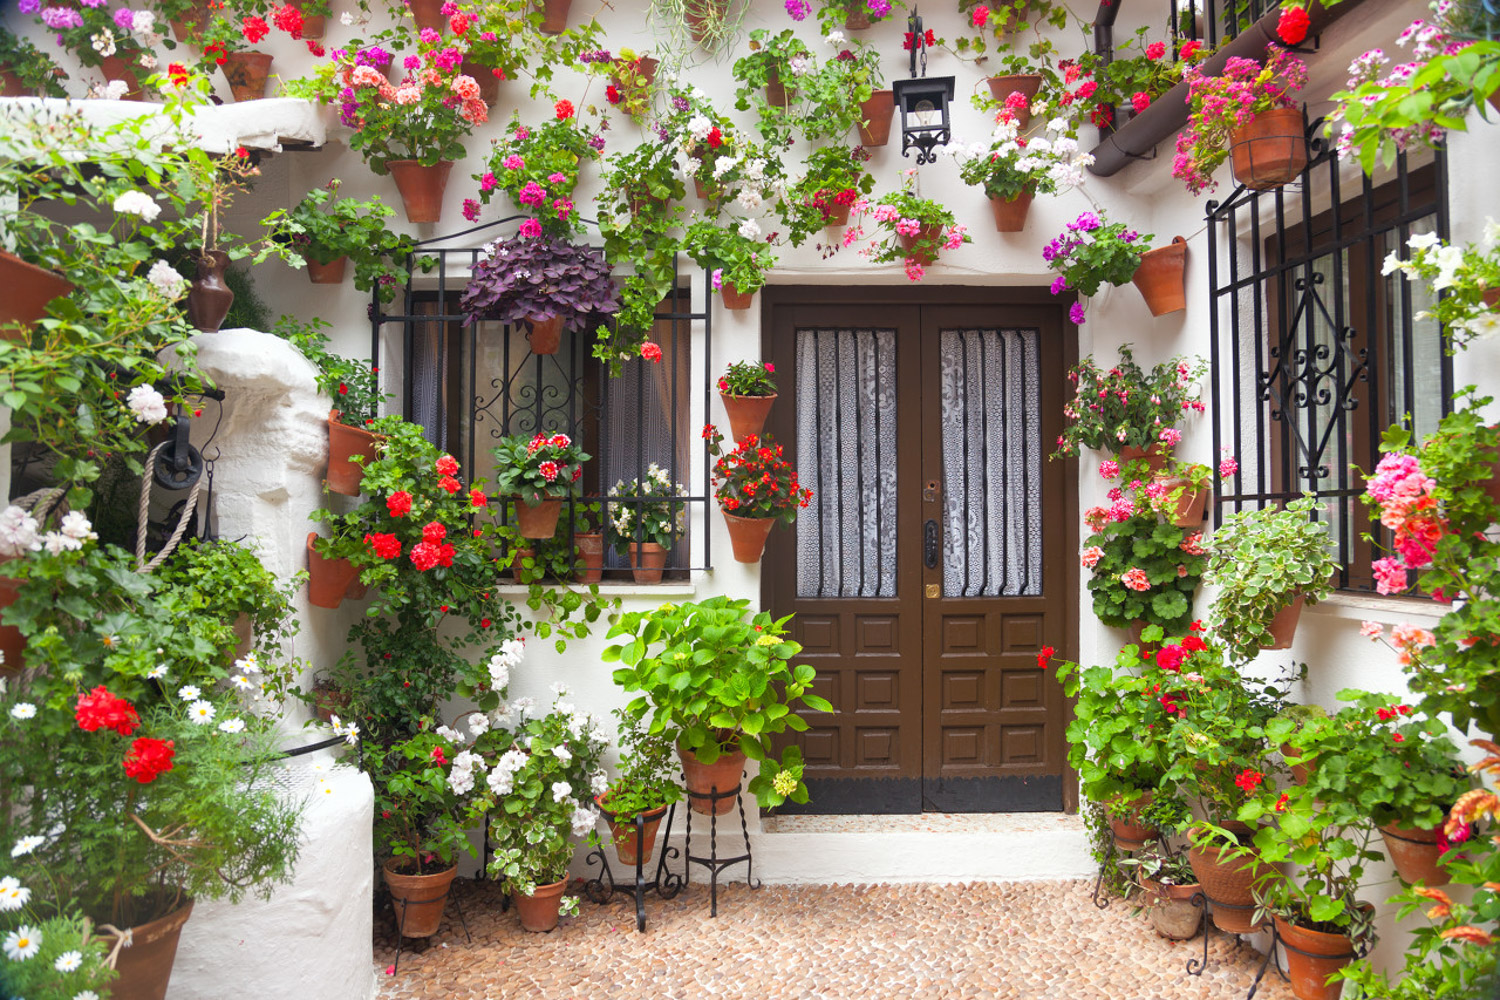
1. Small holes in the bottom and mouth of the bottle
Put water into the plastic bottle and fill it with 8 points. Screw the bottle cap to prevent water leakage. Then tie a small hole in the bottle cap and bottom with a needle. The hole should not be too large to let the water flow out
2. Insert the flowerpot upside down
Put the bottle mouth down into the flowerpot, and then insert the wooden stick into the soil to support the plastic bottle. In this way, the water will slowly flow into the soil
Flower cultivation method 6: Meat watering artifact
Some meat is hairy. When watering, you can't let the leaves stick to the water, otherwise it is easy to rot. if only you have a sharp and thin watering artifact, only you have a plastic bottle. Huahua guarantees that you can make it
1. Paper tapers
Find a piece of paper and fold it into a cone
2. Tape
Stick the tape onto the conical paper, especially the sharp part, and stick it firmly to make it harder
3. Burn the bottle cap with fire
Use a lighter to soften the bottle cap. Be careful not to light it. Then insert the conical paper into the bottle cap and lengthen the bottle cap. After adjusting to the desired length and tilt angle, put it aside and let it cool completely
4. Pull out the cone paper
After cooling, take out the paper, and then cut off the tip of the bottle cap to make it permeable
5. The flower watering artifact is ready
Fill the bottle with water, screw the cap, and then pour more meat. You won't be afraid of water getting on the leaves
Flower cultivation method 7: high pressure propagation
Source: often Garden
Cutting is always unsuccessful flower friends. You can try the high-pressure method, especially those flowers that are not easy to take root, such as figs, grapes, woody Hydrangea, etc. using the high-pressure method will greatly improve the rooting life rate
1. Preparation tools
Prepare mineral water bottles, knives, scissors, tape, peat soil or water moss
2. Draw the ring stripping line with a pen
Choose a strong branch with a diameter of more than 0.5cm. Use a black pen to draw the position of the ring stripping. The distance between the two lines is about 1cm
3. Girdling branches
Peel off the bark with a knife until the white branches are exposed. Start gently and slowly
4. Cut open the plastic bottle
Cut open the plastic bottle. Here you need to use the bottom part of the bottle, about 12cm high, and then cut a knife from the side. Cut a round hole at the bottom to let the branches pass through
5. The bottle is sleeved on the branch
Put the bottle on the peeled branch, and then stick the side cut with adhesive tape
6. Pour peat soil into the bottle
You can roll a paper tube, pour peat soil into the bottle, and then mix some water moss, which is more conducive to hair roots. The soil can cover the place 2 cm high above the ring stripping mouth
7. Winding wire
Tie the plastic bottle with iron wire and fix the plastic bottle and soil together
8. Watering
Pour water through the plastic bottle
9. Tie a plastic bag to the bottle mouth
Find a plastic bag and tie it at the mouth of the bottle to keep warm and reduce water loss. Keep the soil moist during rooting
10. Take root after 1 month
About a month later, through the plastic bottle, you can see that many roots have grown in the bottle. At this time, you can remove the plastic bottle and cut off the branches
11. Transplant into a pot
After cutting off the branches, you can go to the basin. After going to the basin, you can cut off some leaves to make the flower suit basin faster
So many wonderful uses of plastic bottles
Don't throw it away in the future
If you think what Huahua said is interesting and practical
Just share it with your friends

 how many times do yo...
 how many planted tre...
 how many pine trees ...
 how many pecan trees...
 how many plants comp...
 how many plants can ...
 how many plants and ...
 how many pepper plan...