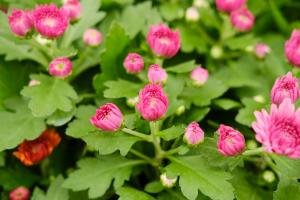
How to Pinch Back Pot Plants
Pinching back your pot plants is an important technique in maintaining a healthy and attractive plant. By removing the top part of the stem, you encourage branching and growth, resulting in a fuller and bushier plant. Here's a step-by-step guide on how to pinch back pot plants:
Step 1: Choose the Right Time to Pinch Back
The best time to pinch back your pot plants is during the active growing season, which is typically in the spring and summer months. Avoid pinching back during the dormant season, as this can cause stress to the plant.
Step 2: Locate the Node
The node is the point on the stem where new leaves and branches will grow. It is often characterized by a slight swelling on the stem. Locate the node on the top part of the stem, just above a set of leaves.
Step 3: Pinch the Top of the Stem
Using your thumb and forefinger or a pair of clean scissors, pinch or cut the top part of the stem just above the node. Make sure to leave a small section of stem above the node to prevent damage to the plant.
Step 4: Repeat on Other Stems
If you want to encourage branching on multiple stems, repeat the pinching process on each stem, making sure to leave at least two sets of leaves on the stem below the node. This will allow the plant to continue producing energy through photosynthesis.
Step 5: Monitor Growth
After pinching back your pot plants, monitor their growth and continue to pinch back as necessary. As new branches and leaves emerge, pinch back the new growth to encourage even more branching and a fuller, bushier plant.
Pinching back your pot plants is a simple yet effective way to maintain their health and appearance. By following these steps, you can ensure that your plants will flourish and provide you with beautiful, bushy foliage for years to come!

 how many times do yo...
 how many planted tre...
 how many pine trees ...
 how many pecan trees...
 how many plants comp...
 how many plants can ...
 how many plants and ...
 how many pepper plan...