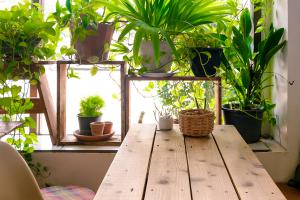
How to Paint Outdoor Plant Pots
If you’re looking to add a pop of color or refresh the look of your outdoor plant pots, painting is a simple and affordable solution. With a few basic supplies and some creativity, you can transform drab pots into vibrant decor pieces that elevate your garden or patio space. Follow these steps to paint your outdoor plant pots like a pro:
Step 1: Choose the Right Paint
It’s important to use the correct type of paint on outdoor plant pots to ensure it holds up to harsh weather conditions. Look for paints labeled as “outdoor” or “exterior-grade” that are formulated to withstand moisture, sunlight, and temperature fluctuations. Acrylic paints are a popular choice for plant pots because they dry quickly and provide excellent coverage.
Step 2: Clean the Pots
Before you start painting, it’s crucial to clean your plant pots thoroughly to remove any dirt, debris, or old paint. Scrub the pots with warm soapy water, rinse them well, and let them dry completely.
Step 3: Sand the Surface
If your plant pots have any rough or flakey spots, use sandpaper to smooth out the surface. This step will help the paint adhere better and create a smoother finish.
Step 4: Prime the Pots
If you’re painting a brand new pot, skip this step. However, if your pots have been previously painted or are made of porous materials like terracotta, it’s best to apply a coat of primer before painting. This will help the paint adhere better and prevent peeling or chipping.
Step 5: Paint the Pots
Now it’s time to get creative and paint your pots! Use a brush or roller to apply thin, even coats of paint. Start at the top and work your way down to avoid drips. Let the first coat dry completely before applying a second coat if necessary. If you want to add designs or patterns, use stencils, tape, or freehand painting.
Step 6: Protect the Pots
Once you’re happy with the look of your painted plant pots, let them dry completely. Then, apply a clear protective sealant to prevent fading or weather damage. The sealant will also make your pots easier to clean and maintain.
Conclusion
Painting outdoor plant pots is an easy and affordable way to enhance your outdoor decor. With a few basic supplies and some creativity, you can create personalized plant pots that match your style and add visual interest to your garden or patio. Follow these steps to paint your plant pots like a pro and enjoy the colorful results all season long.

 how many times do yo...
 how many planted tre...
 how many pine trees ...
 how many pecan trees...
 how many plants comp...
 how many plants can ...
 how many plants and ...
 how many pepper plan...


