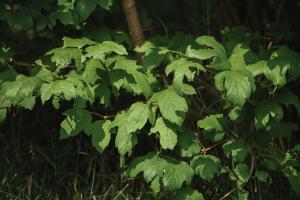
How to Plant Japanese Plum Tree
Japanese plums are sweet and juicy fruits that are highly sought after by fruit lovers. Planting a Japanese plum tree at home can be a fun and rewarding experience. In this article, we will explore the steps involved in planting a Japanese plum tree.
Step 1: Choose the Right Site
The first step in planting a Japanese plum tree is selecting the right site. Japanese plum trees require a location that receives full sun, meaning the area should get at least 6 hours of direct sunlight every day. The soil should also be well-draining and fertile, with a pH level ranging from 5.5 to 6.5. Avoid planting the tree in low areas where water accumulates or in places prone to frost.
Step 2: Prepare the Soil
Before planting the Japanese plum tree, prepare the soil by digging a large hole that is at least twice as wide as the tree's root ball. Mix the soil with organic matter such as compost or aged manure to improve drainage and add nutrients. Finally, make sure the soil is level and slightly mounded in the center to encourage water flow towards the roots.
Step 3: Plant the Tree
Place the tree in the center of the hole, with the top of the root ball level with the soil surface. Gently backfill the hole with the soil mixture, making sure there are no air pockets around the roots. Water the tree thoroughly after planting to help settle the soil and remove any remaining air pockets.
Step 4: Prune the Tree
Pruning is an essential step in planting a Japanese plum tree. Start by removing any broken, diseased, or dead branches using a pruning saw or sharp shears. Next, trim back any crossing branches or suckers growing from the rootstock. Finally, shape the tree by removing any branches that are growing at an awkward angle or are too low on the trunk.
Step 5: Provide Proper Care
Now that the Japanese plum tree is planted, it's time to provide it with proper care. Water the tree deeply once a week during the growing season, and reduce the frequency during fall and winter. Fertilize the tree in early spring and late summer with a balanced fertilizer to encourage fruit production. Finally, protect the tree from pests and diseases by mulching around the base to conserve moisture and discourage weed growth.
Conclusion
Planting a Japanese plum tree is a simple process that can provide you with delicious fruit for years to come. By following the steps outlined in this article, you can successfully grow a healthy and thriving Japanese plum tree in your backyard.

 how many times do yo...
 how many planted tre...
 how many pine trees ...
 how many pecan trees...
 how many plants comp...
 how many plants can ...
 how many plants and ...
 how many pepper plan...


