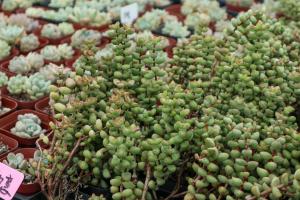
How to Put Drainage Holes in Plastic Plant Pots
When it comes to growing indoor or outdoor plants in plastic pots, drainage holes are crucial to prevent waterlogging and root rot. While many plastic plant pots already come with pre-made drainage holes, some may not. If you find yourself in this situation, here’s how to put drainage holes in plastic plant pots:
Step 1: Gather Supplies
To start, gather the following supplies:
Plastic pot
Drill
Drill bit
Masking tape (optional)
Step 2: Mark the Holes
Using a permanent marker, mark the areas where you want to drill the drainage holes. Make sure to evenly space out the holes around the bottom of the pot. If you are worried about the plastic cracking or splitting during drilling, you can use masking tape to cover the marked areas.
Step 3: Use the Drill
Using an electric drill and a drill bit suitable for plastic, make a hole at each marked point. Start the drill at a slow speed and gradually increase to make the hole. Make sure to keep the drill bit perpendicular to the bottom of the pot and stop drilling as soon as the bit penetrates the plastic.
Step 4: Clean the Pot
After drilling, remove any plastic shavings from the pot and clean it with soap and water. You can also rinse it with a solution of 1:10 bleach and water to sanitize and eliminate any bacteria or algae.
Step 5: Test the Drainage Holes
Fill the pot with water to test the newly created drainage holes. The water should start draining out within a few seconds, indicating that the holes are large enough and properly placed. If the water does not drain or drains too slowly, you may need to make the holes larger or add more holes.
Conclusion
Punching drainage holes into plastic plant pots is a straightforward task that can improve plant health and growth. By taking the time to properly space out and drill the holes, you will effectively allow excess water to escape and promote a healthier environment for your plants.

 how many times do yo...
 how many planted tre...
 how many pine trees ...
 how many pecan trees...
 how many plants comp...
 how many plants can ...
 how many plants and ...
 how many pepper plan...


